Introduction
Welcome to this guide on how to transfer files to an external hard drive in Windows 10. Whether you need more space on your computer or want to create a backup of important files, an external hard drive can be a convenient and reliable solution. In this article, we will walk you through the step-by-step process of transferring your files to an external hard drive, ensuring that your data remains safe and easily accessible.
Windows 10 provides a user-friendly interface that allows you to manage and organize your files efficiently. With just a few simple steps, you can quickly transfer files of any type, including documents, photos, videos, and more. Whether you’re a novice computer user or have some level of technical expertise, this guide will help you navigate the process seamlessly.
Before we dive into the steps, it’s important to note that the method we’ll be discussing involves manually transferring files from your computer to the external hard drive. Alternatively, you can also use backup software or specific file synchronization tools to automate the process. However, this guide focuses on the manual method as it offers more control and flexibility over what files you transfer.
Now, let’s get started with the first step: connecting the external hard drive to your computer.
Step 1: Connect the External Hard Drive to your Computer
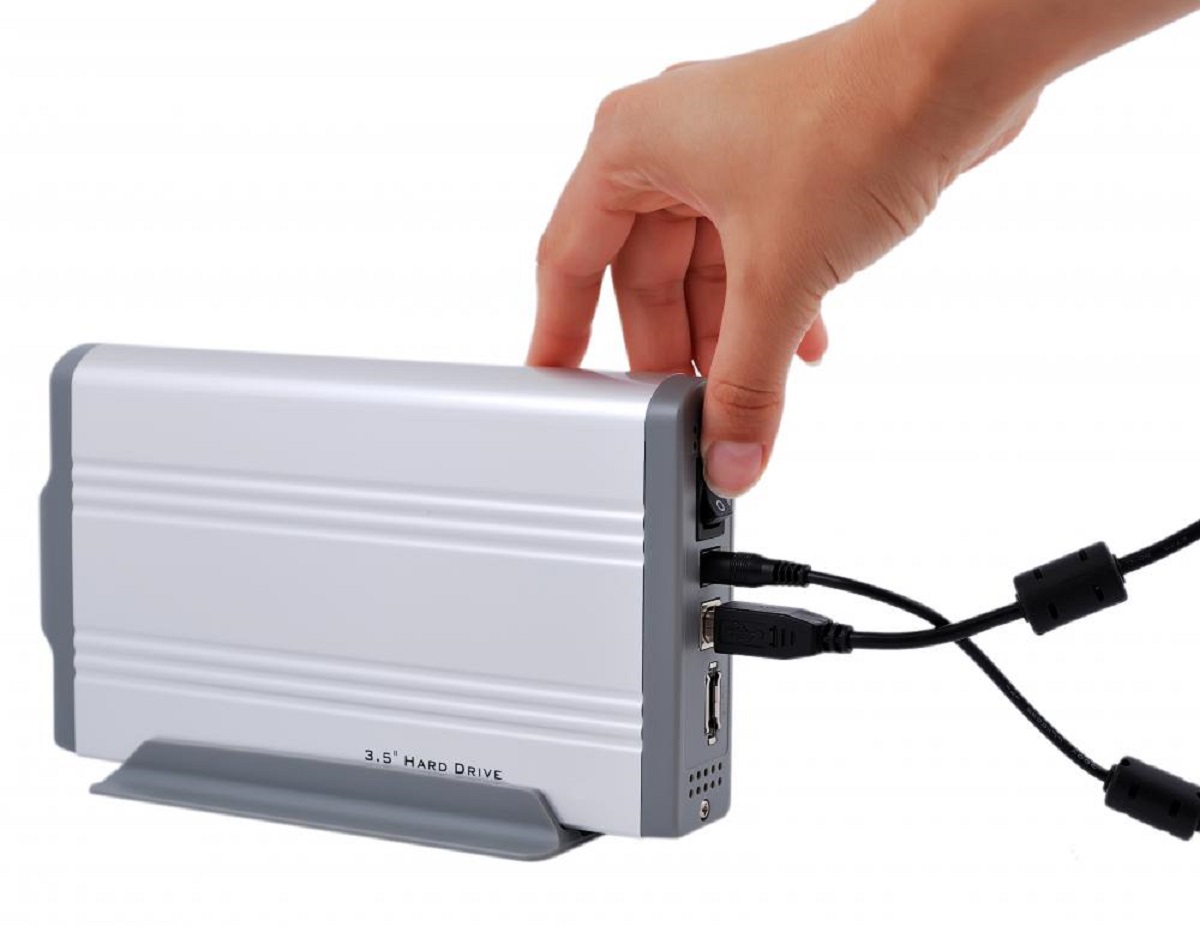
The first and foremost step in transferring files to an external hard drive is to ensure that the hard drive is properly connected to your computer. To do this, follow these simple steps:
- Locate the USB port on your computer. It is typically found on the sides or back of a desktop computer, or on the sides or rear panel of a laptop.
- Take the USB cable that came with your external hard drive and connect one end to the USB port on your computer.
- Connect the other end of the USB cable to the USB port on your external hard drive. Make sure the connection is secure.
- Once the connections are made, you should see a notification on your computer indicating that a new device has been connected.
If your external hard drive requires an external power source, ensure that it is properly plugged in and turned on before connecting it to your computer. In some cases, you may need to install specific drivers or software that came with your external hard drive. Check the manufacturer’s instructions or website for any additional requirements.
Now that you’ve successfully connected the external hard drive to your computer, you’re ready to move on to the next step: opening File Explorer.
Step 2: Open File Explorer
Once you have connected your external hard drive to your computer, the next step is to open File Explorer. File Explorer is a built-in file management tool in Windows 10 that allows you to navigate and access your files and folders. Here’s how to open File Explorer:
- Click on the Start button located at the bottom left corner of your screen. Alternatively, you can press the Windows key on your keyboard.
- In the search bar, type File Explorer and press Enter. This will open the File Explorer window.
- Alternatively, you can also open File Explorer by clicking on the folder icon located on the taskbar at the bottom of your screen. This icon is usually next to the Start button.
Once you have opened File Explorer, you will see a list of folders and files on your computer.
In the left-hand pane of File Explorer, you will find a list of quick access locations such as Desktop, Downloads, Documents, and This PC. These predefined locations make it easier to navigate to commonly used folders.
Now that you have File Explorer open, you’re ready to move on to the next step: locating the files you want to transfer to the external hard drive.
Step 3: Locate the Files you want to Transfer
Now that you have File Explorer open, the next step is to locate the files you want to transfer to your external hard drive. Whether it’s important documents, cherished photos, or favorite music files, here’s how you can find them:
- Navigate through the folders and drives in the left-hand pane of File Explorer to find the desired location of your files. You can expand or collapse folders by clicking on the arrow next to them.
- Use the quick access locations in the left-hand pane to quickly navigate to commonly used folders such as Documents, Downloads, or Desktop.
- If you know the name of the file or folder you want to transfer, you can use the search bar at the top right corner of File Explorer to search for it. Simply type in the name and press Enter to see the search results.
Once you have located the files or folders you want to transfer, you’re ready to proceed to the next step: selecting the files.
It’s important to note that you can select multiple files or folders at once by holding down the Ctrl key while clicking on each item. This allows you to transfer multiple files simultaneously, saving you time and effort.
With the files or folders selected, let’s move on to the next step: copying the files to the external hard drive.
Step 4: Select the Files
After locating the files you want to transfer to your external hard drive, the next step is to select the files. By selecting the files, you can indicate which ones you want to copy to the external hard drive. Here’s how you can select the files:
- Click on the first file you want to select. If you want to select multiple consecutive files, hold down the Shift key and click on the last file in the range.
- If you want to select multiple non-consecutive files, hold down the Ctrl key and click on each file you want to select.
- To select all the files in a folder, you can use the shortcut Ctrl + A on your keyboard. This will select all files and folders in the current location.
When you select a file, it will be highlighted or displayed in a different color to indicate that it’s selected. You can visually confirm the selected files before proceeding to the next step. Make sure to review your selection to ensure that you have chosen the correct files.
With the files selected, you’re now ready to move on to the next step: copying the files to the external hard drive.
It is important to note that you can also select entire folders for transfer by clicking on the folder itself. This will automatically select all files and subfolders within the selected folder.
Step 5: Copy the Files
Once you have selected the files you want to transfer to your external hard drive, it’s time to make a copy of them. The process of copying files involves creating duplicates of the selected files and storing them in a new location. Follow these steps to copy the files:
- Right-click on any of the selected files. This will open a context menu with various options.
- In the context menu, hover over the “Copy” option and click on it. Alternatively, you can use the shortcut Ctrl + C on your keyboard to copy the selected files.
- The files are now copied and stored in the clipboard, ready to be pasted into the external hard drive.
You can also use the drag-and-drop method to copy the files. Simply click and hold on the selected files, then drag them to the external hard drive folder in the File Explorer window. Release the mouse button to drop the files into the external hard drive folder.
It’s worth noting that when you copy files, the original files remain in their original location, and only duplicates are created. This ensures that your original files are not altered or removed during the transfer process.
With the files copied, it’s time to move on to the next step: pasting the files into the external hard drive.
Step 6: Paste the Files into the External Hard Drive
After copying the files to the clipboard, the next step in transferring files to an external hard drive is to paste them into the desired location on the external drive. Here’s how you can paste the files:
- Navigate to the location in the File Explorer window where you want to transfer the files on the external hard drive.
- Right-click on an empty space in the destination folder or location on the external hard drive. This will open a context menu with various options.
- In the context menu, click on the “Paste” option. Alternatively, you can use the shortcut Ctrl + V on your keyboard to paste the files.
- The files will now be pasted into the external hard drive, and you will see a progress window showing the status of the transfer.
It’s important to note that the time taken for the files to be pasted depends on the size and number of files being transferred. Larger files or a large number of files may take more time to complete the transfer. It’s best to be patient and let the transfer process finish without interrupting it.
Once the files have been successfully pasted into the external hard drive, you can close the File Explorer window or continue to transfer more files if needed.
With the files successfully transferred, let’s move on to the next step: monitoring the progress of the transfer.
Step 7: Monitor the Progress
As you paste the files into the external hard drive, it’s important to monitor the progress to ensure a successful transfer and to estimate the time remaining. Windows provides a progress window that allows you to keep an eye on the transfer status. Here’s how you can monitor the progress:
- After you’ve pasted the files into the external hard drive, a progress window will appear. This window provides details such as the number of files being transferred, the size of the files, and the estimated time remaining.
- The progress window will also show a visual representation of the transfer progress, with a progress bar that fills up as the transfer proceeds.
- Keep an eye on the progress window to see the current status of the transfer, and to track how many files have been successfully transferred.
While monitoring the progress, it’s best to avoid interrupting the transfer process. Closing the progress window or removing the external hard drive before the transfer is complete can lead to incomplete or corrupted file transfers. It’s important to allow the transfer to finish naturally.
Once all the files have been successfully transferred, the progress window will disappear, indicating that the transfer is complete. You can then safely move on to the next step: safely removing the external hard drive from your computer.
Monitoring the progress of file transfers ensures that you have a clear understanding of the transfer’s status and allows you to manage your time effectively while the transfer is taking place.
Step 8: Safely Remove the External Hard Drive
Once you have successfully transferred your files to the external hard drive, it is important to safely remove the device from your computer. Safely removing the external hard drive ensures that all the files on the drive are properly written and that there is no risk of data corruption. Here’s how you can safely remove the external hard drive:
- Ensure that all file transfer operations are complete. Make sure that the progress window, if any, has disappeared, indicating that all files have been successfully transferred.
- In the system tray (located in the lower-right corner of the Windows taskbar), look for the Safely Remove Hardware icon. It often resembles a USB connector or a green checkmark.
- Click on the Safely Remove Hardware icon. A pop-up window will appear, displaying a list of connected devices.
- Identify the external hard drive from the list of devices. It is usually labeled with the manufacturer’s name or the drive’s model number.
- Click on the external hard drive from the list. This will initiate the safe removal process.
- Windows will display a notification indicating that it is safe to remove the device. At this point, you can safely unplug the USB cable connecting the external hard drive to your computer.
It is important to follow the safe removal process to prevent data loss or damage to the files on the external hard drive. Removing the device without properly ejecting it can result in file system errors or corrupted data.
With the external hard drive safely removed, you have completed the process of transferring files to an external hard drive in Windows 10. Your files are now securely stored on the external drive, ready for you to access or use whenever necessary.
Conclusion
Transferring files to an external hard drive in Windows 10 is a simple and straightforward process that allows you to free up space on your computer and create backups of important data. By following the step-by-step guide outlined in this article, you can easily transfer your files with confidence.
Throughout this guide, we covered the essential steps, from connecting the external hard drive to your computer, opening File Explorer, locating and selecting the files you want to transfer, copying and pasting the files into the external hard drive, monitoring the progress, and finally, safely removing the device from your computer.
By adhering to these steps, you can ensure a smooth and successful transfer of your files. Remember to be patient, especially when transferring larger files or a large number of files, as the process may take some time.
It’s worth noting that external hard drives provide an excellent solution for storing and backing up your files, offering enhanced storage capacity and portability. These drives can be easily connected to different computers, making it convenient to access your files wherever you go.
Now that you have the knowledge and understanding of how to transfer files to an external hard drive in Windows 10, you can take advantage of this process to better manage your digital files, protect your data, and ensure its availability whenever you need it.
Remember to always take necessary precautions to keep your files safe, including regularly backing up your data and ensuring the security of your external hard drive by storing it in a safe and protected location.
With this guide, you are now equipped to confidently transfer your files to an external hard drive, making it easier to organize, access, and safeguard your valuable data.