Introduction
Are you running out of storage space on your Mac? Do you want to transfer your files to an external hard drive to free up space and ensure safe backups? Moving files to an external hard drive on a Mac is a simple and effective solution that allows you to quickly and securely store your important documents, photos, videos, and more.
Whether you’re dealing with large multimedia files or just need to organize your data more efficiently, this step-by-step guide will walk you through the process of moving files to an external hard drive on your Mac. By following these instructions, you’ll be able to declutter your Mac’s internal storage and have a reliable backup of your data, providing you with peace of mind.
Before we dive into the steps, it’s important to ensure that you have the necessary hardware and a compatible external hard drive. Check if your external hard drive is compatible with your Mac’s operating system, as some older drives may require additional software or special formatting. Once you have the right equipment, you’re ready to begin!
Step 1: Connect the external hard drive to the Mac
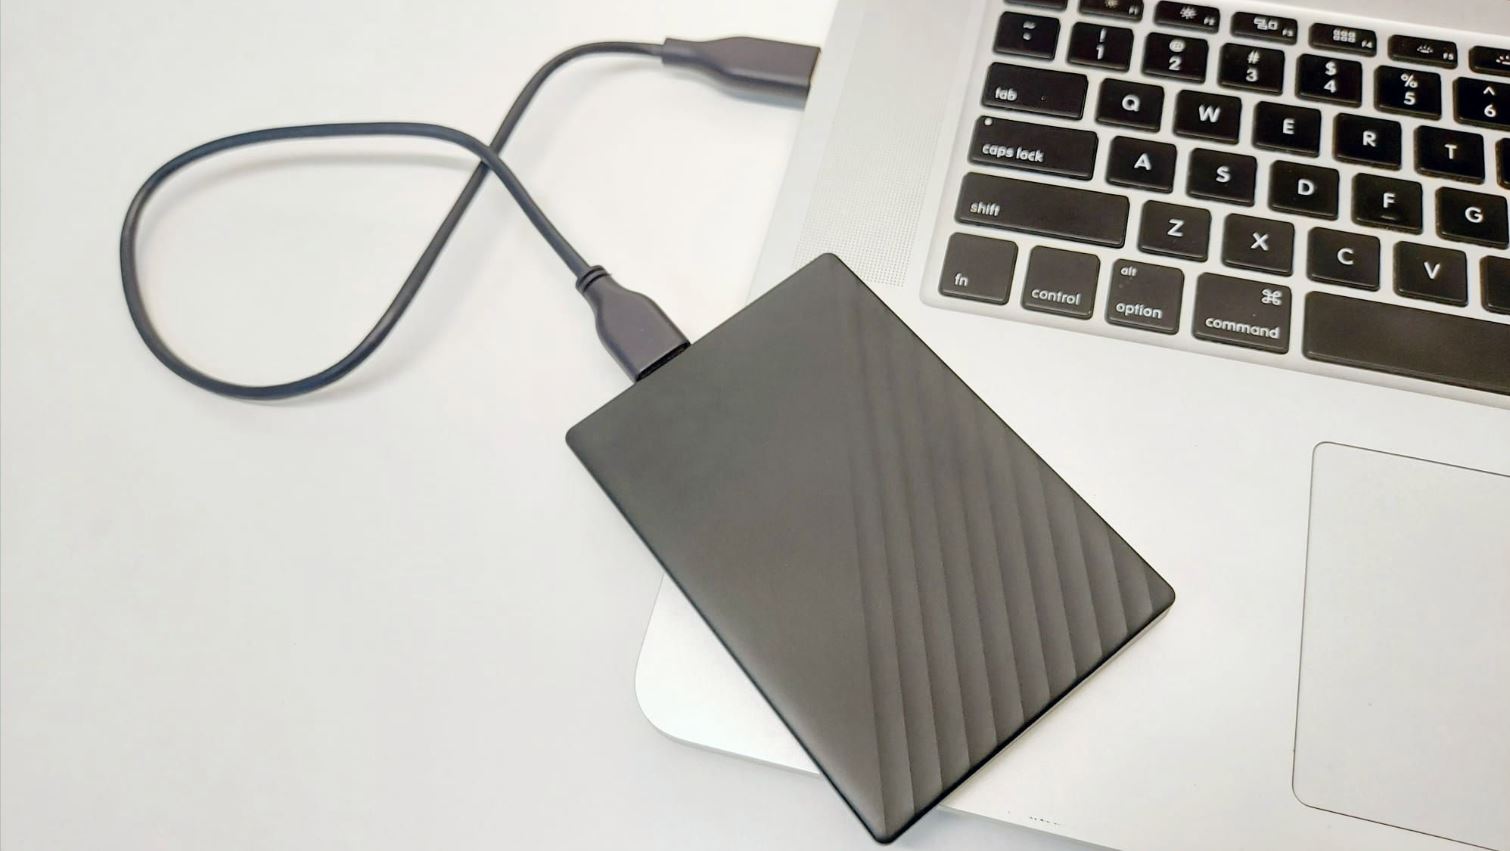
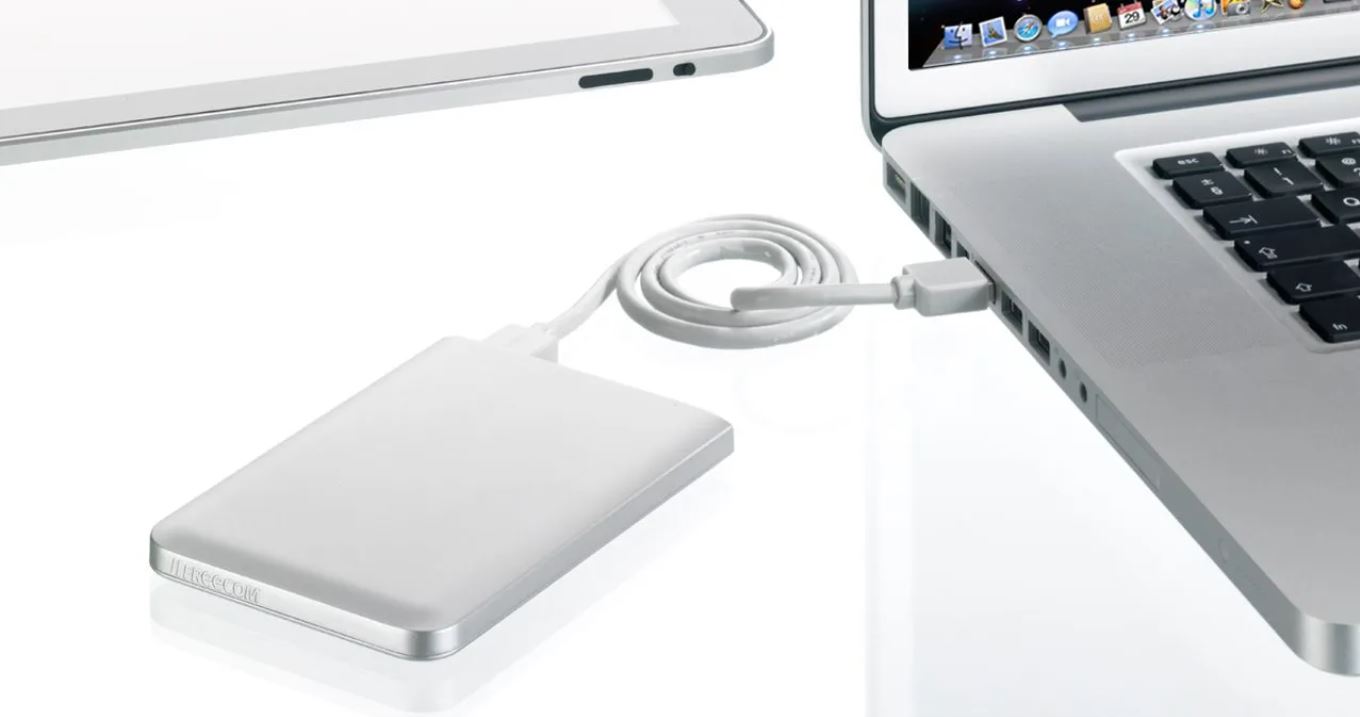
The first step in moving files to an external hard drive on your Mac is to connect the drive to your computer. Start by locating an available USB or Thunderbolt port on your Mac.
Once you have identified the appropriate port, plug in the USB or Thunderbolt cable into your Mac’s port. Then, plug the other end of the cable into the corresponding port on your external hard drive.
After the connection is made, your Mac should recognize the external hard drive and display it as a mounted volume on your desktop or in the Finder sidebar. It may take a few moments for the drive to appear, so be patient.
If the external hard drive doesn’t show up on your Mac, make sure it is powered on and properly connected. You may also need to check if the drive requires specific drivers or software for Mac compatibility. Refer to the manufacturer’s instructions for further assistance.
Once you have successfully connected the external hard drive to your Mac and it is recognized, you’re now ready to proceed to the next step and start moving your files.
Step 2: Open Finder and locate the files you want to move
Now that your external hard drive is connected to your Mac, it’s time to open Finder and locate the files that you want to move. Finder is the default file management application on macOS, and it allows you to navigate through your files and folders with ease.
To open Finder, click on the Finder icon located in the dock, which is usually represented by a blue and white face. Alternatively, you can press Command + Space to open Spotlight, type “Finder” in the search bar, and press Enter.
Once Finder is open, you can start browsing through your Mac’s file system to find the files or folders that you want to transfer to the external hard drive. You can navigate through different directories by clicking on the folders in the sidebar or by using the search bar at the top-right corner of the Finder window.
If you already know the location of the files you want to move, you can directly navigate to that folder. But if you’re unsure of the exact location, you can use the search bar to enter keywords or file names related to the files you’re looking for.
Finder also provides different view options, such as Icon view, List view, and Column view, allowing you to choose the most convenient way to display your files and folders. You can switch between these views using the buttons in the toolbar at the top of the Finder window.
Once you have located the files or folders that you want to move, you’re now ready to proceed to the next step and select the files for the transfer.
Step 3: Select the files or folders you want to move
After locating the files or folders you want to transfer to the external hard drive in Finder, the next step is to select them. Selecting the files will allow you to move them all together in one action.
To select individual files, click on the file’s icon once. You can select multiple files by holding down the Command key on your keyboard and clicking on each file you want to include in the transfer.
If you want to select a range of files, click on the first file, hold down the Shift key, and then click on the last file in the range. This will select all files in between as well.
If you have files scattered across different folders and want to select them all at once, you can use the Search feature in Finder to filter and select files with specific criteria. Enter a keyword or file extension in the search bar, and then select all the files that match the search results.
To select an entire folder and its contents, simply click on the folder once. All the files and subfolders within that folder will be selected automatically.
Alternatively, you can use the keyboard shortcuts Command + A to select all files in the current directory, or Command + Shift + A to deselect all files.
Once you have selected the files or folders you want to move to the external hard drive, you’re now ready to proceed to the next step and copy the selected files.
Step 4: Right-click on the selected files and choose “Copy”
After selecting the desired files or folders in Finder, the next step is to copy them. Copying the files will create duplicates of the selected items, which can then be transferred to the external hard drive.
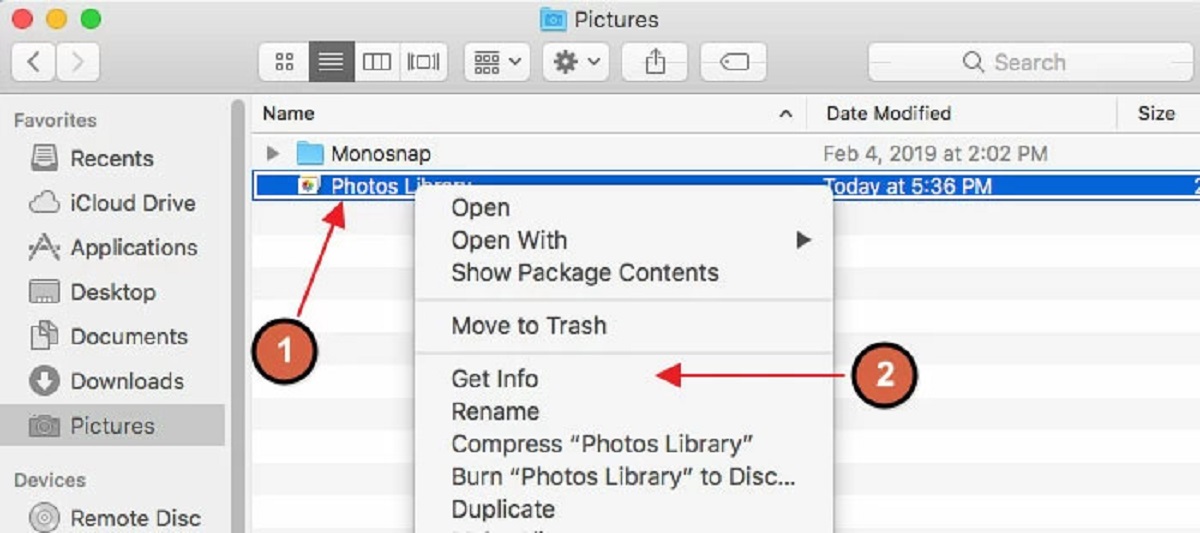
To initiate the copy process, right-click on the selected files or folders. A context menu will appear, displaying various options.
From the context menu, choose the “Copy” option. Alternatively, you can also press the Command + C keys on your keyboard to initiate the copy operation. This will store the files or folders in the clipboard, ready to be pasted.
If you prefer using the menu bar, you can choose “Edit” from the top menu, and then select “Copy” from the dropdown menu. This will achieve the same result as right-clicking and choosing “Copy”.
After selecting the “Copy” option, you should notice a brief animation or highlight around the selected files, indicating that the copying process has begun. Depending on the size and number of files being copied, it may take a few moments to complete the operation.
It’s important to note that the original files or folders will remain in their original location on your Mac. The “Copy” operation creates duplicates of the selected items, so you don’t have to worry about losing any data during the transfer.
Now that you have successfully copied the selected files or folders, you’re ready to proceed to the next step and paste them onto the external hard drive.
Step 5: Open the external hard drive in Finder
With the files copied to the clipboard, the next step is to open the external hard drive in Finder. This will allow you to navigate to the location where you want to transfer the files on the external drive.
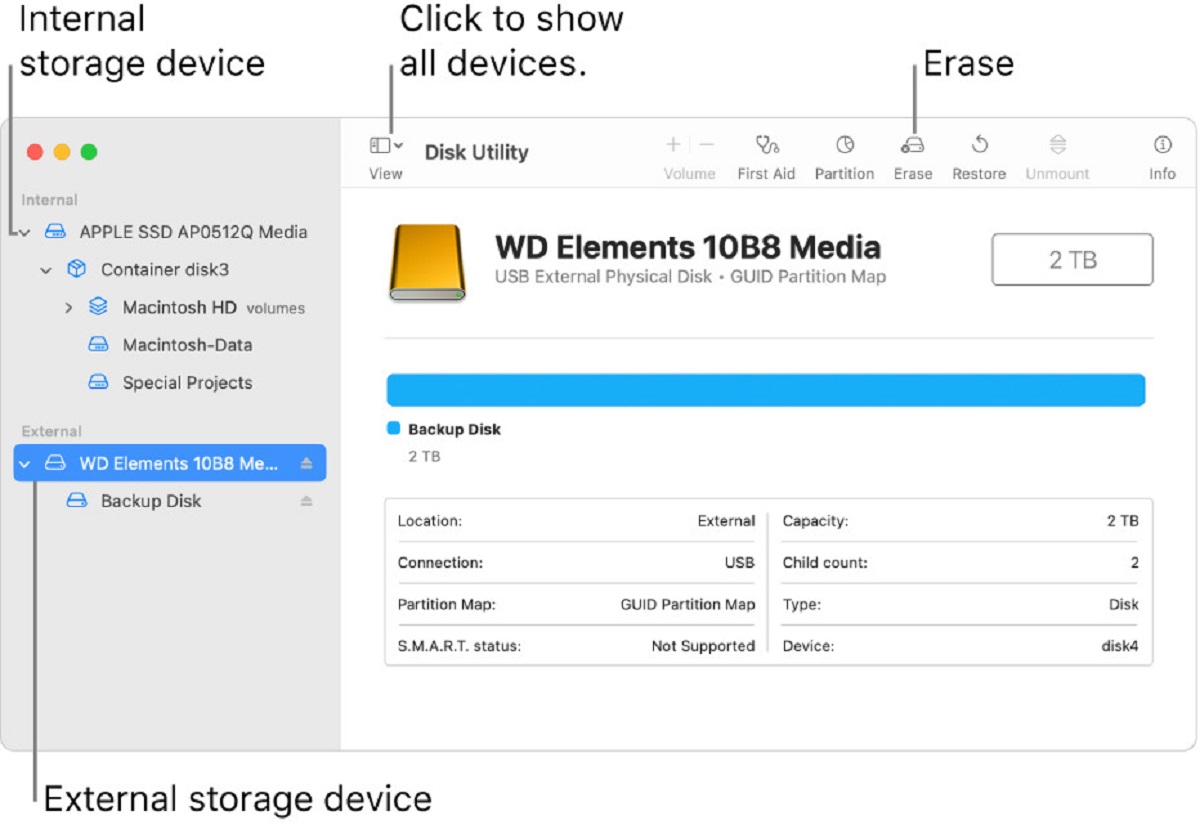
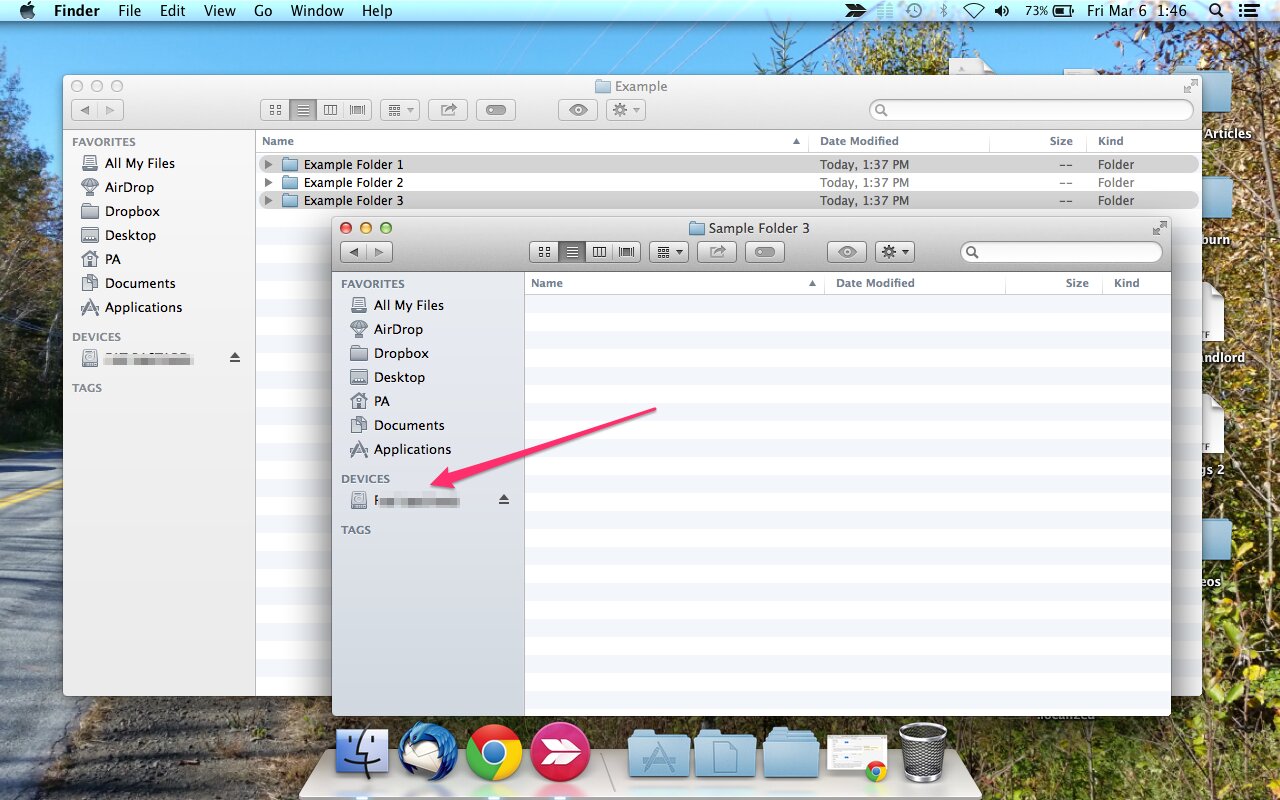
To open the external hard drive in Finder, locate its volume icon either on your desktop or in the Finder sidebar. The volume icon usually represents the name or brand of your external hard drive.
If the volume icon is on your desktop, simply double-click on it to open the external hard drive in a new Finder window. Alternatively, you can single-click on the volume icon in the Finder sidebar to open it in the same Finder window.
Once you have opened the external hard drive, you will see its contents displayed in Finder, similar to how your Mac’s internal storage is organized. You can navigate through the folders and directories on the external hard drive to choose the location where you want to transfer the files.
If you want to create a new folder on the external hard drive to organize your files, you can right-click inside the Finder window and choose “New Folder” from the context menu. Enter a name for the folder, and it will be created as a new directory on the external hard drive.
Make sure to select the appropriate location on the external hard drive where you want to transfer the files before proceeding to the next step. Your selected location will determine where the files will be placed on the external hard drive.
Now that the external hard drive is open in Finder and you have chosen the destination for the files, you’re ready to proceed to the next step and paste the copied files onto the external hard drive.
Step 6: Right-click and choose “Paste” to transfer the files to the external hard drive
After opening the external hard drive in Finder and selecting the desired destination for the files, the next step is to transfer the files from your Mac to the external hard drive. This can be done by pasting the copied files onto the external hard drive.
To initiate the transfer, right-click inside the Finder window that displays the external hard drive’s contents. A context menu will appear, displaying various options.
From the context menu, choose the “Paste” option. Alternatively, you can also press the Command + V keys on your keyboard to initiate the paste operation. This action will transfer the copied files from the clipboard to the selected destination on the external hard drive.
If you prefer using the menu bar, you can choose “Edit” from the top menu, and then select “Paste” from the dropdown menu. This will achieve the same result as right-clicking and choosing “Paste”.
As the files are being transferred, you will notice a progress bar indicating the status of the file transfer. The duration of the transfer will depend on the size and number of files being transferred. Larger files or a large number of files may take more time to complete the transfer.
It’s important to ensure that the file transfer is completed before disconnecting the external hard drive from your Mac. Interrupting the transfer process prematurely may result in incomplete or corrupted files on the external hard drive.
Now that you have pasted the copied files onto the external hard drive, you can proceed to the next step and wait for the file transfer to complete.
Step 7: Wait for the file transfer to complete
Once you have initiated the file transfer by pasting the copied files onto the external hard drive, it is important to be patient and allow the transfer process to complete. The duration of the transfer will depend on the size and number of files being transferred.
While the transfer is in progress, you will see a progress bar or status indicator indicating the status of the file transfer. This will give you an estimate of how much time is remaining for the transfer to complete.
It is crucial to avoid interrupting the transfer process to ensure that all files are successfully and accurately transferred to the external hard drive. Abruptly disconnecting the external hard drive or shutting down your Mac during the transfer can result in data loss or corrupt files.
During the transfer, it is advisable to keep your Mac powered on and connected to a stable power source. Additionally, make sure that the external hard drive remains connected and is not unplugged or disconnected until the transfer process is complete.
While waiting for the transfer to complete, you can monitor the progress and perform other tasks on your Mac. However, it is recommended to avoid performing any resource-intensive activities or moving large files simultaneously, as it may slow down the transfer process.
Once the file transfer is finished, you will receive a notification indicating that the transfer has been completed successfully. At this point, you can proceed to the next step and safely eject the external hard drive from your Mac.
Now that you have completed the file transfer, you can be assured that your files are safely stored on the external hard drive, providing you with additional storage space on your Mac and a secure backup of your valuable data.
Step 8: Safely eject the external hard drive
After the file transfer is complete and you have confirmed that all files are safely transferred to the external hard drive, it is essential to properly eject the drive from your Mac before physically disconnecting it.
Ejecting the external hard drive ensures that all read and write processes are complete and that the drive is no longer in use. This step minimizes the risk of data corruption and maintains the integrity of your files.
To safely eject the external hard drive, locate its volume icon either on your desktop or in the Finder sidebar. The volume icon typically represents the name or brand of your external hard drive.
If the volume icon is on your desktop, simply right-click on it and select “Eject” from the context menu. Alternatively, you can also click on the small eject button (usually an upward-facing arrow) next to the volume name in the Finder sidebar.
After selecting the “Eject” option, you will see a notification indicating that it is safe to remove the external hard drive. Wait for the notification to appear before physically disconnecting the drive from your Mac.
It is vital to allow the eject process to complete before removing the USB or Thunderbolt cable connecting the external hard drive to your Mac. Prematurely disconnecting the drive while it is still in use can lead to data loss or even damage the drive.
Once the external hard drive has been safely ejected, you can unplug the USB or Thunderbolt cable from your Mac and disconnect the drive from the computer.
Remember to handle the external hard drive with care and store it in a safe place when not in use. Properly ejecting and storing the drive will ensure the longevity and reliability of your external storage solution.
Congratulations! You have successfully completed the process of moving files to an external hard drive on your Mac. You now have extra storage space on your Mac and a secure backup of your important files.
Conclusion
Moving files to an external hard drive on a Mac is a straightforward and effective way to free up storage space and ensure the safety of your data. By following the step-by-step guide outlined in this article, you have learned how to connect the external hard drive to your Mac, locate and select the files you want to transfer, copy them, open the external hard drive in Finder, paste the files onto the drive, wait for the transfer to complete, and safely eject the external hard drive.
By transferring your files to an external hard drive, you not only declutter your Mac’s internal storage but also create a reliable backup of your important data. This provides you with peace of mind, knowing that your files are protected in case of any unforeseen issues or accidents.
Remember to always be patient during the file transfer process and allow it to complete before disconnecting the external hard drive. Properly ejecting the drive ensures the integrity of your data and reduces the risk of data loss or corruption.
Additionally, make sure to handle the external hard drive with care and store it in a secure place when not in use. Regularly backing up your files to the external hard drive is a good habit to maintain, as it prevents the loss of valuable data and allows for seamless access to your files whenever needed.
Now that you have mastered the process of moving files to an external hard drive on your Mac, you can effectively manage your storage space and keep your data safe. Take advantage of external storage solutions to optimize your computing experience and enjoy a clutter-free Mac environment.
Happy file transferring!