Introduction
Welcome to this guide on how to use an external hard drive on a Mac. If you’re running out of storage space on your Mac computer or simply want to create backups of your important files, an external hard drive can be a great solution. In this article, we will walk you through the steps to connect, format, and transfer files to an external hard drive on your Mac.
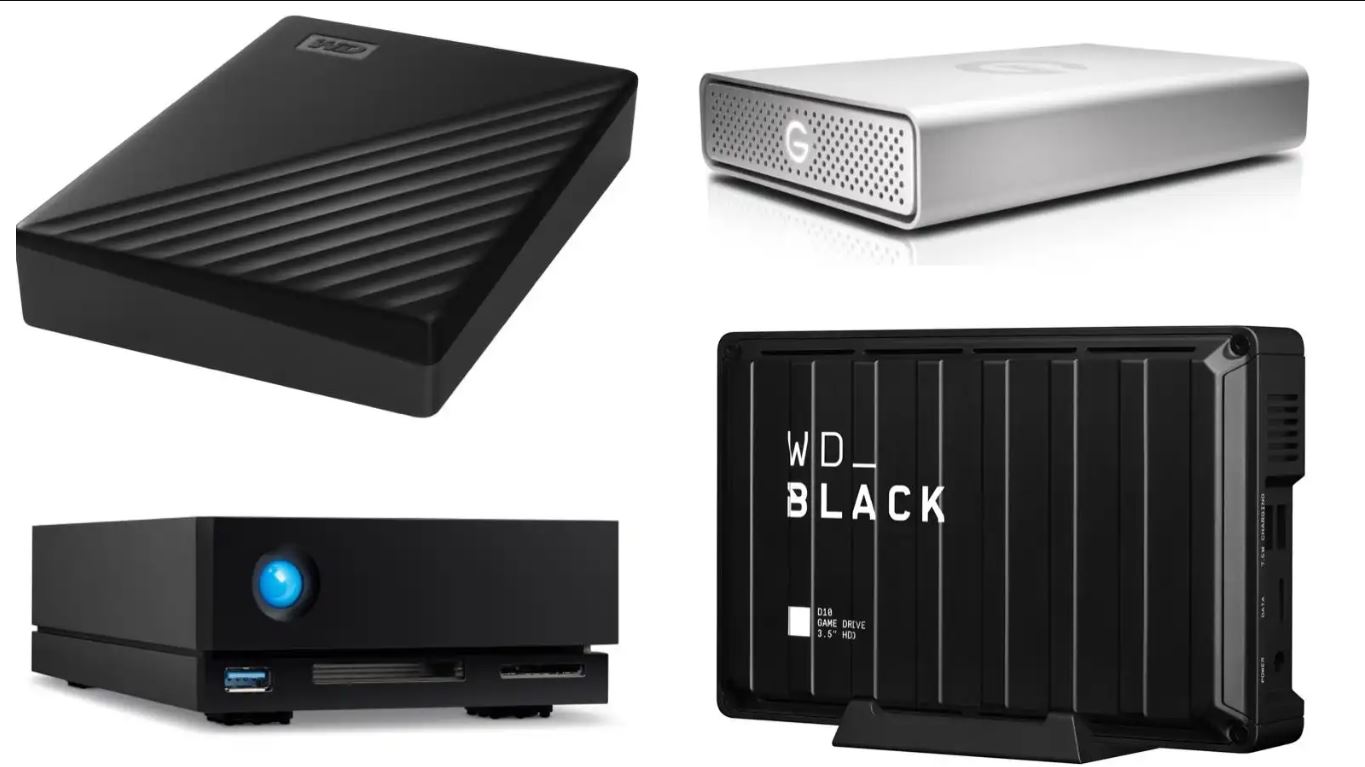
External hard drives offer a convenient way to expand your storage capacity without having to upgrade your internal hard drive. They come in various sizes and storage capacities, allowing you to choose the option that best suits your needs. Whether you want to store large media files, create backups, or transfer files between computers, using an external hard drive can save you valuable space on your Mac.
Before we dive into the steps, it’s important to note that the process may differ slightly depending on the version of macOS you’re using. However, the overall concept remains the same. Please ensure that you have a compatible external hard drive and the necessary cables to establish a connection with your Mac.
Now, let’s get started with the first step: connecting the external hard drive to your Mac.
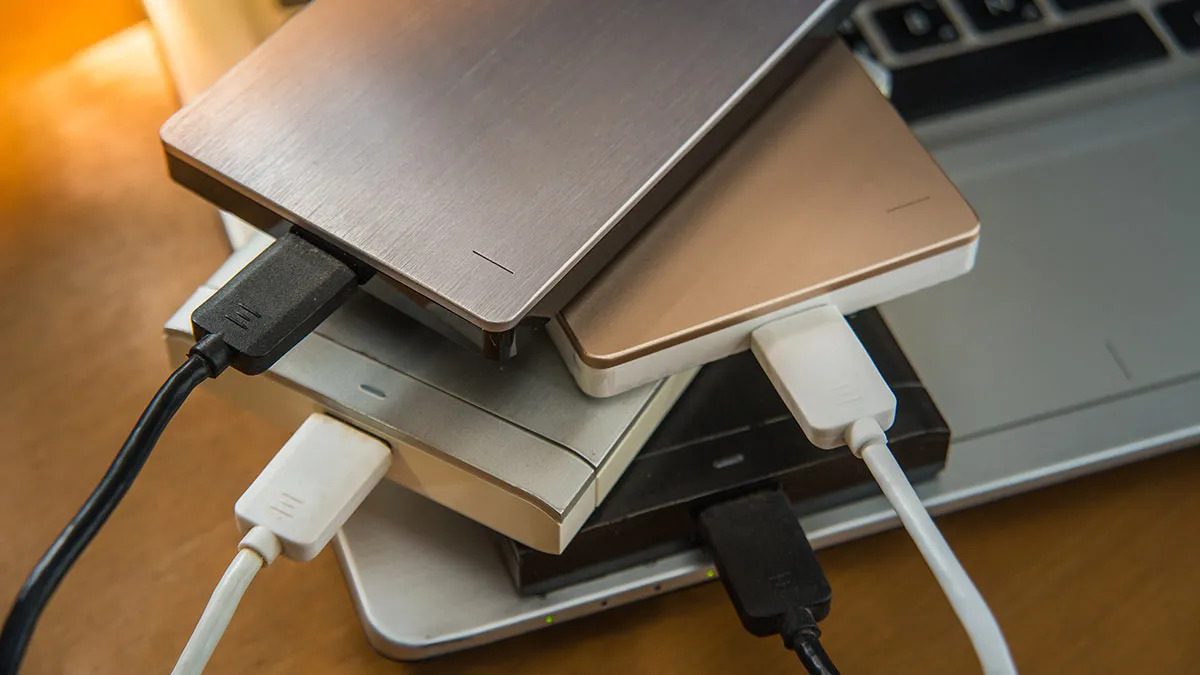
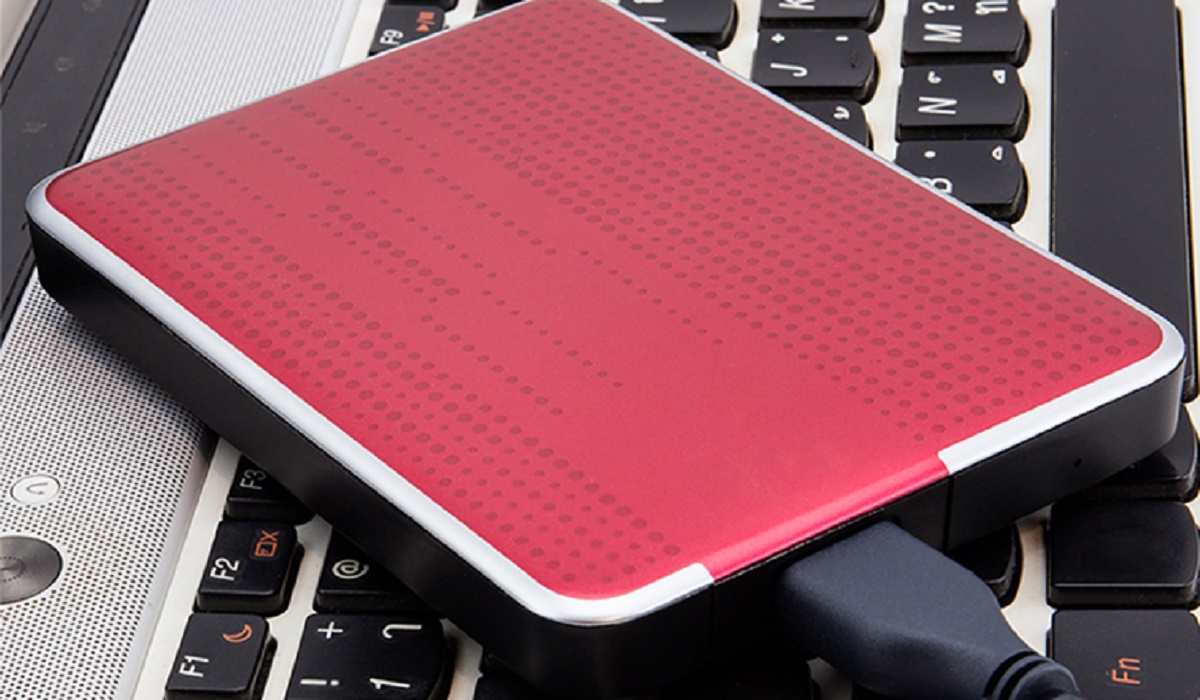
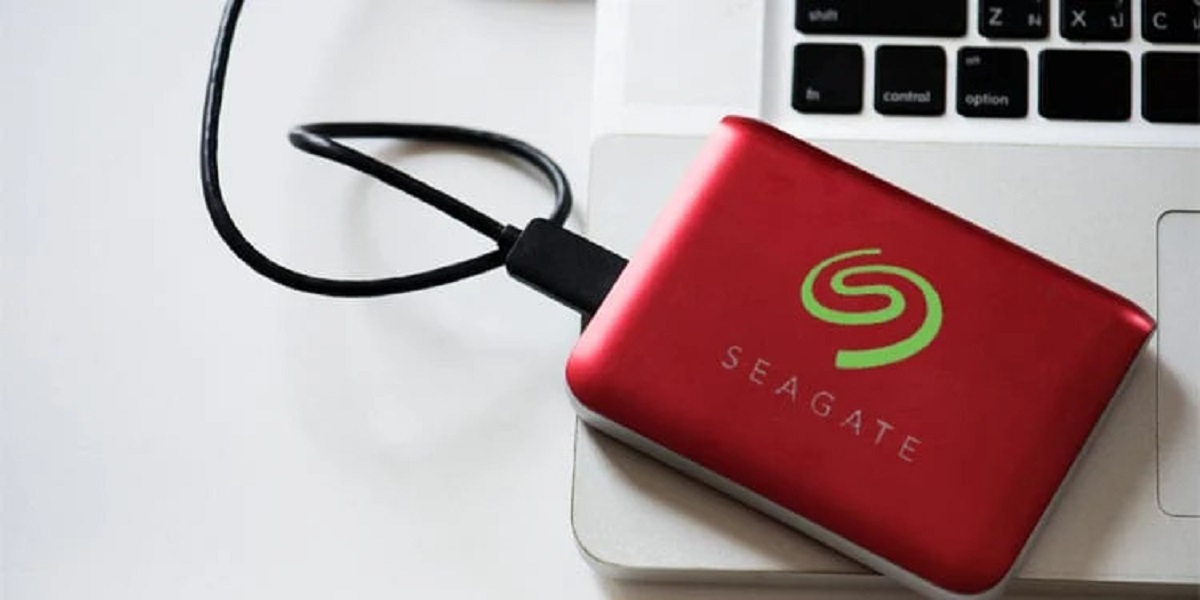
Step 1: Connecting the External Hard Drive
The first step in using an external hard drive on your Mac is to connect it properly. Follow these instructions to ensure a successful connection:
- Locate an available USB or Thunderbolt port on your Mac. Depending on the model, you may have multiple ports to choose from.
- Take the USB or Thunderbolt cable that came with your external hard drive and connect one end to the corresponding port on your Mac.
- Connect the other end of the cable to the port on the external hard drive. Ensure a secure connection is made.
- Once the cable is securely connected, power on the external hard drive if it has a separate power source. Some models draw power directly from the Mac and do not require external power.
- Your Mac should now recognize the external hard drive and display it on the desktop or in the Finder.
It’s important to note that some external hard drives may have specific software or drivers that need to be installed before they can be used. Check the manufacturer’s instructions or website for any additional steps or requirements.
Now that your external hard drive is connected, we can move on to the next step: formatting the drive.
Step 2: Formatting the External Hard Drive
Formatting the external hard drive is an essential step before you can start using it on your Mac. This process prepares the drive to work seamlessly with macOS and ensures compatibility. Follow these steps to format your external hard drive:
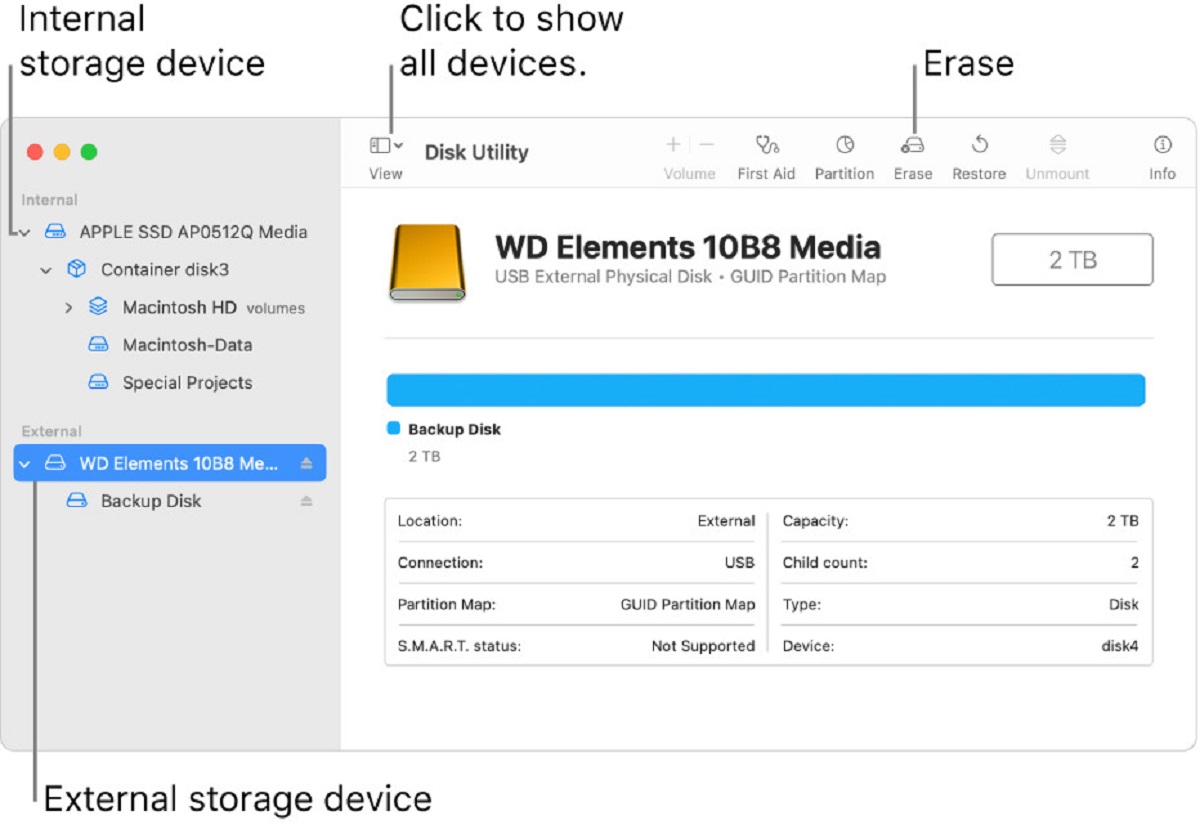
- Open the Finder by clicking on the blue smiley face icon located in your dock.
- On the left-hand side of the Finder window, you will see a list of devices and drives. Locate your external hard drive and select it.
- Click on the “File” menu at the top of the screen and select “Get Info” from the dropdown menu. This will display information about the currently selected drive.
- In the Info window that appears, click on the “Erase” tab. This will allow you to format the external hard drive.
- Choose the desired format for your external hard drive. For maximum compatibility, it is recommended to choose the “Mac OS Extended (Journaled)” option. If you plan to use the drive primarily with Mac computers, this is the best choice. If you intend to use the drive with both Mac and Windows computers, consider choosing “ExFAT” as the format.
- Give your drive a name in the “Name” field. This can be anything you prefer, such as “Backup Drive” or “Media Storage.”
- Double-check that you have selected the correct drive and format options. Formatting will erase all the data on the drive, so ensure you have backed up any important files.
- Click on the “Erase” button to begin the formatting process. This may take a few moments to complete.
- Once the format is complete, your external hard drive is ready to use with your Mac.
Formatting your external hard drive may take some time, depending on the size of the drive. Be patient and do not interrupt the process.
Now that your external hard drive is formatted, we can proceed to the next step: transferring files to the drive.
Step 3: Transferring Files to the External Hard Drive
Now that your external hard drive is properly connected and formatted, you’re ready to start transferring files from your Mac. Follow these steps to transfer your files to the external hard drive:
- Open a new Finder window and navigate to the location of the files you want to transfer.
- Select the files or folders you want to move to the external hard drive by clicking and dragging your mouse cursor over them, or hold down the “Command” key while clicking on individual files or folders.
- Once the desired files are selected, drag and drop them onto the icon of your external hard drive, which you will find in the sidebar of the Finder window or on your desktop.
- The files will begin transferring to the external hard drive. The transfer time will depend on the size and number of files being copied.
- Ensure that the transfer is completed and that the files appear in the external hard drive’s directory.
It’s important to note that during the file transfer process, it is recommended to avoid disconnecting the external hard drive or shutting down your Mac. Doing so prematurely may result in incomplete file transfers or potential data loss.
Once the files have been successfully transferred to the external hard drive, you can access them at any time by connecting the drive to your Mac and accessing the file directory through the Finder.
Now that you have mastered the art of transferring files, let’s move on to the next step: ejecting the external hard drive safely.
Step 4: Ejecting the External Hard Drive Safely
When you are finished using the external hard drive, it’s important to eject it safely before disconnecting it from your Mac. This ensures that all data is properly written to the drive and reduces the risk of data corruption. Follow these steps to safely eject your external hard drive:
- Locate the external hard drive icon on your desktop or in the Finder sidebar.
- Right-click (or Ctrl-click) on the icon to open a contextual menu. Alternatively, you can select the external hard drive icon and click on “File” in the menu bar, then choose “Eject [Drive Name]” from the dropdown menu.
- Your Mac will begin the process of ejecting the drive. Wait until you see a notification that it is safe to disconnect the external hard drive.
- Once you receive the notification, you can safely disconnect the external hard drive from your Mac by unplugging the cable. Make sure to remove the cable from both your Mac and the external hard drive.
It’s important to note that prematurely disconnecting the external hard drive without ejecting it may result in data loss or potential damage to the drive. Therefore, always remember to properly eject the drive before physically disconnecting it from your Mac.
Ejecting the external hard drive ensures that any pending read or write operations are completed, and the file system is in a stable state. This helps to prevent file corruption and ensures the integrity of your data.
Now that you have safely ejected the external hard drive, let’s move on to the final step: disconnecting the drive from your Mac.
Step 5: Disconnecting the External Hard Drive
After safely ejecting the external hard drive, you can proceed to disconnect it from your Mac. Follow these steps to disconnect the external hard drive securely:
- Ensure that all file transfers and operations involving the external hard drive are completed.
- Verify that the external hard drive activity light, if present, is not blinking or indicating any ongoing activity.
- Gently unplug the USB or Thunderbolt cable from both your Mac and the external hard drive.
- Store the cable in a safe place or carefully wrap it around the external hard drive to prevent it from tangling or getting damaged.
It’s important to handle the external hard drive with care while disconnecting it to avoid any physical damage. Avoid pulling the cable forcefully or abruptly yanking the drive away from your Mac. By properly disconnecting the external hard drive, you protect it and preserve its longevity.
With the external hard drive safely disconnected, you can now store it in a secure location or connect it to another device if needed. Using an external hard drive offers a convenient way to expand storage capacity and keep your important files backed up.
In this guide, we covered the steps to connect, format, transfer files, safely eject, and disconnect an external hard drive from a Mac. By following these steps, you can confidently use an external hard drive for various storage needs.
Remember to re-connect and eject the external hard drive whenever you need to access or disconnect it from your Mac. By following these best practices, you can ensure the continued functionality and protection of your external hard drive.
So go ahead and make the most of your external hard drive to conveniently expand your storage and keep your files safe and secure!
Conclusion
Using an external hard drive on your Mac can greatly enhance your storage capabilities and provide a reliable backup solution. Throughout this guide, we have covered the essential steps to connect, format, transfer files, safely eject, and disconnect an external hard drive from your Mac.
By following these steps, you can easily expand your storage capacity, create backups of important files, and transfer data between devices. Remember to always connect the external hard drive using the appropriate cable, format it to ensure compatibility with macOS, and safely eject it before disconnecting.
The process may vary slightly depending on the version of macOS you are using, but the core steps remain the same. It’s crucial to read the manufacturer’s instructions for specific details about your external hard drive and any software or drivers that may need to be installed.
Whether you need additional space for media files, want to back up important documents, or simply want to keep your files organized and easily accessible, an external hard drive is an indispensable tool for your Mac.
Just remember to maintain proper care of your external hard drive by handling it gently, storing it in a secure place, and keeping backups of your important files in case of any unforeseen issues.
We hope this guide has helped you understand how to use an external hard drive on your Mac. Enjoy the added storage capacity and convenience that it brings to your digital life!