Introduction
Using a Mac external hard drive on a PC can bring a whole new level of convenience and accessibility to your computing experience. Whether you need to transfer files between your Mac and PC or simply want to store important data on an external device, knowing how to use a Mac external hard drive on a PC is essential.
However, since Mac and PC systems use different file systems, there are a few steps you need to follow to ensure compatibility and seamless data transfer. In this article, we will guide you through the process of connecting and formatting a Mac external hard drive for use on a PC. We’ll also walk you through the steps involved in transferring files between your Mac external hard drive and your PC.
Before we dive into the steps, it’s important to note that using a Mac external hard drive on a PC may require some extra software or drivers. So make sure you have the necessary software or check for any updates on the manufacturer’s website before proceeding.
By the end of this article, you’ll have all the knowledge you need to effortlessly utilize your Mac external hard drive on a PC, allowing you to seamlessly share and transfer files between different operating systems.
Step 1: Connect the Mac External Hard Drive to a PC
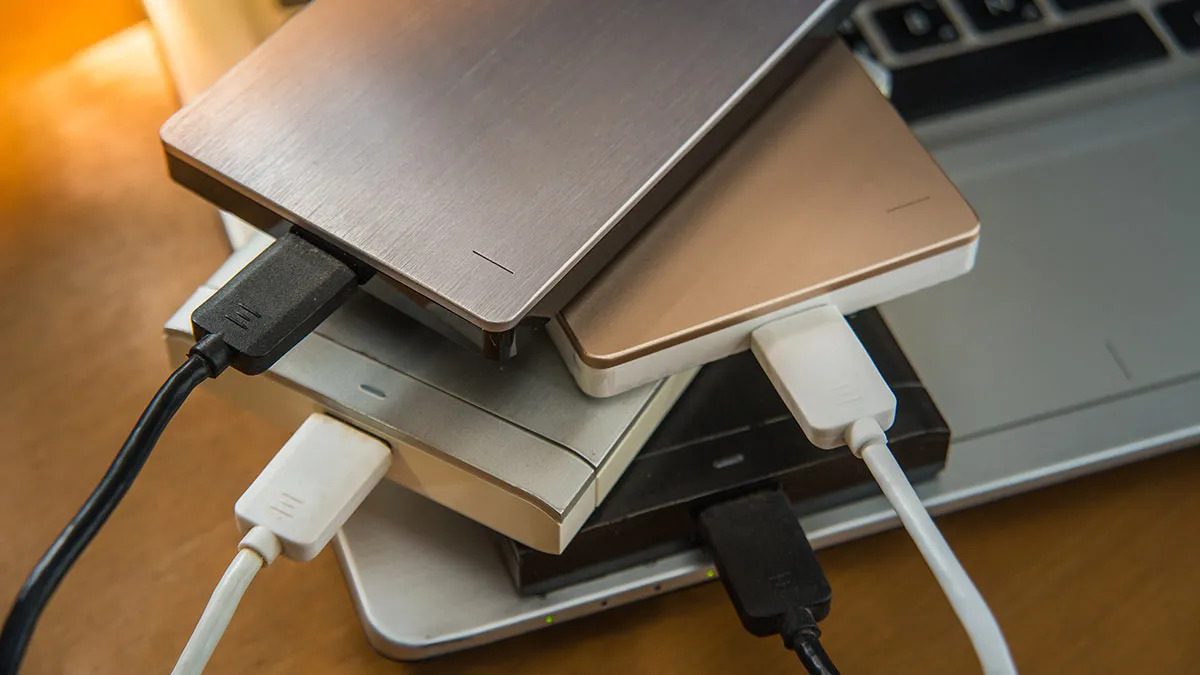
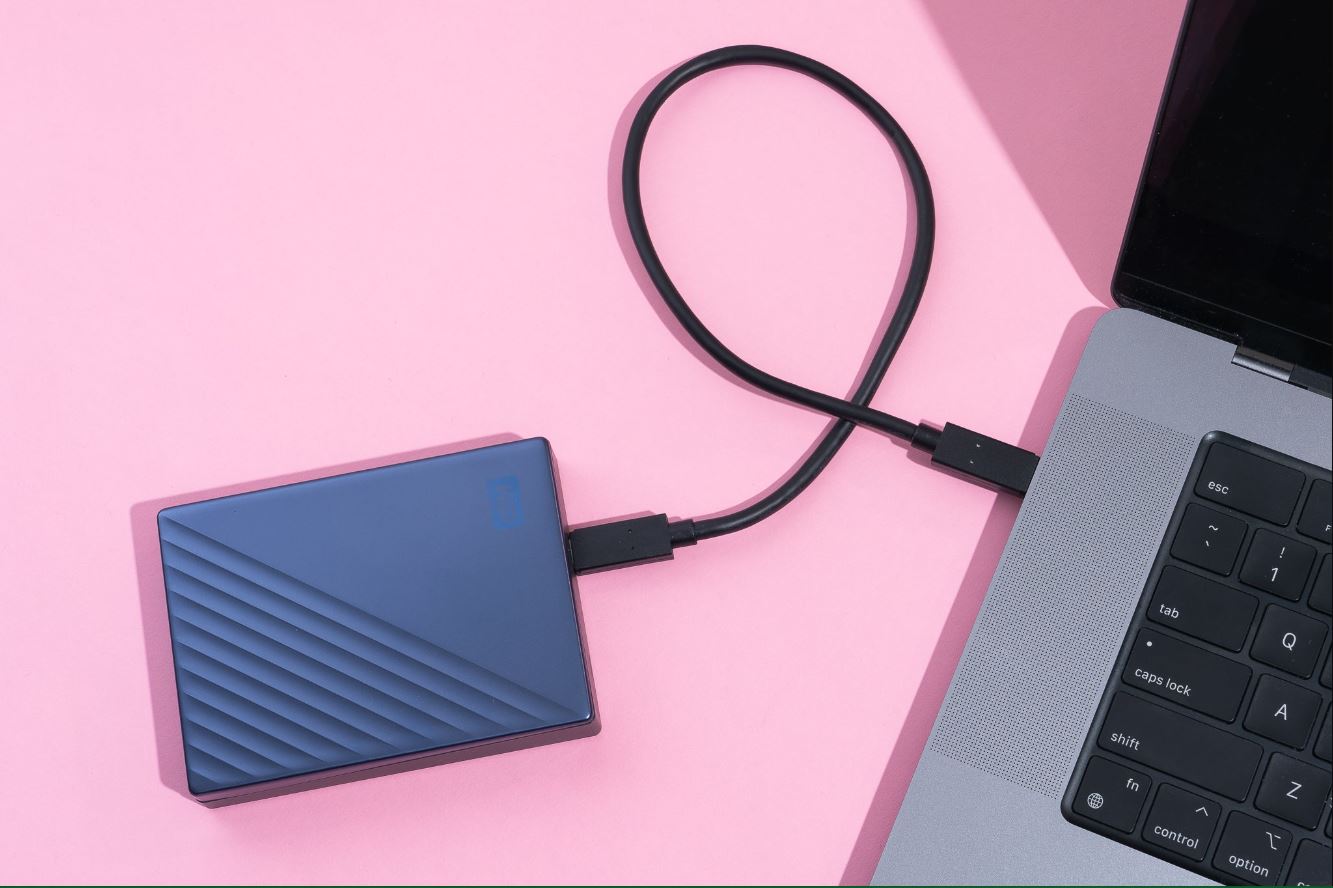
The first step in using a Mac external hard drive on a PC is to physically connect the device to your computer. Follow these simple steps to establish a connection:
- Start by locating the USB or Thunderbolt port on your PC. These ports are typically located on the sides, back, or front of your computer’s CPU or laptop.
- Next, take the USB cable that came with your Mac external hard drive and connect one end to the device.
- Now, plug the other end of the USB cable into the USB or Thunderbolt port on your PC.
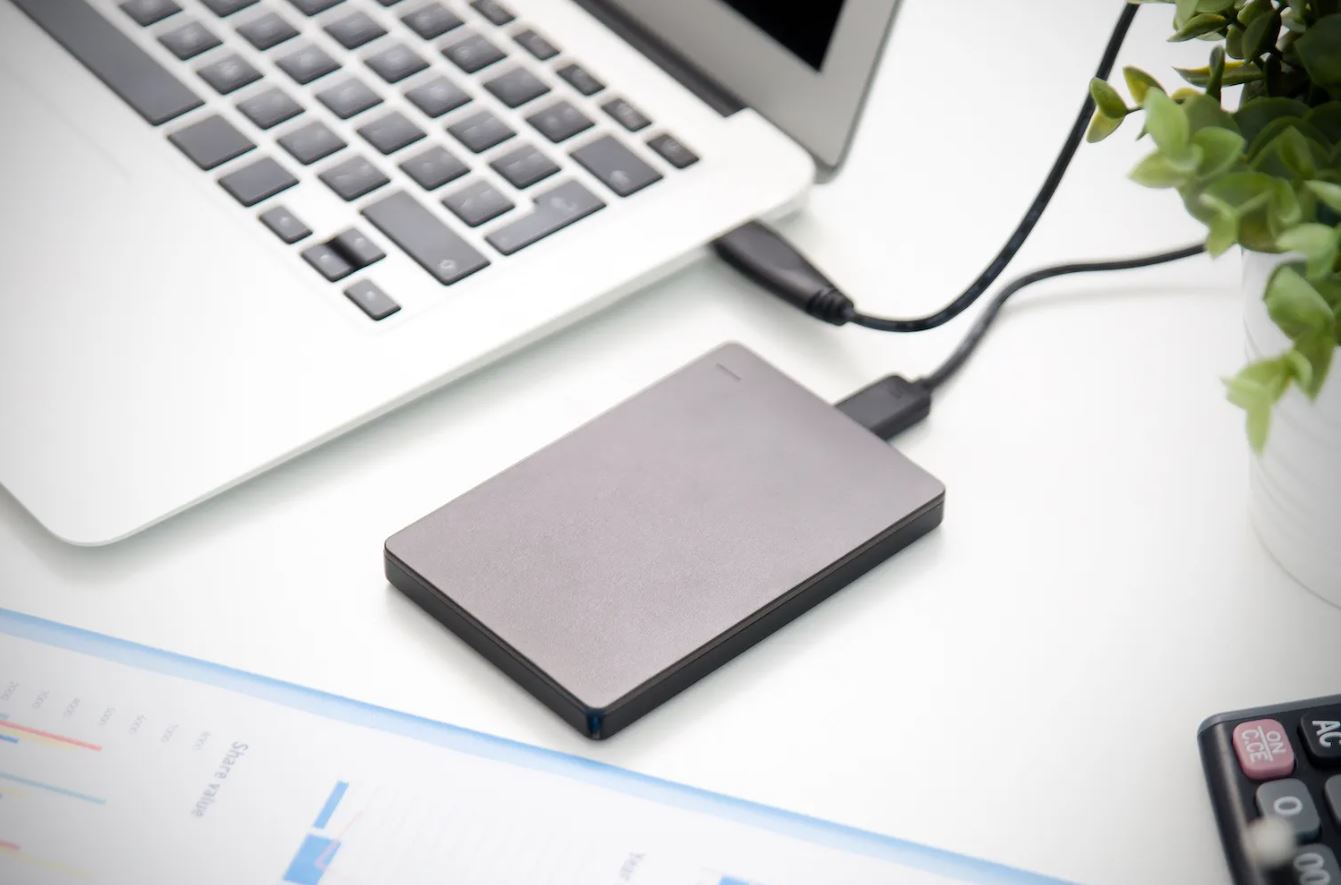
- Give the computer a moment to recognize the external hard drive. You should hear a notification sound, and the drive should appear as a new device in the file explorer or desktop.
- Once the external hard drive is recognized, you’re ready to proceed with the next step of formatting it for PC use.
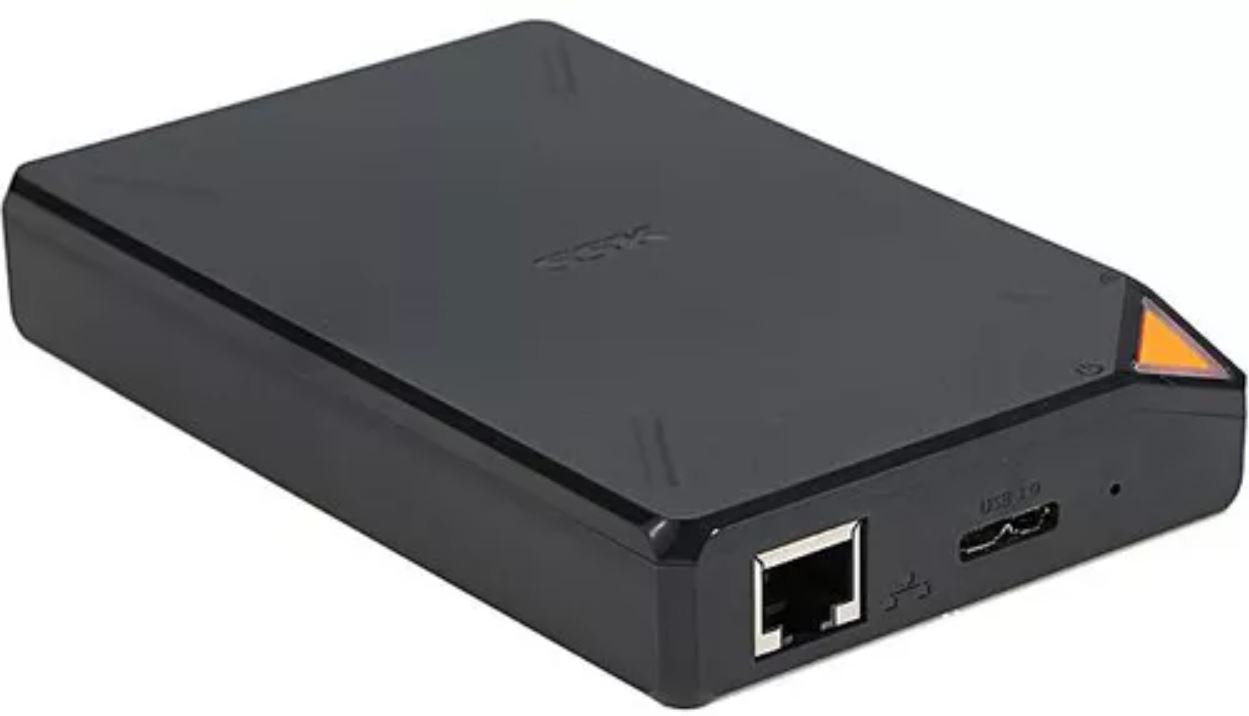
Note: If your Mac external hard drive uses a different port, such as FireWire or eSATA, make sure you have the appropriate cables or adapters to connect it to your PC.
Connecting your Mac external hard drive to your PC is the initial step in enabling data transfer between the two devices. Once the connection is established, you can move on to the next step, which involves formatting the external hard drive to ensure compatibility with your PC’s file system.
Step 2: Formatting the Mac External Hard Drive for PC Use
Most Mac external hard drives come pre-formatted with Apple’s file system, which is not compatible with PCs. To ensure that your PC can read and write files to the external hard drive, you’ll need to reformat it using a file system that is compatible with both Mac and PC. Here’s how you can do it:
- Open the file explorer on your PC by clicking the folder icon in the taskbar or pressing the Windows key + E.
- Locate the external hard drive in the file explorer. It should appear as a separate drive under “This PC” or “My Computer.”
- Right-click on the external hard drive and select “Format” from the context menu. This will open the format settings.
- Choose the file system that is compatible with both Mac and PC, such as exFAT or FAT32.
- exFAT: Offers better compatibility and supports larger file sizes, but it may not be compatible with older versions of Windows.
- FAT32: Provides maximum compatibility but has limitations on individual file sizes.
- Give the external hard drive a new name if desired.
- Finally, click on the “Start” button to begin the formatting process. Note that this process will erase all data on the external hard drive, so make sure to back up any important files before proceeding.
- Wait for the formatting process to complete. Once done, you can close the format settings.
After formatting the external hard drive to a compatible file system, it can now be used with both Mac and PC systems. The next steps will walk you through the process of transferring files between your PC and the Mac external hard drive.
Step 3: Transferring Files from PC to Mac External Hard Drive
Once you’ve successfully connected and formatted your Mac external hard drive for PC use, you can start transferring files from your PC to the external hard drive. Here’s how:
- Open the file explorer on your PC.
- Navigate to the location of the files that you want to transfer to the Mac external hard drive.
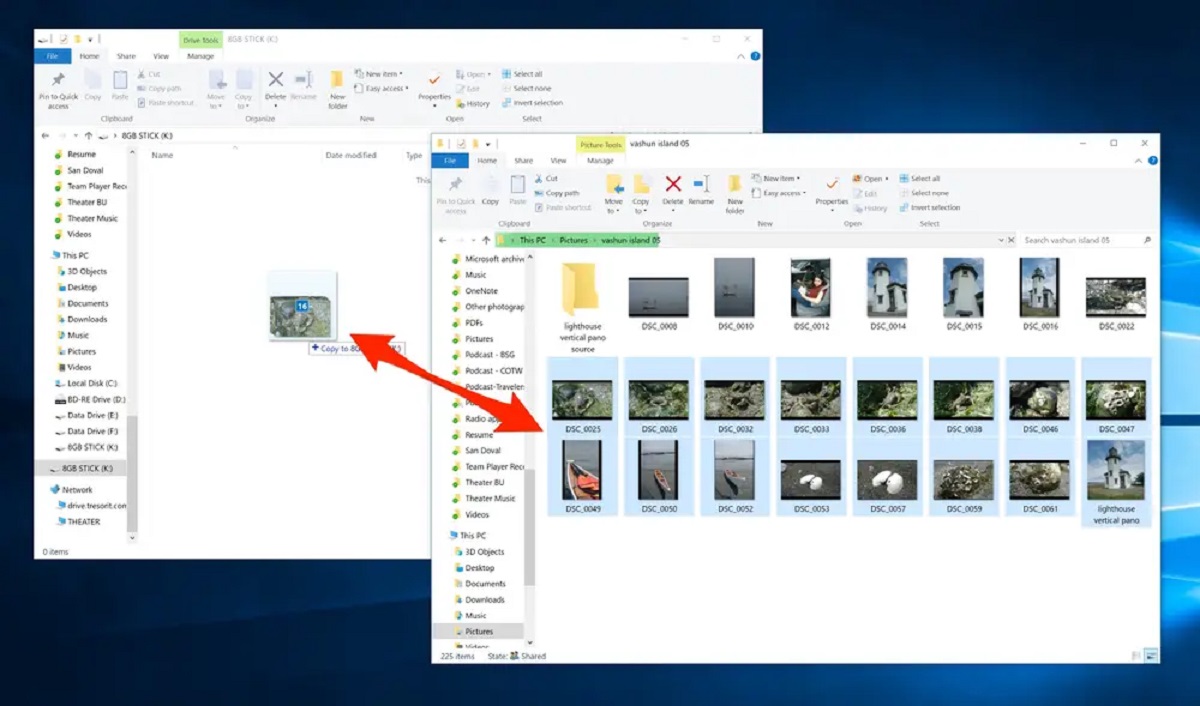
- Select the files or folders by clicking and dragging your mouse cursor over them, or hold the Ctrl key while clicking each file individually.
- Right-click on the selected files or folders and choose “Copy” from the context menu. Alternatively, you can use the Ctrl+C keyboard shortcut.
- Go back to the file explorer and locate the Mac external hard drive. It should be listed as a separate drive.
- Right-click on the external hard drive and choose “Paste” from the context menu. Alternatively, you can use the Ctrl+V keyboard shortcut.
- Wait for the files to finish copying to the external hard drive. The time it takes will depend on the size and number of files being transferred.
- Once the transfer is complete, you can safely disconnect the Mac external hard drive from your PC.
Transferring files from your PC to the Mac external hard drive allows you to create backups, free up space on your computer, or share files between different systems. It’s important to note that the transfer speed may vary depending on the USB version and the performance of your computer.
Now that you’ve successfully transferred files from your PC to the external hard drive, let’s move on to the next step, which explains how to transfer files from the Mac external hard drive to your PC.
Step 4: Transferring Files from Mac External Hard Drive to PC
Transferring files from your Mac external hard drive to your PC is just as straightforward as transferring files in the opposite direction. Here’s how you can do it:
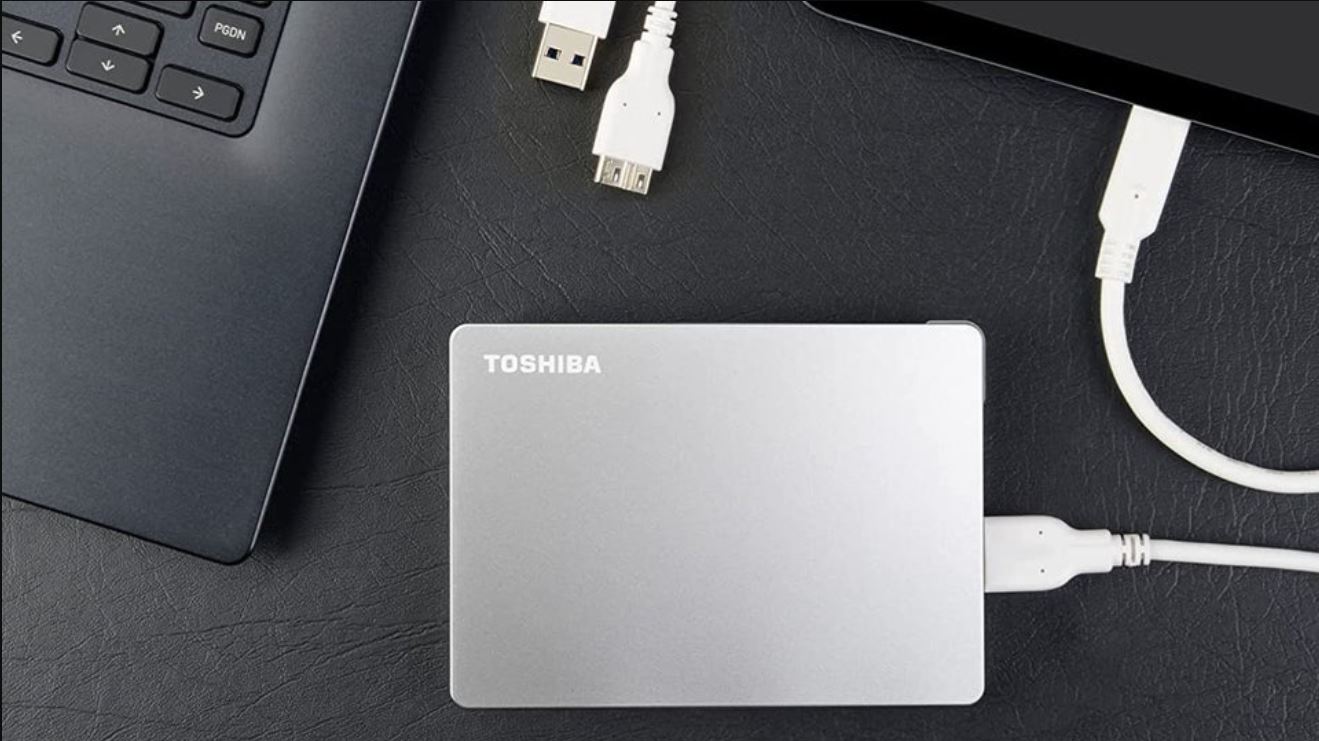
- Connect your Mac external hard drive to your PC using the USB or Thunderbolt cable.
- Open the file explorer on your PC.
- Locate the Mac external hard drive in the file explorer. It should appear as a separate drive.
- Double-click on the external hard drive to open it and navigate to the files or folders you want to transfer to your PC.
- Select the files or folders by clicking and dragging your mouse cursor over them, or hold the Ctrl key while clicking each file individually.
- Right-click on the selected files or folders and choose “Copy” from the context menu. Alternatively, you can use the Ctrl+C keyboard shortcut.
- Navigate to the desired location on your PC’s internal storage or another connected storage device.
- Right-click on the destination folder and choose “Paste” from the context menu. Alternatively, you can use the Ctrl+V keyboard shortcut.
- Wait for the files to finish copying to your PC. The duration will depend on the size and number of files being transferred.
- Once the transfer is complete, you can safely disconnect the Mac external hard drive from your PC.
Transferring files from the Mac external hard drive to your PC allows you to access and use those files on your Windows operating system. Whether it’s photos, videos, documents, or any other type of file, the process remains the same. Remember to safely eject the external hard drive before disconnecting it to prevent data loss or corruption.
Now that you know how to transfer files from the Mac external hard drive to your PC, you can easily manage and access your files across different systems. In the next step, we will look at how to safely eject the Mac external hard drive from your PC.
Step 5: Safely Ejecting the Mac External Hard Drive from PC
Before physically disconnecting the Mac external hard drive from your PC, it’s important to properly eject it to avoid potential data loss or damage. Follow these steps to safely eject the drive:
- Ensure that all file transfer operations involving the external hard drive are complete.
- Locate the notification area in the taskbar, usually located in the bottom right corner of your screen.
- Click the “Safely Remove Hardware and Eject Media” icon, which looks like a USB connector or a card with an arrow on it.
- A menu will appear with a list of removable devices connected to your PC. Select the Mac external hard drive from the list.
- Wait for the system to safely eject the external hard drive. You may see a message that it is safe to remove the device.
- Once you receive the confirmation message, you can safely disconnect the USB or Thunderbolt cable from your PC and the Mac external hard drive.
Safely ejecting the Mac external hard drive ensures that all file operations are completed, and data integrity is maintained. It prevents any potential data corruption or loss that may occur if the drive is simply unplugged without proper preparation.
Remember to always follow this ejecting process before physically disconnecting any external storage device from your PC to protect your data and ensure the longevity of your Mac external hard drive.
Now that you have successfully learned how to connect, format, transfer files, and safely eject a Mac external hard drive on a PC, you can confidently use your external storage to seamlessly share files between Mac and PC systems.
Conclusion
Using a Mac external hard drive on a PC can greatly enhance your productivity, allowing for seamless file transfers and data accessibility between different operating systems. By following the steps outlined in this guide, you can effortlessly connect, format, and transfer files to and from your Mac external hard drive on a PC.
Remember to ensure compatibility by formatting the external hard drive to a file system that is supported by both Mac and PC, such as exFAT or FAT32. This will enable easy file sharing and data transfer between the two systems.
Whether you need to create backups, free up space on your computer, or share files between different systems, a Mac external hard drive provides a versatile solution. Safely ejecting the external hard drive from your PC after use is crucial to protect your data and maintain the integrity of the device.
Now that you have the knowledge and understanding of how to use a Mac external hard drive on a PC, you can make the most of your storage device and seamlessly integrate it into your workflow. Enjoy the convenience and flexibility of having your files accessible across different operating systems with your Mac external hard drive.
So, what are you waiting for? Connect your Mac external hard drive to your PC, follow the steps mentioned in this guide, and unlock the full potential of cross-platform file sharing and data storage.