Introduction
Transferring files from one PC to another is a common task that many of us encounter in our daily lives. Whether you’re upgrading to a new computer, sharing files with a colleague, or simply wanting to move your documents and media to a different device, having a reliable method of file transfer is essential.
In this article, we will explore different methods to transfer files from one PC to another. From using a USB flash drive to transferring via an external hard drive, or utilizing a local network connection, we will cover a range of options to suit different needs and scenarios.
Each method has its own advantages and considerations, so understanding the pros and cons will help you determine which approach is most suitable for your specific situation. Whether you’re a tech-savvy individual or a beginner, this article will provide you with the necessary guidance to successfully transfer files from one PC to another.
So let’s dive in and explore the various methods that will enable you to seamlessly transfer your files to a new computer or share them with others, ensuring that your valuable data is safe and easily accessible.
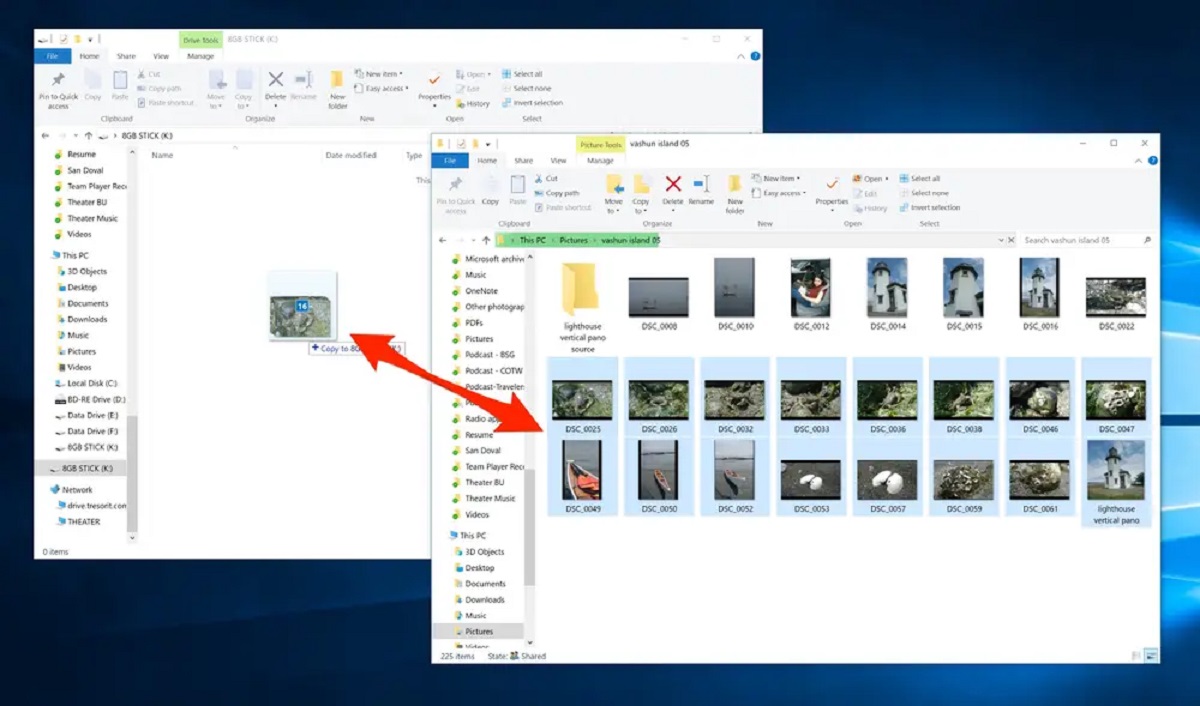
Method 1: Using a USB Flash Drive
Using a USB flash drive is one of the simplest and most popular ways to transfer files from one PC to another. This method is especially useful when you want to transfer a small number of files or when you don’t have an internet connection or network available.
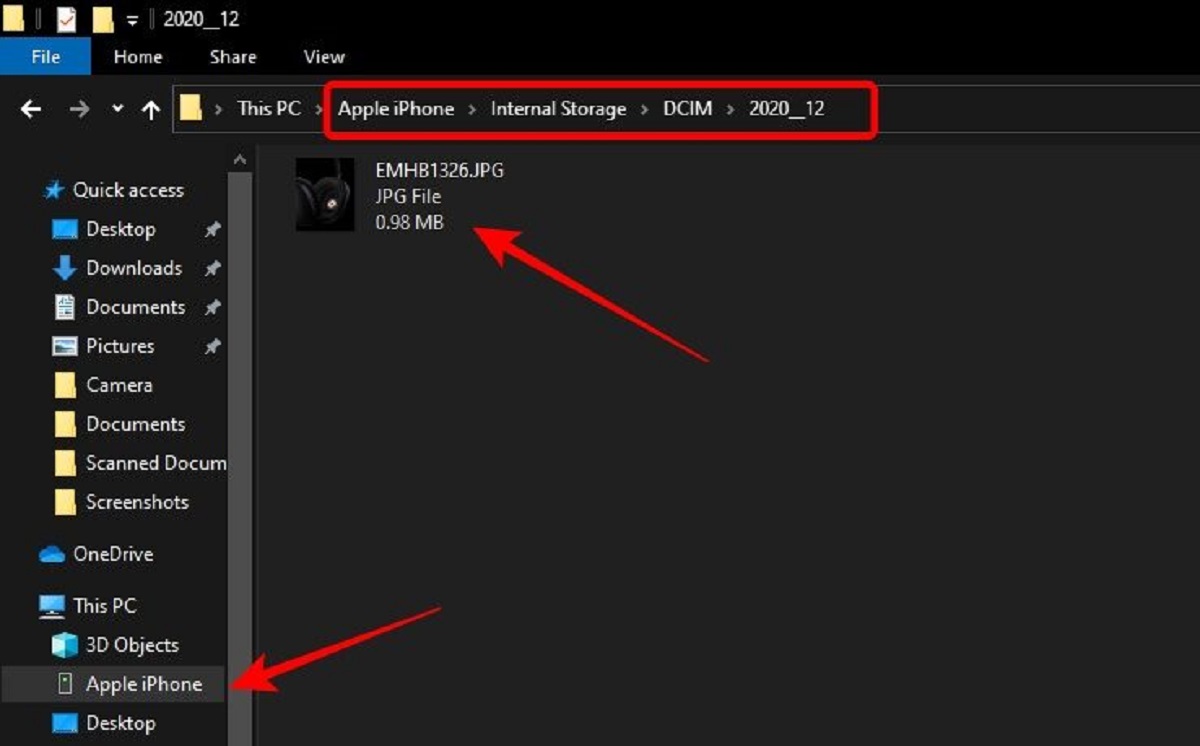
To begin, insert the USB flash drive into the USB port of the source PC. The operating system will recognize the flash drive and assign it a drive letter. Open File Explorer (Windows) or Finder (Mac), and locate the files or folders you want to transfer.
Once you have found the files or folders, right-click on them and select “Copy” or press “Ctrl+C” (Windows) or “Command+C” (Mac) on your keyboard. Now, navigate to the USB flash drive in File Explorer or Finder, right-click on an empty space in the flash drive, and select “Paste” or press “Ctrl+V” (Windows) or “Command+V” (Mac).
The files will start copying to the USB flash drive. Depending on the size and number of files, this process may take a few minutes. Once the transfer is complete, safely remove the USB flash drive from the source PC by right-clicking on the drive and selecting “Eject” or “Safely Remove” from the context menu.
Now, insert the USB flash drive into the USB port of the destination PC. Again, open File Explorer or Finder and navigate to the USB flash drive. Select the files or folders you want to transfer, right-click on them, and choose “Copy” (Windows) or press “Ctrl+C” or “Command+C” (Mac).
Next, navigate to the desired location on the destination PC where you want to transfer the files. Right-click on an empty space and select “Paste” (Windows) or press “Ctrl+V” or “Command+V” (Mac). The files will begin copying to the destination PC, and once the transfer is complete, you can safely remove the USB flash drive.
Using a USB flash drive is a convenient and portable method of transferring files. However, it is important to note that flash drives have limited storage capacity. Therefore, if you need to transfer a large number of files or files with large sizes, you may need to consider alternative methods such as using an external hard drive or a network transfer.
Method 2: Transferring via External Hard Drive
When it comes to transferring a large amount of data or files with larger sizes, using an external hard drive is an efficient and reliable method. External hard drives offer more storage capacity and faster data transfer speeds compared to USB flash drives, making them ideal for transferring large files or backing up your entire PC.
To begin, connect the external hard drive to the source PC by plugging it into a USB port. Once connected, the operating system will recognize the external hard drive and assign it a drive letter. Open File Explorer (Windows) or Finder (Mac) and locate the files or folders you want to transfer.
Select the files or folders you wish to transfer, right-click on them, and choose “Copy” or press “Ctrl+C” (Windows) or “Command+C” (Mac) on your keyboard. Now, navigate to the external hard drive in File Explorer or Finder, right-click on an empty space, and select “Paste” or press “Ctrl+V” (Windows) or “Command+V” (Mac).
The files will start copying to the external hard drive. Depending on the size and quantity of the files, this process may take some time. It is recommended to wait until the transfer is complete before disconnecting the external hard drive.
Once the files are successfully copied to the external hard drive, safely remove it from the source PC by right-clicking on the drive and selecting “Eject” or “Safely Remove” from the context menu. Unplug the external hard drive from the source PC.
Now, connect the external hard drive to the destination PC by plugging it into a USB port. Open File Explorer or Finder and navigate to the external hard drive. Select the files or folders you want to transfer, right-click on them, and choose “Copy” (Windows) or press “Ctrl+C” or “Command+C” (Mac).
Navigate to the desired location on the destination PC where you want to transfer the files. Right-click on an empty space and select “Paste” (Windows) or press “Ctrl+V” or “Command+V” (Mac). The files will begin copying to the destination PC.
Transferring files via an external hard drive provides a convenient and efficient solution for transferring large amounts of data. It eliminates the limitations of file size and storage capacity that may be imposed by other methods. However, it is important to handle the external hard drive with care and ensure a proper backup of your files before initiating the transfer process.
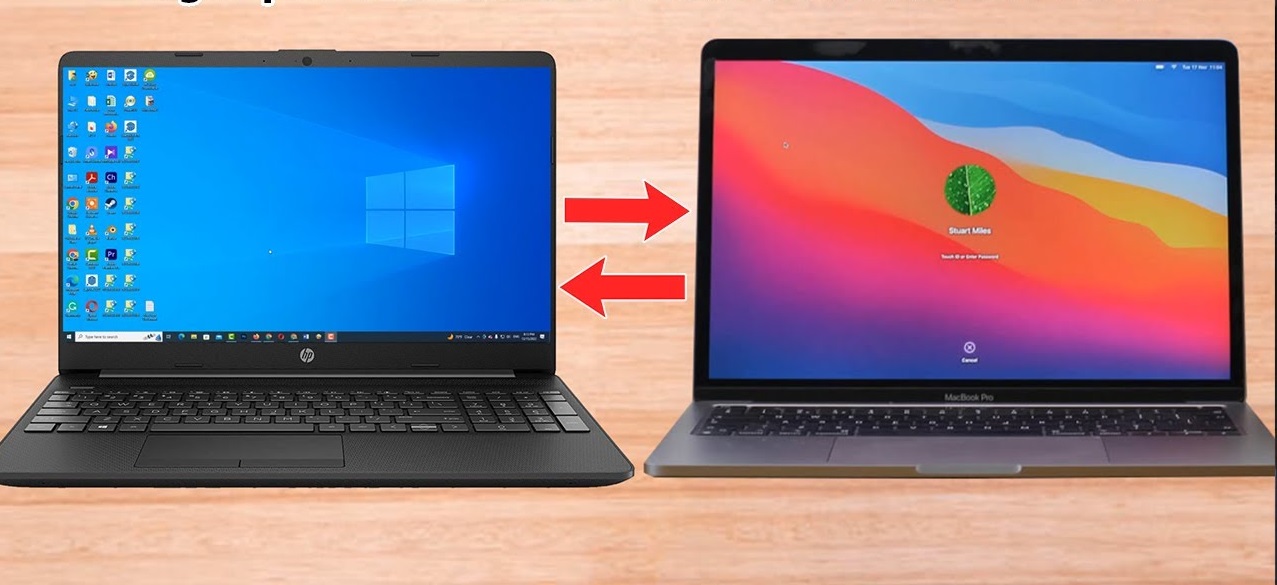
Method 3: Using a Local Network (Wi-Fi or Ethernet)
If you have multiple computers connected to the same local network, you can take advantage of the network connection to transfer files easily. This method is especially useful when you want to transfer files wirelessly or when you have a large number of files to transfer.
To begin, ensure that both the source and destination PCs are connected to the same local network. This can be done either through a Wi-Fi connection or by using an Ethernet cable.
If you are using a Wi-Fi connection, make sure that the Wi-Fi is enabled on both PCs and that they are connected to the same Wi-Fi network. If you are using an Ethernet cable, connect one end to the source PC and the other end to the destination PC.
On the source PC, navigate to the files or folders you want to transfer. Right-click on them and select “Copy” or press “Ctrl+C” (Windows) or “Command+C” (Mac) on your keyboard.
Next, open File Explorer (Windows) or Finder (Mac) on the destination PC. Navigate to the desired location where you want to transfer the files. Right-click on an empty space and select “Paste” or press “Ctrl+V” (Windows) or “Command+V” (Mac).
The files will start transferring over the local network. The speed of the transfer will depend on factors such as the size of the files and the speed of your network connection.
Note that some operating systems, like Windows, may require you to share the files or folders on the source PC before they can be accessed on the destination PC. To do this, right-click on the files or folders, select “Properties,” go to the “Sharing” tab, and enable sharing.
Using a local network to transfer files provides a convenient and efficient solution, especially when dealing with a large number of files or when you prefer a wireless transfer. It eliminates the need for external storage devices and allows for seamless file sharing between devices on the same network.
It is important to ensure that both PCs are connected to a secure network and that the necessary permissions and settings are in place to maintain the security of your files and network.
Method 4: Transferring Files via Cloud Storage
Transferring files through cloud storage services has become increasingly popular due to its convenience and accessibility. Cloud storage allows you to store your files securely on remote servers and access them from any device with an internet connection. This method is especially useful when you want to transfer files between PCs that are not physically connected to each other.
To begin, ensure that both the source and destination PCs are connected to the internet. You will need to have accounts with a cloud storage service provider, such as Google Drive, Dropbox, or OneDrive.
Start by uploading the files or folders you want to transfer to your cloud storage account from the source PC. This can typically be done by logging into the cloud storage service’s website or using their desktop or mobile application.
Once the files are uploaded, access your cloud storage account from the destination PC. This can be done by logging in to the service’s website or using their application. Navigate to the location where you uploaded the files.
Now, you can either download the files to the destination PC or directly work with them from the cloud storage service’s interface. If you choose to download the files, simply select the files or folders you want to transfer and click on the download option provided by the cloud storage service.
Downloading the files will save them to your local storage on the destination PC, allowing you to access and work with them offline. Depending on the file size and your internet connection speed, the download process may take some time.
Alternatively, some cloud storage services offer the option to work with the files directly from their interface. This means that you can access, view, edit, and save the files without downloading them to the local storage of the destination PC.
Transferring files via cloud storage offers the advantage of seamless access to your files from any device with an internet connection. It eliminates the need for physical connection or storage devices and allows for easy collaboration and sharing of files with others.
However, it is important to consider the storage space limitations of your cloud storage provider and the security measures in place to protect your files. Additionally, a stable internet connection is necessary for quick and efficient file transfer through this method.