Introduction
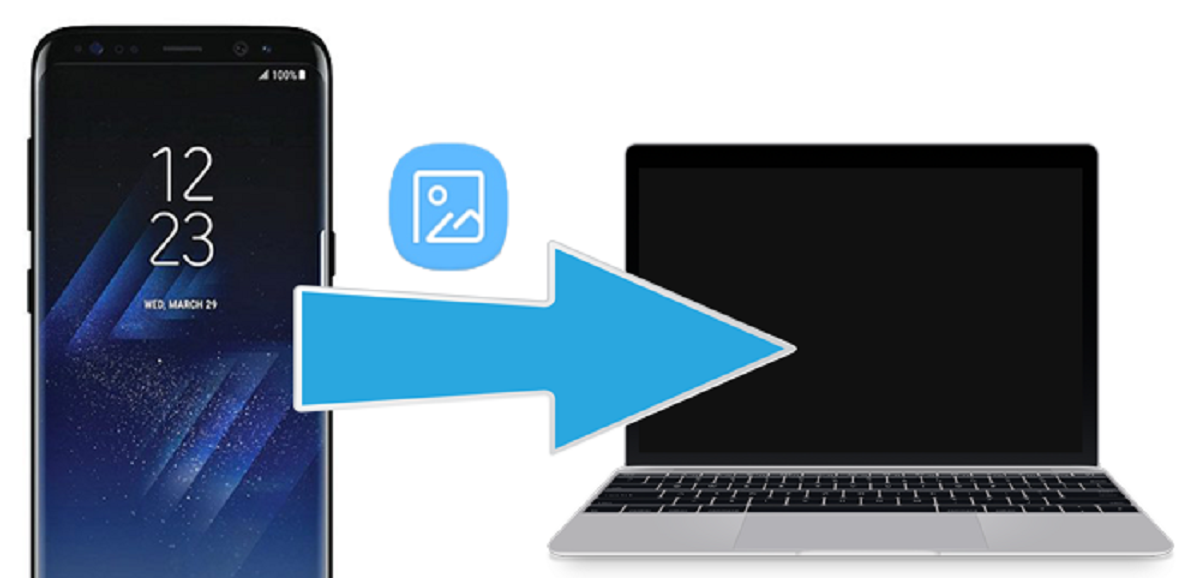
Backing up your Samsung phone is an essential task to ensure that your valuable data, such as contacts, photos, videos, and applications, are safe and secure. Whether you’re upgrading to a new device or need to restore your data due to a technical glitch or accidental deletion, having a backup gives you peace of mind.
In this guide, we’ll explore different methods to back up your Samsung phone to your computer. These methods include using Samsung Smart Switch, Samsung Kies, Samsung Backup and Restore, and third-party backup software. By following these simple yet effective steps, you can safeguard your data and have the ability to restore it whenever needed.
Why Backing Up Your Samsung Phone Matters
Imagine losing all your precious photos and videos, your important contacts, and even your favorite apps. It can leave you feeling helpless and frustrated. That’s why it’s crucial to regularly back up your Samsung phone to a computer.
Whether you accidentally drop your phone in water, experience a system crash, or delete something by mistake, having a backup ensures that your data remains intact. It also comes in handy when you want to transfer all your information to a new device or switch to a different phone brand.
The Importance of Backing Up Your Samsung Phone to a Computer
While cloud storage options are available, there are distinct advantages to backing up your Samsung phone to a computer. Firstly, it provides an extra layer of security and control over your data. With a computer backup, you are not reliant on an internet connection, and your data remains stored locally.
Additionally, a computer backup allows for easy and quick data restoration. If you ever need to transfer your data to a new device or recover specific files, having a backup on your computer can save you time and effort.
Moreover, backing up your Samsung phone to a computer enables you to free up storage space on your device. Once you have transferred your data to your computer, you can delete unnecessary files from your phone, allowing it to perform better.
Now that you understand the importance of backing up your Samsung phone, let’s dive into the different methods you can use to perform this vital task.
Method 1: Using Samsung Smart Switch
Samsung Smart Switch is a powerful and user-friendly tool designed to help you transfer and back up data between Samsung devices. Whether you’re moving from an old Samsung phone to a new one or simply want to create a backup on your computer, Smart Switch has got you covered.
Step 1: Install Samsung Smart Switch
The first thing you need to do is install Samsung Smart Switch on your computer. You can download it directly from the Samsung website or find it in your device’s app store. Make sure to choose the version compatible with your computer’s operating system.
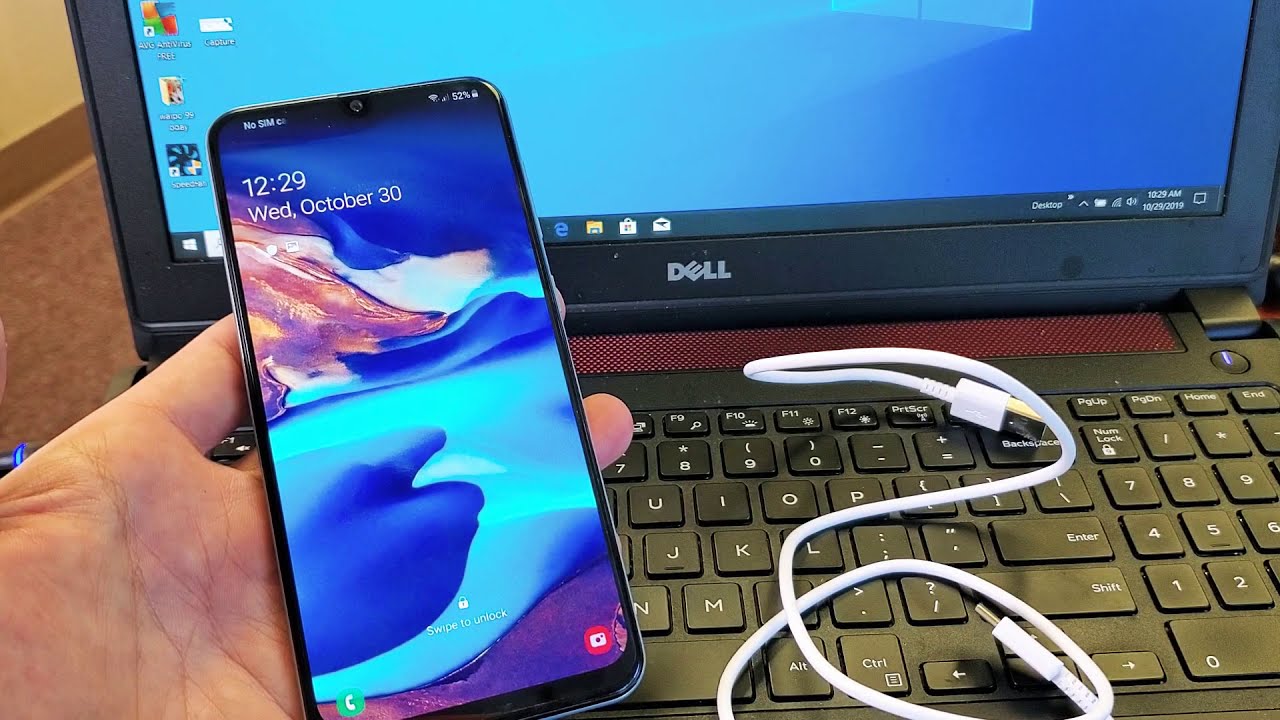
Step 2: Connect Your Samsung Phone to your computer
Once the installation is complete, launch Samsung Smart Switch and connect your Samsung phone to your computer using a USB cable. The software should automatically detect your device.
Step 3: Select Backup Option
On the Smart Switch interface, you’ll see a few different options. Choose the “Backup” option to initiate the backup process. You can choose to back up everything on your phone or select specific categories such as contacts, messages, photos, and more.
Step 4: Start the Backup Process
After selecting the desired backup options, click on the “Backup” button to start the process. Samsung Smart Switch will begin transferring your selected data to your computer. The duration of the backup process will depend on the amount of data you chose to back up.
Step 5: Verify the Backup
Once the backup process is complete, Samsung Smart Switch will display a confirmation message. Take a moment to verify that all your desired data has been successfully backed up. You can browse through the backup files on your computer to ensure everything is in order.
Step 6: Safely Disconnect Your Samsung Phone
After verifying the backup, safely disconnect your Samsung phone from the computer by ejecting it from the USB connection. It is essential to follow this step to avoid any potential data loss or corruption.
That’s it! You have successfully backed up your Samsung phone using Samsung Smart Switch. Your valuable data is now safely stored on your computer, ready to be restored whenever needed.
Remember to regularly update your backups to ensure you have the most recent versions of your data. With Samsung Smart Switch, you can easily update your backups by following these steps again whenever you make significant changes or add new data to your device.
Method 2: Using Samsung Kies
If you prefer a more traditional method of backing up your Samsung phone, Samsung Kies is a reliable option. Samsung Kies is a software application that allows you to manage and back up your Samsung device directly from your computer.
Step 1: Download and Install Samsung Kies
In order to use Samsung Kies, you’ll need to download and install it on your computer. Visit the Samsung website to find the latest version of Kies that is compatible with your computer’s operating system. Once downloaded, follow the on-screen instructions to install the software.
Step 2: Connect Your Samsung Phone to Your Computer
After the installation is complete, connect your Samsung phone to your computer using a USB cable. Make sure to choose the appropriate cable that is compatible with your device.
Step 3: Launch Samsung Kies and Select Backup
Once your phone is connected, launch Samsung Kies on your computer. The software should automatically detect your device. In the main interface, click on the ‘Backup/Restore’ tab to access the backup options.
Step 4: Select the Data to Backup
In the backup options, you can choose which data you want to include in the backup. Samsung Kies allows you to back up various types of data, such as contacts, messages, call logs, photos, videos, and more. Select the categories you want to include in your backup.
Step 5: Start the Backup Process
After selecting the desired data for backup, click on the ‘Backup’ button to initiate the process. Samsung Kies will start transferring the selected data from your Samsung phone to your computer. The duration of the backup may vary depending on the size of the data.
Step 6: Verify the Backup
Once the backup process is complete, Samsung Kies will display a confirmation message. Take a moment to verify that all your desired data has been successfully backed up. You can explore the backup files on your computer to ensure everything is in order.
Step 7: Safely Disconnect Your Samsung Phone
When you have confirmed the backup, safely disconnect your Samsung phone from the computer by ejecting it from the USB connection. It’s essential to follow this step to avoid any potential data loss or corruption.
That’s it! You have successfully backed up your Samsung phone using Samsung Kies. Your valuable data is now securely stored on your computer, ready for any future needs or to transfer it to a new device.
Remember to periodically update your backups to keep your data current. By following these simple steps with Samsung Kies, you can ensure the safety and accessibility of your important data.
Method 3: Using Samsung Backup and Restore
Samsung devices come equipped with a built-in feature called Samsung Backup and Restore, which allows you to back up and restore your data directly from your device. This convenient and straightforward method ensures that your data is protected and easily recoverable whenever you need it.
Step 1: Open the Settings Menu
Start by opening the Settings menu on your Samsung device. You can usually find this in the app drawer or by swiping down from the top of the screen and selecting the gear-shaped icon.
Step 2: Navigate to Backup and Restore
In the Settings menu, scroll down and look for the ‘Backup and Restore’ option. Tap on it to access the backup and restore settings.
Step 3: Enable Backup
Within the Backup and Restore settings, you’ll find an option to enable the backup feature. Tap on the toggle switch to turn it on. You may also have the option to select which types of data you want to back up, such as contacts, messages, app data, and more.
Step 4: Initiate the Backup
Once you have enabled the backup feature and selected the data you want to back up, tap on the ‘Backup Now’ button. Your device will start the backup process, transferring the selected data to a designated storage location.
Step 5: Verify the Backup
After the backup process is complete, you can verify the backup by going back to the Backup and Restore settings. Check that the data you wanted to back up is listed and the backup date and time are accurate.
Step 6: Restore Data (If needed)
If you ever need to restore your data from a backup, navigate back to the Backup and Restore settings. Tap on the ‘Restore’ option and select the backup file you want to restore. Follow the on-screen instructions to complete the restoration process.
It’s important to note that the Samsung Backup and Restore feature may vary slightly depending on your device’s model and operating system version. The steps outlined here should provide a general guide, but always refer to your device’s specific documentation for accurate instructions.
By utilizing the built-in Samsung Backup and Restore feature, you can easily back up and restore your data without the need for additional software or tools. This simple and effective method ensures that your valuable information is always safeguarded and easily accessible when you need it.
Method 4: Using Third-Party Backup Software
If you’re looking for more advanced backup options or additional features, using third-party backup software is a great solution. These software applications offer more flexibility and customization to ensure your Samsung phone is backed up efficiently and securely. Here’s how you can use third-party backup software to back up your Samsung phone.
Step 1: Research and Choose a Reliable Backup Software
Start by researching and choosing a reputable third-party backup software that is compatible with Samsung devices. There are several options available, such as Acronis True Image, EaseUS Todo Backup, and AOMEI Backupper. Assess their features, user reviews, and compatibility with your computer’s operating system.
Step 2: Download and Install the Backup Software
After selecting the software, download it from the official website and follow the provided instructions to install it on your computer.
Step 3: Launch the Backup Software and Connect Your Samsung Phone
Launch the backup software on your computer and connect your Samsung phone using a USB cable. The software should detect your device and display it as a connected device.
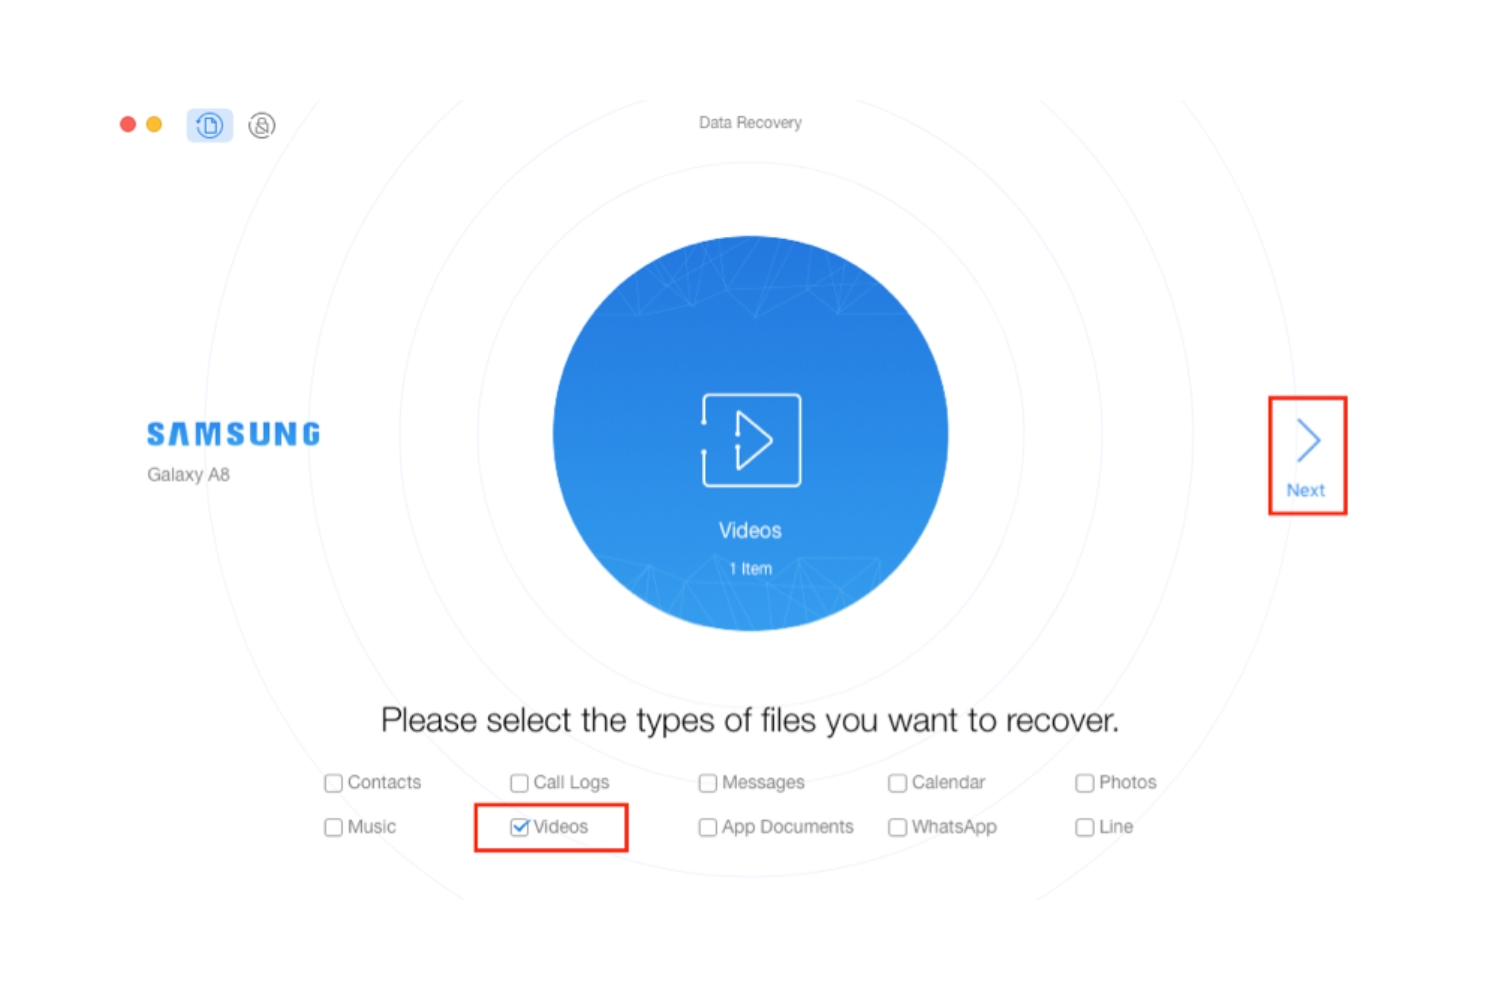
Step 4: Select the Backup Options
Within the backup software’s interface, explore the different backup options and customize them according to your preferences. You can choose specific categories such as contacts, messages, media files, applications, and system settings to include in your backup.
Step 5: Choose the Backup Destination
Select the backup destination for your Samsung phone’s data. It can be an external hard drive, a network location, or cloud storage. Make sure the chosen destination has enough storage space to accommodate the backup.
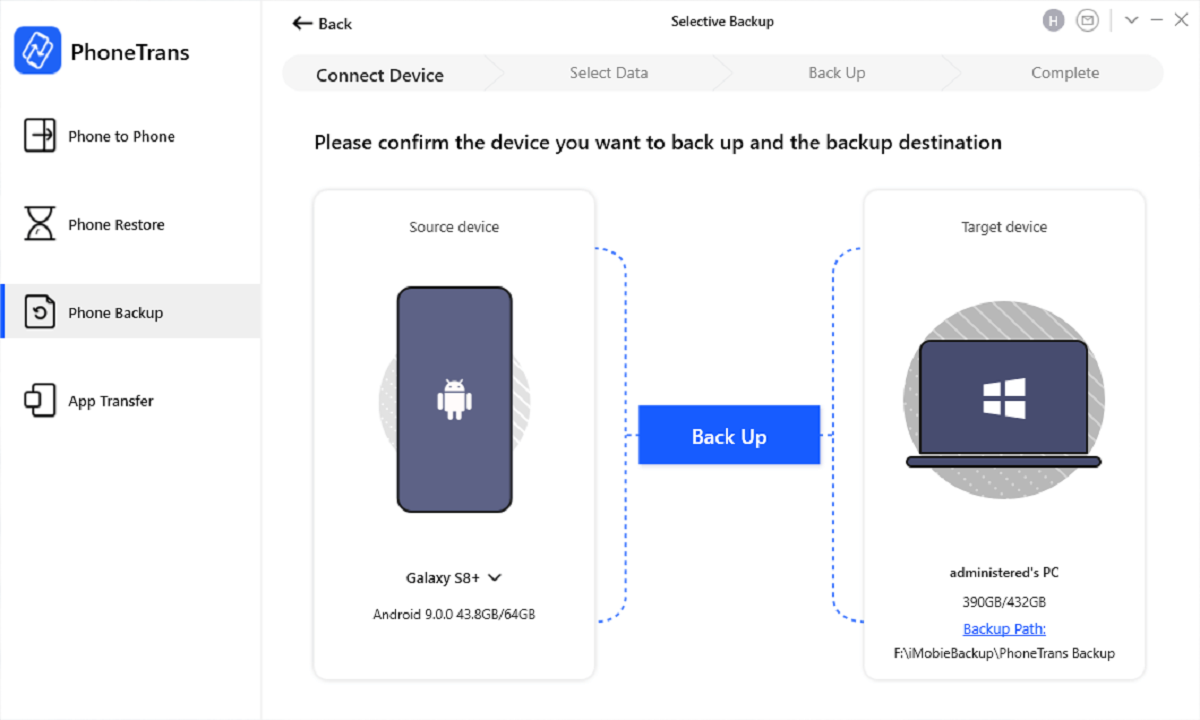
Step 6: Start the Backup Process
Once you have configured the backup options and selected the destination, click on the ‘Start Backup’ or similar button to initiate the backup process. The software will start transferring the selected data from your Samsung phone to the specified backup location.
Step 7: Verify the Backup
After the backup process is complete, take a moment to verify the backup by accessing the backup files on the chosen destination. Make sure that all the desired data has been successfully backed up and that the files are easily accessible.
By using third-party backup software, you have the flexibility to choose advanced backup options and additional features that may not be available in the built-in Samsung backup methods. These software applications often provide features like scheduling backups, incremental backups, and encryption to further enhance the security and convenience of your data backups.
Conclusion
Backing up your Samsung phone to your computer is a crucial step in ensuring the safety and accessibility of your valuable data. Whether you choose to use Samsung Smart Switch, Samsung Kies, Samsung Backup and Restore, or third-party backup software, taking the time to create regular backups can save you from the potential loss of important contacts, photos, videos, and applications.
Each of the methods discussed in this guide offers a user-friendly approach to backing up your Samsung phone. Samsung Smart Switch provides an intuitive way to transfer and back up data, while Samsung Kies offers a more traditional software-based backup solution. Meanwhile, Samsung Backup and Restore allows for easy backup and restoration directly from your device, and third-party backup software provides advanced features and customization options.
Regardless of the method you choose, remember that regular backups are essential. Plan a schedule that suits your needs and ensure that your backups are up-to-date. It’s also a good practice to test the backup files periodically to ensure their integrity and accessibility.
By following the steps outlined in this guide, you can confidently back up your Samsung phone to your computer and protect your valuable data. Whether you’re upgrading to a new device, experiencing a technical issue, or simply want to free up storage space on your phone, having a reliable backup ensures peace of mind and the ability to recover your data effortlessly.