Introduction
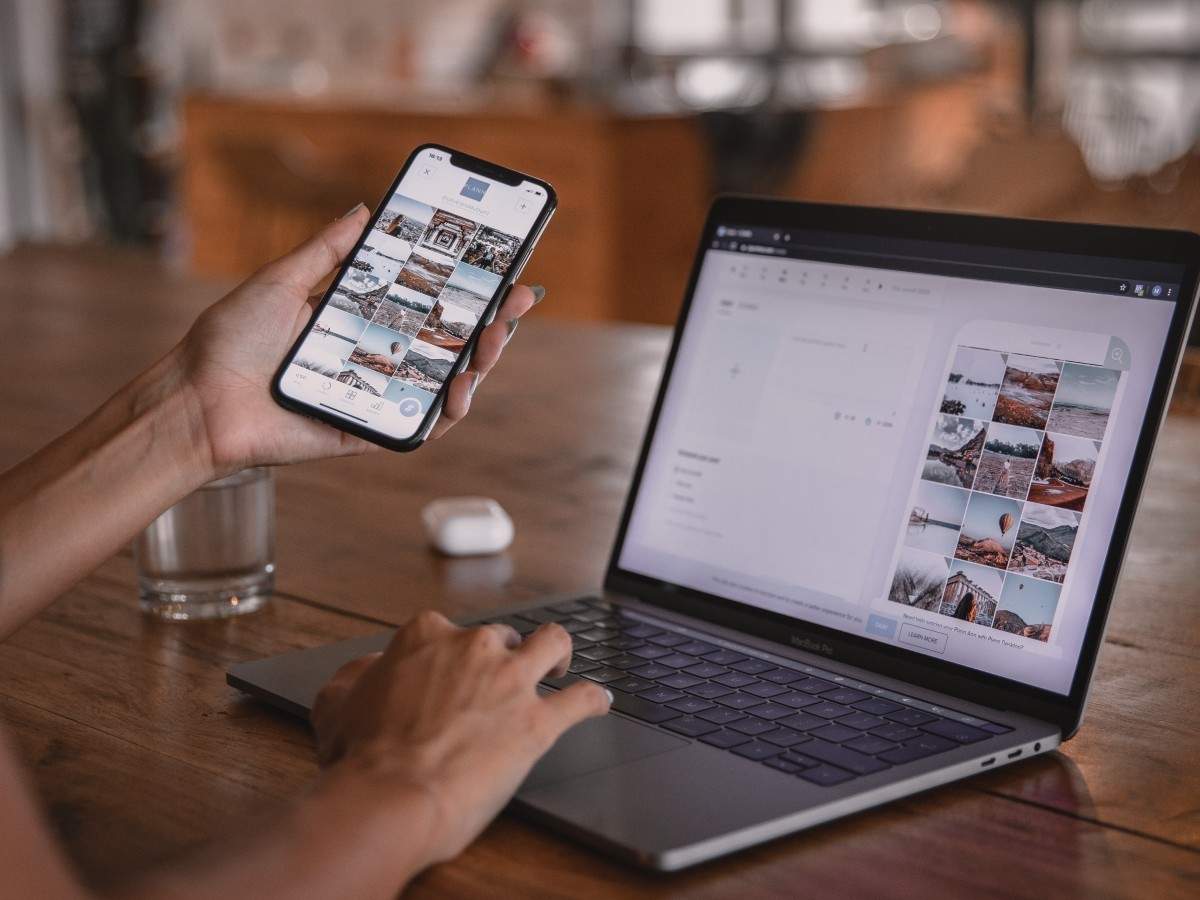
Welcome to the digital age where smartphones have become an indispensable part of our lives, capturing moments and memories with their high-resolution cameras. If you are a Samsung smartphone user, you might have amassed a stunning collection of photos on your device. However, there may come a time when you need to transfer these precious memories to your computer for safekeeping, editing, or sharing with others.
In this article, we will explore various methods to download photos from your Samsung phone to your computer. Whether you prefer a direct USB connection, using Samsung software, or cloud-based services, we have you covered. So, let’s dive in and discover the most convenient and efficient ways to transfer your photos!
Note: The methods mentioned in this article are applicable to most Samsung Galaxy models, including the latest Samsung Galaxy S21, S20, Note 20, and earlier versions.
Before we get started, make sure you have your Samsung phone and computer ready, along with the necessary cables and software. Additionally, ensure that your Samsung phone is charged and unlocked, and your computer is powered on and connected to the internet if required.
Now, let’s explore the different methods to download photos from your Samsung phone to your computer!
Method 1: Using USB cable
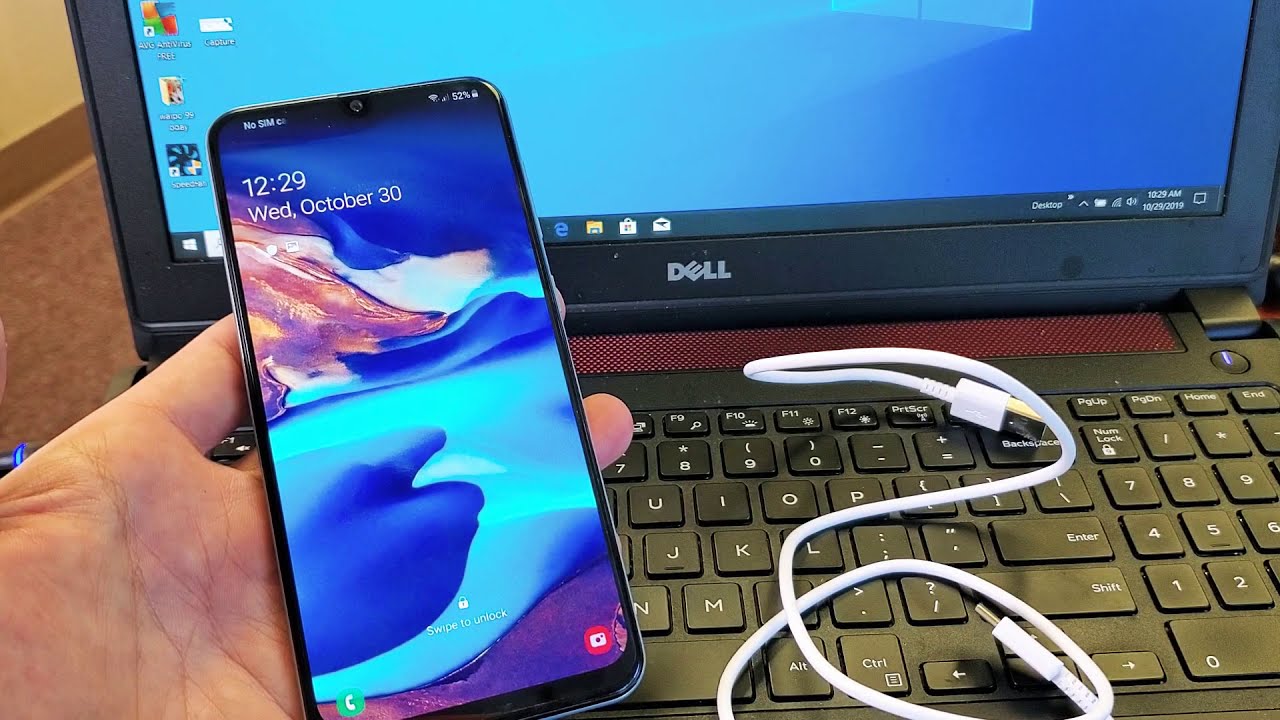
This method is perhaps the most straightforward and commonly used way to transfer photos from your Samsung phone to your computer. To get started:
- Connect your Samsung phone to your computer using the USB cable that came with your device. Ensure that both ends of the cable are securely plugged in.
- On your Samsung phone, when prompted, select the option to “Allow” or “Trust” the computer to access your device.
- On your computer, open the File Explorer (Windows) or Finder (Mac) to view your connected devices.
- Locate your Samsung phone, which should be listed as a connected device. You might find it under the “This PC” (Windows) or “Devices” (Mac) section.
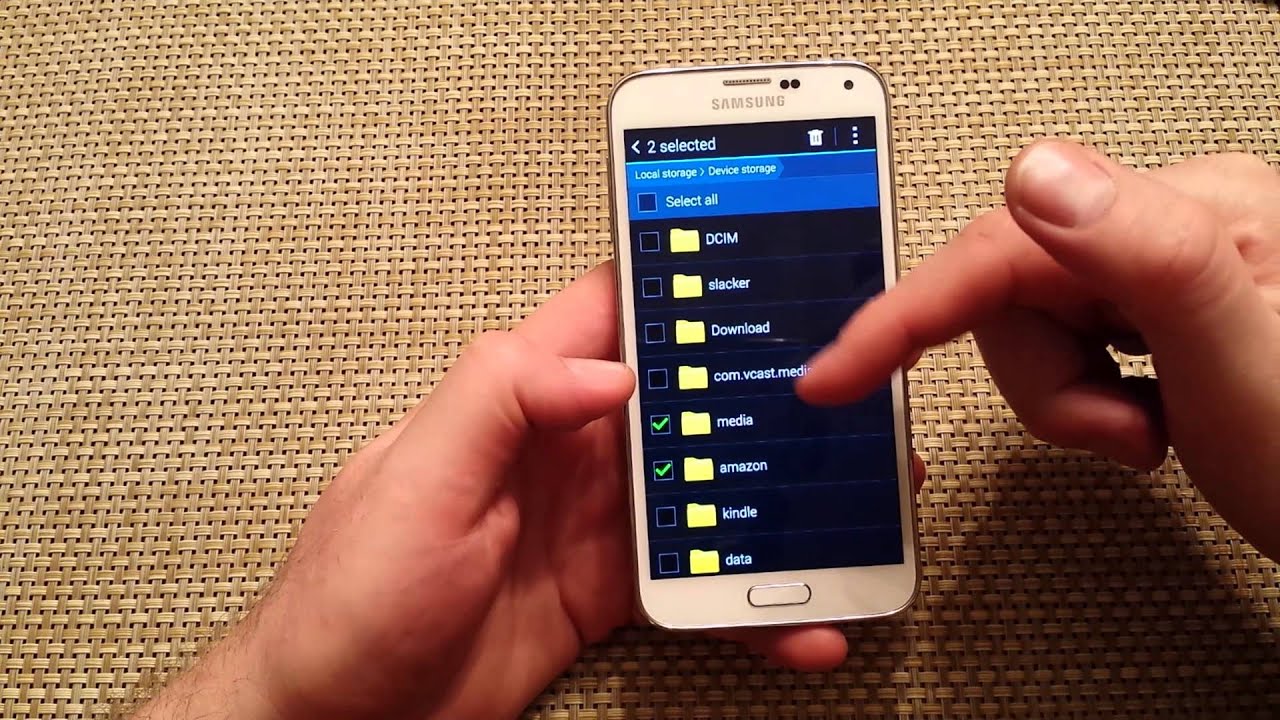
- Double-click on your Samsung phone to open it and navigate to the “DCIM” folder. This folder usually contains your camera photos.
- Once inside the “DCIM” folder, you will find various sub-folders. Open the desired folder that contains the photos you want to transfer.
- Select the photos you wish to download by either individually clicking on each photo or using the Ctrl/Cmd key to select multiple photos at once.
- Right-click on the selected photos and choose the “Copy” option, or use the Ctrl/Cmd+C shortcut on your keyboard.
- Open the desired location on your computer where you want to save the photos. Right-click and choose the “Paste” option, or use the Ctrl/Cmd+V shortcut to paste the copied photos.
- The selected photos will now be transferred from your Samsung phone to your computer. Depending on the number and size of the photos, this process may take a few moments.
Once the transfer is complete, you can safely disconnect your Samsung phone from the USB cable. You can now access and manage your photos on your computer, edit them, or share them as desired. Remember to properly eject your device from your computer before disconnecting the USB cable to avoid data loss or corruption.
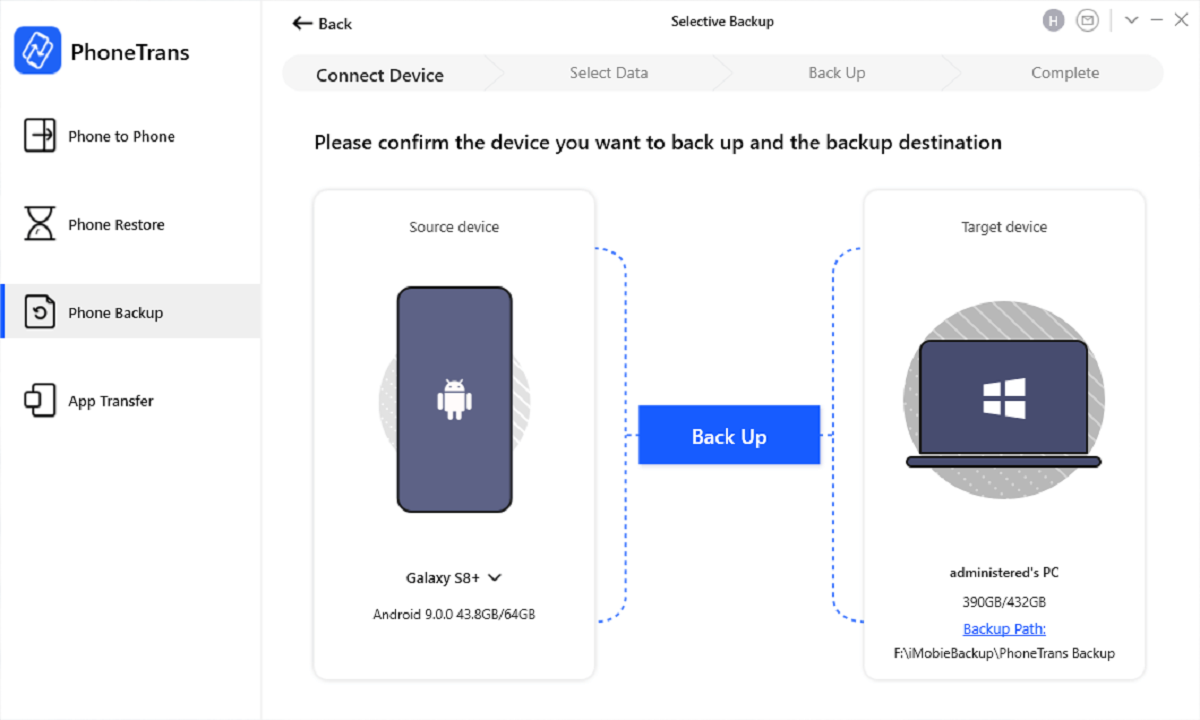
Method 2: Using Samsung Smart Switch
Another convenient method for transferring photos from your Samsung phone to your computer is by using Samsung Smart Switch. This software, developed by Samsung, allows you to seamlessly transfer your data, including photos, from your phone to your computer.
Here’s how you can use Samsung Smart Switch to download your photos:
- Download and install Samsung Smart Switch on your computer. You can find the software on the official Samsung website or the Samsung Smart Switch app store.
- Launch Samsung Smart Switch on your computer, and connect your Samsung phone to the computer using a USB cable.
- When prompted on your Samsung phone, select the option to “Allow” or “Trust” the computer to access your device.
- In the Samsung Smart Switch interface on your computer, you will see various options. Click on the “Backup” option.
- Select the “Photos” category or any other data you want to transfer, and choose the desired location on your computer to save the backup files.
- Click on the “Backup” button to initiate the transfer process. Depending on the size of your photos and the speed of your computer, this process may take a few minutes.
- Once the backup process is complete, you can safely disconnect your Samsung phone from the USB cable.
- Access the location on your computer where you saved the backup files, and you will find your photos in a folder labeled “Photos” or a similar name.
- You can now view, edit, or share your photos on your computer as needed.
Samsung Smart Switch provides a hassle-free and efficient way to transfer not only photos but also other important data from your Samsung phone to your computer. It ensures that your files are securely backed up, ready for you to access whenever required.
Remember to regularly update Samsung Smart Switch on your computer to enjoy the latest features and enhancements provided by Samsung.
Method 3: Using Google Photos
If you prefer a cloud-based solution for transferring your photos from your Samsung phone to your computer, Google Photos is a fantastic option. It offers free storage and seamless synchronization across multiple devices, making it easy to access and download your photos from any computer.
Here’s how you can use Google Photos to download your Samsung phone photos:
- On your Samsung phone, download and install the Google Photos app from the Google Play Store if you don’t already have it.
- Launch the Google Photos app and sign in or create a Google account if prompted.
- Once signed in, the app will automatically start backing up your photos to your Google account. This process may take some time depending on the size of your photo library and your internet connection speed.
- Open a web browser on your computer and go to the Google Photos website (photos.google.com).
- Sign in to your Google account associated with your Samsung phone.
- After logging in, you will see all your photos and albums displayed on the Google Photos website.
- To select specific photos for download, hold down the Ctrl key (Windows) or Command key (Mac) and click on the desired photos. You can also click and drag to select multiple photos at once.
- Once you have selected the photos, click on the three-dot menu icon (⋮) in the top right corner and choose the “Download” option.
- The selected photos will start downloading to your computer. The download time will vary depending on the number and size of the photos.
- Once the download is complete, you can access your photos on your computer. They will be saved in the default download location or the location you specified in your web browser settings.
By using Google Photos, you can easily access all your Samsung phone photos on any computer with an internet connection. It provides a convenient way to organize, share, and download your photos with just a few clicks.
Remember to keep your Google Photos account up-to-date, allowing your photos to automatically sync and backup across all your devices for easy access and peace of mind.
Method 4: Using Samsung Cloud
If you own a Samsung Galaxy device, you may already have access to Samsung Cloud, a cloud storage and backup service provided by Samsung. You can utilize Samsung Cloud to sync and back up your photos, making it easy to retrieve them on your computer.
Follow these steps to download your Samsung phone photos using Samsung Cloud:
- On your Samsung phone, go to Settings and select “Accounts and backup.”
- Tap on “Samsung Cloud” and sign in with your Samsung account. If you don’t have an account, you can create one.
- Once signed in, navigate to the “Photos” section in Samsung Cloud. This is where all your backed-up photos are stored.
- Select the specific album or individual photos you want to download.
- Tap on the three-dot menu icon (⋮) and choose the “Download” option.
- Samsung Cloud will start downloading the selected photos to your Samsung phone’s storage.
- Connect your Samsung phone to your computer using a USB cable.
- On your computer, navigate to your Samsung phone’s storage directory.
- Locate the downloaded photos from Samsung Cloud and copy them to your desired location on your computer.
Using Samsung Cloud offers a simple and reliable way to access your Samsung phone photos on your computer. It ensures that your photos are securely backed up and synchronized, allowing you to seamlessly download and manage them.
Keep in mind that Samsung Cloud offers limited free storage space, so regularly check your storage capacity and consider upgrading your plan if needed. Proper management of your Samsung Cloud account will ensure that you have enough space to store your precious memories.
Method 5: Using Samsung Kies
If you prefer using official Samsung software to manage and transfer your data, Samsung Kies is a reliable option. Samsung Kies is a desktop application that allows you to sync and transfer data, including photos, between your Samsung phone and your computer.
Here’s how you can use Samsung Kies to download your Samsung phone photos:
- Download and install Samsung Kies on your computer from the official Samsung website.
- Launch Samsung Kies and connect your Samsung phone to your computer using a USB cable.
- On your Samsung phone, when prompted, select the option to “Allow” or “Trust” the computer to access your device.
- In the Samsung Kies interface on your computer, you will see various options. Click on the “Photos” or “Pictures” tab.
- Choose the specific album or individual photos you want to download.
- Click on the “Export to PC” or “Save to Computer” button, usually represented by an icon of a computer or a downward arrow.
- Select the destination folder on your computer where you want to save the photos, and click on the “Save” button.
- Samsung Kies will begin transferring the selected photos from your Samsung phone to your computer. The transfer time may vary depending on the number and size of the photos.
- Once the transfer is complete, you can safely disconnect your Samsung phone from the USB cable.
- Navigate to the destination folder on your computer where you saved the photos, and you will find them ready for viewing, editing, or sharing.
By utilizing Samsung Kies, you can have full control over transferring your Samsung phone photos to your computer. It provides a reliable and user-friendly interface to manage your photos and other data effectively.
Remember to regularly update Samsung Kies on your computer to ensure compatibility with your Samsung phone’s software and to benefit from the latest features and enhancements.
Conclusion
Transferring photos from your Samsung phone to your computer is a crucial task for preserving and managing your precious memories. In this article, we explored five different methods to accomplish this task.
Using a USB cable offers a direct and simple way to transfer photos, allowing you to quickly copy and paste files from your Samsung phone to your computer. Samsung Smart Switch provides a comprehensive software solution, ensuring the seamless synchronization and backup of your photos. Google Photos offers cloud-based convenience, allowing you to access and download your Samsung phone photos from any computer with an internet connection. Samsung Cloud provides an integrated service specifically designed for Samsung Galaxy users, ensuring secure storage and easy retrieval of your photos. Finally, Samsung Kies offers an official desktop application for efficient data transfer and management.
Each method discussed in this article has its own advantages and considerations. Choose the one that best suits your needs and preferences.
Remember to regularly back up your photos to multiple sources, such as your computer, cloud storage, or external storage devices, to ensure their safety and accessibility in case of device loss or damage.
Whichever method you choose, make sure to follow the instructions carefully and prioritize the safety of your data. Always keep your Samsung phone and computer updated with the latest software versions to ensure compatibility and optimal performance.
We hope this article has provided you with valuable insights and guidance on how to download photos from your Samsung phone to your computer. Enjoy preserving and managing your treasured photos with ease!


