Introduction
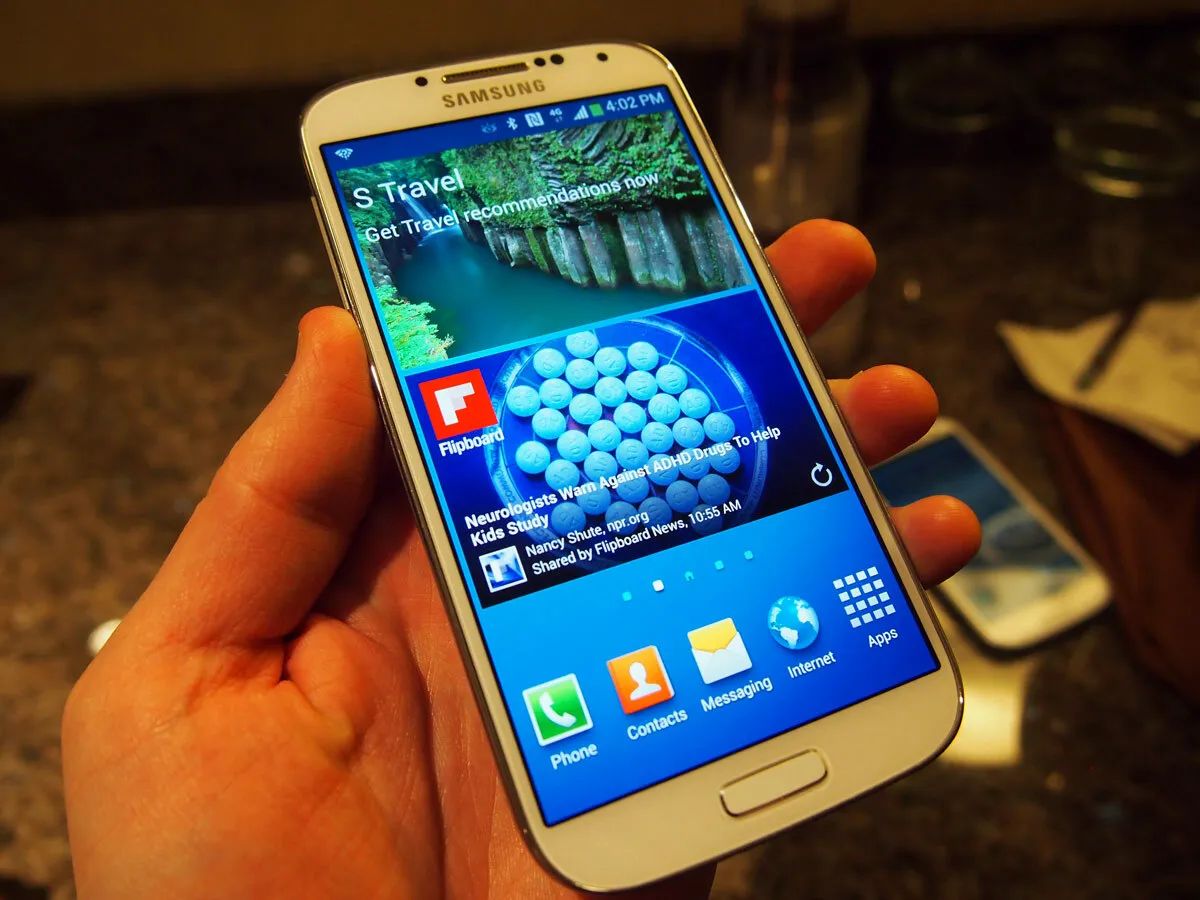
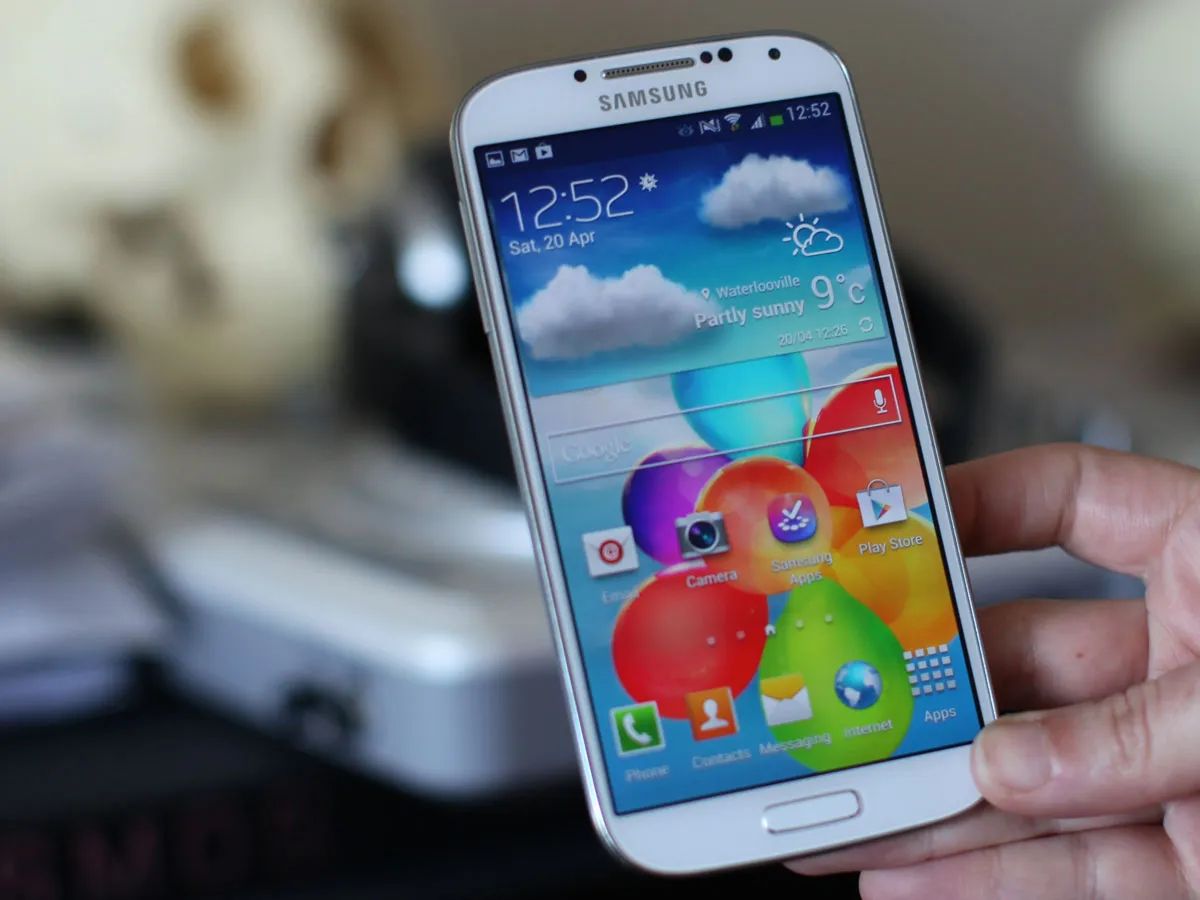
Welcome to this guide on how to download photos from your Samsung Galaxy S4 to your computer. The Galaxy S4 is a popular Android smartphone known for its impressive camera capabilities, allowing you to capture high-quality photos and memories. Transferring these photos to your computer is essential for backup purposes, freeing up storage space on your device, and enabling you to easily share your favorite moments with friends and family.
In this step-by-step tutorial, we will walk you through the process of connecting your Samsung Galaxy S4 to your computer and transferring your photos. Whether you are using a Windows PC or a Mac, the steps are relatively straightforward and do not require any technical expertise. All you need is your Galaxy S4, a USB cable, and your computer. Let’s get started!
Note: The instructions provided in this guide are specifically tailored for the Samsung Galaxy S4. If you are using a different Samsung Galaxy model or an Android device from another manufacturer, the steps outlined here may vary slightly.
Step 1: Connect your Samsung Galaxy S4 to your computer
The first step in downloading photos from your Samsung Galaxy S4 is to establish a connection between your device and your computer. Here’s how:
- Locate the USB cable that came with your Samsung Galaxy S4. It should have a standard USB connector on one end and a smaller micro-USB connector on the other end.
- Plug the larger end of the USB cable into an available USB port on your computer.
- Take the smaller end of the USB cable and connect it to the micro-USB port on your Samsung Galaxy S4. The micro-USB port is usually located at the bottom of the device.
- Once connected, your Samsung Galaxy S4 should receive power from your computer and be recognized as a connected device. You may see a notification on your phone’s screen indicating that it is connected as a media device or in file transfer mode.
If your Galaxy S4 does not receive power or is not recognized by your computer, try using a different USB port or cable. It is also essential to ensure that your device is unlocked and awake while attempting the connection.
Note: If you are using a Mac, you may need to install additional software called Android File Transfer to facilitate the connection between your Samsung Galaxy S4 and your computer. You can download this software for free from the Android website.
Step 2: Access the device’s storage
Now that your Samsung Galaxy S4 is connected to your computer, the next step is to access the device’s storage and navigate to the folder where your photos are stored. Follow these instructions:
- On your computer, open the file explorer or Finder window. This can usually be done by clicking on the corresponding icon in your taskbar or dock.
- In the file explorer or Finder window, you should see your Samsung Galaxy S4 listed as a connected device. It may be displayed with its device name or as a removable storage device.
- Click on the device’s name or icon to open it and view its contents. If prompted, grant permission on your Galaxy S4 to allow access to your computer.
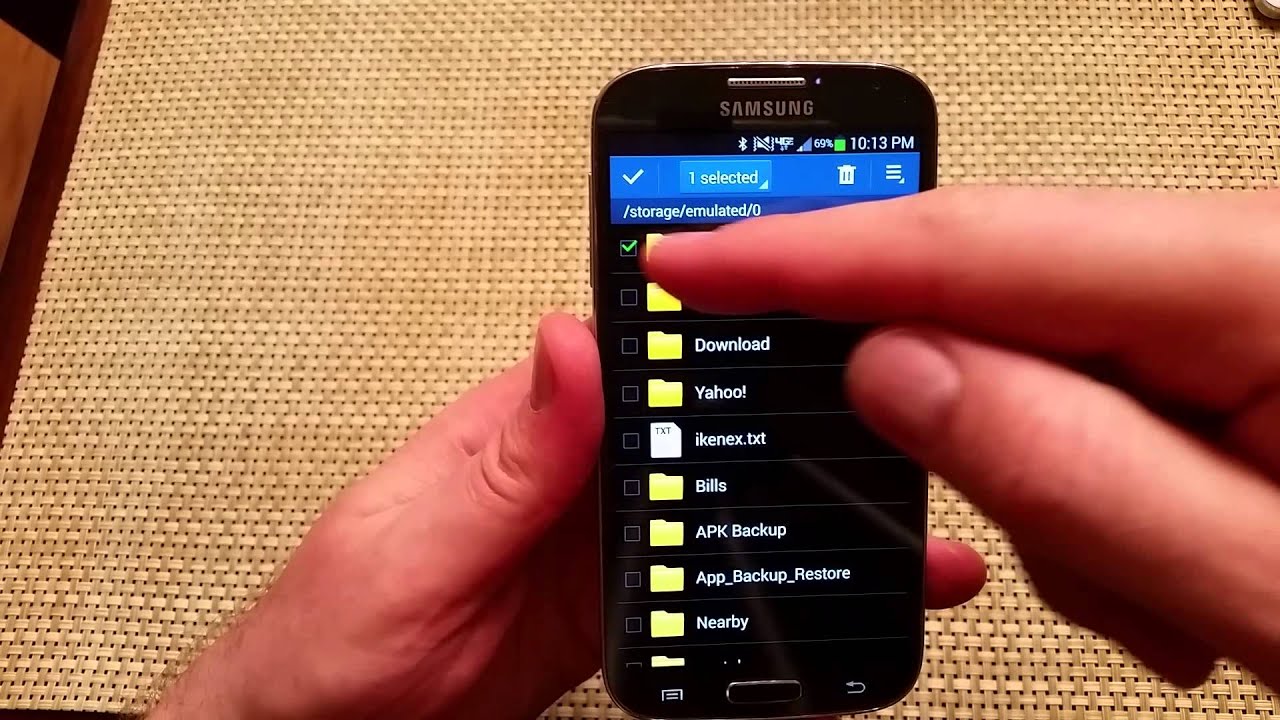
- Within the device’s storage, you may see a folder named “DCIM” (which stands for Digital Camera Images) or a similar name. Double-click to open this folder.
- Depending on your camera settings and storage preferences, you may have subfolders within the DCIM folder. Look for a folder that indicates it contains your photos, such as “Camera” or “Pictures”. Open this folder as well.
At this point, you should see all the photos stored on your Samsung Galaxy S4 within the selected folder. These photos may be in various file formats, such as JPEG or PNG. Take a moment to verify that the photos you wish to download are present and accessible.
Note: If you have saved your photos to a microSD card rather than the internal storage of your Galaxy S4, you might need to access the corresponding folder on the memory card instead. The steps outlined above for accessing the device’s storage should still apply.
Step 3: Locate the photos you want to download
Now that you have accessed your Samsung Galaxy S4’s storage on your computer, it’s time to locate the specific photos that you wish to download. Here’s how you can find and identify the photos:
- Browse through the folders within the “DCIM” or similar folder to locate the specific folder that contains the photos you want to download. This could be the “Camera” folder or another folder where you have saved your photos.
- Open the folder to view its contents. You should see a list of photo files, which may have filenames beginning with a date, time, or a generic naming convention assigned by your camera app.
- Take your time to review the photos and select the ones you want to download. You can identify them based on their thumbnails, filenames, or by previewing the photos in a larger view if your file explorer or Finder allows for it.
- If you have a large number of photos and it’s challenging to find specific ones, you can try using the search functionality in your file explorer or Finder. Enter keywords or file extensions (e.g., “.jpg”) related to the photos you are looking for to narrow down the results.
Once you have located the photos you wish to download, make a note of their filenames or remember their positions within the file explorer or Finder window. This will help you when transferring the photos to your computer in the next step.
Note: If you have organized your photos into different folders or subfolders on your Samsung Galaxy S4, be sure to navigate to the appropriate folders to find the specific photos you want to download.
Step 4: Transfer the photos to your computer
With the desired photos located on your Samsung Galaxy S4, it’s time to transfer them to your computer. Follow these steps for a seamless transfer:
- Select the photos you want to download by either highlighting them individually or selecting multiple files at once. You can typically do this by holding down the Ctrl key (or Command key on Mac) while clicking on each desired photo.
- Once you have selected the photos, right-click on one of the highlighted files and choose the “Copy” option from the context menu.
- Go to the desired location on your computer where you want to save the downloaded photos.
- Right-click within the folder or location and select the “Paste” option from the context menu. Alternatively, you can use the keyboard shortcut Ctrl+V (or Command+V on Mac) to paste the copied photos.
The selected photos will now be transferred from your Samsung Galaxy S4 to your computer. The transfer speed may vary depending on the number and size of the photos, as well as the performance of your computer and USB connection.
Once the transfer is complete, you can verify that the photos have been successfully downloaded by navigating to the specified folder on your computer and checking to see if the files are present.
Note: If you prefer, you can also drag and drop the selected photos from your Samsung Galaxy S4’s storage directly into the desired folder on your computer, instead of using the copy-and-paste method.
Step 5: Safely eject your Samsung Galaxy S4 from your computer
After successfully transferring the photos from your Samsung Galaxy S4 to your computer, it is essential to safely eject your device from your computer to ensure that no data is lost or corrupted. Follow these steps to safely remove your Galaxy S4:
- On the taskbar (or at the top of the screen for Mac), locate the icon representing your connected Samsung Galaxy S4 or its storage device.
- Right-click on the icon and select the “Eject” or “Safely Remove” option from the context menu.
- Wait for your computer to finish the ejecting process. You may see a notification confirming that it is safe to disconnect your device.
- Once the notification appears, gently unplug the USB cable from your Samsung Galaxy S4 and your computer.
It’s important to exercise caution when disconnecting the USB cable to avoid damaging the ports on your device or computer. Do not forcefully pull out the cable; instead, gently remove it.
By safely ejecting your Samsung Galaxy S4, you can prevent potential data loss or corruption and ensure the integrity of your transferred photos.
Note: If you are using a Mac with Android File Transfer installed, you can click on the “Eject” button within the Android File Transfer application to safely disconnect your Samsung Galaxy S4.
Conclusion
Congratulations! You have successfully learned how to download photos from your Samsung Galaxy S4 to your computer. This straightforward process allows you to backup your precious memories, free up storage space on your device, and easily share your photos with others.
Starting with the initial step of connecting your Samsung Galaxy S4 to your computer, you followed the necessary steps to access the device’s storage, locate the desired photos, and transfer them to your computer. Finally, you safely ejected your device to ensure data integrity.
Remember, it’s crucial to keep your photos organized and backed up regularly to avoid any data loss or accidental deletion. You can create separate folders on your computer and categorize your photos based on dates, events, or any other system that suits your preference.
Now that you know how to download photos from your Samsung Galaxy S4, you can enjoy the ability to preserve your memories and access them conveniently on your computer. Whether you want to create photo albums, print physical copies, or edit your photos using photo editing software, having them on your computer opens up a world of possibilities.
Thank you for following this step-by-step guide, and we hope it has been helpful in simplifying the process of downloading photos from your Samsung Galaxy S4. Enjoy your downloaded photos and continue capturing beautiful moments with your Galaxy S4!