Introduction
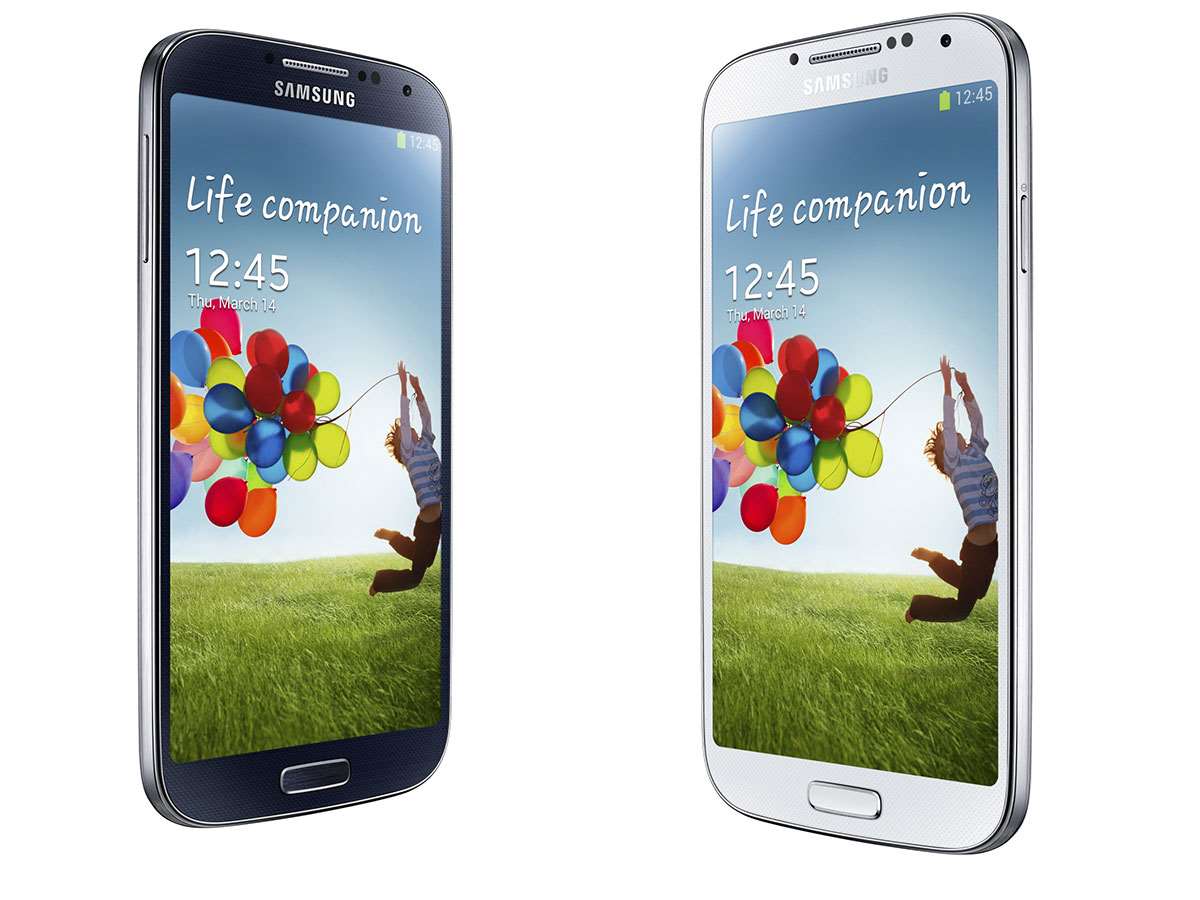
Welcome to our guide on how to make an SD card the default storage option on your Samsung Galaxy S4. The Samsung Galaxy S4 is a popular smartphone known for its powerful features and capabilities. However, with limited internal storage, users often find themselves running out of space for their apps, photos, and videos.
By utilizing the SD card as the default storage option, you can significantly expand your device’s storage capacity and ensure that you have enough space for all your media and apps. In this article, we will walk you through the process of setting up and using an SD card as the default storage on your Samsung Galaxy S4.
Before we dive into the details, it’s important to note that not all devices support SD card storage. So, before proceeding, make sure that your Samsung Galaxy S4 has an SD card slot. If your device doesn’t have one, you might want to consider alternative storage options such as cloud storage or using an external storage device that is compatible with your device.
Now that we’ve covered the basics, let’s get started on transforming your Samsung Galaxy S4 into a storage powerhouse with the help of an SD card!
Benefits of using an SD card as default storage on Samsung Galaxy S4
Using an SD card as the default storage on your Samsung Galaxy S4 can bring a range of benefits and convenience to your smartphone experience. Let’s explore some of the key advantages:
1. Increased Storage Capacity: By utilizing an SD card, you can greatly expand the storage capacity of your Samsung Galaxy S4. This means you can store more apps, photos, videos, and other media files without worrying about running out of space on your device’s internal storage.
2. Performance Optimization: With a larger storage capacity, you can optimize your device’s performance. By moving larger apps and media files to the SD card, you free up valuable internal storage. This can help improve the speed and responsiveness of your Samsung Galaxy S4 by reducing the load on the internal memory.
3. Seamless Media Storage: If you love capturing photos and recording videos, using an SD card as default storage is a game-changer. It allows you to store all your precious memories directly on the card, making it easy to transfer them to other devices or backup them up for safekeeping.
4. Flexibility and Portability: An SD card offers the flexibility to easily transfer files between devices. You can simply remove the card from your Samsung Galaxy S4 and insert it into a compatible device to access your files. This portability makes it convenient to share media with friends, family, or colleagues without the need for internet connectivity or complicated transfer methods.
5. Cost-Effective Solution: Compared to other storage options, SD cards are relatively affordable, making them a cost-effective solution for expanding your Samsung Galaxy S4’s storage. You can purchase an SD card with a larger capacity for a fraction of the cost of upgrading to a higher storage variant of your device.
Overall, using an SD card as the default storage on your Samsung Galaxy S4 can enhance your device’s performance, provide ample storage space, and offer the flexibility to share and transfer files easily. Now that you understand the benefits, let’s explore how to set up and use an SD card as the default storage on your device.
Checking if your device supports SD card storage
Before you proceed with setting up an SD card as the default storage on your Samsung Galaxy S4, it’s important to confirm whether your device supports SD card storage. Here’s how you can check:
1. Physical inspection: Start by locating the SD card slot on your Samsung Galaxy S4. It is typically located on the side of the device or underneath the back cover. Look for a small slot with a cover labeled “SD” or “MicroSD.”
2. Consult the user manual: If you’re unsure about the location of the SD card slot or whether your device supports SD card storage, refer to the user manual that came with your Samsung Galaxy S4. The manual will provide detailed information and specifications regarding external storage options.
3. Online search: Alternatively, you can perform a quick online search using your device’s model number and the term “SD card support.” This will help you find official documentation or user forums where you can find information specific to your device.
4. Software check: To further ensure SD card support, navigate to your device’s settings by swiping down from the top of your screen and tapping the gear icon. From there, locate and tap on “Storage” or “Device Storage.” If you see an option for adding or formatting an SD card, it confirms that your Samsung Galaxy S4 supports SD card storage.
Once you have confirmed that your device supports SD card storage, you can proceed with the following steps to insert and format the SD card on your Samsung Galaxy S4. If your device does not support SD card storage, consider exploring alternative storage options such as cloud storage or external devices.
Inserting and formatting the SD card on your Samsung Galaxy S4
Now that you have confirmed that your Samsung Galaxy S4 supports SD card storage, it’s time to insert and format the SD card. Follow these steps to get started:
1. Power off your device: Before inserting or removing the SD card, it’s important to power off your Samsung Galaxy S4 completely. This helps prevent any potential damage to the device or the SD card.
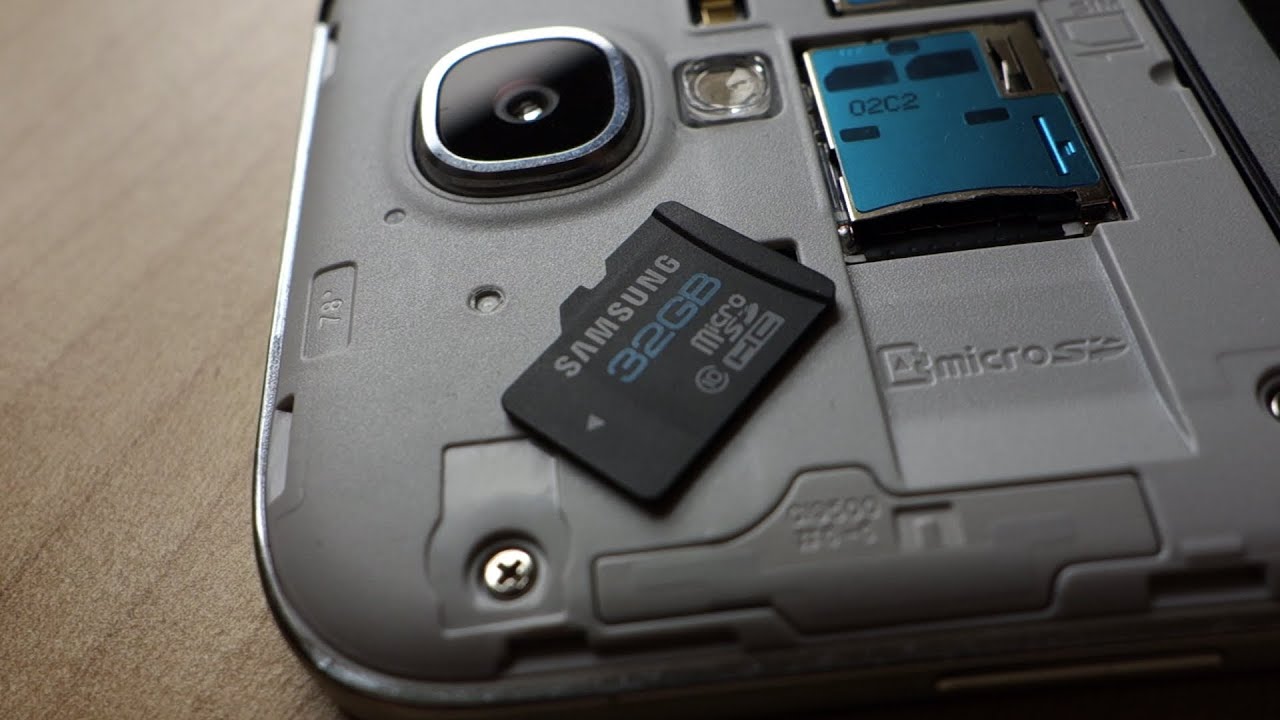
2. Locate the SD card slot: Remove the back cover of your Samsung Galaxy S4 by gently prying it off from the small cut-out on the side or bottom of the device. Once the cover is off, locate the SD card slot.
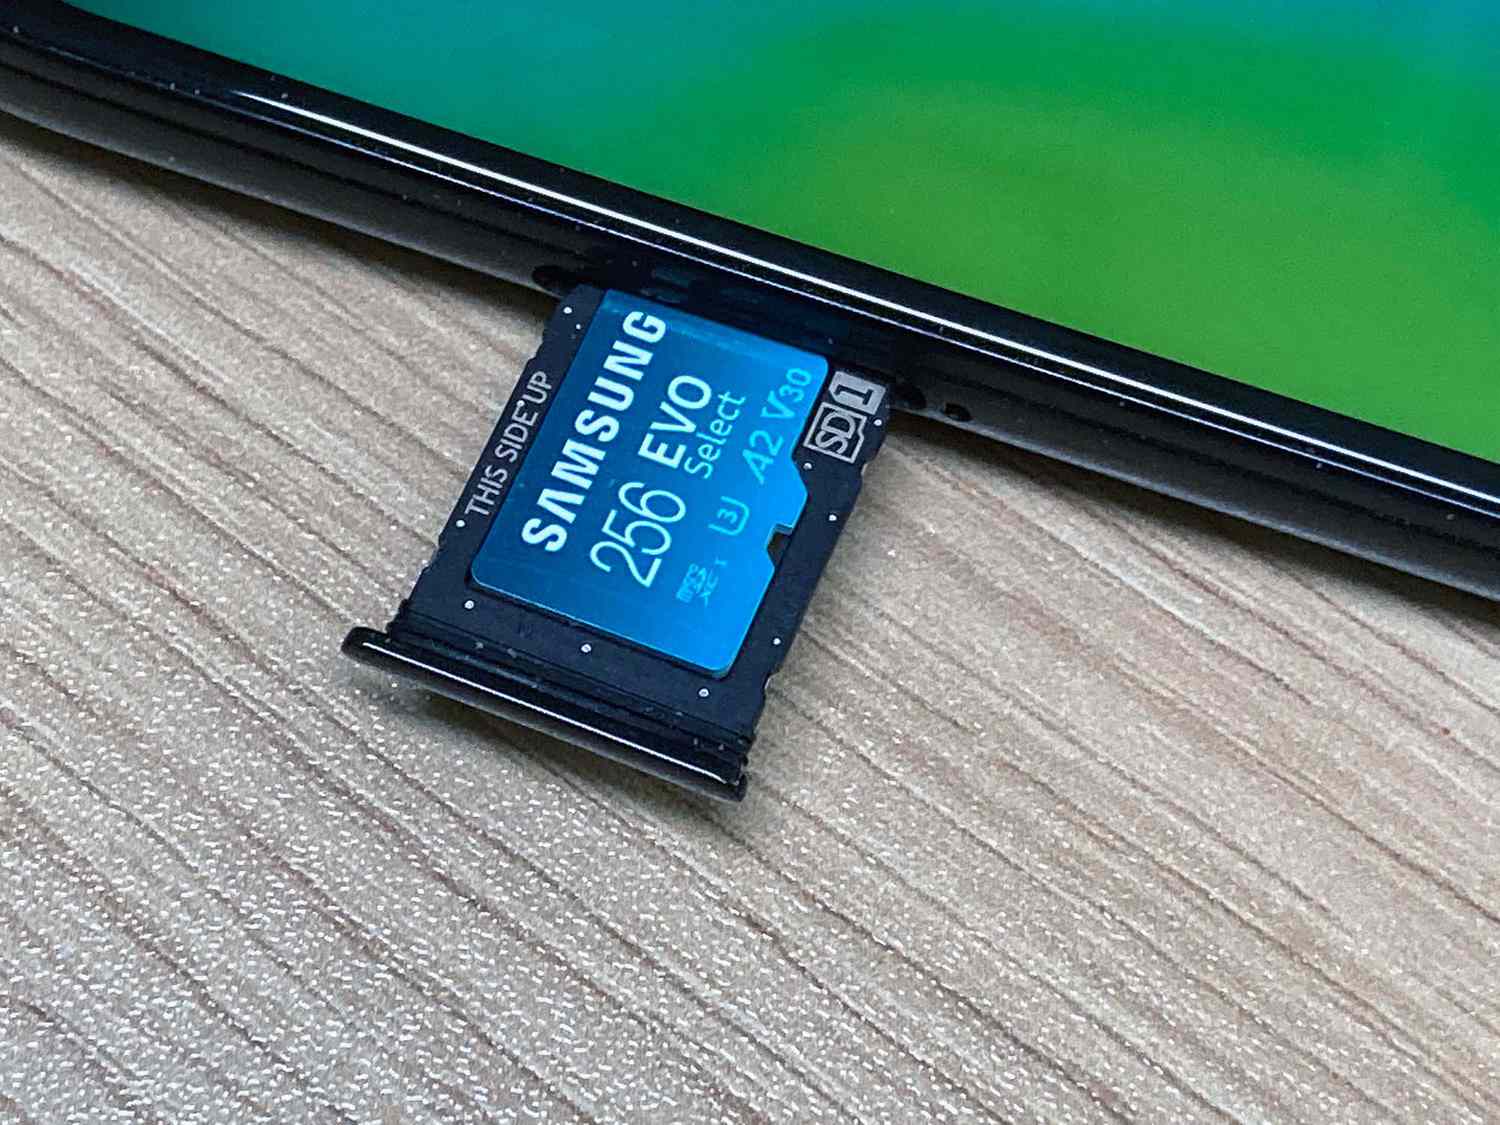
3. Insert the SD card: Carefully insert the SD card into the slot, ensuring that the metal contacts on the card align with the contacts inside the slot. Gently push the card until it clicks into place. Be cautious not to insert the card upside down or use excessive force.
4. Reattach the back cover: Once the SD card is inserted, carefully reattach the back cover by aligning it with the edges of the device and pressing it down until it snaps into place securely.
5. Power on your device: Press and hold the power button on the side or top of your Samsung Galaxy S4 until the device powers on. Allow the device to boot up completely.
6. Format the SD card: To ensure compatibility and optimal performance, it’s recommended to format the SD card on your Samsung Galaxy S4. To do this, go to “Settings” by swiping down from the top of the screen and tapping the gear icon. Look for “Storage” or “Device Storage” and tap on it. Find the option to format the SD card and follow the prompts to complete the process.
By following these steps, you have successfully inserted and formatted the SD card on your Samsung Galaxy S4. It is now ready to be used as the default storage option for your device. In the next section, we will walk you through changing the default storage location on your Samsung Galaxy S4.
Changing the default storage location on your Samsung Galaxy S4
Now that you have inserted and formatted the SD card on your Samsung Galaxy S4, it’s time to change the default storage location. Follow these steps to make the SD card your device’s primary storage:
1. Open device settings: Swipe down from the top of your device’s screen to access the notification shade. From there, tap on the gear icon to open the device settings.
2. Navigate to storage settings: In the device settings menu, scroll down and find the “Storage” option. Tap on it to access the storage settings.
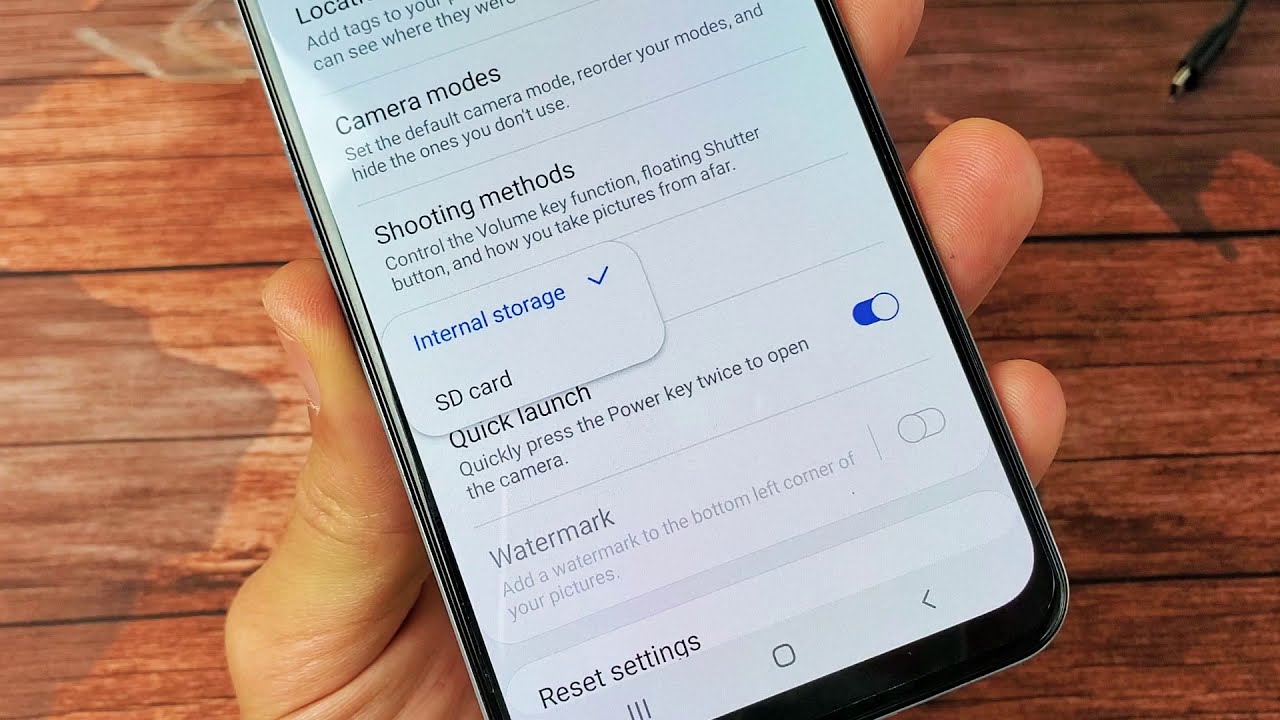
3. Select the default storage location: Within the storage settings, look for an option that allows you to change the default storage location or set the SD card as the preferred storage. The wording may vary depending on your device’s software version, but it typically includes terms like “Default Storage” or “Storage Location.”
4. Choose the SD card: Tap on the option that allows you to select the storage location, and from the available options, choose the SD card as your preferred storage. This will set the SD card as the primary storage for apps, media, and other data.
5. Confirm the changes: After selecting the SD card as the default storage location, you may be asked to confirm the changes. Read the prompt carefully and tap on “OK” or “Confirm” to finalize the selection.
Once you have completed these steps, your Samsung Galaxy S4 will start using the SD card as the default storage location. This means that any new apps, media files, and other data will be automatically stored on the SD card, freeing up precious internal storage space.
It’s important to note that not all apps may be able to be moved to the SD card. Some apps have restrictions and can only be stored on the internal storage. However, the SD card will still be beneficial for storing media files such as photos, videos, and music.
In the next section, we will discuss some tips on managing storage space on your SD card to ensure optimal usage and organization.
Managing storage space on your SD card
Now that you have set the SD card as the default storage option on your Samsung Galaxy S4, it’s crucial to effectively manage the storage space to ensure optimal usage and organization. Here are some tips for managing storage space on your SD card:
1. Regularly delete unwanted files: Take the time to periodically review and delete any unnecessary files or apps from your SD card. This will free up valuable space and ensure that you have enough room for new data.
2. Move compatible apps to the SD card: Some apps can be moved to the SD card, which can free up space on your device’s internal storage. To move apps, go to your device’s settings, select the “Apps” or “Applications” menu, and choose the app you want to move. Look for the option to move the app to the SD card, if available.
3. Utilize cloud storage: Consider using cloud storage services to store large files, such as photos and videos. This can help reduce the storage burden on your SD card and provide an additional backup for your important data.
4. Use a file manager: Install a file manager app from the Google Play Store to easily navigate through the files and folders on your SD card. With a file manager, you can organize your files, create folders, and move files around to keep your data well-organized.
5. Regularly back up your data: It’s always a good practice to regularly back up your data to ensure its safety. Consider using backup apps or syncing your files with cloud storage services to create a backup of your important files on a regular basis.
6. Check for duplicate files: Over time, you may accumulate duplicate files on your SD card, such as duplicate photos or music tracks. Use a duplicate file finder app to scan and remove any duplicate files, which can help free up additional storage space.
By following these tips, you can effectively manage the storage space on your SD card, ensuring that you make the most out of its storage capabilities. With a well-managed SD card, you can continue to enjoy the benefits of expanded storage on your Samsung Galaxy S4 without worrying about running out of space.
In the next section, we will discuss how to transfer existing data to the SD card on your Samsung Galaxy S4.
Transferring existing data to the SD card
Now that you have set up your SD card as the default storage on your Samsung Galaxy S4 and learned how to manage storage space, you may want to transfer existing data from your device’s internal storage to the SD card. Follow these steps to transfer your data:
1. Use the File Manager app: Open the File Manager app on your Samsung Galaxy S4. If you don’t have a file manager app installed, you can download one from the Google Play Store. A file manager app allows you to navigate through your device’s internal storage and external SD card.
2. Locate the files you want to transfer: Browse through your device’s internal storage and find the files you want to transfer to the SD card. This could include photos, videos, music, documents, or any other type of file.
3. Select and copy the files: Long-press on the files you want to transfer to select them. Once selected, tap on the “Copy” or “Cut” option from the menu. You can also choose to select all files in a specific folder if you want to transfer an entire folder.
4. Navigate to the SD card: Use the file manager app to navigate to the SD card. Look for the SD card directory or folder where you want to transfer the files. It’s recommended to create specific folders on the SD card to keep your files organized.
5. Paste the files: Once you have reached the desired location on the SD card, tap on the “Paste” option to transfer the files. The files will be copied or moved from your device’s internal storage to the SD card.
6. Verify the transfer: After the transfer process is complete, go to the SD card directory or folder where you pasted the files. Verify that the transferred files are successfully stored on the SD card and accessible.
By following these steps, you can transfer your existing photos, videos, music, documents, and other files from your device’s internal storage to the SD card on your Samsung Galaxy S4. This transfer process helps free up space on your device while ensuring your files are conveniently accessible on the SD card.
Remember to regularly check and update the content on your SD card by repeating this transfer process whenever you have new files or when you want to reorganize your data. This helps keep your storage organized and maximizes the benefits of using an SD card as the default storage on your Samsung Galaxy S4.
In the next section, we will address some frequently asked questions regarding using an SD card as default storage.
Frequently Asked Questions about using an SD card as default storage
Q1: Can all apps be moved to the SD card?
A1: Not all apps can be moved to the SD card. Some apps have restrictions in place by the developers that prevent them from being moved. However, certain apps, especially those that are not critical to the device’s functioning, can be moved to the SD card to free up internal storage.
Q2: Will transferring data to an SD card affect its performance?
A2: Transferring data to an SD card generally does not affect its performance. However, it’s essential to use a high-quality SD card with sufficient storage capacity and a fast read/write speed to ensure optimal performance. Cheaper or lower-quality SD cards may have slower speeds and may impact the performance of your device.
Q3: Can I remove the SD card from my device once data has been moved?
A3: While it is possible to remove the SD card from your device after transferring data, it’s important to note that removing the SD card will make the transferred data inaccessible. If you need to access the data or use the apps stored on the SD card, keep the card inserted in your device.
Q4: Can I use the SD card to store apps and their data?
A4: Yes, you can use the SD card to store both apps and their data. However, as mentioned earlier, not all apps can be moved to the SD card. Additionally, some apps may not function optimally when stored on the SD card, as the slower read/write speeds of the card may affect their performance.
Q5: How do I safely remove the SD card from my device?
A5: To safely remove the SD card from your device, go to the device settings and find the “Storage” or “Device Storage” menu. Look for the option to “Unmount” or “Eject” the SD card. Once you choose this option, wait for the device to confirm that it is safe to remove the card. Gently push the card inwards to release it from the slot and then carefully pull it out.
These are some of the frequently asked questions regarding using an SD card as the default storage on a Samsung Galaxy S4. If you have any other questions or concerns, consult the device’s user manual or search for online resources specific to your device model.
Now that you have a better understanding of using an SD card as default storage, you can fully maximize your Samsung Galaxy S4’s storage capacity and enjoy a seamless multimedia and app experience.
Conclusion
Congratulations! You have successfully learned how to make an SD card the default storage option on your Samsung Galaxy S4. By utilizing an SD card as the primary storage, you can enjoy increased storage capacity, optimize device performance, and seamlessly manage your media files.
Throughout this guide, we discussed the benefits of using an SD card as default storage, checked if your device supports SD card storage, learned how to insert and format the SD card, and changed the default storage location on your Samsung Galaxy S4. We also explored tips for managing storage space on the SD card and transferring existing data.
Remember to regularly review and manage the storage space on your SD card by deleting unwanted files, moving compatible apps, utilizing cloud storage, using a file manager app, and backing up your data. By taking these steps, you can ensure optimal usage and organization of your SD card storage.
If you have any further questions or encounter any issues, consult the user manual of your device or seek assistance from official support channels or online forums dedicated to Samsung Galaxy S4 users.
Thank you for following our guide on how to make an SD card the default storage on your Samsung Galaxy S4. Enjoy the expanded storage capacity and make the most out of your smartphone experience!