Introduction
Are you running out of storage space on your Galaxy S4? If so, there’s a simple solution: set your SD card as the default storage option. By doing this, you can effortlessly store your photos, videos, apps, and other data directly on the SD card, freeing up valuable internal storage on your device.
The Galaxy S4 comes with a microSD card slot that allows you to expand your storage capacity easily. However, by default, the device saves all files to its internal memory, which can quickly become filled with app data, media files, and system files.
Fortunately, you can change the default storage settings on your Galaxy S4 and make your SD card the primary storage location. This not only helps to keep your device functioning smoothly but also ensures that you have enough space to store your files without constantly worrying about running out of room.
In this guide, we’ll walk you through the step-by-step process of setting your SD card as the default storage on your Galaxy S4. Whether you’re a tech-savvy Android enthusiast or a novice user, this easy-to-follow tutorial will help you maximize the storage capacity of your device and improve its overall performance.
Before we get started, it’s important to note that some older versions of the Galaxy S4 may not have this feature available. However, most models running Android 4.4 KitKat or higher should have the option to set the SD card as the default storage.
Now, let’s dive into the steps and get your Galaxy S4 ready to use the SD card as its default storage!
Step 1: Removing the SD Card
Before we can proceed with setting the SD card as the default storage on your Galaxy S4, you need to remove the existing SD card (if any) from your device. Here’s how you can do it:
- Power off your Galaxy S4. To do this, press and hold the power button located on the right side of the device and select “Power off” from the options.
- Once your device is powered off, locate the small compartment on the back of your Galaxy S4.
- Using your fingernail or a SIM card removal tool, gently push and release the latch inside the compartment to unlock it.
- Slide the compartment cover outwards to reveal the microSD card slot.
- Gently push the SD card inward until it clicks and then release it. The card will partially eject from the slot.
- Carefully grasp the SD card and remove it from the slot.
- Replace the compartment cover by sliding it back into place.
It’s important to handle the SD card with care to avoid any damage. Make sure to keep the SD card in a safe place while it is not inserted into your device.
Now that you have successfully removed the SD card from your Galaxy S4, you’re ready to proceed to the next step: inserting the SD card.
Step 2: Inserting the SD Card
Now that you have removed the SD card from your Galaxy S4, it’s time to insert the new or previously formatted SD card into your device. Follow these steps to get your SD card properly inserted:
- Ensure that your Galaxy S4 is powered off before proceeding.
- Locate the small compartment on the back of your device.
- Using your fingernail or a SIM card removal tool, gently push and release the latch inside the compartment to unlock it.
- Slide the compartment cover outwards to reveal the microSD card slot.
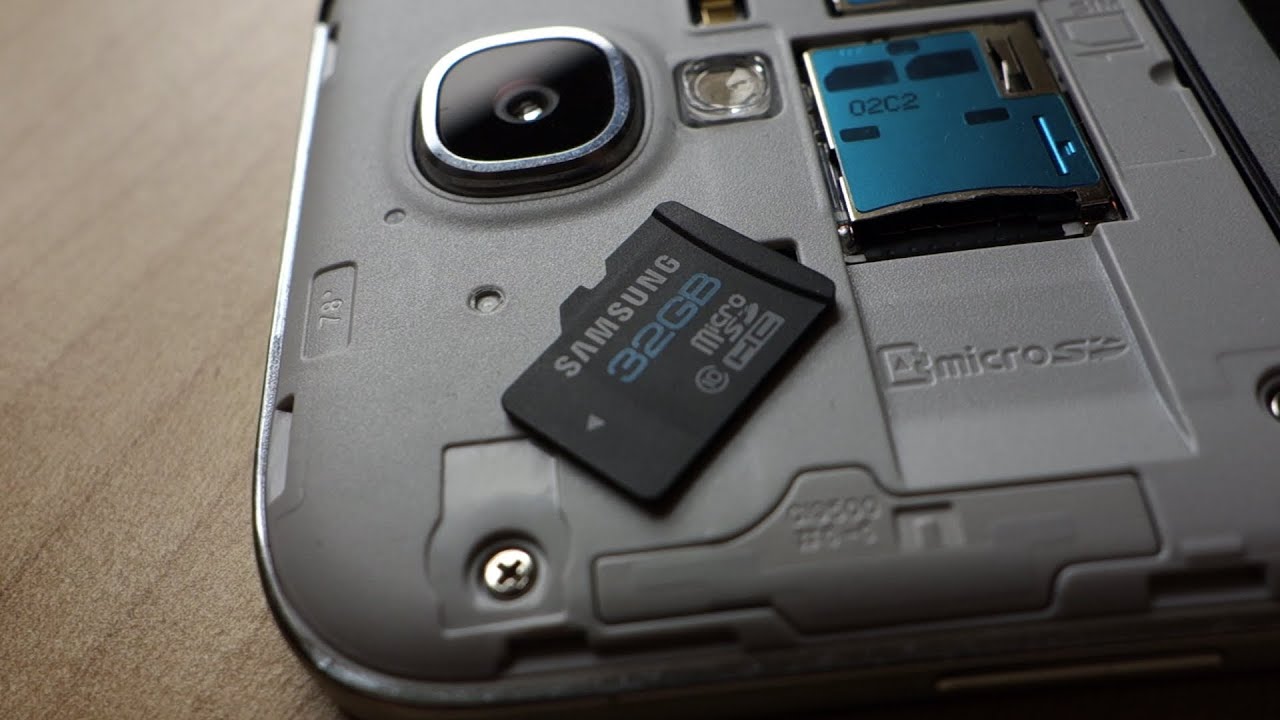
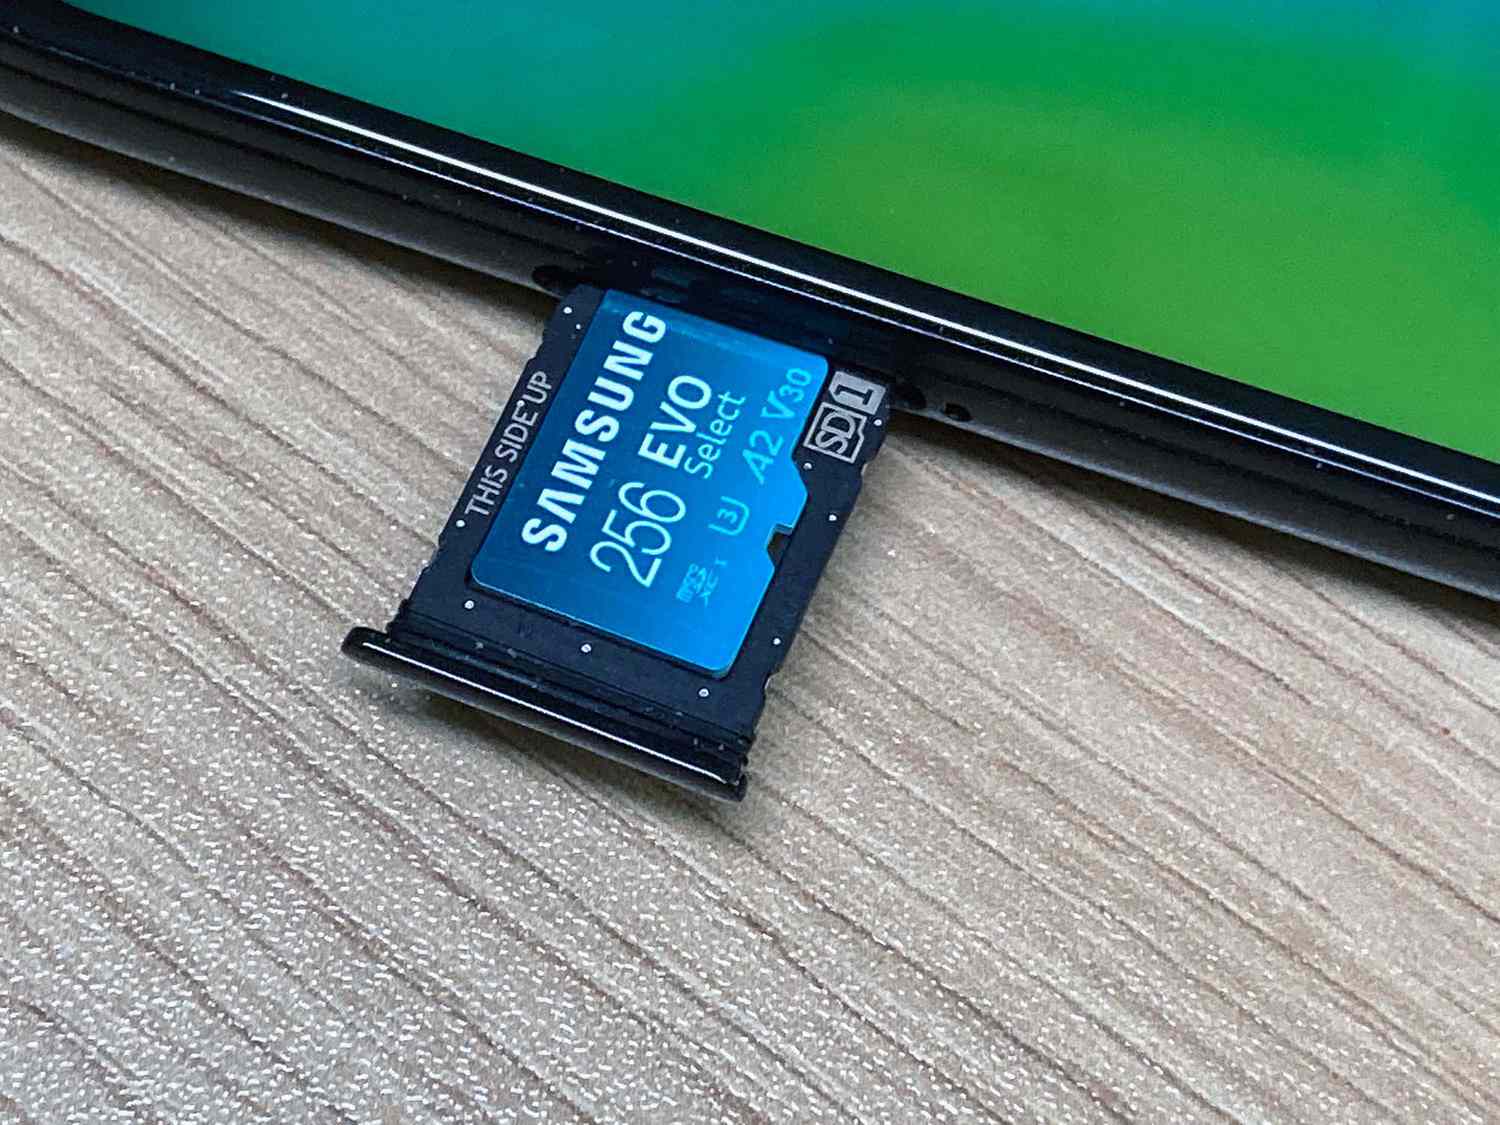
- Take your SD card and align the notched corner with the designated corner of the slot.
- Gently push the card into the slot until it clicks into place.
- Ensure that the card is securely inserted and flush with the back of your device.
- Replace the compartment cover by sliding it back into place.
Once you have inserted the SD card, you can power on your Galaxy S4 and proceed to the next step: formatting the SD card to prepare it for use as the default storage.
Step 3: Formatting the SD Card
Before you can start using the SD card as the default storage on your Galaxy S4, you need to format it. Formatting will erase all data on the SD card, so it’s essential to make sure you have backed up any important files beforehand. Here’s how you can format the SD card on your Galaxy S4:
- Power on your Galaxy S4.
- Go to the “Settings” app, which can usually be found in your app drawer or by swiping down from the top of the screen and tapping on the gear icon.
- Scroll down and tap on “Storage” or “Device maintenance,” depending on the version of Android running on your Galaxy S4.
- Under the “Storage” or “Device maintenance” menu, you should see an option for “SD card” or “SD card storage.” Tap on it.
- Now, tap on the three dots at the top right corner of the screen to access the options menu.
- From the options menu, select “Format” or “Format SD card.
- A confirmation message will appear, warning you that formatting the SD card will erase all data. Read the message carefully and proceed only if you have already backed up your important files.
- Tap on “Format” to begin the formatting process.
- Wait for the device to format the SD card. This may take a few minutes.
- Once the formatting is complete, you will receive a notification indicating that the SD card has been formatted successfully.
Formatting the SD card prepares it for use as the default storage on your Galaxy S4. It ensures that the card is compatible with the device and sets it up with the necessary file system structure. With the SD card now formatted, you can move on to the next step: setting the default storage.
Step 4: Setting the Default Storage
Now that you have inserted and formatted the SD card on your Galaxy S4, it’s time to set it as the default storage for all your files. By doing this, any new apps, photos, videos, or other data will automatically be stored on the SD card instead of the internal storage. Here’s how you can set the default storage on your Galaxy S4:
- Open the “Settings” app on your Galaxy S4.
- Scroll down and tap on “Storage” or “Device maintenance,” depending on the version of Android running on your device.
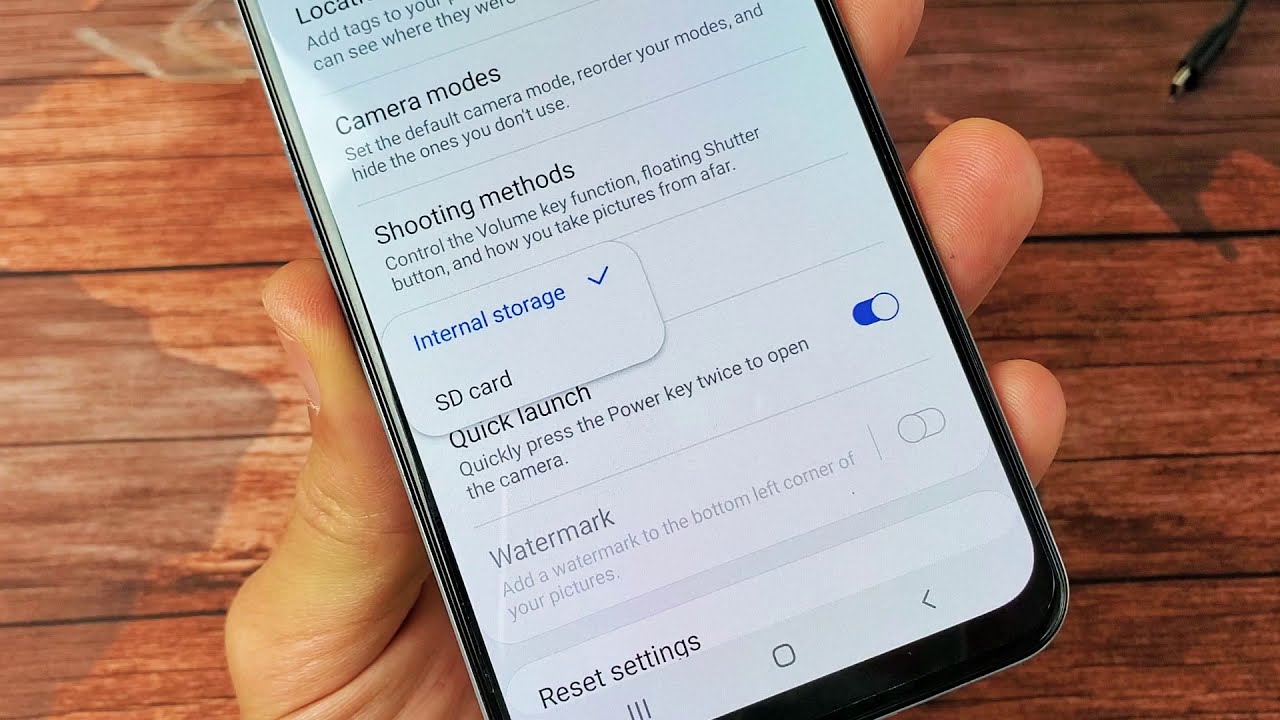
- Under the “Storage” or “Device maintenance” menu, you should see an option for “Default storage” or “Storage settings.” Tap on it.
- From the available options, select “SD card” or “External storage.”
- A confirmation message will appear, informing you that all new files and apps will now be stored on the SD card. Tap on “OK” to confirm your selection.
- Your Galaxy S4 will now set the SD card as the default storage, and any new files will be saved directly to the card.
Setting the default storage to the SD card is a simple yet effective way to maximize the available space on your Galaxy S4. By utilizing the external storage, you can ensure that your internal memory remains free for essential system processes and app installations.
With the default storage successfully set, you’re now ready for the final step: verifying the default storage settings on your Galaxy S4.
Step 5: Verifying the Default Storage Settings
After setting the SD card as the default storage on your Galaxy S4, it’s crucial to verify that the changes have been applied correctly. By confirming the default storage settings, you can ensure that any new files or apps are being saved to the SD card as intended. Here’s how you can verify the default storage settings on your Galaxy S4:
- Open the “Settings” app on your Galaxy S4.
- Scroll down and tap on “Storage” or “Device maintenance,” depending on the version of Android running on your device.
- Under the “Storage” or “Device maintenance” menu, you should see the storage details, including the amount of used and available space for both the internal storage and the SD card.
- If the SD card is set as the default storage, you will notice that the available space on the SD card has increased, while the available space on the internal storage remains relatively unchanged.
- You can also check the storage settings of individual apps. Go to the “Settings” app, tap on “Apps,” and select the app you want to check.
- Within the app settings, you should see an option to “Change” or “Move” the app to the SD card. If this option is available, it confirms that the SD card is set as the default storage and new apps will be installed on the SD card.
By verifying the default storage settings, you can have peace of mind knowing that your Galaxy S4 is now utilizing the SD card as the primary storage location. This allows for more storage capacity and helps optimize the performance of your device.
With this final step completed, you have successfully set and verified the SD card as the default storage on your Galaxy S4. Enjoy the increased storage space and the freedom to store more files, apps, and media on your device without worrying about running out of storage!
Conclusion
Congratulations! You have successfully set your SD card as the default storage on your Galaxy S4. By following the step-by-step guide in this article, you have unlocked the full potential of your device’s storage capacity and improved its overall performance.
Setting the SD card as the default storage allows you to store more photos, videos, apps, and other files without worrying about running out of space on your device. It helps optimize the allocation of storage resources and ensures that your Galaxy S4 operates smoothly.
Remember that formatting the SD card erases all data, so always make sure to back up important files before proceeding. Additionally, it’s worth noting that some older versions of the Galaxy S4 may not have the option to set the SD card as the default storage. However, most models running Android 4.4 KitKat or higher should have this feature available.
If you ever wish to change the default storage setting or remove the SD card from your device, simply repeat the steps outlined in this guide. By understanding and utilizing the storage options available on your Galaxy S4, you can make the most of your device’s capabilities.
Now that you have successfully set your SD card as the default storage, enjoy the extra space and flexibility it provides. Go ahead and capture stunning photos, record videos, install new apps, and download more content without any storage limitations.
Thank you for following this guide. We hope it has been helpful in enhancing your Galaxy S4 user experience. Should you have any further questions or need assistance with your device, feel free to refer back to this article or seek additional support from the Samsung help center or your mobile service provider. Happy exploring and enjoy your Galaxy S4 to the fullest!