Introduction
Transferring files from your Nook to an SD card can be a convenient way to free up space on your device or to create a backup of your important files. Whether you have documents, photos, or videos, the process of transferring them to an SD card is relatively simple. In this guide, we will provide step-by-step instructions on how to transfer files from your Nook to an SD card.
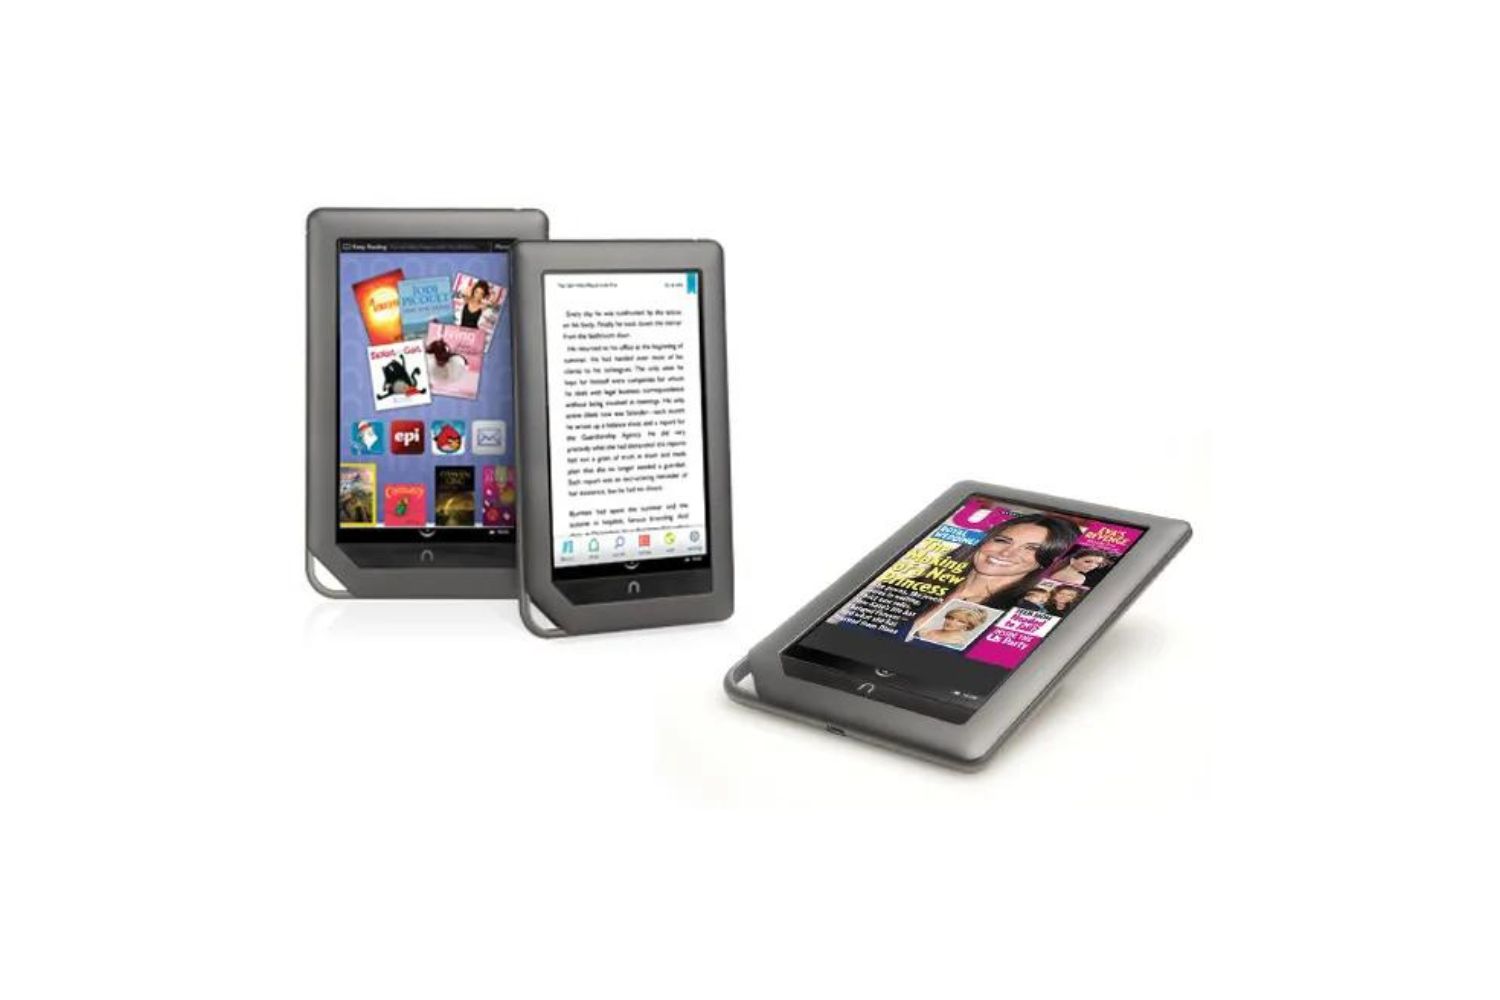
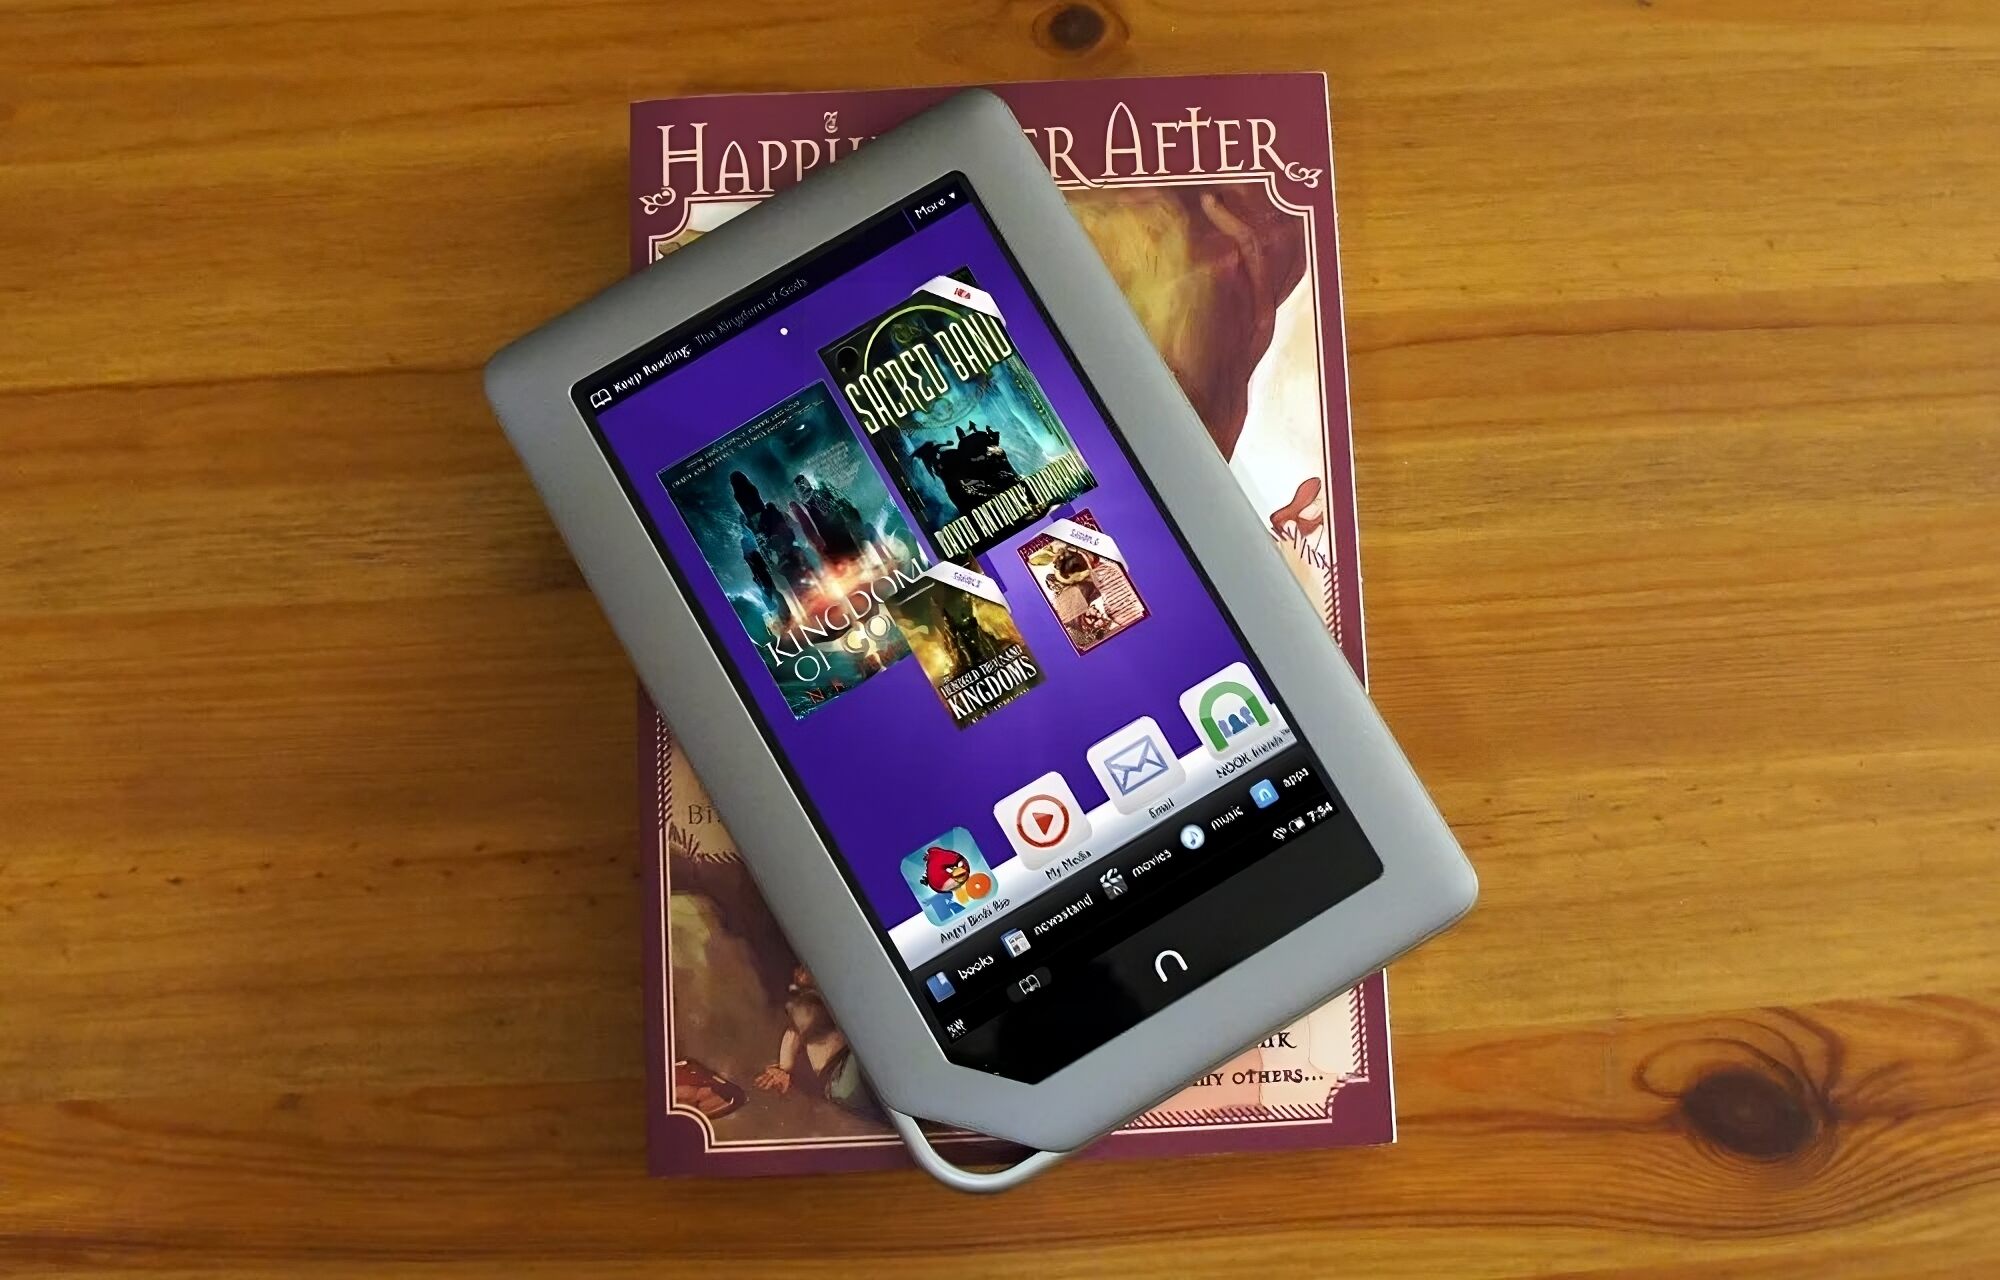
The Nook is a popular e-reader and tablet device known for its user-friendly interface and expansive storage capacity. However, due to the limited internal memory, it’s essential to optimize storage by moving files to an external SD card. This ensures that you have enough space for new downloads and applications.
By transferring files to an SD card, you can easily access your content on other devices and share it with friends and family. Additionally, having a backup of your files on an SD card provides an extra layer of security and peace of mind.
Before we dive into the step-by-step process, it’s important to note that the transfer methods may vary depending on the specific model of your Nook. However, the general principles outlined in this guide should apply to most Nook devices. It’s always recommended to refer to your device’s user manual for any specific instructions tailored to your Nook model.
Now, let’s get started with the first step of transferring files from your Nook to an SD card.
Step 1: Insert the SD Card into Your Nook
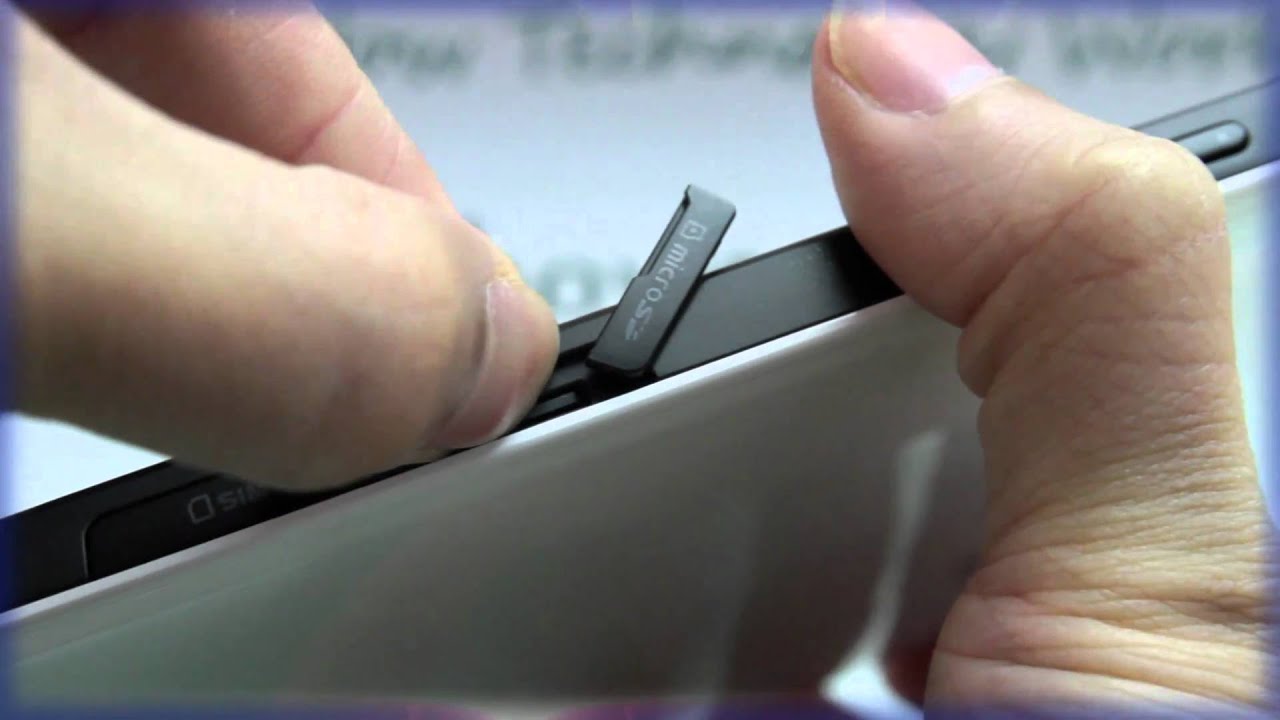
The first step in transferring files from your Nook to an SD card is to insert the SD card into your Nook device. Follow these steps:
- Locate the SD card slot on your Nook. Depending on the model, it may be on the side or at the top.
- Gently insert the SD card into the slot, making sure it is aligned correctly. Be careful not to force the card as it can cause damage.
- Once inserted, you should feel a slight click or resistance, indicating that the SD card is properly seated.
- If your Nook has a cover or a protective flap, make sure to securely close it to keep the SD card in place.
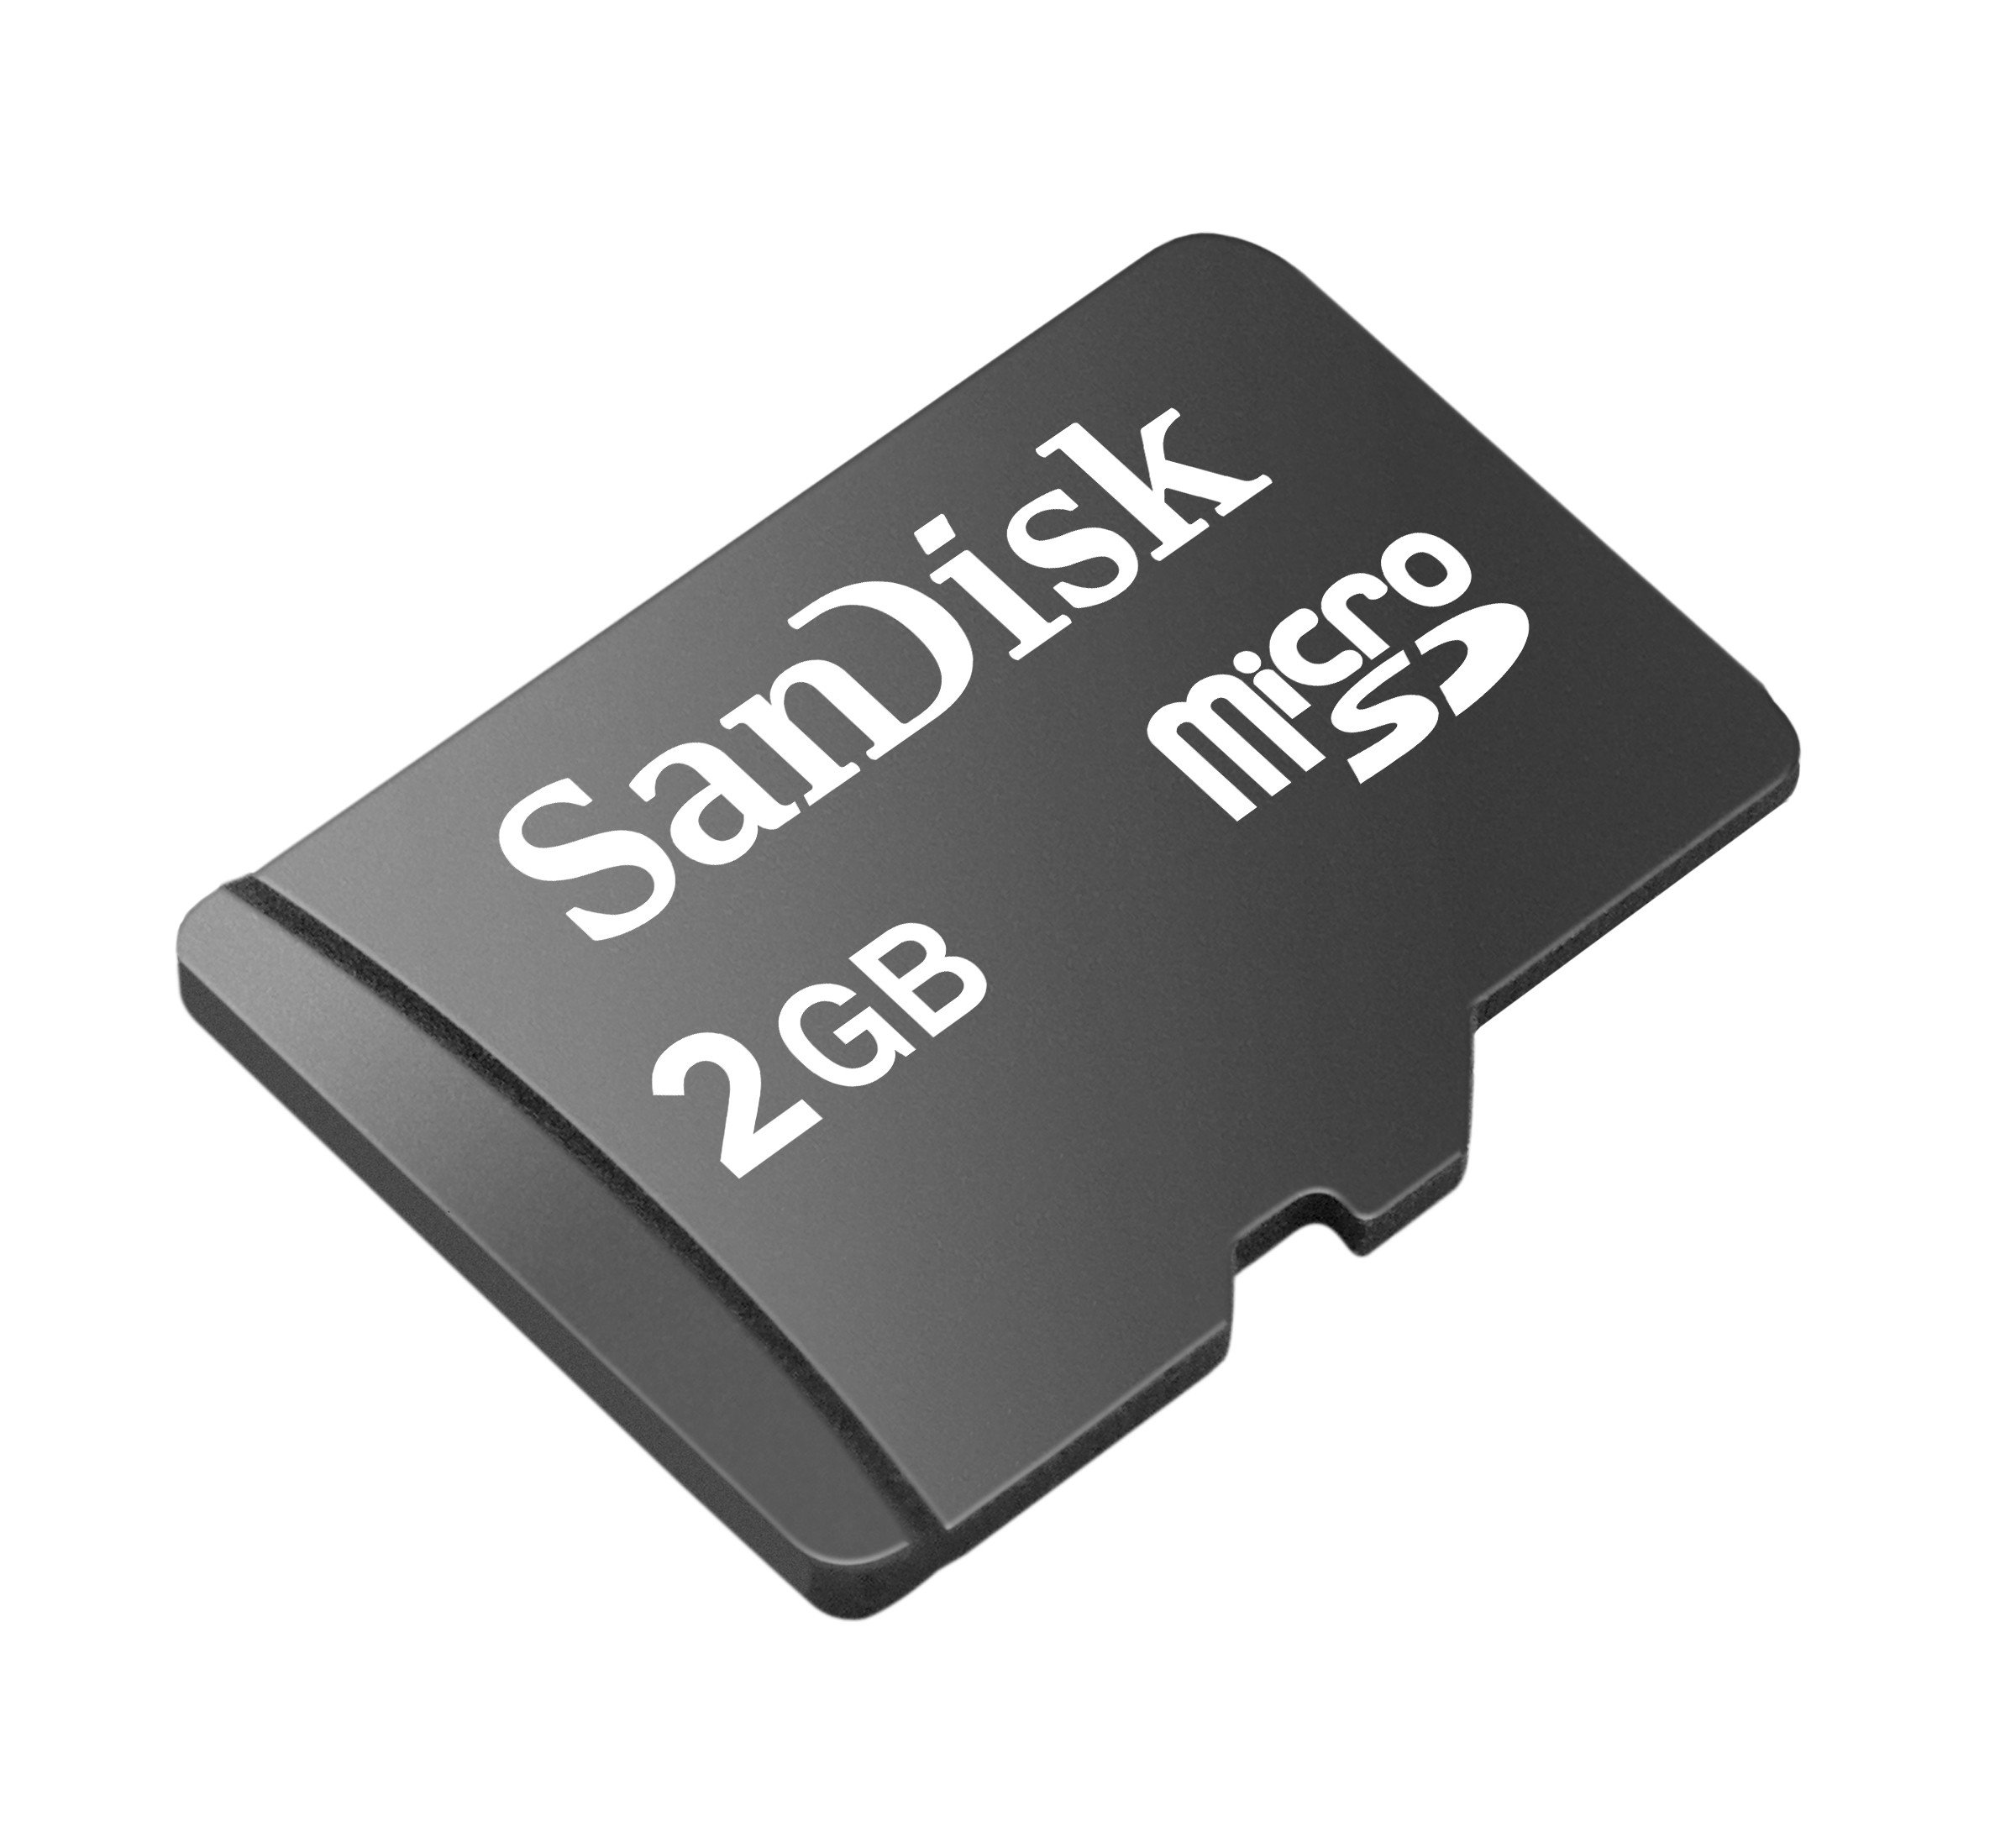
It’s important to note that some Nook models may only support specific types of SD cards, such as microSD or SDHC cards. Refer to your device’s user manual or manufacturer’s website to ensure compatibility between your Nook and the SD card.
Now that you have successfully inserted the SD card into your Nook, it’s time to move on to the next step and connect your Nook to your computer.
Step 2: Connect Your Nook to Your Computer
In order to transfer files from your Nook to an SD card, you’ll need to connect your Nook to your computer. Here’s how to do it:
- Locate the charging/data cable that came with your Nook. It typically has a USB connector on one end and a micro USB connector on the other.
- Connect the micro USB end of the cable to the corresponding port on your Nook. Ensure a secure and snug connection.
- Next, plug the USB connector into an available USB port on your computer.
- Once connected, your Nook should prompt you to choose a USB connection mode. Select the option that allows your Nook to be recognized as a storage device or as a media device.
- Your computer should now detect your Nook as an external device and display it in the file explorer or file manager.
It’s worth mentioning that some older Nook models may require the installation of specific software or drivers on your computer to establish a connection. Check the Nook website or user manual for any additional software requirements.
Now that your Nook is connected to your computer, you’re ready to move on to the next step and locate the files you want to transfer.
Step 3: Locate the Files You Want to Transfer
Once your Nook is connected to your computer, you need to locate the files you want to transfer to the SD card. Follow these steps:
- Open the file explorer or file manager on your computer. This can be done by clicking on the “File Explorer” or “Finder” icon.
- In the file explorer, you should see your Nook listed as a connected device. Click on it to access the internal storage of your Nook.
- Browse through the folders to locate the specific files you want to transfer. This can include documents, photos, videos, or any other type of file stored on your Nook.
- If the files are stored in subfolders, navigate to the respective folders to find them. You can use the folder hierarchy to organize and locate your files more efficiently.
It’s essential to remember that the file structure on your Nook might differ from your computer’s file explorer. Take your time to navigate through the folders and locate the files you wish to transfer.
Furthermore, you have the option to select multiple files or folders at once by holding down the “CTRL” key (Windows) or the “Command” key (Mac) while clicking on the files. This enables you to transfer multiple files simultaneously.
Once you have located the files you want to transfer, it’s time to proceed to the next step and copy and paste them to the SD card.
Step 4: Copy and Paste the Files to the SD Card
With the files you want to transfer located on your computer, it’s time to copy and paste them to the SD card. Follow these steps:
- Open a new file explorer or file manager window on your computer.
- Navigate to the location of your SD card. This will typically be listed as a removable device or under a specific drive letter.
- Click on the SD card to open it and create a new folder to organize your transferred files. This step is optional but recommended for better organization.
- Go back to the file explorer window containing the files you want to transfer from your Nook.
- Select the files you want to transfer by clicking on them while holding down the “CTRL” key (Windows) or the “Command” key (Mac). Alternatively, you can select entire folders.
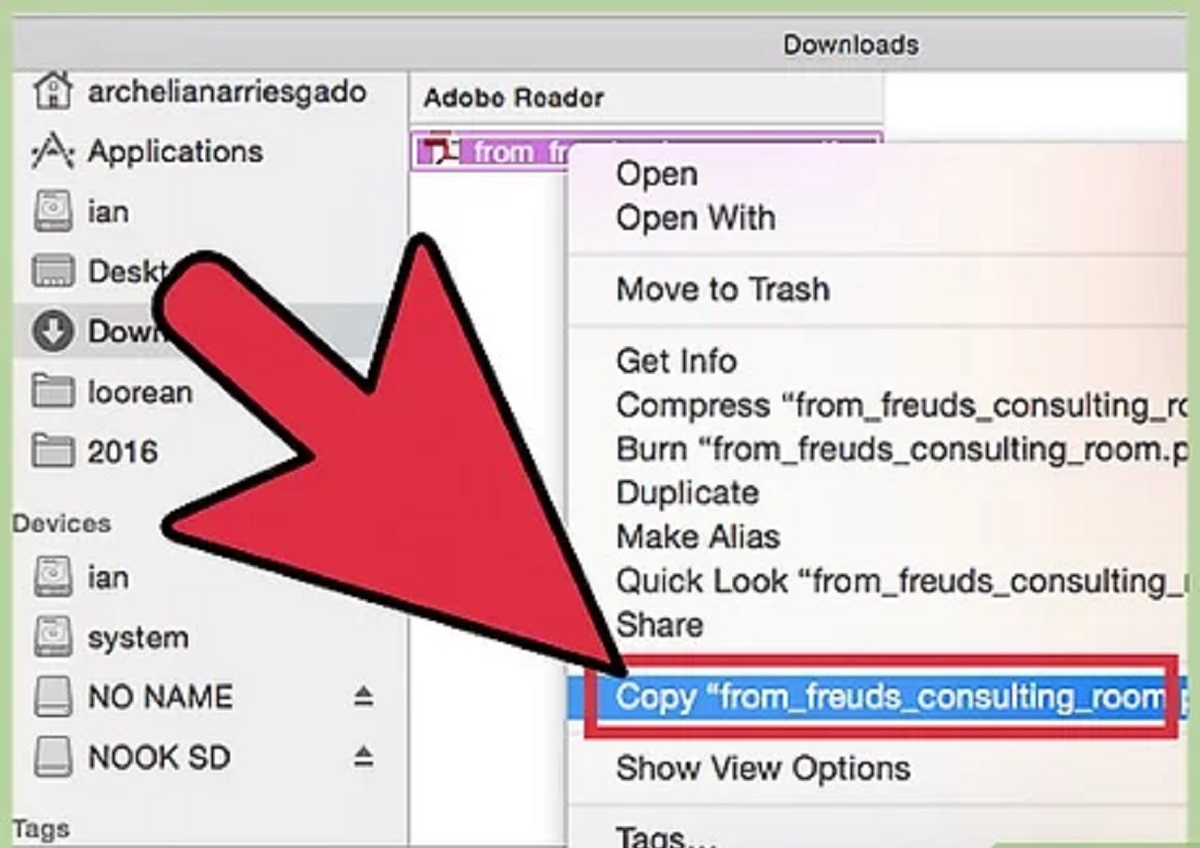
- Right-click on the selected files or folders and choose the “Copy” option from the context menu.
- Switch to the file explorer window containing your SD card and navigate to the folder you created earlier.
- Right-click inside the folder and choose the “Paste” option from the context menu. Alternatively, you can use the keyboard shortcut “Ctrl+V” (Windows) or “Command+V” (Mac) to paste the files.
The files will begin to copy from your computer to the SD card. The time it takes to transfer the files will depend on their size and the speed of your computer’s USB connection. It’s important not to disconnect your Nook or the SD card during the file transfer process to avoid any data loss or corruption.
Once the files are successfully copied to the SD card, you can disconnect your Nook from the computer and safely remove the device.
Now that the files are transferred, they can be accessed directly from the SD card on any device that supports it. Whether you want to view the files on another Nook device, a computer, or a compatible media player, the SD card provides a convenient way to access your transferred files.
Step 5: Safely Remove Your Nook from the Computer
After successfully transferring files from your Nook to the SD card, it is important to properly disconnect and remove your Nook from the computer to avoid any potential data loss or damage. Follow these steps:
- Ensure that all file transfers are completed and that no files are currently being accessed or copied to/from your Nook.
- On your computer’s taskbar or system tray, locate the “Safely Remove Hardware” or “Eject” icon. It may look like a USB plug or a storage device icon.
- Click on the “Safely Remove Hardware” or “Eject” icon, and a list of connected devices will appear.
- Select the appropriate option for your Nook. It might be named as “Nook” or as the specific model of your device.
- Wait for a confirmation message that it is safe to remove the Nook. This message ensures that all connections and file transfers are safely closed.
- Once you receive the confirmation message, gently disconnect the USB cable from both your Nook and your computer.
It is crucial not to disconnect the USB cable abruptly or forcefully, as this can lead to potential data corruption or physical damage to your Nook or the computer’s USB port.
Now that your Nook is safely disconnected from the computer, you can remove the SD card from the Nook if desired, or keep it inserted for continued use.
Following these steps and safely removing your Nook from the computer not only protects your device and data but also ensures the longevity of your Nook and the proper functioning of the SD card.
With the completion of this final step, you have successfully transferred files from your Nook to an SD card, making them easily accessible and providing you with additional storage space on your device. Enjoy your organized and expanded digital library!
Conclusion
Transferring files from your Nook to an SD card is a simple and effective way to manage your storage and keep your important files safe. By following the step-by-step guide outlined above, you can easily transfer documents, photos, videos, and other files from your Nook to an SD card.
The process starts with inserting the SD card into your Nook and connecting it to your computer. Then, you can locate the files you want to transfer and copy and paste them to the SD card. Finally, it is essential to safely remove your Nook from the computer to avoid any potential data loss.
Transferring files to an SD card offers several advantages. It frees up space on your Nook, allowing you to download new content or install more applications. Additionally, it provides a convenient way to access your files on other devices and share them with others.
Remember to always refer to your device’s user manual or manufacturer’s website for specific instructions tailored to your Nook model. Each Nook device may have slightly different methods or considerations when it comes to transferring files.
Now that you have the knowledge and steps required to transfer files from your Nook to an SD card, you can easily manage your digital library and enjoy a clutter-free device. With your files safely stored on the SD card, you’ll have more space and peace of mind.
So, go ahead and transfer your files to an SD card and take control of your Nook’s storage. Enjoy the convenience and flexibility that comes with having your files easily accessible whenever and wherever you need them.