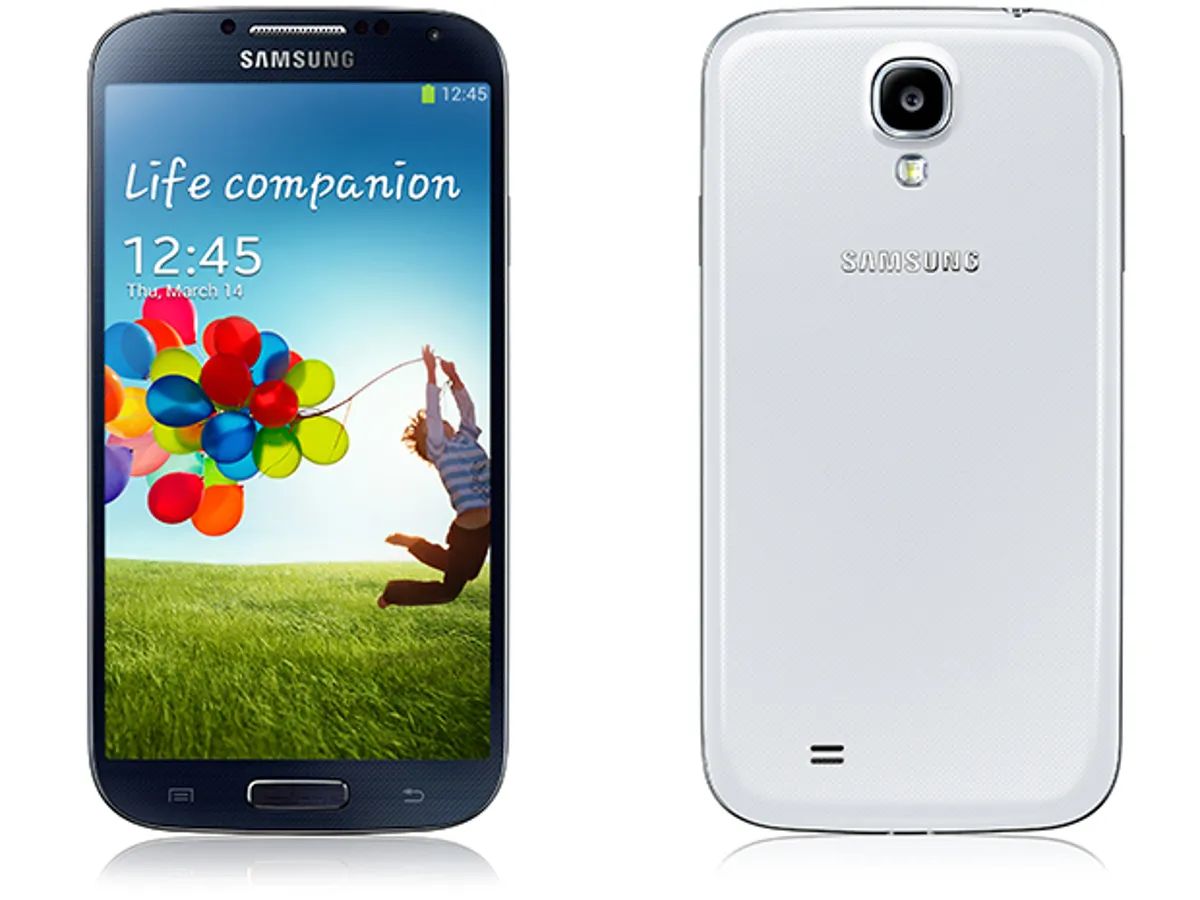
Introduction
Welcome to this step-by-step guide on how to download pictures from your Samsung Galaxy S4 to your computer. The Samsung Galaxy S4 is a powerful smartphone that captures stunning photos and videos. However, sometimes you may want to transfer these precious memories to your computer for safekeeping, sharing with friends and family, or for editing purposes. In this guide, we will walk you through the process of connecting your Samsung Galaxy S4 to your computer and transferring your pictures with ease.
Transferring pictures from the Samsung Galaxy S4 to a computer is a simple and straightforward process. By following the steps outlined in this guide, you can quickly and securely transfer your photos, ensuring that you have backups and freeing up valuable storage space on your device.
Before we begin, it is important to ensure that you have the necessary equipment and settings in place. Firstly, you will need a USB cable to connect your Samsung Galaxy S4 to your computer. This is usually the same cable that you use for charging your device. Secondly, you will need to enable USB debugging on your Samsung Galaxy S4. This allows your computer to recognize your device and establish a connection. Don’t worry, we will guide you through the process.
So, if you are ready to learn how to download pictures from your Samsung Galaxy S4 to your computer, let’s get started with the first step: connecting your Samsung Galaxy S4 to your computer.
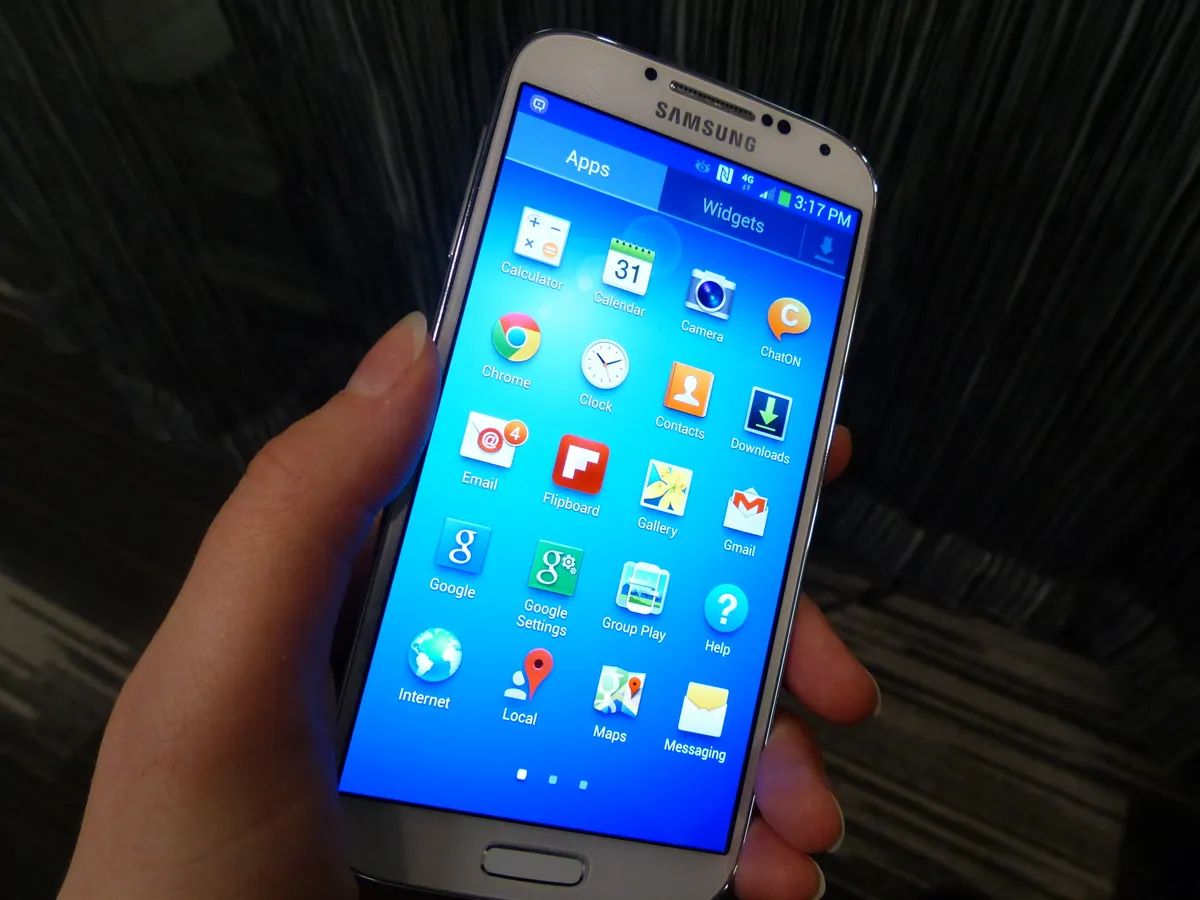
Step 1: Connect your Samsung Galaxy S4 to your computer
The first step in downloading pictures from your Samsung Galaxy S4 to your computer is to establish a physical connection between the two devices. To do this, you will need a USB cable that is compatible with your Samsung Galaxy S4. This is typically the same cable that you use for charging your device.
Begin by locating the USB port on your Samsung Galaxy S4. It is usually located at the bottom of the device. Take one end of the USB cable and insert it into the USB port on your Samsung Galaxy S4.
Next, locate an available USB port on your computer. Take the other end of the USB cable and insert it into the USB port on your computer. Make sure the connection is secure to ensure proper data transfer.
Once the Samsung Galaxy S4 is connected to your computer, your computer should recognize the device and establish a connection. You may hear a sound or see a pop-up notification indicating that a new device has been connected.
If your computer does not recognize the Samsung Galaxy S4, there are a few troubleshooting steps you can try. Firstly, make sure that USB debugging is enabled on your Samsung Galaxy S4. If it is not, refer to the next section for instructions on how to enable it. Secondly, try using a different USB cable or a different USB port on your computer. Sometimes, faulty cables or ports can cause connection issues.
Once your Samsung Galaxy S4 is successfully connected to your computer, you are ready to move on to the next step: enabling USB debugging. This step is crucial for your computer to recognize and communicate with your device.
Step 2: Enable USB debugging on your Samsung Galaxy S4
Before you can transfer pictures from your Samsung Galaxy S4 to your computer, you need to enable USB debugging on your device. USB debugging allows your computer to communicate with your device and access its files and settings.
To enable USB debugging on your Samsung Galaxy S4, follow these steps:
- Go to the Settings menu on your Samsung Galaxy S4. You can access the Settings menu by tapping on the gear icon in the app drawer or by swiping down from the top of the screen and tapping on the gear icon in the notification panel.
- Scroll down and tap on the “Developer options” or “Developer settings” option. If you don’t see this option, go to the “About phone” or “About device” section and look for the “Build number” or “Software information” option.
- Tap on the “Build number” or “Software information” option repeatedly (around seven times) until you see a message saying that you have enabled developer mode.
- Go back to the main Settings menu and you should now see the “Developer options” or “Developer settings” option. Tap on it.
- Find the “USB debugging” option and toggle it on. You might see a warning message informing you about the potential risks of enabling USB debugging. Read the message, and if you understand the risks, tap on “OK”.
Once you have enabled USB debugging on your Samsung Galaxy S4, your computer will be able to recognize your device and establish a connection. This will allow you to transfer pictures and other files between your device and your computer.
Now that USB debugging is enabled, you can proceed to the next step: opening the file explorer on your computer to access the pictures on your Samsung Galaxy S4.
Step 3: Open the File Explorer on your computer
Once you have connected your Samsung Galaxy S4 to your computer and enabled USB debugging, you need to open the File Explorer on your computer to access the pictures on your device. The File Explorer allows you to navigate through the files and folders on your computer and external devices, including your Samsung Galaxy S4.
To open the File Explorer on your computer, follow these steps:
- For Windows users, you can open the File Explorer by clicking on the “File Explorer” or “This PC” icon on your desktop taskbar, or by pressing the Windows key + E on your keyboard.
- For Mac users, you can open the Finder by clicking on the Finder icon in your dock, or by pressing Command + Space on your keyboard to open Spotlight, then typing “Finder” and hitting Enter.
Once the File Explorer or Finder window is open, you should see a list of folders and drives on the left side of the window. Look for your Samsung Galaxy S4 under the “Devices” or “This PC” section. It is usually listed with the device name, such as “Galaxy S4” or “Samsung SM-G900.”
Click on your Samsung Galaxy S4 to expand the device and view its file system. You should see various folders, such as “DCIM” (which stores the camera pictures), “Downloads,” “Music,” “Videos,” and more.
To access the pictures on your Samsung Galaxy S4, navigate to the “DCIM” folder. This is where the camera pictures and videos are stored. Double-click on the “DCIM” folder to open it, and you should see additional folders, organized by the camera app or folders you have created.
Now that you have successfully opened the File Explorer on your computer and located the “DCIM” folder on your Samsung Galaxy S4, you are ready to move on to the next step: locating and selecting the pictures you want to download.
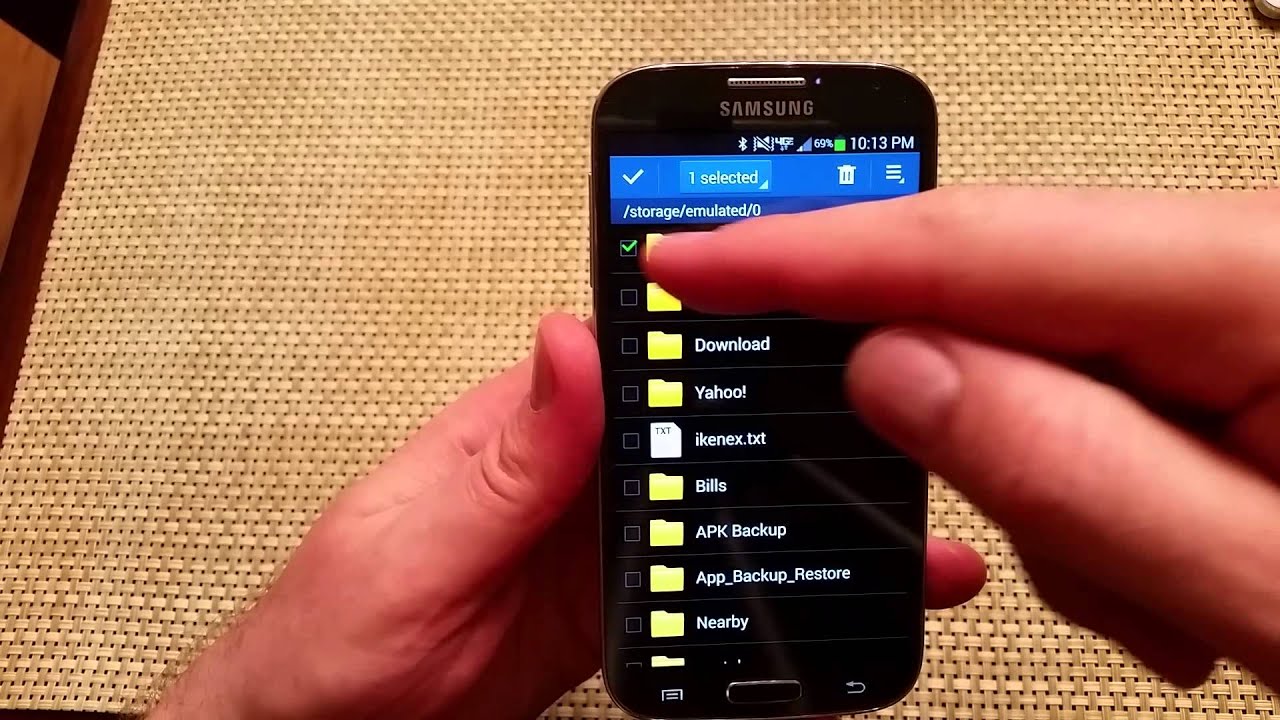
Step 4: Locate and select the pictures you want to download
Once you have opened the File Explorer on your computer and accessed the “DCIM” folder on your Samsung Galaxy S4, it’s time to locate and select the pictures you want to download. The “DCIM” folder is where the camera pictures and videos are stored, making it the primary location for accessing and managing your device’s media files.
To locate and select the pictures you want to download, follow these steps:
- Browse through the folders within the “DCIM” folder to find the specific folder or album that contains the pictures you wish to download. You may encounter folders named “Camera,” “Screenshots,” or folders with dates or event names.
- Click on the folder to open it and view the pictures it contains. The images will typically be displayed as thumbnail previews, allowing you to identify them visually.
- Use the scroll bar or arrow keys to navigate through the pictures within the folder. Take your time to browse through and identify the images you want to download.
- To select multiple pictures, hold down the Ctrl (Windows) or Command (Mac) key on your keyboard, and click on each picture you want to download. Alternatively, you can click and drag your mouse over a range of pictures to select them all at once.
- If you want to select all the pictures within a folder, you can press Ctrl + A (Windows) or Command + A (Mac) on your keyboard.
Once you have located and selected the pictures you want to download, they will be highlighted or marked with a checkmark. Double-check that you have selected the correct pictures before proceeding to the next step.
Now that you have successfully located and selected the pictures you want to download from your Samsung Galaxy S4, you are ready to move on to the next step: copying the selected pictures to your computer.
Step 5: Copy the selected pictures to your computer
With the desired pictures selected in the File Explorer on your computer, it’s time to copy them from your Samsung Galaxy S4 and onto your computer. This process allows you to transfer the selected pictures and create backups or use them for various purposes, such as editing or sharing with others.
To copy the selected pictures to your computer, follow these steps:
- Right-click on any of the selected pictures, and a context menu will appear.
- In the context menu, choose the “Copy” or “Copy to” option. This will copy the selected pictures to your computer’s clipboard.
- Navigate to the location on your computer where you want to save the copied pictures. You can choose to create a new folder or select an existing folder where the pictures will be stored.
- Right-click in the desired location and select the “Paste” option. This will paste the copied pictures from your Samsung Galaxy S4 onto your computer.
- The selected pictures will now be copied from your Samsung Galaxy S4 and saved onto your computer in the specified location. The transfer process may take some time, depending on the number and size of the pictures.
Once the copying process is complete, you can navigate to the designated location on your computer to verify that the selected pictures have been successfully copied.
It’s important to note that the copied pictures will be stored on your computer as separate files, preserving their original format and orientation. This allows you to access and use them just like any other image file on your computer.
Now that you have successfully copied the selected pictures from your Samsung Galaxy S4 to your computer, you are ready to move on to the final step: safely disconnecting your Samsung Galaxy S4 from your computer.
Step 6: Safely disconnect your Samsung Galaxy S4 from your computer
After successfully transferring your pictures from your Samsung Galaxy S4 to your computer, it’s important to follow the proper procedure to safely disconnect your device. This ensures that all the data is saved and prevents any potential data loss or corruption during the disconnection process.
To safely disconnect your Samsung Galaxy S4 from your computer, follow these steps:
- Make sure all the file transfers and processes involving your Samsung Galaxy S4 have completed. This includes any file copy or sync operations that might be running in the background.
- Locate the USB icon or notification that appears on your device’s screen indicating that it is connected to a computer. Depending on the version of Android running on your device, this icon or notification may vary.
- Swipe down from the top of the screen to access the notification panel, and tap on the USB connection notification.
- A menu will appear, displaying different USB connection options. Select the “Disconnect” option or any similar option that indicates safely disconnecting the device.
- Wait for a few seconds until your computer recognizes that the device has been safely disconnected. Once the disconnection process is complete, you can unplug the USB cable from your Samsung Galaxy S4 and your computer.
By following these steps, you ensure that all the necessary data has been safely transferred and that your Samsung Galaxy S4 is no longer connected to your computer. This prevents any potential data loss or damage to your device’s files.
It’s important to note that abruptly disconnecting your device without following the proper procedure can lead to data loss and corruption. So, always remember to safely disconnect your Samsung Galaxy S4 from your computer to protect your files and ensure a smooth experience in future connections.
Congratulations! You have successfully downloaded pictures from your Samsung Galaxy S4 to your computer and safely disconnected your device. Your precious memories are now securely stored on your computer, ready to be accessed, shared, or edited as desired.
Conclusion
Transferring pictures from your Samsung Galaxy S4 to your computer is a simple and essential process that allows you to backup your precious memories, free up storage space on your device, and facilitate sharing and editing. By following the steps outlined in this guide, you can effortlessly download your pictures and ensure their safekeeping.
In this guide, we covered the following steps:
- Connecting your Samsung Galaxy S4 to your computer.
- Enabling USB debugging on your Samsung Galaxy S4.
- Opening the File Explorer on your computer to access the pictures on your Samsung Galaxy S4.
- Locating and selecting the pictures you want to download.
- Copying the selected pictures from your Samsung Galaxy S4 to your computer.
- Safely disconnecting your Samsung Galaxy S4 from your computer.
By following each step carefully, you can seamlessly transfer your pictures and ensure a smooth and successful download process. Remember to always enable USB debugging and safely disconnect your device to protect your data and maintain a reliable connection.
Now that you have learned how to download pictures from your Samsung Galaxy S4 to your computer, you can easily manage and organize your photos, create backups, and cherish your memories for years to come. Whether you want to edit, share, or simply enjoy your pictures on a larger screen, the process is quick and hassle-free.
We hope that this guide has been helpful in allowing you to transfer your pictures effectively and efficiently. Enjoy your newly downloaded pictures and continue to make lasting memories with your Samsung Galaxy S4!