Introduction
When it comes to capturing precious moments, your Samsung Galaxy 5 can undoubtedly deliver stunning photos. But what if you want to transfer these photos from your device to your computer? Whether you’re looking to backup your pictures, edit them on your computer, or share them with friends and family, transferring your photos is a necessary step.
In this article, we will explore various methods to download pictures from your Samsung Galaxy 5 to your computer. You will learn how to connect your phone to your computer, select the pictures you want to transfer, and utilize different transfer methods such as using a USB cable, Wi-Fi, or Bluetooth. We will also address common troubleshooting issues that may arise during the process.
By the end of this article, you will have a comprehensive understanding of how to transfer your pictures from your Samsung Galaxy 5 to your computer, empowering you to effortlessly manage your photo collection and unleash your creative potential.
Connecting your Samsung Galaxy 5 to your computer
To begin the process of transferring pictures from your Samsung Galaxy 5 to your computer, you first need to establish a connection between the two devices. There are a few different methods you can use, depending on your preferences and the resources available to you.
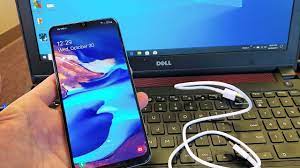
One of the most common ways to connect your Samsung Galaxy 5 to your computer is through a USB cable. Start by locating the USB port on your computer and the corresponding port on your phone. Plug one end of the USB cable into your computer and the other end into your phone. Once connected, your computer should recognize your phone as a storage device.
Another option is to use Wi-Fi transfer, which allows you to transfer pictures wirelessly between your phone and your computer. To use this method, ensure that both your phone and your computer are connected to the same Wi-Fi network. Then, enable the Wi-Fi transfer functionality on your phone and follow the on-screen instructions to establish a connection with your computer.
If you prefer a wireless connection that doesn’t rely on Wi-Fi or cables, you can utilize Bluetooth to transfer your pictures. Enable Bluetooth on both your phone and your computer, and pair the devices. Once paired, you can easily send pictures from your phone to your computer using the Bluetooth transfer feature.
It’s important to note that the specific steps for connecting your Samsung Galaxy 5 to your computer may vary depending on your device model and computer operating system. Therefore, it’s always a good idea to consult the user manual for your phone or visit the official Samsung support website for detailed instructions tailored to your specific setup.
Now that you have successfully connected your Samsung Galaxy 5 to your computer, it’s time to move on to the next step: selecting the pictures you want to transfer.
Selecting the pictures you want to transfer
Before you can begin transferring pictures from your Samsung Galaxy 5 to your computer, you need to decide which photos you want to transfer. This step allows you to choose specific pictures for backup, editing, or sharing purposes, rather than transferring your entire photo library.
To select the pictures, you can use the built-in Gallery app on your Samsung Galaxy 5. Open the app and navigate to the folder or album containing the photos you wish to transfer. You can swipe through the images to preview them and decide which ones to select.
To transfer individual photos, tap on them to highlight them. You can also tap and hold on a photo to enter selection mode, allowing you to choose multiple pictures at once. Alternatively, if you want to transfer all the photos within a specific folder or album, tap the “Select All” option.
Once you have made your selections, look for the share or export option within the Gallery app. This option may be represented by an icon that resembles a square with an arrow pointing out. Tap on it, and you will be presented with different sharing options.
From the sharing options, choose the method of transfer that aligns with your previous connection method. For example, if you connected your phone to your computer via USB, select the option that allows you to transfer the selected pictures via USB. If you’re using Wi-Fi transfer or Bluetooth, choose the respective option from the list.
It’s important to note that the available sharing options may vary depending on your device model and the apps installed on your phone. In some cases, you may need to use third-party apps or file transfer software to facilitate the transfer process.
After selecting the transfer method, follow the prompts and instructions to initiate the transfer of the selected pictures. Depending on the number and size of the pictures, the transfer process may take a few moments to complete.
Now that you have successfully selected the pictures you want to transfer, it’s time to move on to the next section, where we will explore the different methods for transferring pictures from your Samsung Galaxy 5 to your computer.
Using the USB cable to transfer pictures
One of the most common and straightforward methods for transferring pictures from your Samsung Galaxy 5 to your computer is by using a USB cable. This method allows for a direct and reliable connection between the two devices, ensuring a fast and secure transfer process.
To begin, locate the USB port on your computer and the corresponding port on your Samsung Galaxy 5. Connect one end of the USB cable to your computer and the other end to your phone. Make sure the connections are secure.
Once the USB cable is connected, your computer should automatically detect your Samsung Galaxy 5 as an external device. A notification may appear on your phone, asking you to grant access to your phone’s files. Tap on “Allow” or “Grant” to establish the connection.
On your computer, open the default file manager or explorer application. It should recognize your Samsung Galaxy 5 as a portable device or external storage media. You can access the phone’s storage by navigating to the appropriate folder.
Depending on the file manager or explorer application you’re using on your computer, the interface may vary. However, the general principle remains the same. You should see your phone’s internal storage or SD card listed as a separate drive or device.
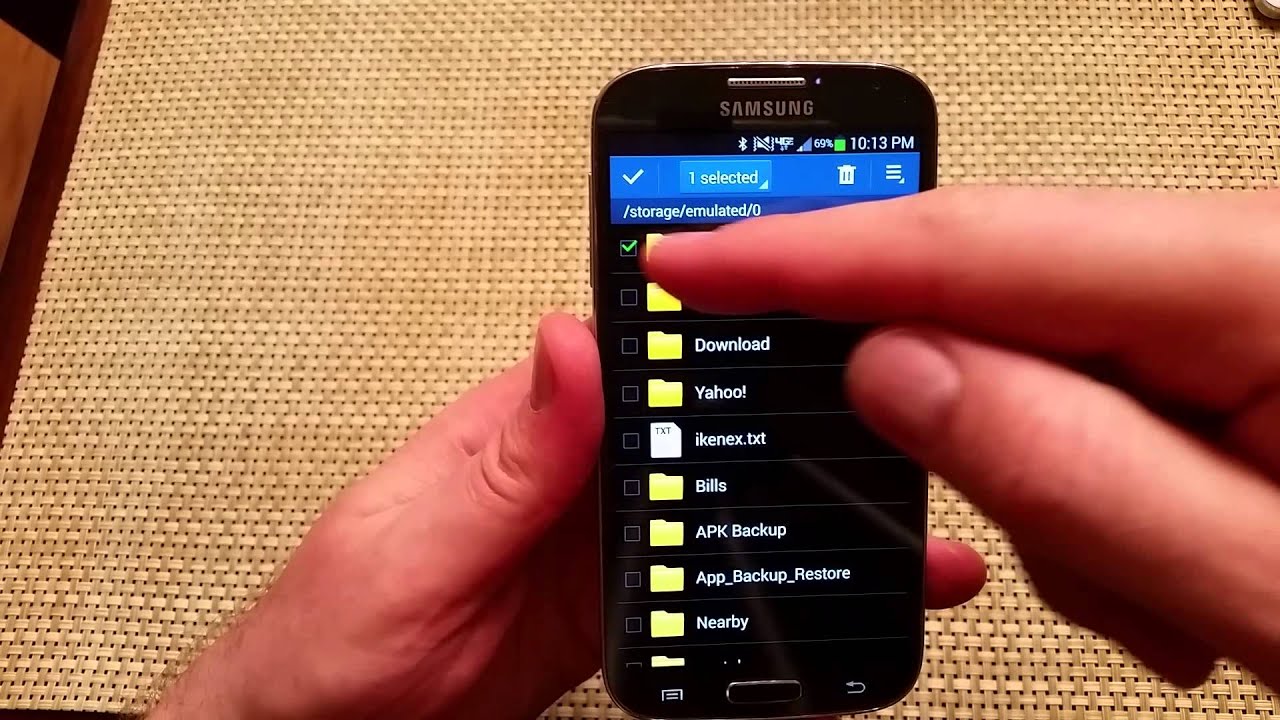
Open the folder that contains the pictures you want to transfer. You can typically find your pictures in the “DCIM” or “Pictures” folder. Once you’ve located the desired pictures, select them by clicking or highlighting them. You can select multiple pictures by holding down the Ctrl key (for Windows) or Command key (for Mac) while clicking on the pictures.
With the pictures selected, right-click on one of the selected pictures and choose the option to copy or cut the files. Alternatively, you can use the Ctrl+C (for copy) or Ctrl+X (for cut) keyboard shortcuts.
Navigate to the destination folder on your computer where you want to transfer the pictures. Right-click inside the folder and select the paste option. You can also use the Ctrl+V keyboard shortcut to paste the files.
The selected pictures will now transfer from your Samsung Galaxy 5 to your computer. The transfer speed may vary depending on the size and number of pictures being transferred. Once the transfer is complete, you will find the pictures in the destination folder on your computer.
Using the USB cable to transfer pictures is a reliable and efficient method. However, keep in mind that you may need to install the appropriate device drivers or software on your computer for it to recognize your Samsung Galaxy 5 correctly. Consult the user manual for your phone or visit the official Samsung support website for specific instructions tailored to your device and operating system.
Next, we will explore another method of transferring pictures wirelessly using Wi-Fi transfer.
Using Wi-Fi transfer to download pictures
If you prefer a wireless method for transferring pictures from your Samsung Galaxy 5 to your computer, Wi-Fi transfer is a convenient option. This method allows you to transfer photos without the need for cables, providing flexibility and convenience. Here’s how you can use Wi-Fi transfer to download pictures:
Ensure that both your Samsung Galaxy 5 and your computer are connected to the same Wi-Fi network. This is crucial for establishing a successful connection between the two devices.
On your Samsung Galaxy 5, open the Gallery app and navigate to the folder or album containing the pictures you wish to transfer. Select the pictures you want to download by tapping on them or entering the selection mode and choosing multiple photos.
Tap on the share or export option within the Gallery app, typically represented by an arrow pointing out of a square. From the sharing options, select the Wi-Fi transfer option.
Depending on your device and software version, you may be prompted to download and install a companion app on your computer for the Wi-Fi transfer to work. Follow the on-screen instructions to complete the installation process.
Once the necessary app is installed, open it on your computer. It should detect your Samsung Galaxy 5 on the same Wi-Fi network. Follow any additional prompts or instructions to establish the connection. This may involve entering a passcode or confirming a pairing request.
Once the connection is established, you should see a list of the selected pictures on your computer’s screen. Choose the destination folder where you want to download the pictures, and initiate the transfer.
The transfer speed may vary depending on the size of the pictures and the Wi-Fi network’s capabilities. Once the transfer is complete, you will find the downloaded pictures in the specified destination folder on your computer.
Wi-Fi transfer provides a convenient and cable-free method to download pictures from your Samsung Galaxy 5 to your computer. However, it’s important to note that the availability of this feature may depend on your device model and software version. Consult your phone’s user manual or visit the official Samsung support website for more information on using Wi-Fi transfer.
Now that you have explored the Wi-Fi transfer method, let’s move on to another wireless option: transferring pictures via Bluetooth.
Transferring pictures via Bluetooth
If you’re looking for a wireless method to transfer pictures from your Samsung Galaxy 5 to your computer, Bluetooth is an option worth considering. Bluetooth technology allows for direct communication between devices without the need for cables or an internet connection. Here’s how you can transfer pictures via Bluetooth:
First, ensure that Bluetooth is enabled on both your Samsung Galaxy 5 and your computer. On your phone, go to the Settings app and locate the Bluetooth settings. Toggle the Bluetooth switch to turn it on.
On your computer, access the Bluetooth settings. This can usually be done through the system tray or the control panel, depending on your computer’s operating system. Enable Bluetooth if it’s not already turned on.
Once Bluetooth is enabled on both devices, go back to your Samsung Galaxy 5. Open the Gallery app and navigate to the pictures you want to transfer. Tap and hold on a picture to enter selection mode, then choose the pictures you want to transfer.
With the pictures selected, tap on the share or export option in the Gallery app. From the sharing options, select the Bluetooth option. Your phone will then search for available Bluetooth devices nearby.
On your computer, you should receive a notification or prompt indicating that your Samsung Galaxy 5 is trying to connect via Bluetooth. Accept the request to establish the connection between the two devices.
Once the connection is established, the Bluetooth transfer will begin. The transfer speed may vary depending on the file sizes and the Bluetooth version supported by your devices.
On your computer, specify the destination folder where you want to save the transferred pictures. You may be prompted to confirm the transfer or choose a location within the Bluetooth transfer settings on your computer.
Once the transfer is complete, you will find the transferred pictures in the specified destination folder on your computer.
While Bluetooth offers a convenient wireless transfer method, it’s important to note that it may have limitations in terms of transfer speed and file size. Additionally, some older computer models may not have Bluetooth capabilities built-in, requiring the use of external Bluetooth dongles or adapters.
Now that you’ve learned about transferring pictures via Bluetooth, let’s move on to the next section where we will address common troubleshooting issues that may arise during the picture transfer process.
Troubleshooting common issues
While transferring pictures from your Samsung Galaxy 5 to your computer is generally straightforward, there may be times when you encounter common issues that can hinder the process. Here are some troubleshooting tips to help you overcome these challenges:
1. Connection issues: If you’re having trouble establishing a connection between your Samsung Galaxy 5 and your computer, ensure that all cables are securely connected or that both devices are connected to the same Wi-Fi network. Restarting both devices and trying different USB ports or Wi-Fi networks can also help resolve connectivity problems.
2. Device not recognized: If your computer does not recognize your Samsung Galaxy 5 when connected via USB, try reinstalling the device drivers. Visit the official Samsung website or consult the user manual for specific instructions on installing the drivers for your device model.
3. Slow transfer speed: If the transfer process is taking longer than expected, check the file sizes of the pictures being transferred. Large files can result in slower transfer speeds. Additionally, ensure that both your phone and computer are running the latest software updates, as these updates often contain performance improvements.
4. File compatibility: If you encounter issues opening or viewing transferred pictures on your computer, ensure that your computer supports the file format of the transferred pictures. Consider installing or updating a suitable image viewing software on your computer if needed.
5. Insufficient storage: If you receive an error indicating insufficient storage on your computer while transferring pictures, check the available storage space on your computer. Delete unnecessary files or transfer existing files to an external storage device to free up space for the transferred pictures.
6. App-specific issues: If you’re using a third-party app or software for transferring pictures, make sure that it’s compatible with your Samsung Galaxy 5 and your computer’s operating system. Check for app updates or consider using alternative file transfer methods if the issues persist.
7. Interference: In wireless transfer methods such as Wi-Fi and Bluetooth, interference from other devices or electromagnetic sources can disrupt the connection and affect transfer speeds. Minimize potential interference by keeping your devices in close proximity and away from sources of interference such as routers or other electronic devices.
If you’ve tried these troubleshooting tips and are still experiencing issues with transferring pictures from your Samsung Galaxy 5 to your computer, consider seeking further assistance from the official Samsung support website or contacting their customer support directly.
With these troubleshooting tips in mind, you should be well-equipped to overcome any common issues that may arise during the picture transfer process.
Conclusion
Transferring pictures from your Samsung Galaxy 5 to your computer is essential for backing up your photos, editing them on a larger screen, or sharing them with others. Throughout this article, we explored various methods for accomplishing this task.
We started by discussing the importance of connecting your Samsung Galaxy 5 to your computer and provided instructions for using a USB cable, Wi-Fi transfer, and Bluetooth. Each method offers its own advantages and may cater to different preferences or circumstances.
We then delved into the process of selecting specific pictures for transfer, using the built-in Gallery app on your Samsung Galaxy 5. This allows you to choose the photos you want to transfer based on your needs and preferences, rather than transferring your entire photo library.
For those who prefer a direct and reliable connection, using a USB cable simplifies the transfer process. By connecting your phone to your computer, you can easily transfer selected pictures from your Samsung Galaxy 5 to your computer with just a few clicks.
Alternatively, using Wi-Fi transfer offers the convenience of a wireless connection. By ensuring that both your phone and computer are connected to the same Wi-Fi network, you can transfer pictures without the hassle of cables or physical connections.
Lastly, we explored transferring pictures via Bluetooth, which allows for wireless communication between devices. Although Bluetooth transfer may have limitations in terms of transfer speed and file size, it provides a convenient option for those without access to a USB cable or Wi-Fi network.
Throughout the process, we also highlighted troubleshooting tips to help you overcome common issues that may arise during the picture transfer process. By following these tips, you can identify and resolve any connectivity, speed, compatibility, or storage-related problems that you may encounter.
By following the methods and tips outlined in this article, you can confidently transfer pictures from your Samsung Galaxy 5 to your computer, ensuring the safety and accessibility of your precious memories. Whether you’re backing up your photos, editing them, or sharing them with loved ones, these transfer methods empower you to manage your photo collection effectively and unleash your creative potential.