Introduction
When it comes to editing text or moving files, the keyboard shortcut for cut is an invaluable tool. This simple yet powerful command allows you to remove or relocate content with just a few keystrokes, saving you time and effort in your daily tasks.
Whether you’re a seasoned computer user or a beginner, knowing the keyboard shortcut for cut can significantly streamline your workflow. Instead of relying on context menus or navigating through multiple menus, you can take advantage of this handy shortcut to accomplish your tasks more efficiently.
In this article, we’ll explore the keyboard shortcut for cut on both Windows and Mac operating systems. We’ll guide you through the steps so you can start using this useful command right away. Additionally, we’ll provide some extra tips and tricks to help you maximize your productivity.
So, if you’re ready to learn the keyboard shortcut for cut and take your editing skills to the next level, let’s dive in!
What Is the Keyboard Shortcut for Cut?
The keyboard shortcut for cut is a combination of keys that allows you to remove selected content and place it on the clipboard. This content can be anything from text, images, or files. Once you have cut the content, you can then paste it elsewhere, either within the same document or into a different location altogether.
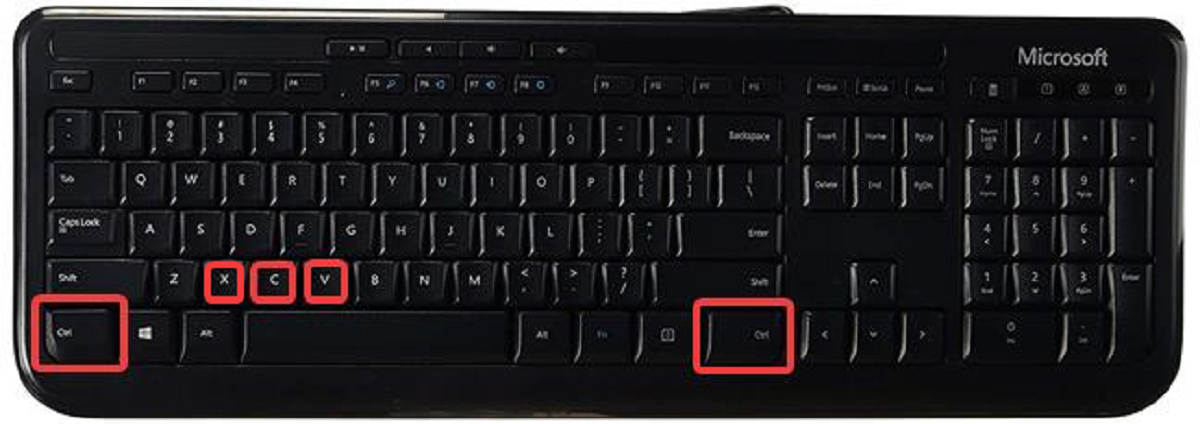
The standard keyboard shortcut for cut across most platforms and applications is Ctrl + X for Windows and Command + X for Mac. The Ctrl or Command key, also known as the “modifier” key, is pressed and held, followed by the X key.
Using the cut command is like performing a virtual “scissor” action on the selected content. It removes the content from its original location and places it on the clipboard, ready for pasting somewhere else. This can be incredibly useful when you need to quickly delete or move text within a document, rearrange files in a folder, or transfer content between different applications.
One important thing to note is that cutting content is different from copying content. When you cut content, it is no longer available in its original location, whereas when you copy content, it remains in its original location while a duplicate is placed on the clipboard. This distinction is helpful in understanding the different use cases for the cut and copy commands.
Now that we know what the keyboard shortcut for cut is and its basic functionality, let’s explore how to use it on both Windows and Mac operating systems.
How to Use the Keyboard Shortcut for Cut on Windows
If you’re using a Windows operating system, the keyboard shortcut for cut is Ctrl + X. Here’s a step-by-step guide on how to use it:
- Select the content you want to cut. This can be text within a document, files in a folder, or even elements within an application.
- Once the content is selected, press and hold the Ctrl key on your keyboard.
- While holding the Ctrl key, press the X key. This will trigger the cut command.
- The selected content will now be removed from its original location and placed on the clipboard.
- To paste the cut content, navigate to the desired location, and press Ctrl + V. This will paste the content from the clipboard into the new location.
Using the keyboard shortcut for cut on Windows can significantly speed up your editing tasks. Instead of relying on the right-click context menu or the toolbar options, you can simply select the content and cut it with a quick key combination.
It’s worth noting that the cut command also works across different applications. Whether you’re editing text in a word processor, organizing files in Windows Explorer, or managing elements in a design program, the Ctrl + X shortcut remains consistent.
Now that you know how to use the keyboard shortcut for cut on Windows, let’s move on to learning how to use it on a Mac.
How to Use the Keyboard Shortcut for Cut on Mac
On a Mac operating system, the keyboard shortcut for cut is Command + X. Follow these simple steps to use the shortcut:
- Highlight the content you want to cut. This can be text within a document, files in a folder, or even elements within an application.
- Hold down the Command key on your keyboard.
- While keeping the Command key pressed, press the X key. This will trigger the cut command.
- The selected content will be removed from its original location and placed on the clipboard.
- To paste the cut content, go to the desired location, and press Command + V. This will paste the content from the clipboard into the new location.
Using the keyboard shortcut for cut on a Mac is straightforward and efficient. The Command + X combination allows you to quickly remove content and transfer it to another location without hassle.
Just like on Windows, the cut command works consistently across different applications on a Mac. Whether you’re editing text in a document, managing folders and files in Finder, or rearranging elements in design software, the cut shortcut remains the same.
By mastering the keyboard shortcut for cut on your Mac, you can boost your productivity and streamline your workflow.
Now that you know how to use the keyboard shortcut for cut both on Windows and Mac, let’s explore some additional tips and tricks to enhance your experience.
Additional Tips and Tricks for Using the Keyboard Shortcut for Cut
Now that you’re familiar with the keyboard shortcut for cut on both Windows and Mac, here are some additional tips and tricks to help you make the most out of this command:
- Undo: If you accidentally cut the wrong content or change your mind, you can quickly undo the cut action by pressing Ctrl + Z on Windows or Command + Z on Mac. This will restore the content to its original location.
- File Explorer: In Windows, you can use the cut command in File Explorer to move files and folders between different directories. Simply select the files or folders you want to cut, press Ctrl + X, navigate to the desired location, and press Ctrl + V to paste them.
- Context Menus: Don’t forget that you can also access the cut command through right-click context menus. Right-click on the selected content and choose the “Cut” option to remove it and place it on the clipboard.
- Shortcut Combinations: The cut command can be combined with other shortcuts to further enhance your editing experience. For example, you can use Ctrl + Shift + X on Windows or Command + Shift + X on Mac to cut selected text and immediately capitalize it.
- Shortcut Remapping: If you prefer using a different key combination for the cut command, you can often remap keyboard shortcuts in settings or using third-party software. This allows you to customize your workflow and use shortcuts that feel more intuitive to you.
By taking advantage of these tips and tricks, you can become a cut command expert and optimize your editing and file management tasks.
Now that we’ve explored the keyboard shortcut for cut, how to use it on Windows and Mac, and some additional tips, you’re well-equipped to make your editing and file organization processes more efficient.
Remember to practice using the cut command in different applications and explore other keyboard shortcuts to further enhance your productivity.
Happy cutting!
Conclusion
The keyboard shortcut for cut is a useful tool that allows you to quickly remove selected content and place it on the clipboard for pasting elsewhere. Whether you’re editing text, managing files, or rearranging elements, knowing this keyboard shortcut can greatly improve your workflow and save you valuable time.
In this article, we discussed the keyboard shortcut for cut on both Windows and Mac operating systems. On Windows, the shortcut is Ctrl + X, while on Mac, it’s Command + X. We provided step-by-step guides on how to use the shortcut effectively in different applications and highlighted some additional tips and tricks to enhance your editing experience.
By mastering the keyboard shortcut for cut, you can streamline your editing tasks and become more efficient in your daily work. It eliminates the need to navigate through menus or use context menus, allowing you to perform the cut action with just a few keystrokes.
Remember to practice using the cut command in different scenarios and explore other keyboard shortcuts to further enhance your productivity. Additionally, keep in mind that keyboard shortcuts can often be customized or remapped to suit your preferences and workflow.
We hope this article has provided you with a comprehensive understanding of the keyboard shortcut for cut and how to use it on Windows and Mac. Incorporate this knowledge into your everyday tasks, and you’ll soon discover the time-saving benefits of this powerful command.
So, go ahead and start using the keyboard shortcut for cut to improve your editing skills and simplify your file management. Happy cutting!