Introduction
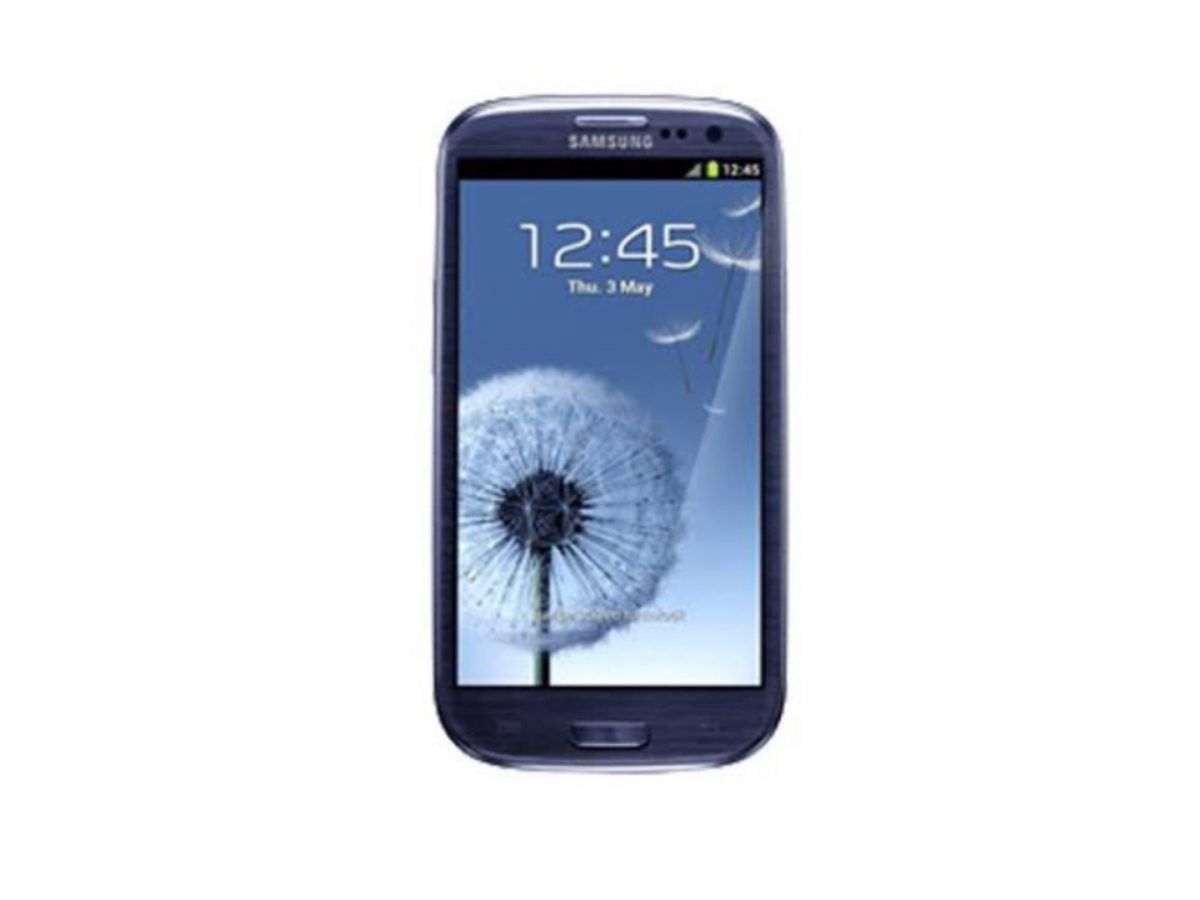
Welcome to our guide on how to download pictures from a Samsung Galaxy S3! The Galaxy S3 was a popular smartphone that boasted an impressive camera capable of capturing stunning photos. If you have cherished memories or important pictures stored on your Galaxy S3 and you want to transfer them to your computer or another device, this article is for you. We will provide step-by-step instructions on how to easily download pictures from your Samsung Galaxy S3.
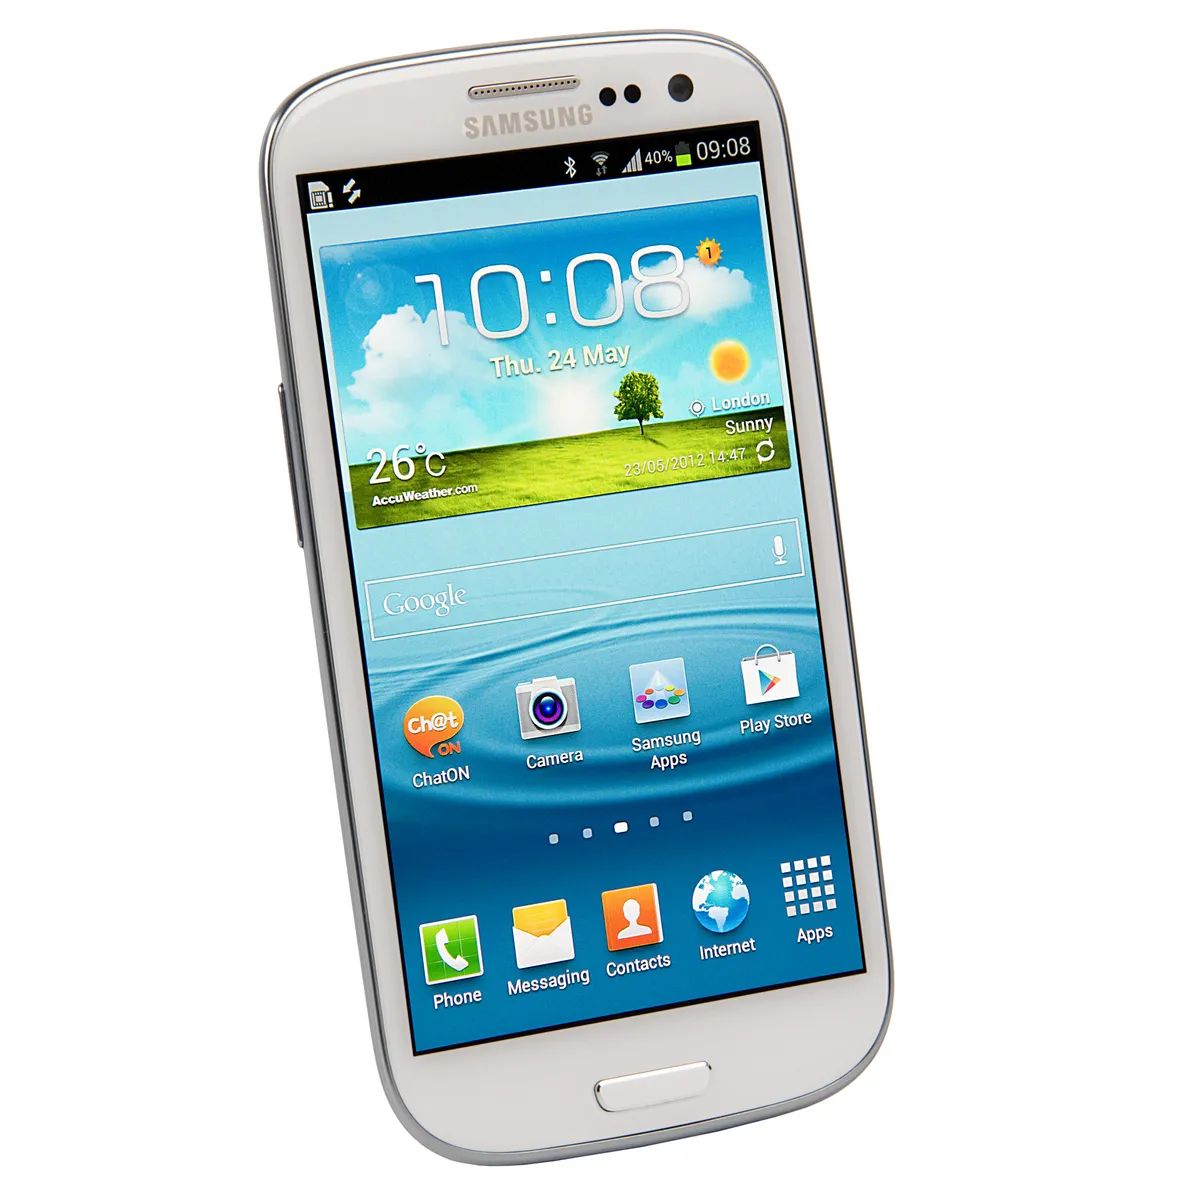
The Samsung Galaxy S3 was released in 2012 and had a 8-megapixel rear camera. Over the years, you may have accumulated numerous photos from different occasions, such as family gatherings, vacations, or special events. It’s important to have a backup of these photos, especially in the event of a device failure or loss. By following our guide, you can ensure that all your precious moments captured on your Galaxy S3 are safely stored and accessible on other devices.
Downloading pictures from your Galaxy S3 is a simple process that can be done using the built-in Gallery app. The Gallery app allows you to not only view and organize your photos but also enables you to download them to a computer, cloud storage, or another smartphone. Whether you want to transfer a few selected pictures or an entire album, this guide will walk you through the necessary steps to successfully download your pictures.
So, if you’re ready to preserve and share your Galaxy S3 memories, let’s get started with the step-by-step instructions on how to download pictures from your Samsung Galaxy S3.
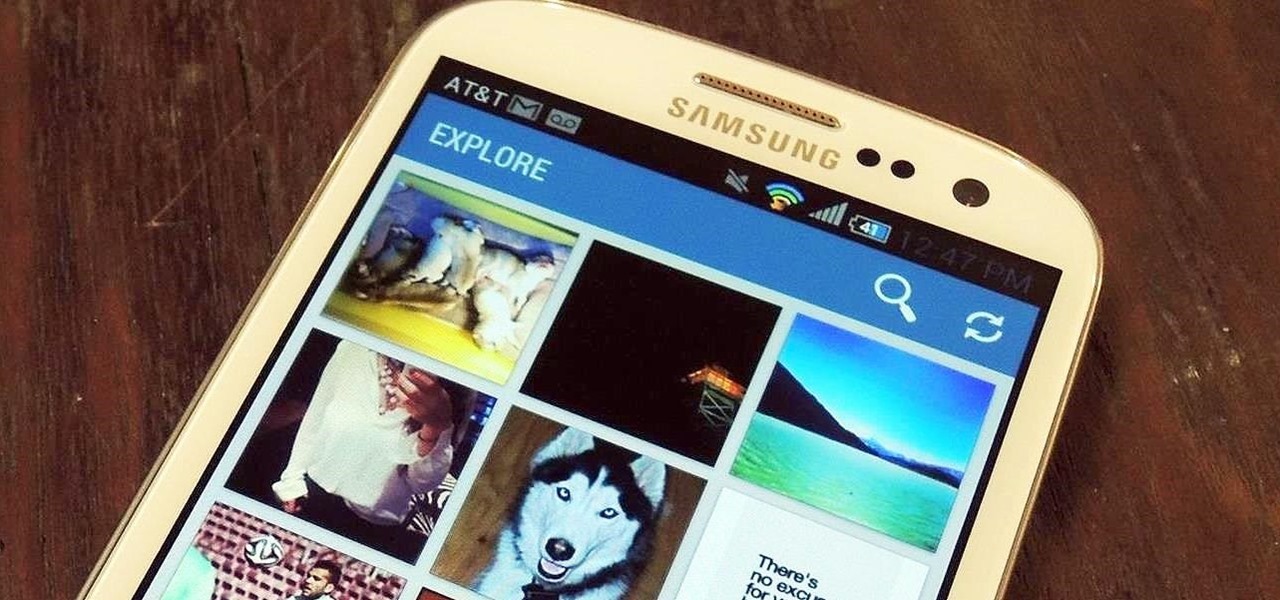
Step 1: Open the Gallery App
The first step in downloading pictures from your Samsung Galaxy S3 is to open the Gallery app. The Gallery app is a pre-installed app on your device that allows you to view, organize, and manage your photos and videos.
To open the Gallery app, locate the app icon on your home screen or in the app drawer. The app icon is typically represented by an image of a photo or a collection of photos.
Once you have located the Gallery app icon, simply tap on it to launch the app. In just a few moments, the Gallery app will open, and you will be able to see all your pictures and albums that are stored on your Galaxy S3.
If you have a large number of pictures on your device, it may take a moment for the Gallery app to load and display all your images. Be patient, as this process may vary depending on the number and size of your photos.
Once the Gallery app is open, you will have access to your entire photo library, including both the pictures captured using the device’s camera and any images synced or downloaded from other sources. You can now proceed to the next step to start selecting the pictures you want to download.
Step 2: Select the Pictures You Want to Download
After opening the Gallery app on your Samsung Galaxy S3, the next step is to select the pictures you want to download. The Gallery app provides various options for organizing and selecting your photos, making it easy to choose the specific pictures you wish to transfer.
To select a single picture, simply tap on it. A checkmark or a border will appear around the selected image, indicating that it has been chosen. You can then proceed to select additional pictures in the same manner.
If you want to select multiple pictures at once, you can use the multi-select feature. To do this, tap and hold on a picture until it is highlighted, and then continue tapping on the other pictures you want to select. Each selected picture will be marked with a checkmark or border. Alternatively, you can tap the “Select” or “Edit” button, which is usually located at the top or bottom of the screen, to enter the multi-select mode.
Additionally, if you have organized your photos into albums or folders, you can navigate to the specific album or folder where the pictures you want to download are located. This can help streamline the selection process, especially if you have a large number of pictures on your device.
Take your time to go through your photo library and carefully choose the pictures you want to download. You can select individual pictures or entire albums, depending on your preference. Once you have made your selections, you can proceed to the next step to start the download process.
Step 3: Tap on the Download Icon
Now that you have selected the pictures you want to download from your Samsung Galaxy S3, it’s time to initiate the download process. To do this, you need to tap on the download icon, which is a common feature in most Gallery apps.
Locate the download icon, which typically looks like an arrow pointing downwards or a cloud with an arrow. This icon is usually found at the top or bottom of the screen, or within the menu options of the Gallery app. The specific placement may vary depending on your device’s software version and any customizations made by the manufacturer.
Once you have located the download icon, simply tap on it. This action will prompt the Gallery app to start preparing your selected pictures for download. Depending on the number and size of the pictures, this process may take a few moments.
During the download preparation, you may be asked to specify the file format or quality of the downloaded pictures. In most cases, the app will default to the original quality and file format of the pictures. However, if you require a different format or lower quality to save storage space, you can adjust the settings accordingly.
After confirming the download settings, the Gallery app will start transferring the selected pictures to your chosen destination. You can monitor the progress of the download, either through a progress bar or a status indicator.
It’s important to ensure that you have a stable internet connection while the download is in progress. A slow or disrupted connection may result in incomplete or corrupted downloads. If your internet connection is unstable, it’s recommended to connect to a Wi-Fi network before initiating the download to ensure a smoother and faster transfer.
Once the download is complete, you can move on to the next step and select a destination folder for your downloaded pictures.
Step 4: Choose a Destination Folder
After tapping on the download icon and initiating the download process for your selected pictures on your Samsung Galaxy S3, it’s time to choose a destination folder where the downloaded pictures will be saved. This step ensures that you can easily locate and access the downloaded pictures on your device or another device.
When you tap on the download icon, the Gallery app will typically present you with a list of available destination options. These options may include folders on your device’s internal storage, external SD card, or various cloud storage services such as Google Drive or Dropbox.
Take a moment to consider where you would like to store the downloaded pictures. If you plan to transfer the pictures to your computer, you can choose a folder on your device’s internal storage or SD card that you can easily access when connected to your computer.
If you prefer to store the pictures in the cloud, you can select a cloud storage service from the list of options presented by the Gallery app. This allows you to securely store and access the pictures from multiple devices, as well as easily share them with others.
It’s important to ensure that you have sufficient storage space in the chosen destination folder, especially if you are downloading a large number of pictures. If necessary, you may need to free up space by deleting unnecessary files or transferring existing files to another storage location.
Once you have selected the desired destination folder, tap on it to confirm your choice. The Gallery app will then proceed to save the downloaded pictures to the specified folder.
Remember to make a note of the chosen destination folder for future reference. This will help you locate the downloaded pictures whenever you want to view or transfer them to another device.
Now that you have chosen a destination folder for your downloaded pictures, you can proceed to the next step and wait for the download process to complete.
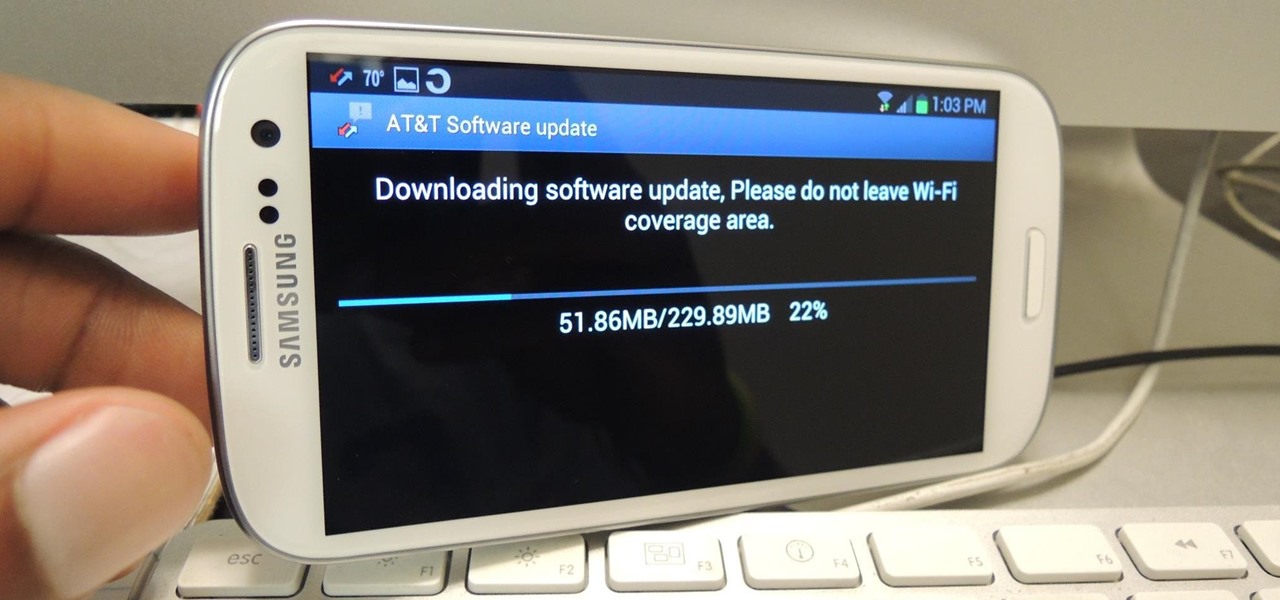
Step 5: Wait for the Download to Complete
After selecting a destination folder for your downloaded pictures on your Samsung Galaxy S3, the Gallery app will start the download process. In this step, you will need to wait patiently for the download to complete, ensuring a successful transfer of your selected pictures.
The time it takes for the download to finish will depend on various factors, including the number and size of the pictures, as well as the speed of your internet connection. Larger files and a slower connection may prolong the download process, so it’s important to be patient and avoid interrupting the transfer.
While the download is in progress, you can monitor the status or progress of the transfer within the Gallery app. This may be displayed as a progress bar, a percentage indicator, or a spinning icon. The app may also provide a notification or confirmation message once the download is complete.
It’s important to keep your device connected to a stable internet connection throughout the duration of the download. A disruption in the connection may lead to an incomplete or failed transfer of the pictures. If you encounter any network issues, it’s advisable to troubleshoot or switch to a more stable network before proceeding.
During the download process, you may also want to ensure that your device remains powered on and has enough battery life to complete the transfer. If your device’s battery is low, consider connecting it to a power source to avoid interruptions during the download.
Once the download is complete, you will be able to access the downloaded pictures from the destination folder you selected. At this point, you can proceed to the final step to learn how to access your downloaded pictures from your Samsung Galaxy S3.
Remember to safely disconnect your device from any external devices or cables once the download is complete and the transfer is successful. This ensures that your Galaxy S3 is ready for use and the downloaded pictures are securely saved in the designated destination folder.
Step 6: Access the Downloaded Pictures
After the download process is complete on your Samsung Galaxy S3, it’s time to access the downloaded pictures and enjoy the memories captured in those images. By following this final step, you will be able to locate and view the downloaded pictures with ease.
To access the downloaded pictures, open the file manager app on your device. The file manager app is a built-in tool that allows you to browse and manage files stored on your Galaxy S3. You can typically find the file manager app in the app drawer or by swiping down on the home screen and searching for “File manager”.
Once you have opened the file manager app, navigate to the destination folder where you saved the downloaded pictures during the previous steps. This can be the internal storage, external SD card, or a cloud storage folder, depending on the chosen destination.
Once you locate the destination folder, tap on it to open it. Inside the folder, you will find the downloaded pictures that you selected and transferred. These pictures will typically be in a standard image file format such as JPEG or PNG.
To view the downloaded pictures, simply tap on them. The Gallery app or another image viewer app on your Galaxy S3 will open, allowing you to view the pictures in full detail. From here, you can zoom in, zoom out, swipe through the images, or perform other actions depending on the features provided by the app.
If you want to transfer the downloaded pictures to another device or computer, you can connect your Galaxy S3 to the desired device using a USB cable or transfer them wirelessly using cloud storage or other file-sharing methods.
Congratulations! You have successfully downloaded and accessed the pictures from your Samsung Galaxy S3. Now you can reminisce and share those precious moments captured in your images with friends, family, or on social media platforms.
Remember to regularly back up your downloaded pictures to avoid any loss of data. It’s recommended to store copies of your pictures on an external hard drive, cloud storage, or other backup solutions to ensure the long-term preservation of your cherished memories.
Now that you know how to download and access pictures from your Samsung Galaxy S3, you can confidently manage your photo library and enjoy your favorite moments wherever you go.