Introduction
Welcome to this guide on how to download photos from your smartphone to your PC. In today’s digital world, we capture precious memories through our smartphones, but sometimes we need to transfer those photos to our computers for various reasons. Whether you want to create backups, edit photos using specialized software, or simply free up space on your phone, this article will provide you with step-by-step instructions on different methods to transfer your photos from your smartphone to your PC.
With advancements in technology, there are multiple ways to transfer photos between devices. From the traditional method of using a USB cable to the convenience of wireless options such as Bluetooth and Wi-Fi, we will explore each method’s pros and cons. Additionally, we will discuss the use of cloud storage services and specialized apps that can simplify the photo transfer process.
It’s essential to choose the method that suits your needs and device compatibility. Depending on your smartphone’s operating system, such as iOS or Android, the steps and options may vary. However, don’t worry as we will cover all major platforms and provide general guidelines applicable to most devices. So, whether you are using an iPhone or an Android smartphone, this guide will help you navigate through the photo transfer process.
Throughout this article, we will provide you with detailed instructions and tips to ensure a seamless and hassle-free photo transfer. Additionally, we will address common issues that may arise during the process, along with troubleshooting solutions. So, let’s get started and discover the different methods you can use to download photos from your smartphone to your PC.
Connecting your Smartphone to your PC
Before you can begin transferring photos from your smartphone to your PC, you need to establish a connection between the two devices. The method you use will depend on the available options on your smartphone and computer. Here are a few common methods you can try:
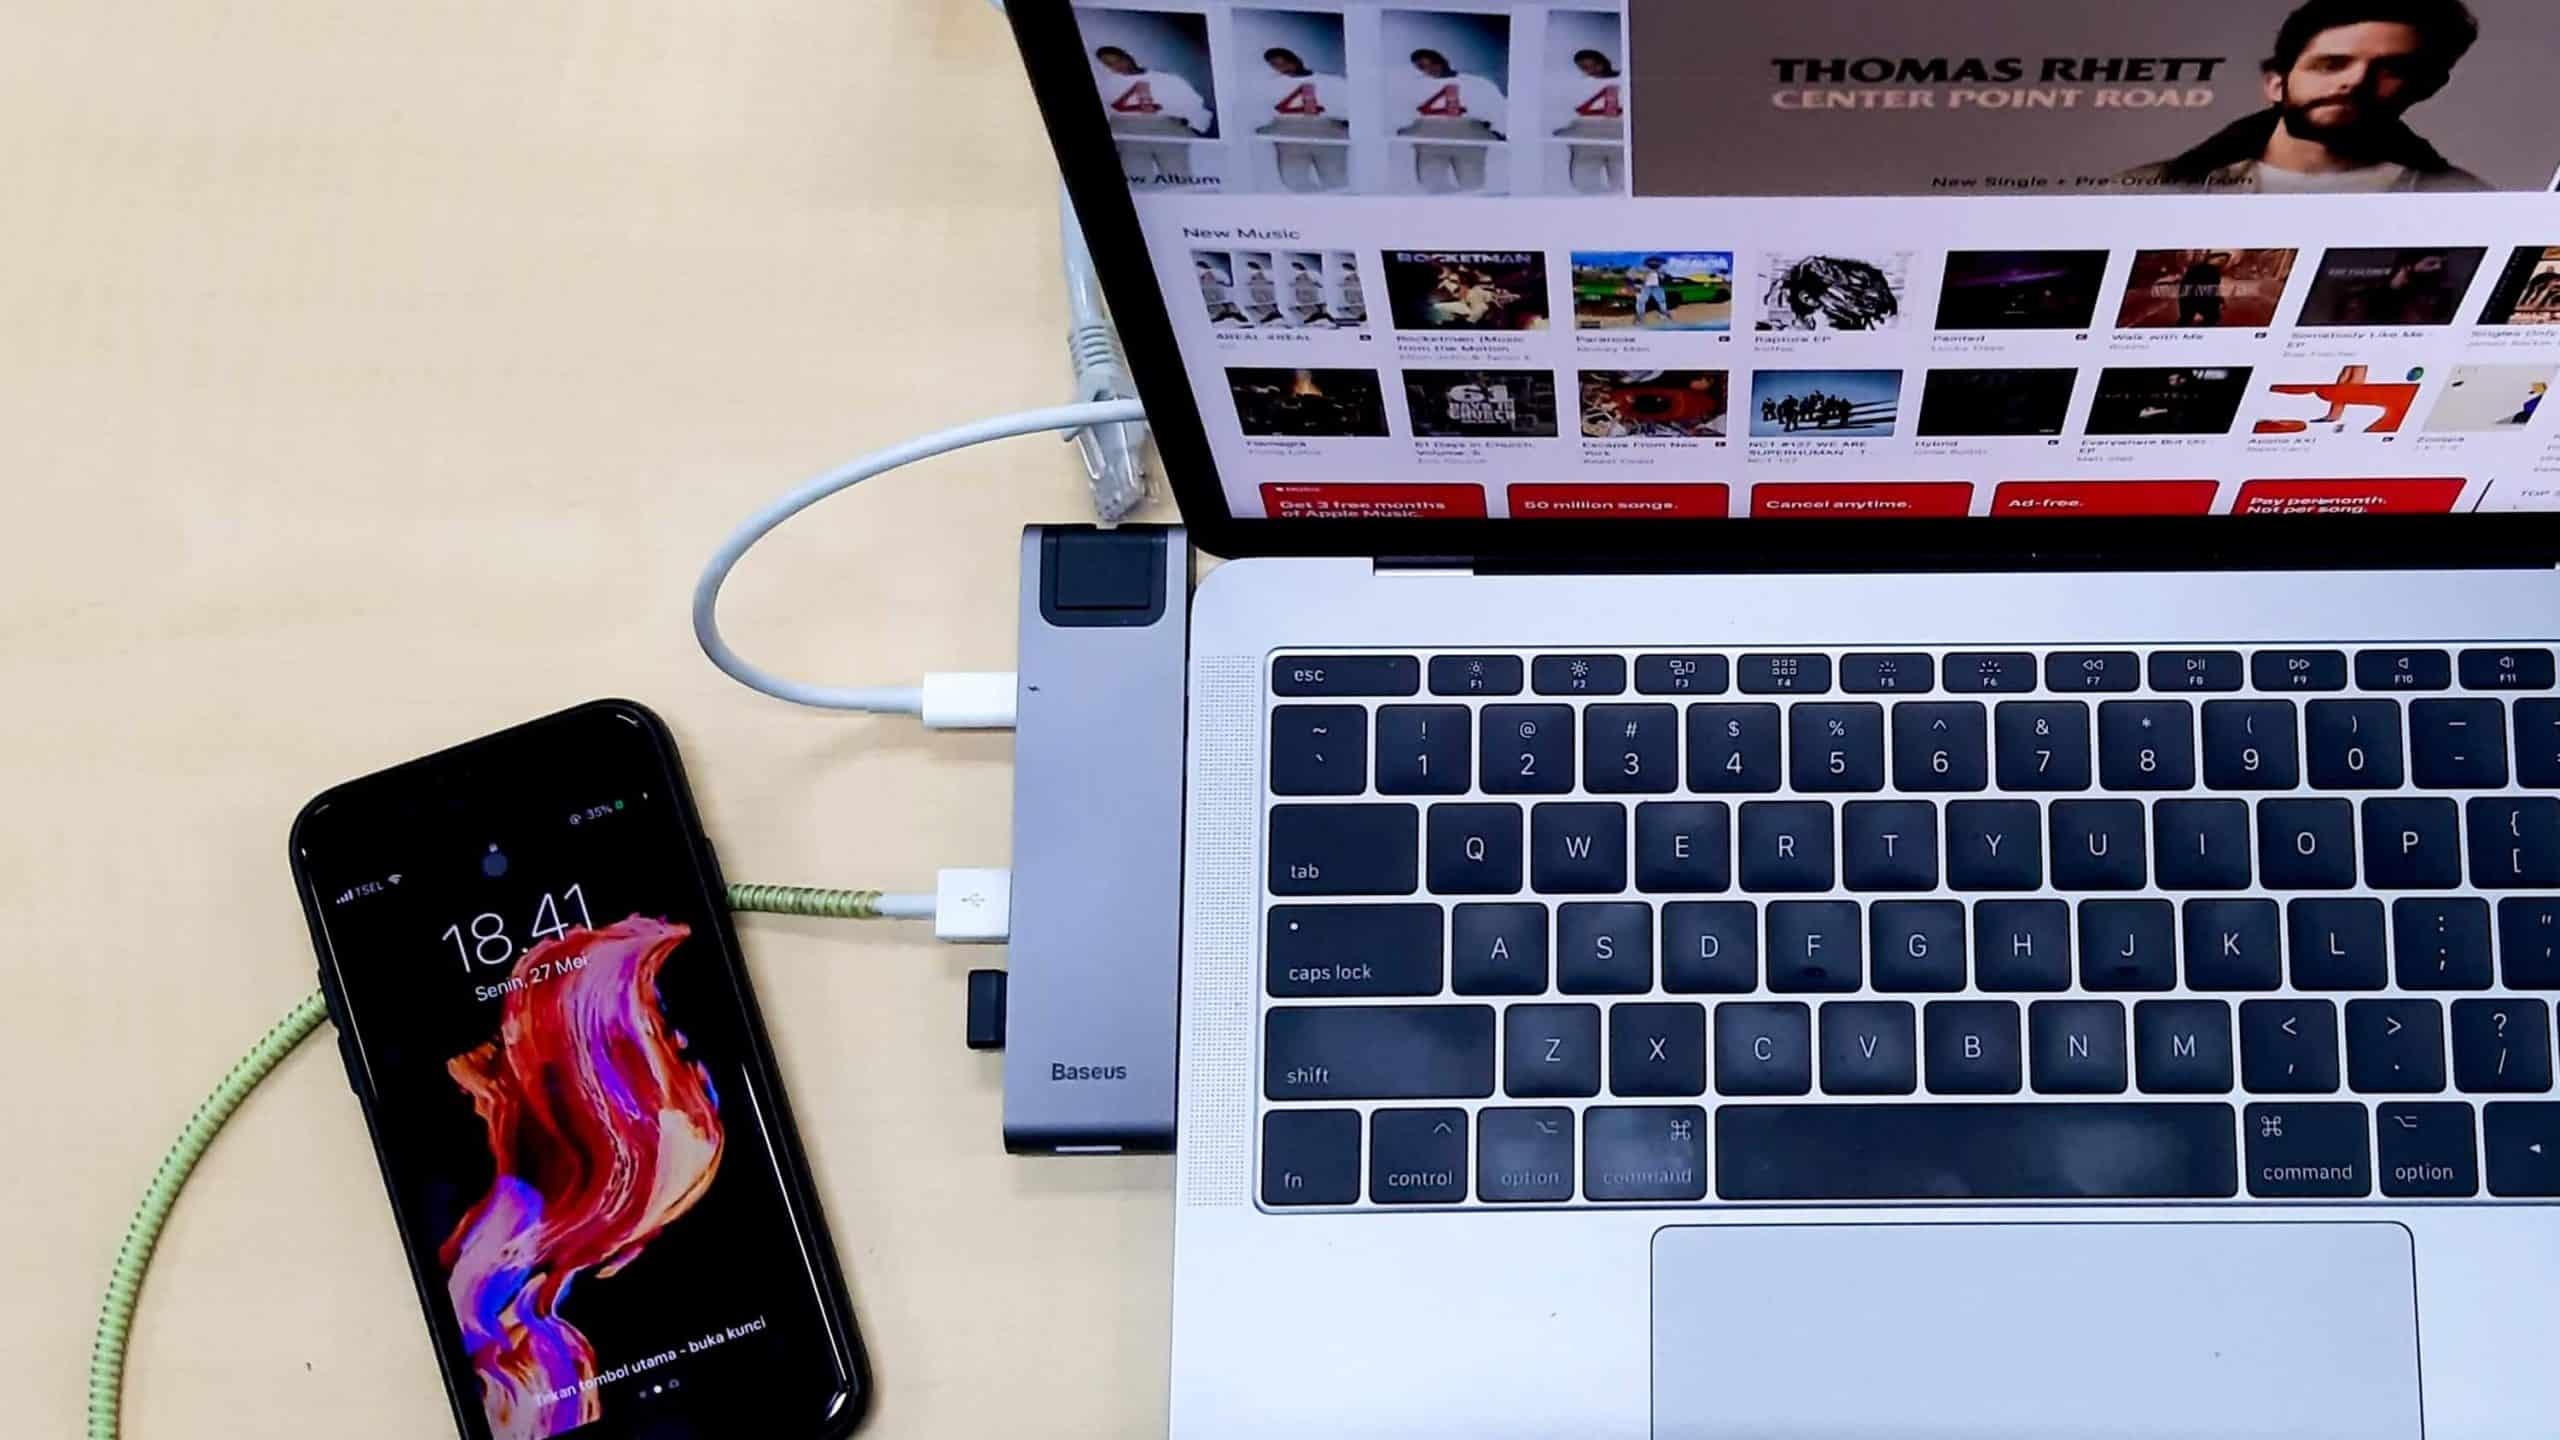
- USB Cable: This is the most common and reliable method to connect your smartphone to your PC. Simply connect one end of the USB cable to your smartphone and the other end to an available USB port on your computer. Once connected, your computer should recognize your smartphone as a storage device. This will allow you to access and transfer your photos easily.
- Bluetooth: If both your smartphone and PC have Bluetooth capabilities, you can use this wireless technology to transfer your photos. Enable Bluetooth on both devices and pair them. Once paired, you can select the photos you want to transfer on your smartphone and choose the option to send them via Bluetooth. Your computer should receive the photos and save them in a designated folder.
- Wi-Fi: Many smartphones and computers come with built-in Wi-Fi capabilities. Utilizing this wireless connection allows you to transfer photos without the need for cables or additional devices. To establish a Wi-Fi connection between your smartphone and PC, make sure both devices are connected to the same Wi-Fi network. Then, follow the instructions provided by your smartphone manufacturer to enable Wi-Fi file transfer. Once enabled, you can easily access and transfer photos between the two devices.
It’s important to note that the process of connecting your smartphone to your PC may vary depending on the operating systems and device models you are using. Always refer to your smartphone’s user manual or the manufacturer’s website for detailed instructions specific to your device.
Now that you know how to establish a connection between your smartphone and your PC, it’s time to move on to the methods you can use to transfer your photos. Whether you choose to use a USB cable, Bluetooth, Wi-Fi, or other methods, the following sections will guide you through each process in detail.
Transferring Photos using USB Cable
Transferring photos from your smartphone to your PC using a USB cable is a straightforward and reliable method. Here’s a step-by-step guide to help you through the process:
- Begin by connecting one end of the USB cable to your smartphone and the other end to an available USB port on your computer.
- Once connected, your computer should detect your smartphone as a storage device. It may prompt you with several options. Choose the option that allows you to access files and folders on your phone.
- Open the File Explorer on your computer (Windows) or Finder (Mac) and locate your smartphone’s storage. It is usually listed as a separate device or under the “This PC” or “My Computer” section.
- Navigate through the folders on your smartphone and find the folder containing the photos you wish to transfer. Typically, the folder name is “DCIM” or “Pictures.”
- Select the desired photos or the entire folder, and then copy or drag them to a designated folder on your computer to initiate the transfer.
- Depending on the file size and the number of photos, the transfer may take some time. Once completed, you can disconnect your smartphone from the USB cable.
It’s important to note that the exact steps may vary slightly depending on your operating system and device. Some smartphones may require you to enable USB file transfer or change the USB connection mode to “File Transfer” or “MTP” (Media Transfer Protocol) for the files to be accessible to your computer.
Furthermore, if you encounter any issues during the transfer process, ensure that both your smartphone and computer are unlocked, and the USB cable is securely connected. It’s also recommended to use the original USB cable that came with your smartphone, as third-party cables may not provide reliable data transfer.
Transferring photos using a USB cable is a reliable method that allows for both individual and bulk photo transfers. Additionally, this method avoids potential limitations imposed by cloud storage or internet connectivity. However, it requires a physical connection between your smartphone and computer, so it may not be as convenient as wireless methods.
Now that you know how to transfer photos using a USB cable, let’s explore other wireless options such as Bluetooth and Wi-Fi.
Transferring Photos using Bluetooth
If your smartphone and PC have Bluetooth capabilities, you can transfer photos wirelessly using this technology. Here is a step-by-step guide on how to transfer photos from your smartphone to your PC using Bluetooth:
- Ensure that Bluetooth is enabled on both your smartphone and your PC. You can usually find the Bluetooth settings in the “Settings” or “Connections” menu on your smartphone, and in the system tray or control panel on your PC.
- Pair your smartphone and PC by following the on-screen instructions. Typically, you will have to enter a passcode or confirm a pairing request on both devices.
- Once paired, open the gallery or photo app on your smartphone and select the photos you want to transfer.
- Look for a sharing or options menu within the app, which will provide you with the option to share the selected photos.
- Choose the Bluetooth option from the available sharing methods. Your smartphone will then search for Bluetooth devices nearby.
- Select your PC from the list of available Bluetooth devices. Your smartphone will initiate the transfer process and send the selected photos to your PC.
- On your PC, a notification will typically appear, indicating that files are being received via Bluetooth. Accept the incoming file transfer on your PC.
- Select a destination folder on your PC to save the transferred photos, and wait for the transfer to complete.
It’s important to remember that Bluetooth has limitations in terms of transfer speed and range. Therefore, this method is suitable for transferring a smaller number of photos or when convenience is more important than speed.
If you encounter any issues during the Bluetooth transfer process, ensure that both devices are within range and that there are no obstructions hindering the Bluetooth signal. It may also be helpful to restart both devices and retry the pairing process if connection problems persist.
Transferring photos via Bluetooth offers the advantage of wireless transfer without the need for additional cables or internet connectivity. It is a viable option when you want to quickly share a few photos between your smartphone and PC.
Now that you know how to transfer photos using Bluetooth, let’s dive into another wireless method: transferring photos using Wi-Fi.
Transferring Photos using Wi-Fi
Transferring photos from your smartphone to your PC using Wi-Fi is a convenient and wireless method. Here’s a step-by-step guide on how to transfer photos using Wi-Fi:
- Ensure that both your smartphone and PC are connected to the same Wi-Fi network.
- On your smartphone, go to the App Store or Play Store and search for a Wi-Fi file transfer app. There are various options available, such as “AirDroid,” “Shareit,” or “Xender.”
- Download and install the Wi-Fi file transfer app of your choice on your smartphone.
- Open the Wi-Fi file transfer app and follow the on-screen instructions to set up the connection.
- The app will provide you with an IP address or a QR code.
- On your PC, open a web browser and enter the IP address provided by the app or scan the QR code using a QR code scanner app.
- A web page will open on your PC, displaying the files and folders on your smartphone.
- Navigate to the folder containing the photos you wish to transfer, select them, and choose the option to download or save them to your PC.
Wi-Fi transfer apps create a temporary connection between your smartphone and PC, allowing for seamless file transfer. The advantage of this method is that you can transfer multiple photos or entire albums in one go, making it efficient for transferring large quantities of photos.
It’s important to ensure that both devices remain connected to the same Wi-Fi network throughout the transfer process. If the transfer is interrupted, you may need to restart the app and establish a new connection. Additionally, some Wi-Fi file transfer apps may have file size limitations, so it’s advisable to check the app’s specifications if you’re transferring large files.
Transferring photos using Wi-Fi eliminates the need for cables and offers the convenience of wireless transfer. However, it may require installing additional apps and setting up a connection, which might be a consideration if you prefer a simpler method.
Now that you know how to transfer photos using Wi-Fi, let’s explore another convenient option: transferring photos using cloud storage services.
Transferring Photos using Cloud Storage Services
Transferring photos from your smartphone to your PC using cloud storage services is a versatile and efficient method. Here’s a step-by-step guide on how to transfer photos using cloud storage:
- Create an account or sign in to a cloud storage service on both your smartphone and PC. Some popular options include Google Drive, Dropbox, and OneDrive.
- Install the respective cloud storage app on your smartphone and sign in to your account.
- Open the cloud storage app on your smartphone and navigate to the folder containing the photos you wish to transfer.
- Select the photos you want to transfer and choose the option to upload or share them.
- The app will begin uploading the selected photos to your cloud storage account.
- On your PC, open a web browser and visit the website of the cloud storage service you are using.
- Sign in to your account on the cloud storage website.
- Navigate to the folder that contains the uploaded photos and select the photos you want to transfer to your PC.
- Choose the option to download or save the selected photos to your PC.
Cloud storage services offer a convenient way to store, access, and transfer files between different devices. Uploading your photos to the cloud ensures that they are securely stored and easily accessible from anywhere with an internet connection.
It’s important to note that the upload and download speeds will depend on your internet connection. For a large number of photos or larger file sizes, it may take some time to complete the transfer. Additionally, some cloud storage services offer limited free storage space, so you may need to consider a subscription or free up space by deleting old files if you reach the storage limit.
Transferring photos using cloud storage services provides flexibility and accessibility, as you can access your photos from any device with an internet connection. Furthermore, it allows for seamless file transfer without the need for cables or additional software.
Now that you know how to transfer photos using cloud storage services, let’s explore another option: using specialized apps to transfer photos.
Using specialized Apps to transfer Photos
In addition to the methods mentioned earlier, there are specialized apps available that can simplify the process of transferring photos from your smartphone to your PC. These apps offer dedicated features and functionalities to enhance the photo transfer experience. Here’s how you can use specialized apps:
- Search for photo transfer apps in your smartphone’s app store. Some popular options include “PhotoSync,” “Pushbullet,” and “Send Anywhere.”
- Install the app of your choice on both your smartphone and your PC.
- Follow the app’s instructions to complete the setup process.
- Open the app on your smartphone and select the photos you want to transfer.
- Choose the option to send or share the photos.
- The app will use its unique transfer method, which may involve scanning a QR code, creating a temporary connection, or using other innovative technologies.
- On your PC, open the app or follow the instructions provided by the app to receive the photos.
- The photos will be transferred from your smartphone to your PC via the app’s designated method.
Specialized photo transfer apps often provide additional features, such as the ability to transfer photos directly to specific folders or automatically organize transferred photos on your PC. Some apps also offer cross-platform compatibility, allowing you to transfer photos between different operating systems, such as iOS and Android.
When using specialized apps, it’s important to ensure that both your smartphone and PC have the app installed and are connected to the internet. Additionally, follow the instructions provided by the app to ensure a successful transfer.
Using specialized apps can offer a streamlined and efficient photo transfer process tailored to your needs. These apps often provide enhanced features and functionalities compared to standard transfer methods, making them a convenient option for transferring photos from your smartphone to your PC.
Now that you know how to transfer photos using specialized apps, let’s explore common issues that you may encounter during the photo transfer process and how to troubleshoot them.
Troubleshooting common issues
While transferring photos from your smartphone to your PC, you may encounter some common issues. Here are a few troubleshooting tips to help you overcome these challenges:
- Connection issues: If you are using a USB cable, ensure that the cable is securely connected to both your smartphone and PC. If you are using a wireless method, double-check that both devices are connected to the same Wi-Fi network or paired via Bluetooth.
- Incompatible cable or port: If you are having trouble with the USB cable method, try using a different cable or USB port on your computer. Sometimes, faulty cables or malfunctioning ports can prevent proper data transfer.
- Bluetooth pairing problems: If you are using Bluetooth, make sure that Bluetooth is enabled on both devices and that they are in close proximity to establish a reliable pairing. Restarting both devices and re-pairing them may also help resolve any connection issues.
- File format compatibility: Some older computers may not support certain file formats, especially if you have taken photos using specialized camera features or in RAW format. In such cases, consider converting the photos to a compatible format or using a different transfer method.
- Insufficient storage: If your smartphone or PC has limited storage space, you may encounter issues when transferring large numbers of photos. Clearing up storage space by deleting unnecessary files or using cloud storage services can help resolve this problem.
- Software updates: Ensure that both your smartphone’s operating system and your PC’s operating system are up to date. Outdated software versions may cause compatibility issues during the photo transfer process.
If you are experiencing persistent issues or encounter error messages during the photo transfer process, it is recommended to consult the user manual of your smartphone or PC, or visit the manufacturer’s support website for further troubleshooting guidance specific to your device.
By following these troubleshooting tips, you can overcome common issues and ensure a smooth photo transfer experience from your smartphone to your PC.
Now that you have learned how to troubleshoot common photo transfer issues, let’s wrap up this guide on how to download photos from your smartphone to your PC.
Conclusion
Transferring photos from your smartphone to your PC is an essential task for many reasons, such as creating backups, editing photos with specialized software, or freeing up space on your phone. In this guide, we explored various methods for transferring photos, including using a USB cable, Bluetooth, Wi-Fi, cloud storage services, and specialized apps.
Using a USB cable is a reliable and straightforward method that allows for individual or bulk photo transfers. Bluetooth provides a wireless option for transferring photos, although it may have limitations in terms of transfer speed and range. Wi-Fi offers a convenient wireless transfer method, especially when using specialized apps designed for seamless file transfer. Cloud storage services provide flexibility and accessibility, allowing you to access your photos from any device with an internet connection. Lastly, specialized apps offer dedicated features and functionalities to simplify the photo transfer process.
Throughout the guide, we highlighted the importance of troubleshooting common issues that may arise during the photo transfer process. From connection issues to file format compatibility, we provided troubleshooting tips to help you overcome these challenges and ensure a successful transfer.
Remember to refer to your smartphone’s user manual or the manufacturer’s website for specific instructions tailored to your device. Keep your software up to date, ensure a stable connection, and consider the compatibility of file formats and storage space.
Now armed with these methods and troubleshooting tips, you are ready to confidently transfer photos from your smartphone to your PC. Whether you choose the convenience of a USB cable, the wireless options of Bluetooth or Wi-Fi, the flexibility of cloud storage services, or the specialized features of apps, you have multiple solutions at your disposal.
Enjoy transferring your photos and preserving your precious memories on your PC!