Introduction
Welcome to our guide on how to download photos from your iPhone 4S to your PC. With the advent of smartphones, capturing moments with high-quality photos has become easier than ever. However, managing and transferring these photos from your iPhone 4S to your computer can sometimes be a challenge.
Whether you want to free up storage space on your iPhone or simply have a backup of your precious memories on your PC, we’ve got you covered with several options to make the process seamless. In this article, we will explore four different methods you can use to download photos from your iPhone 4S to your PC.
These methods range from using iTunes and iCloud to transferring photos directly through a USB cable or using third-party software. Each method has its own set of advantages and it’s up to you to choose the one that suits your needs and preferences the best.
Before we dive into the details of each method, it’s important to note that the instructions provided here are specifically for iPhone 4S users. However, most of these methods can also be applied to other models of iPhone or even other iOS devices like iPads or iPods.
Now, let’s explore the various options available to download photos from your iPhone 4S to your PC. We will guide you step by step through each method to ensure a smooth and successful transfer of your beloved photos.
Option 1: Using iTunes
iTunes, the official media management software from Apple, can be used to transfer photos from your iPhone 4S to your PC. This method is ideal if you already have iTunes installed on your computer. Here’s how you can do it:
- Connect your iPhone 4S to your PC using the USB cable that came with your device.
- Open iTunes on your computer. If it doesn’t automatically open, you can launch it manually.
- In the iTunes window, click on the device icon located in the upper-left corner. This will bring up the summary page for your iPhone.
- Click on the “Photos” tab in the left sidebar.
- Check the box next to “Sync Photos.”
- Select the folder or app from which you want to sync your photos. You can choose from options like “Photos,” “iPhoto,” or a specific folder on your PC.
- Choose to sync either all photos and albums or select specific albums or events.
- Finally, click on the “Apply” or “Sync” button in the lower-right corner to start the syncing process.
Once the syncing is complete, you can find your iPhone 4S photos on your PC in the specified folder or location you selected during the syncing process.
Using iTunes to transfer photos from your iPhone 4S to your PC offers a convenient way to manage and organize your photo library. It allows you to easily select which photos or albums you want to transfer and provides a seamless syncing experience. However, keep in mind that iTunes doesn’t provide a way to selectively transfer individual photos or edit them during the sync process.
Now that you know how to download photos from your iPhone 4S to your PC using iTunes, let’s move on to the next method: using iCloud.
Option 2: Using iCloud
If you prefer a wireless method to transfer photos from your iPhone 4S to your PC, using iCloud can be a great option. iCloud is Apple’s cloud storage and syncing service that allows you to access your photos, videos, and other files from multiple devices. Here’s how you can use iCloud to download photos from your iPhone 4S to your PC:
- On your iPhone 4S, go to “Settings” and tap on your name at the top of the screen to access your Apple ID settings.
- In the Apple ID settings, tap on “iCloud.”
- Make sure that the “Photos” option is turned on. If it’s not, toggle the switch to enable it.
- Now, on your PC, open a web browser and go to the iCloud website (www.icloud.com).
- Sign in with your Apple ID and password.
- Click on the “Photos” icon to access your iCloud Photo Library.
- You can now browse through your photos and select the ones you want to download to your PC.
- To download a photo, simply click on it and then click on the download icon (a cloud with an arrow pointing downward) in the upper-right corner of the screen.
The selected photos will be downloaded to your PC and can be found in your default download folder or the location you specified in your web browser settings.
Using iCloud to transfer photos wirelessly offers the convenience of accessing and downloading your photos from anywhere with an internet connection. It also ensures that your photos are automatically backed up and synced across all your devices. However, keep in mind that the amount of storage space available on your iCloud account may be limited unless you upgrade to a paid plan.
Now that you know how to use iCloud to download photos from your iPhone 4S to your PC, let’s move on to the next method: using a USB cable.
Option 3: Using a USB cable
If you prefer a direct and straightforward approach to transfer photos from your iPhone 4S to your PC, using a USB cable is the way to go. This method allows for a quick and reliable transfer without the need for an internet connection or additional software. Here’s how you can do it:
- Connect your iPhone 4S to your PC using the USB cable that came with your device.
- On your iPhone, you may see a prompt asking for permission to connect to the computer. Tap “Allow” to grant access.
- On your PC, the Photos app should automatically open. If it doesn’t, open the Photos app manually. Alternatively, you can also use the File Explorer (Windows) or Image Capture (Mac) to access your iPhone’s photos.
- In the Photos app or File Explorer, you will see your iPhone listed as a device. Click on it to view its contents.
- Navigate to the “DCIM” or “Internal Storage” folder to access your photos and videos.
- Select the photos you want to transfer to your PC. You can either select individual photos or use the Ctrl or Shift keys to select multiple photos.
- Once you have selected the desired photos, right-click and choose the “Copy” option.
- Navigate to the folder on your PC where you want to save the photos. Right-click and choose the “Paste” option to transfer the photos from your iPhone to your PC.
Using a USB cable provides a reliable and direct connection between your iPhone 4S and your PC, allowing for a quick and hassle-free transfer of your photos. It also gives you the flexibility to organize and manage your photos on your computer using your preferred software.
Now that you know how to transfer photos from your iPhone 4S to your PC using a USB cable, let’s explore the last method: using third-party software.
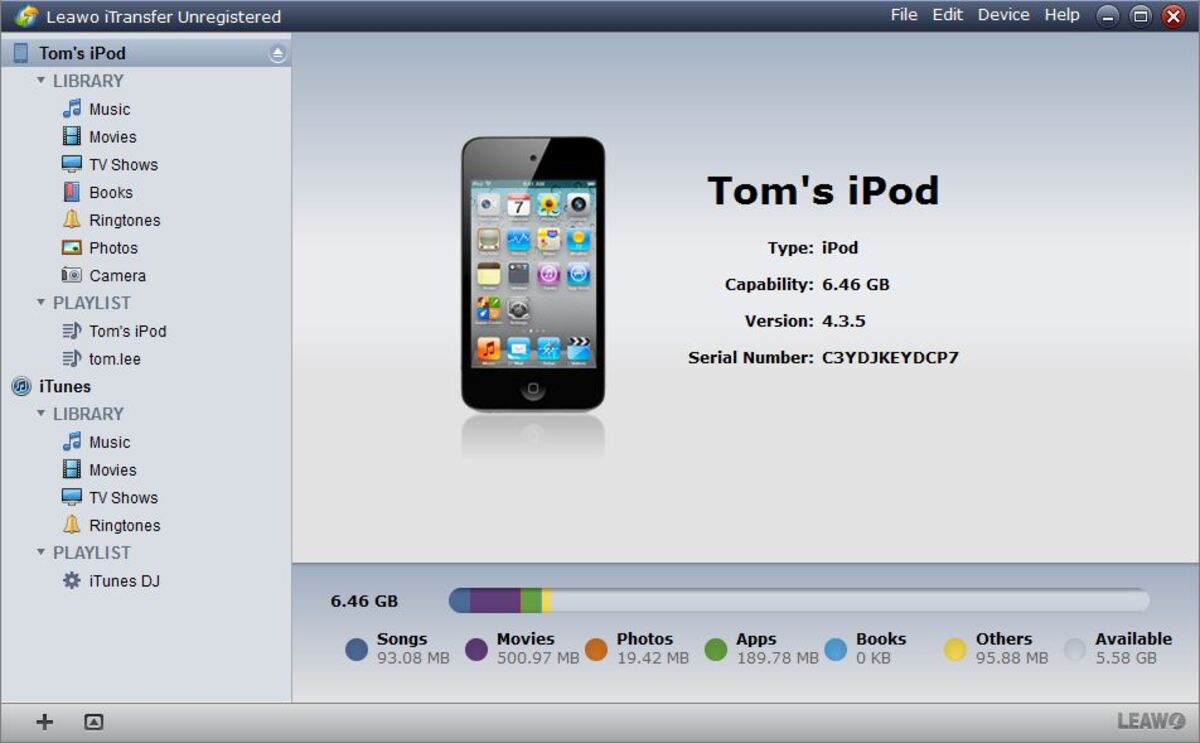
Option 4: Using third-party software
If none of the previous methods suit your needs or if you prefer more advanced options for transferring photos from your iPhone 4S to your PC, using third-party software can be a viable solution. There are various third-party software applications available that offer additional features and flexibility beyond the built-in methods. Here’s how you can use third-party software to download photos from your iPhone 4S to your PC:
- Research and choose a reliable and trusted third-party software application that is compatible with your iPhone 4S and PC.
- Download and install the software on your PC following the provided instructions.
- Connect your iPhone 4S to your PC using the USB cable that came with your device.
- Launch the third-party software application on your PC.
- Follow the software’s instructions to establish a connection between your iPhone 4S and the software.
- Depending on the software’s features, you may be able to selectively choose which photos to transfer, organize them into albums, and even edit or enhance the photos before transferring them to your PC.
- Once you have set your preferences, initiate the transfer process through the software’s interface.
- Wait for the transfer to complete. The time required may vary depending on the number and size of the photos being transferred.
Using third-party software gives you more control and customization options when transferring photos from your iPhone 4S to your PC. Some software applications also offer additional features like automatic backups, advanced photo editing tools, and synchronization with cloud storage services.
It’s important to research and choose a reputable third-party software application to ensure the security of your data and a smooth transfer process. Read user reviews, check for compatibility, and consider the additional features offered before making a decision.
Now that you know how to use third-party software to download photos from your iPhone 4S to your PC, we have explored all the methods available. Choose the method that best suits your preferences and start enjoying your photos on your PC.
Conclusion
In this guide, we have explored four different methods to download photos from your iPhone 4S to your PC. Whether you prefer using iTunes, iCloud, a USB cable, or third-party software, each method offers its own advantages and flexibility.
If you already have iTunes installed on your PC, you can use it to sync your photos and easily manage your photo library. iCloud provides a wireless solution that allows you to access and download your photos from any device with an internet connection. Using a USB cable offers a direct and reliable connection between your iPhone 4S and your PC, making it a straightforward method. Lastly, third-party software offers more advanced features and customization options for your photo transfer needs.
When deciding which method to use, consider factors such as convenience, speed, storage limitations, and additional features. It’s crucial to ensure the security and reliability of the software or service you choose, especially when utilizing third-party options.
We hope this guide has helped you understand the different options available and provided you with the necessary steps to download photos from your iPhone 4S to your PC. Now, you can easily transfer and enjoy your cherished memories on your computer.
Remember to regularly back up your photos to prevent any potential data loss. With these methods at your disposal, you can free up space on your iPhone while keeping your precious photo collection safe and accessible.
Choose the method that suits your preferences and get started on organizing and preserving your memories today!