Introduction
Are you a Picasa user looking to download your precious photos to your computer? You’ve come to the right place! In this article, we will guide you through the step-by-step process of downloading Picasa photos to your computer, so you can easily access and save your treasured memories offline.
Picasa is a popular photo management software developed by Google. With its user-friendly interface and powerful editing tools, Picasa has gained a loyal following of photography enthusiasts and casual users alike. While Picasa has been officially discontinued since 2016, many users still have their cherished photo collections stored on the platform.
Downloading your photos from Picasa not only allows you to have a local backup of your images but also gives you the freedom to print, edit, and share them offline without relying on an internet connection. Whether you’re transitioning to a new photo management software or simply want to have a copy of your photos on your computer, this guide will walk you through the process.
We understand that technology can sometimes be overwhelming, but don’t worry! We will break down each step into simple and easy-to-follow instructions. By the end of this article, you’ll be able to seamlessly download your Picasa photos to your computer and have them at your fingertips whenever you need them.
So, let’s get started with the first step: downloading the Picasa software itself. Don’t worry if you don’t have it installed on your computer yet. We’ll show you how to download and install it in no time. Once you have the software ready, we’ll move on to signing in to your Google account and selecting the photos you want to download.
Get ready to enjoy the convenience and control of having your Picasa photos right at your fingertips. Let’s dive in and start downloading those precious memories!
Step 1: Download Picasa Software
To begin the process of downloading your Picasa photos to your computer, you’ll first need to download and install the Picasa software. Follow these simple steps to get started:
- Open your preferred web browser and go to the official Picasa software download page.
- Click on the “Download” button to initiate the download process.
- Once the download is complete, locate the downloaded file on your computer (typically in the “Downloads” folder).
- Double-click on the downloaded file to start the installation process.
- Follow the on-screen instructions to complete the installation. You may be prompted to agree to the terms and conditions of the software. Take a moment to review them before proceeding.
- Once the installation is finished, Picasa will be ready to use on your computer.
It’s important to note that Picasa is no longer officially supported by Google. However, you can still download and install the software from reliable sources online.
Now that you have successfully downloaded and installed Picasa on your computer, you’re one step closer to accessing and downloading your precious photos. The next step is to sign in to your Google account within the Picasa software. Keep reading to learn how to do this in the next section.
Step 2: Sign in to Your Google Account
To access and download your Picasa photos, you’ll need to sign in to your Google account within the Picasa software. Follow these simple steps to sign in:
- Open the Picasa software on your computer by clicking on the Picasa icon on your desktop or searching for it in your applications folder.
- On the Picasa interface, locate and click on the “Sign In” button. This will prompt a Google account sign-in window to appear.
- Enter your Google account email address and password into the respective fields.
- If you have enabled two-factor authentication for your Google account, you may be prompted to input a verification code sent to your registered phone or email.
- Once you have successfully signed in, Picasa will sync with your Google account and display your photo albums and collections.
Signing in to your Google account within Picasa is crucial to access your online photo albums and enable the download feature. It ensures that your photos are securely linked to your account, allowing you to download and manage them conveniently.
If you don’t have a Google account, you’ll need to create one before proceeding. Simply click on the “Create account” link on the Google account sign-in window and follow the steps to create a new account. Once you have a Google account, you can use it to sign in to various Google services, including Picasa.
Now that you’re signed in to your Google account within Picasa, the next step is to select the specific photos you want to download. We’ll explain how to do this in the next section.
Step 3: Select Photos to Download
Now that you’re signed in to your Google account within Picasa, it’s time to choose the photos you want to download to your computer. Follow these steps to select the photos:
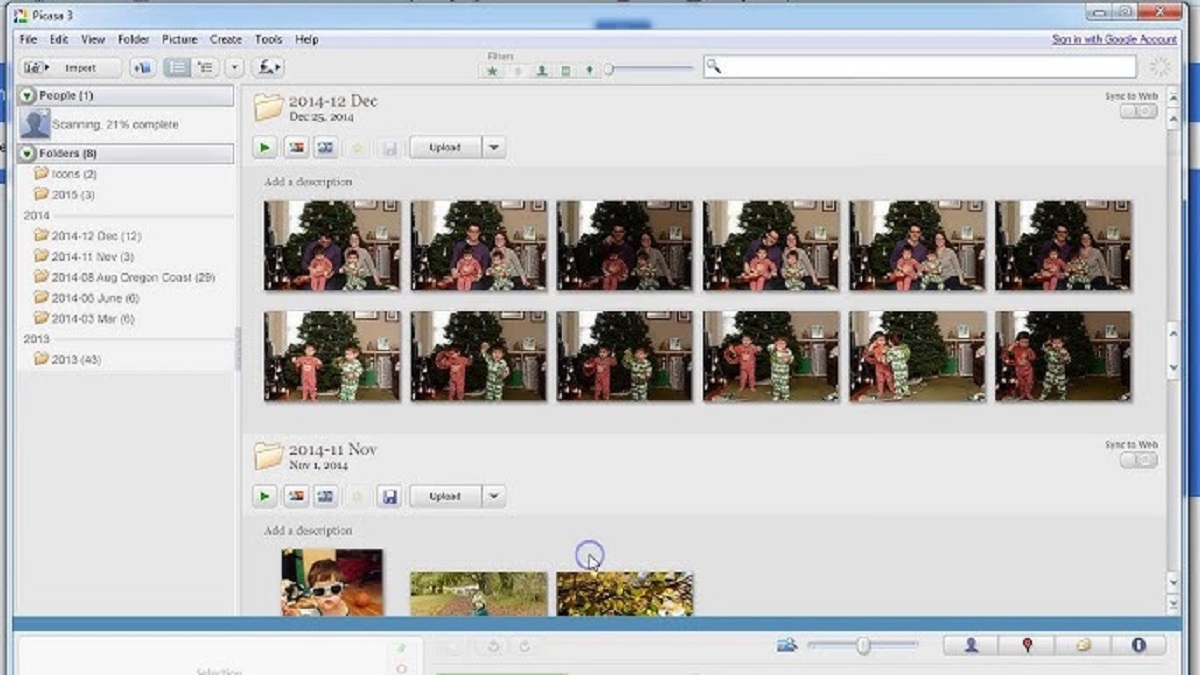
- In the Picasa software, navigate to the album or folder where your desired photos are located. You can do this by using the menu on the left-hand side of the interface.
- Once you’ve found the album or folder, click on it to open it and view the photos it contains.
- Hover over each photo you wish to download, and a small checkbox will appear in the top-left corner of the thumbnail. Click on the checkbox to select the photo. You can select multiple photos by checking the boxes of each desired photo.
- If you want to select all photos in the album or folder, you can click on the “Select All” option, usually located at the top of the interface.
Take a moment to browse through your albums and folders to ensure you have selected all the photos you want to download. Picasa provides a convenient way to organize your photos, making it easy to locate and select specific images for download.
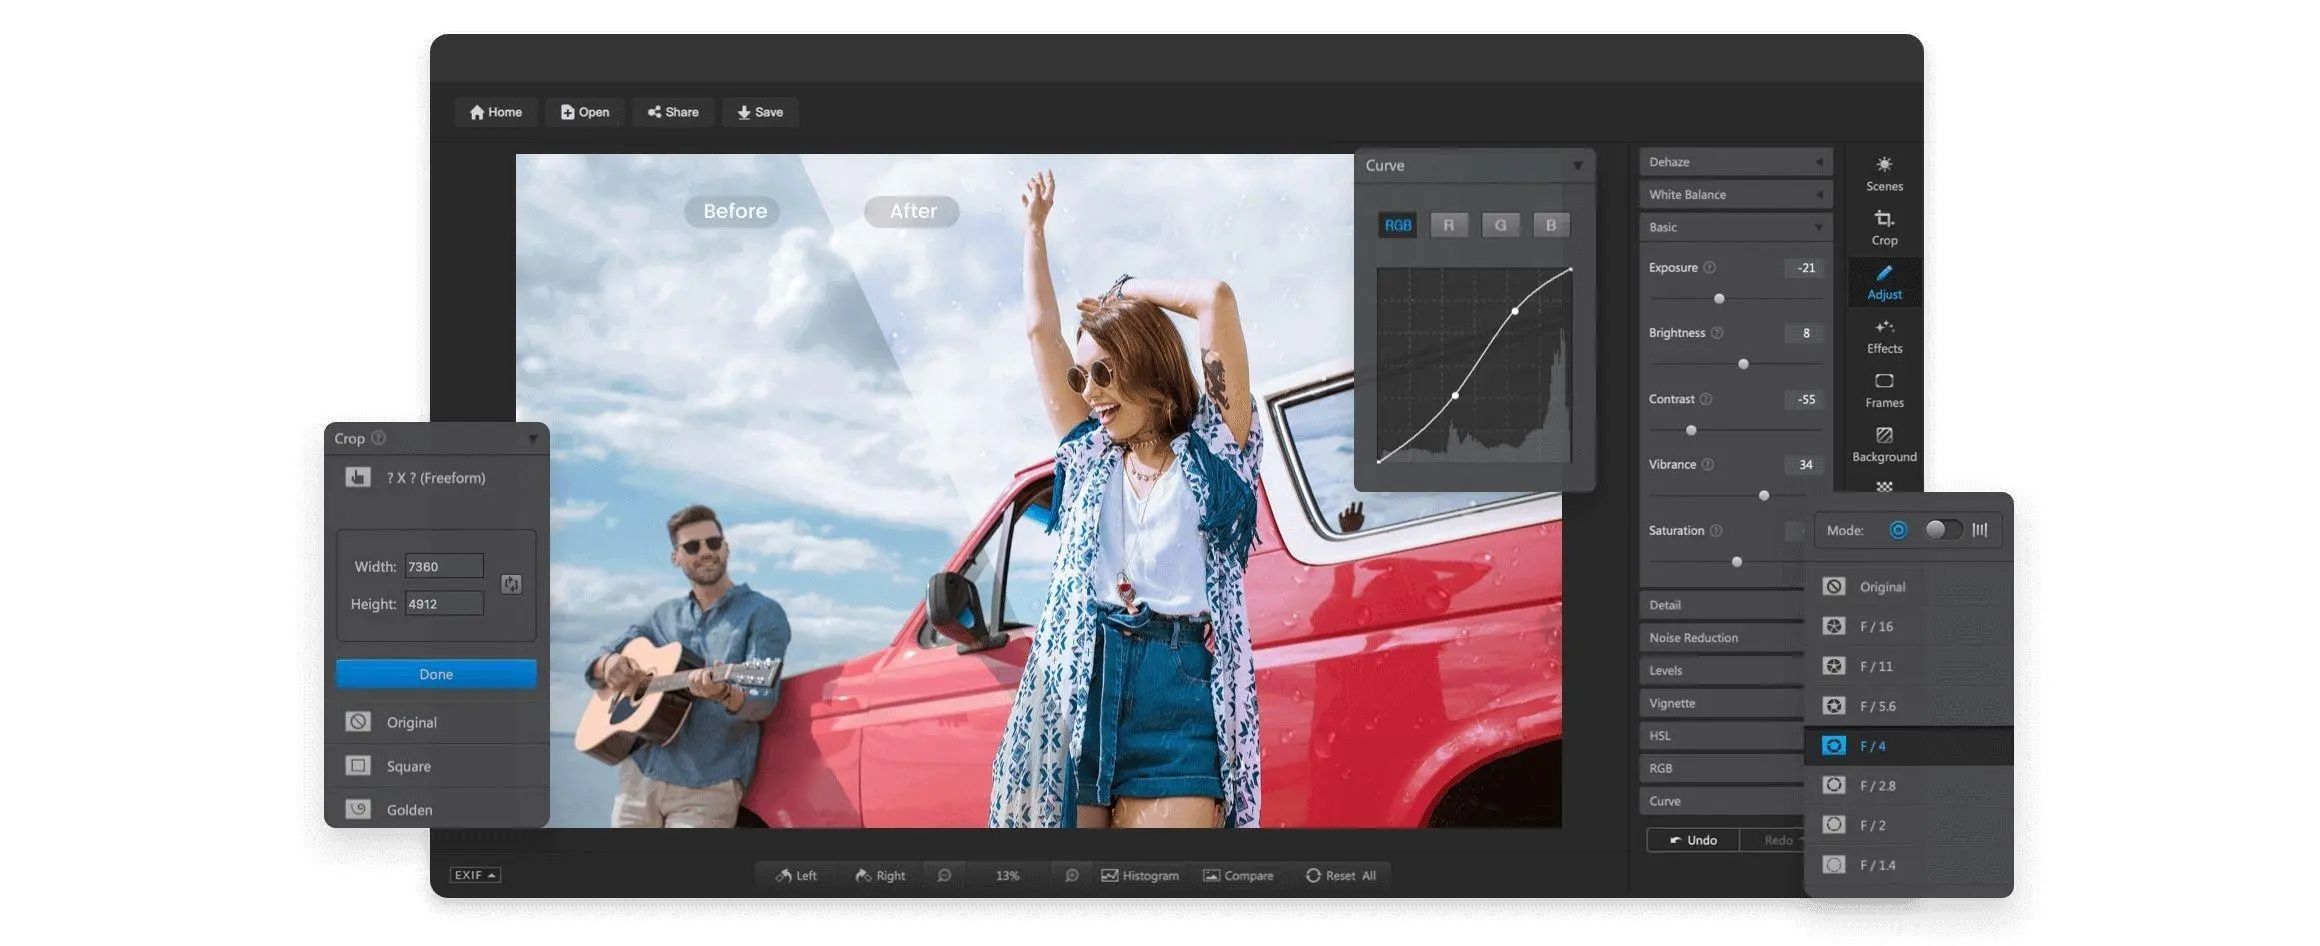
It’s worth mentioning that Picasa allows you to edit your photos before downloading them. If you want to apply any adjustments or enhancements to your selected photos, you can utilize the editing tools provided by the software. However, editing is optional, and you can skip this step if you prefer to download the original, unedited versions of your photos.
Now that you have selected the photos you want to download, it’s time to move on to the next step: choosing the download option. We’ll guide you through this process in the following section.
Step 4: Choose Download Option
After selecting the photos you want to download from Picasa to your computer, it’s time to choose the download option that suits your needs. Follow these steps to proceed:
- With your selected photos still highlighted, navigate to the menu options at the top of the Picasa interface.
- Click on the “File” menu, and a drop-down menu will appear.
- From the drop-down menu, select the “Export Picture to Folder” option. This will open a new window for your download settings.
- In the download settings window, choose the desired settings for your downloaded photos. This may include selecting the file format (e.g., JPEG, PNG), adjusting the image quality, specifying the image size, or selecting additional metadata options.
- Once you have customized the download settings to your preference, choose the destination folder on your computer where you want to save the photos. You can select an existing folder or create a new folder for organization.
- Double-check that all your preferred settings are properly configured before proceeding.
- Click on the “Export” or “Download” button to start the download process.
- Picasa will indicate the progress of the download, and once completed, a notification or message will confirm the successful download of your selected photos.
Choosing the appropriate download option and settings ensures that your downloaded photos meet your requirements in terms of quality, file format, and size. Take some time to consider your preferences and make the necessary selections before initiating the download process.
Keep in mind that the download process may take some time, depending on the number and size of the selected photos. It’s recommended to have a stable internet connection and sufficient free space on your computer’s storage to accommodate the downloaded photos.
Once your photos are successfully downloaded, it’s time to access them on your computer. The next step will guide you on how to locate and access the downloaded photos easily.
Step 5: Select Destination Folder
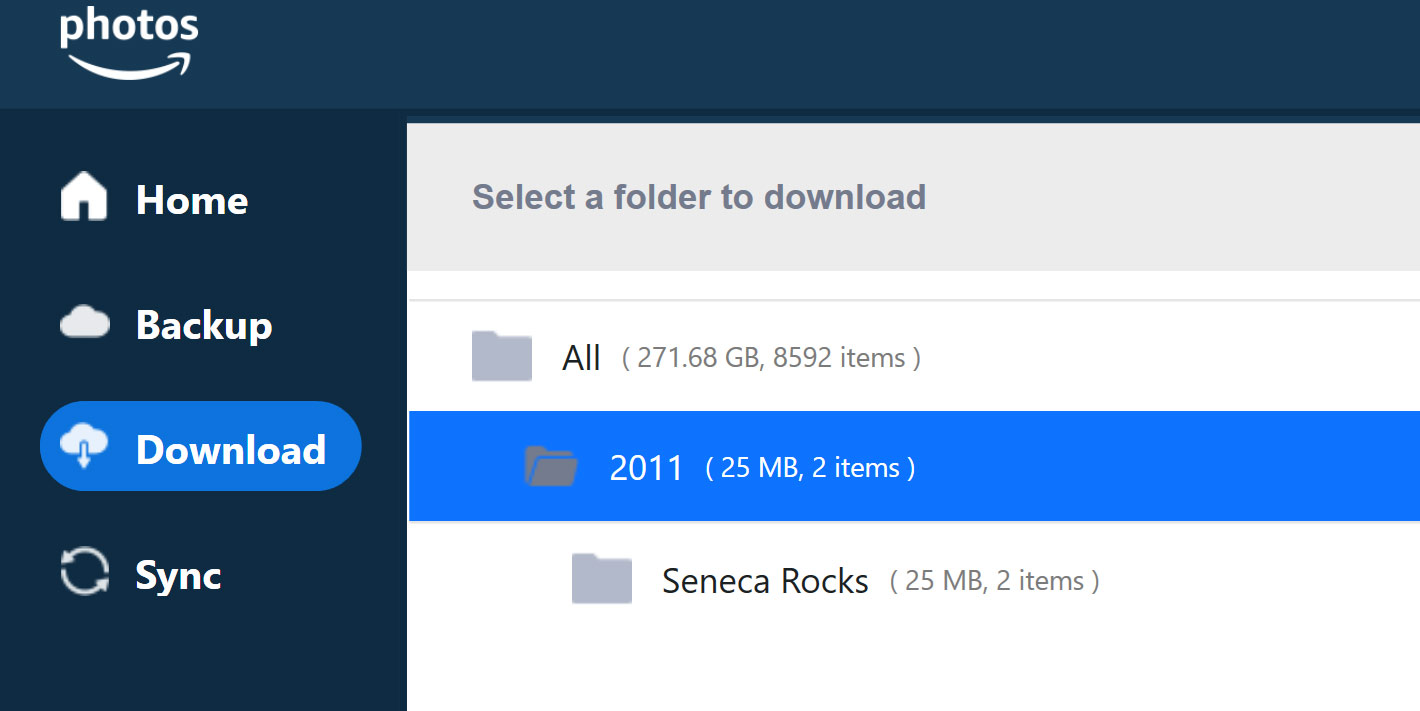
After customizing your download settings in the previous step, it’s time to select the destination folder on your computer where you want to save the downloaded Picasa photos. Follow these steps to choose the destination folder:
- In the Picasa software, the download settings window should still be open after configuring your download options.
- Look for the “Destination Folder” or “Save To” field in the download settings window. This is where you can specify the location where the downloaded photos will be saved.
- Click on the field or the accompanying “Browse” button to open a file browser window.
- Navigate through the file browser to select the desired destination folder on your computer.
- If you want to create a new folder for the downloaded photos, you can do so by clicking on the “New Folder” button within the file browser and giving it a specific name.
- Once you’ve chosen or created the destination folder, double-check that the correct path is displayed in the “Destination Folder” field.
- Click on the “Save” or “OK” button to confirm your selection and close the file browser window.
Selecting the destination folder for your downloaded photos is crucial for easy access and organization. It allows you to choose a location that makes sense to you, whether it’s within a specific folder or on your desktop.
It’s recommended to choose a destination folder that you can easily remember and access. This will ensure that you can locate and view your downloaded photos effortlessly whenever you want to revisit your cherished memories.
Once you’ve selected the destination folder, you’re almost there! The next step is to initiate the downloading process for your selected photos. Stay tuned for the next section, where we’ll guide you on how to start downloading your Picasa photos to your computer.
Step 6: Start Downloading
Now that you have selected the destination folder for your downloaded Picasa photos, it’s time to initiate the download process. Follow these steps to start downloading your precious memories to your computer:
- In the Picasa software, ensure that you have configured the download options and selected the desired photos as mentioned in the previous steps.
- Once you have confirmed the destination folder, double-check that all your preferences and settings are properly configured.
- Click on the “Export” or “Download” button located in the download settings window.
- Picasa will process the selected photos and begin downloading them to the specified destination folder.
- As the download progresses, you may see a progress bar or indicator showing the status of each photo’s download. Depending on the size and number of photos, this process may take some time.
- Once the download is complete, you will receive a notification or confirmation message indicating the successful completion of the download process.
During the download process, it’s important to have a stable internet connection to ensure uninterrupted downloads. Additionally, make sure that your computer has sufficient free disk space to accommodate the size of your selected photos.
Sit back and relax while Picasa transfers your selected photos from the online platform to your computer. Take this opportunity to grab a cup of coffee and reminisce about the beautiful memories captured in your photos.
Congratulations! You have successfully initiated the downloading process for your Picasa photos. The next section will guide you on how to access and view the downloaded photos on your computer, allowing you to relive those special moments whenever you want.
Step 7: Access Downloaded Photos on Your Computer
Now that you have successfully downloaded your Picasa photos to your computer, it’s time to access and view them. Follow these steps to locate and enjoy your downloaded photos:
- Navigate to the destination folder where you chose to save the downloaded photos. You can access this folder by opening the file explorer on your computer (e.g., Windows File Explorer, Finder on macOS).
- Locate the folder you specified as the destination folder for the downloaded photos. The folder name should align with the one you created or selected during the download process.
- Open the folder to view its contents. You should see the downloaded photos within this folder.
- To access and view a specific photo, simply double-click on it, and your computer’s default image viewer will open, allowing you to view the photo in its full glory.
- Browse through the folder to relish your downloaded memories. You can use the arrow keys or navigation buttons within your image viewer to navigate between the photos.
With your downloaded photos easily accessible on your computer, you have the freedom to enjoy and relive those cherished moments whenever you want. You can view, edit, print, or share them with your loved ones without the need for an internet connection or relying on a specific software platform.
Remember to back up your downloaded photos regularly to avoid any accidental loss or damage. You can create duplicate copies in different locations, such as external hard drives or cloud storage services, to ensure the safety and longevity of your valuable photo collection.
By following these steps, you have successfully completed the process of downloading and accessing your Picasa photos on your computer. Now you can have peace of mind knowing that your favorite memories are safely stored and easily accessible whenever you need them.
We hope this guide has been helpful in assisting you with downloading and accessing your Picasa photos on your computer. Enjoy exploring and revisiting those special moments captured in your photographs!
Conclusion
In this comprehensive guide, we have walked you through the step-by-step process of downloading your Picasa photos to your computer. From downloading the Picasa software to accessing and viewing your downloaded photos, we have covered each step in detail.
By following these instructions, you can now have your treasured memories at your fingertips, easily accessible and ready to be enjoyed offline. Whether you’re transitioning to a new photo management software or simply want to have a local backup of your photos, this guide ensures a seamless and hassle-free experience.
Remember the importance of signing in to your Google account within Picasa to sync your online photo albums and enable the download feature. Take advantage of the customization options available, such as selecting specific photos, choosing the download settings, and specifying the destination folder, to tailor the process according to your preferences.
With your downloaded photos safely stored on your computer, you have the freedom to organize, edit, and share them as you please. Take this opportunity to relive those memorable moments and share them with your loved ones, creating lasting connections through your captured experiences.
We hope that this guide has been helpful in navigating the process of downloading Picasa photos to your computer. Remember to regularly back up your downloaded photos to ensure their safety and longevity.
Thank you for taking the time to follow this guide. We hope you continue to capture and preserve beautiful memories, and may your downloaded Picasa photos bring you joy for years to come.