Introduction
With millions of videos available on YouTube, it’s no wonder that sometimes we come across pictures in videos that we want to save and keep for ourselves. But what do you do if you want to download YouTube pictures from your iPhone to your computer? Thankfully, the process is easier than you might think.
In this article, we will guide you through the steps to download YouTube pictures from your iPhone to your computer. Whether it’s a stunning landscape, a funny moment, or a memorable scene, you’ll be able to capture those images and have them readily available on your computer.
We will walk you through the process step by step, ensuring that you can easily follow along and achieve your goal. First, we will start by explaining how to open the YouTube app on your iPhone and find the video with the picture you want to download. Then, we will guide you through taking a screenshot of the picture and accessing it from your iPhone’s Photos app. Finally, we will show you how to connect your iPhone to your computer and copy the screenshot to your desired location.
By the end of this article, you will have all the knowledge you need to download YouTube pictures from your iPhone to your computer. So, let’s dive right in and get started!
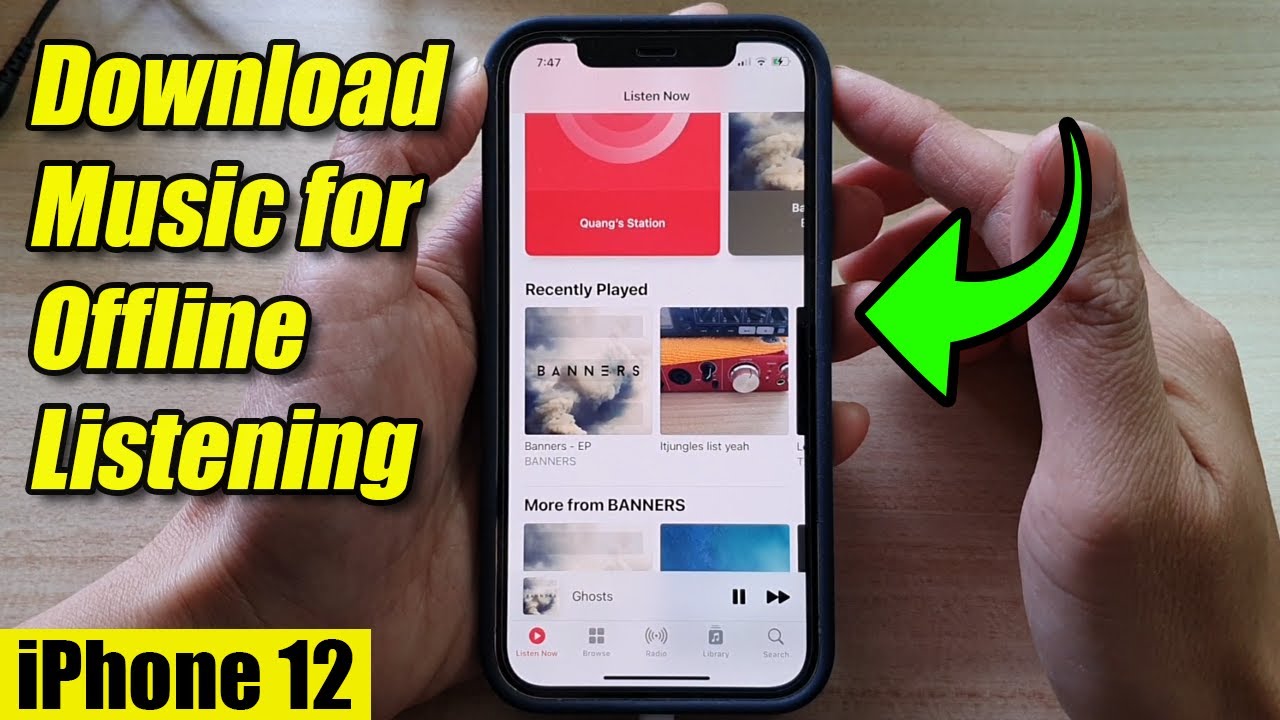
Step 1: Open the YouTube app on your iPhone
The first step to downloading YouTube pictures from your iPhone to your computer is to open the YouTube app on your device. The YouTube app is available for free on the App Store, so make sure you have it installed on your iPhone before proceeding. If you don’t have the app, simply go to the App Store, search for “YouTube,” and tap the “Get” button to download and install it.
Once you have the YouTube app installed on your iPhone, locate the app icon on your home screen and tap on it to open it. The app icon is a red play button inside a white rectangle, with the word “YouTube” written underneath.
Upon opening the YouTube app, you will be greeted with the home page, showcasing popular and trending videos. Use the search bar at the top of the screen to find the video that contains the picture you want to download. You can either type in the specific video title or use keywords related to the video content.
If you already have a specific video in mind, you can also tap on the “Library” icon at the bottom-right corner of the screen and select “History” to find recently watched videos. Scroll through the list and tap on the video you want to download the picture from.
Once you have found the video you want to download from, you’re ready to move on to the next step in the process. Remember to keep the YouTube app open on your iPhone as we progress through the remaining steps to ensure a smooth and seamless experience.
Step 2: Find the video with the picture you want to download
Now that you have the YouTube app open on your iPhone, it’s time to find the video that contains the picture you want to download. The YouTube app provides several options to help you search for videos more efficiently.
At the top of the YouTube app, you will see a search bar. Tap on it to activate the keyboard and enter keywords related to the video content or the specific video title. As you type, the app will automatically suggest relevant videos based on your input.
If you’re not sure what to search for, you can explore different categories and topics by tapping on the “Explore” tab at the bottom of the screen. This will display various genres and trending videos, allowing you to browse and discover new content.
Alternatively, you can tap on the “Subscriptions” tab to view videos from the YouTube channels you have subscribed to. This is a great option if you are looking for a specific video from a channel you follow.
Once you have found the video that contains the picture you want to download, tap on it to open and play the video. You can swipe up or down on the screen to adjust the volume and brightness, as well as tap on the screen to access video controls such as pause, play, and rewind.
Take your time to navigate through the video and identify the exact moment where the desired picture appears. It could be a breathtaking landscape, a funny expression, or an important scene. Observe the video closely to ensure you capture the picture you want to download.
Now that you have successfully located the video with the picture you want to download, it’s time to proceed to the next step and learn how to pause the video at the desired picture.
Step 3: Pause the video at the desired picture
Once you have found the video with the picture you want to download on the YouTube app, the next step is to pause the video at the exact moment when the desired picture appears. This will allow you to capture a screenshot of the picture and save it to your iPhone.
To pause the video, simply tap on the screen while the video is playing. This will bring up the video controls overlay, which includes the play/pause button, among others. Tap on the pause button to halt the video at the current frame.
It’s important to be precise and attuned to the timing to ensure that you capture the desired picture accurately. Take your time to analyze the video frame by frame if needed, using the pause and play buttons to fine-tune the moment you wish to capture.
You may need to rewind or fast forward the video using the scrubber bar at the bottom of the screen to reach the specific moment you want to pause at. Drag the scrubber bar left or right to navigate through the video, and release your finger to resume playing at a different point.
Once you have successfully paused the video at the desired picture, it’s time to proceed to the next step and learn how to take a screenshot of the picture.
Step 4: Take a screenshot of the picture
Now that you have paused the video at the precise moment when the desired picture appears, it’s time to capture a screenshot of the picture on your iPhone. Taking a screenshot is a quick and simple process that allows you to save the current screen as an image.
To take a screenshot on most iPhone models, simultaneously press the Sleep/Wake button (located on the right side or top of the device) and the Home button (located on the front of the device below the screen). On newer models without a Home button, such as the iPhone X and later, press the Volume Up button and the Side button (formerly known as the Sleep/Wake button) together.
When you take a screenshot, you will see a flash on the screen, and you may also hear a camera shutter sound (depending on your device settings). Additionally, a thumbnail of the screenshot will briefly appear in the bottom-left corner of the screen.
To confirm that the screenshot was successfully taken, you can swipe left from the bottom-right corner of the screen to access the Control Center. Here, you will see a preview of the screenshot, allowing you to quickly access and share it if desired.
Note that if you are using an iPhone with Face ID, such as the iPhone X and later models, you can also take a screenshot by pressing and holding the Side button on the right side of the device, then immediately pressing the Volume Up button once, and releasing both buttons.
Once you have taken the screenshot, it will automatically be saved to your iPhone’s Photos app. Screenshots are conveniently organized in the “Screenshots” album, making it easy to locate and access the captured picture.
With the screenshot successfully taken, it’s time to move on to the next step and learn how to access and transfer the screenshot from your iPhone’s Photos app to your computer.
Step 5: Access the screenshot from your iPhone’s Photos app
After successfully taking a screenshot of the picture on your iPhone, the next step is to access the screenshot from your iPhone’s Photos app. The Photos app is where all your saved photos and screenshots are stored, making it easy to browse and manage your captured images.
To access the Photos app, locate the app icon on your iPhone’s home screen. The Photos app icon resembles a multicolored flower. Tap on the icon to open the app.
Once the Photos app is open, you will see different albums and categories displayed at the bottom of the screen, including “Photos,” “For You,” “Albums,” “Search,” and “Library.” Tap on the “Albums” tab to view all your albums.
In the list of albums, look for the “Screenshots” album. Tap on it to open the album and access all the screenshots you have taken on your iPhone.
Inside the “Screenshots” album, you will find all your captured screenshots, including the one you took from the YouTube video. Scroll through the album to find the specific screenshot you’re looking for.
Alternatively, you can use the “Photos” tab in the bottom-left corner of the screen to view all your photos and screenshots combined in chronological order.
Once you have located the screenshot you want to download from your iPhone to your computer, it’s time to move on to the next step and learn how to connect your iPhone to your computer for the transfer.
Step 6: Connect your iPhone to your computer
To transfer the screenshot from your iPhone to your computer, you need to establish a physical connection between the two devices. This can be done by using a USB cable to connect your iPhone to your computer.
Start by locating the USB cable that came with your iPhone. It should have a Lightning connector on one end, which is the one that plugs into your iPhone, and a USB connector on the other end, which is the one that goes into your computer.
Next, find an available USB port on your computer where you can connect the USB end of the cable. Once you have located the USB port, insert the USB connector into it securely.
Now, take the Lightning connector of the USB cable and insert it into the charging port on your iPhone. Make sure it is properly inserted and securely connected.
Once the connection is established, your iPhone may prompt you to “Trust This Computer.” If prompted, unlock your iPhone and tap “Trust” to allow your computer to access your device.
At this point, your iPhone should be successfully connected to your computer. The two devices will communicate with each other, allowing you to transfer files and data between them.
It’s important to note that depending on your computer’s operating system, whether it’s Windows or macOS, the process of connecting your iPhone may vary slightly. However, the basic steps remain the same – connect the USB cable, ensure a secure connection, and trust the computer if prompted.
Now that you have successfully connected your iPhone to your computer, it’s time to move on to the next step and learn how to locate your iPhone on your computer’s file explorer or finder.
Step 7: Open the File Explorer (Windows) or Finder (Mac) on your computer
To transfer the screenshot from your iPhone to your computer, you need to locate and open the appropriate file management application on your computer. The steps to do this differ depending on whether you are using a Windows computer or a Mac.
If you are using a Windows computer, you will need to open the File Explorer. You can do this by clicking on the “File Explorer” icon located on your desktop taskbar, which looks like a folder. Alternatively, you can press the Windows key + E on your keyboard to open the File Explorer.
On the other hand, if you are using a Mac computer, you will need to open the Finder. You can do this by clicking on the “Finder” icon located in the Dock at the bottom of your screen. The Finder icon looks like a blue smiling face. Alternatively, you can click on the “Go” menu at the top of your screen and select “Finder.”
Once you have opened the File Explorer (Windows) or Finder (Mac), a window will appear on your screen showing the files and folders on your computer.
If you are using a Windows computer, you will find your connected iPhone listed under the “This PC” or “Computer” section in the left sidebar of the File Explorer. The name of your iPhone might be listed as the device name or simply as “Apple iPhone.” Click on it to access your iPhone’s files and folders.
If you are using a Mac computer, you will find your connected iPhone listed in the sidebar of the Finder under “Locations.” The name of your iPhone might be listed as the device name or simply as “iPhone.” Click on it to access your iPhone’s files and folders.
Once you have successfully located your connected iPhone in the File Explorer (Windows) or Finder (Mac), you are ready to proceed to the next step and learn how to copy the screenshot from your iPhone to your computer.
Step 8: Locate your iPhone in the File Explorer or Finder
After opening the File Explorer (Windows) or Finder (Mac) on your computer, the next step is to locate your iPhone within the file management application. This will allow you to access your iPhone’s files and folders for the file transfer process.
In the File Explorer (Windows), you will typically find your connected iPhone listed under the “This PC” or “Computer” section in the left sidebar. Look for the name of your iPhone, which might appear as the device name or simply as “Apple iPhone.” Click on it to access your iPhone’s files and folders.
In the Finder (Mac), your connected iPhone will be listed in the sidebar under “Locations.” It will be displayed with the name of your iPhone, which may be the device name or simply “iPhone.” Click on it to access your iPhone’s files and folders.
Once you have clicked on your iPhone in the File Explorer or Finder, a window will open displaying the available files and folders on your device. You should see a list of folders, such as “DCIM,” “Music,” “Movies,” and more.
To transfer the screenshot, you need to navigate to the folder where the screenshot is stored. Typically, screenshots are saved in the “DCIM” folder. Open the “DCIM” folder by clicking on it, and you should see a list of folders named “100APPLE,” “101APPLE,” and so on.
Click on the appropriate folder to access the screenshots stored within. Look for the screenshot you took earlier from the YouTube video. It should be displayed as an image file with a recognizable name.
Now that you have successfully located the screenshot on your iPhone within the File Explorer or Finder, you are ready to proceed to the next step and learn how to copy the screenshot from your iPhone to your computer.
Step 9: Copy the screenshot from your iPhone to your computer
Now that you have located the screenshot on your iPhone within the File Explorer (Windows) or Finder (Mac), it’s time to copy the screenshot from your iPhone to your computer. This will allow you to save and access the screenshot on your computer for further use.
To copy the screenshot, simply click and drag the screenshot file from the File Explorer or Finder window to a desired location on your computer. You can choose to copy it to your desktop, a specific folder, or any other location where you want to store the screenshot.
When dragging the screenshot file, you will see a cursor icon indicating that you are moving the file. Release the mouse button or trackpad once you have reached the desired location to complete the copy process.
Another way to copy the screenshot is to right-click on the file and select “Copy” from the context menu. Then, navigate to the desired location on your computer and right-click again, this time selecting “Paste” to copy the screenshot file.
As the file is being copied, a progress bar may appear, indicating the transfer process. The time it takes to copy the screenshot will depend on the file size and the speed of your computer and USB connection.
Once the copy process is complete, you can close the File Explorer (Windows) or Finder (Mac) window as the screenshot has been successfully transferred to your computer.
Congratulations! You have now successfully copied the screenshot from your iPhone to your computer. The screenshot can now be accessed and used on your computer for various purposes, such as editing, sharing, or saving it for future reference.
Now that you have completed the screenshot transfer process, you can disconnect your iPhone from your computer by safely removing the USB cable. Ensure that you eject your iPhone from the computer to avoid any data loss or corruption.
With the screenshot safely saved on your computer, you can now enjoy sharing and using the image as desired. Well done!
Step 10: Paste the screenshot into the desired location on your computer
Now that you have successfully copied the screenshot from your iPhone, the final step in the process is to paste the screenshot into the desired location on your computer. This will allow you to save the screenshot in a specific folder or location where you can easily access it.
First, navigate to the folder or location on your computer where you want to store the screenshot. This could be your desktop, a specific folder, or any other destination of your choice.
Once you have reached the desired location, right-click in the folder or location and select “Paste” from the context menu. Alternatively, you can use the keyboard shortcut (Ctrl+V on Windows or Command+V on Mac) to paste the screenshot.
The screenshot file will be transferred from the clipboard and pasted into the selected location on your computer. This process may take a few moments, depending on the size of the screenshot and the speed of your computer.
Once the paste is complete, you will see the screenshot file appear in the chosen location on your computer. It will have the same name and file format as it had on your iPhone.
Now, you can access and use the screenshot on your computer as needed. You can open it with an image viewer or use it in any other application that supports image files.
Remember to organize your screenshots in a way that makes them easy to find and access in the future. You can create dedicated folders or use descriptive file names to help you quickly identify and locate specific screenshots.
Congratulations! You have successfully completed the process of pasting the screenshot from your iPhone into the desired location on your computer. The screenshot is now saved and ready for you to use or share as you wish.
Feel free to repeat the process for any additional screenshots you want to transfer from your iPhone to your computer.
With the screenshots safely saved on your computer, you can disconnect your iPhone from your computer by safely removing the USB cable. Ensure that you eject your iPhone from the computer to avoid any data loss or corruption.
Thank you for following along with this step-by-step guide. We hope this article has helped you successfully download YouTube pictures from your iPhone to your computer.
Conclusion
Downloading YouTube pictures from your iPhone to your computer may seem like a daunting task, but with the right steps, it can be a straightforward process. By following the steps outlined in this guide, you can easily save those captivating images from YouTube videos and have them readily available on your computer for further use.
We started by opening the YouTube app on your iPhone and finding the video with the desired picture. Then, we learned how to pause the video at the exact moment when the picture appears and take a screenshot of it.
After capturing the screenshot, we accessed it from your iPhone’s Photos app and connected your iPhone to your computer using a USB cable. We located your iPhone in the File Explorer (Windows) or Finder (Mac) and copied the screenshot from your iPhone to your computer.
Finally, we pasted the screenshot into the desired location on your computer, where you can now access and use it as needed. By following these simple steps, you have successfully downloaded YouTube pictures from your iPhone to your computer.
Remember to respect copyright laws when using or sharing downloaded content and ensure that you have proper authorization from the content owner if needed.
We hope this guide has been helpful in achieving your goal of downloading YouTube pictures from your iPhone to your computer. Now, you can enjoy the convenience of having those captivating images accessible at your fingertips whenever you need them.
Thank you for choosing our guide, and happy downloading!