Introduction
Welcome to the era of digital photography where capturing memorable moments has become easier than ever before. With smartphones equipped with powerful cameras, we can effortlessly document our lives in vivid detail. One popular destination for storing and organizing photos is Google Photos. This cloud-based service not only provides unlimited storage but also offers a range of features to enhance and share our precious memories.
However, there may come a time when you want to download all your Google Photos to your device or backup your entire photo library. This could be for various reasons, such as migrating to a different platform, creating a physical photo album, or simply wanting the peace of mind of having a local backup.
In this article, we will explore various methods to download all your Google Photos, whether you are using a desktop computer, a laptop, an Android device, or an iPhone. From using Google Takeout to utilizing the Google Photos app and even the Picasa desktop application, we will cover a range of options to suit your needs.
So, let’s dive in and explore the different methods that can help you download all your Google Photos hassle-free!
Method 1: Using Google Takeout
If you’re looking for a straightforward and comprehensive method to download all your Google Photos, Google Takeout is the way to go. This service allows you to export your data from various Google services, including Google Photos.
To get started, follow these steps:
- Open your web browser and visit the Google Takeout website.
- Sign in to your Google account if you haven’t already.
- Scroll down and you’ll find a list of Google services to choose from. In this case, make sure the box next to Google Photos is checked.
- Click on the “Next” button located at the bottom of the page.
- On the next page, you can customize the settings for your Google Photos export. Here, you can choose the file type, size, and delivery method.
- If you’re not sure about the options, simply leave them as the default settings.
- Click on the “Create export” button to initiate the process.
- Google Takeout will now create a package containing all your Google Photos.
- Once the export is ready, you will receive an email notification with a link to download the package.
- Click on the provided link and follow the instructions to download your Google Photos to your device.
Using Google Takeout ensures that you receive a complete copy of your Google Photos, including all albums, metadata, and image files. It is a convenient method that allows you to download your photos in a few simple steps.
Note that the time required for Google Takeout to create the export package depends on the size of your photo library. Larger libraries may take longer to process. Additionally, keep in mind that the export package can be quite large, so make sure you have enough storage space on your device.
Now that you know how to use Google Takeout to download all your Google Photos, let’s explore other methods to achieve the same result.
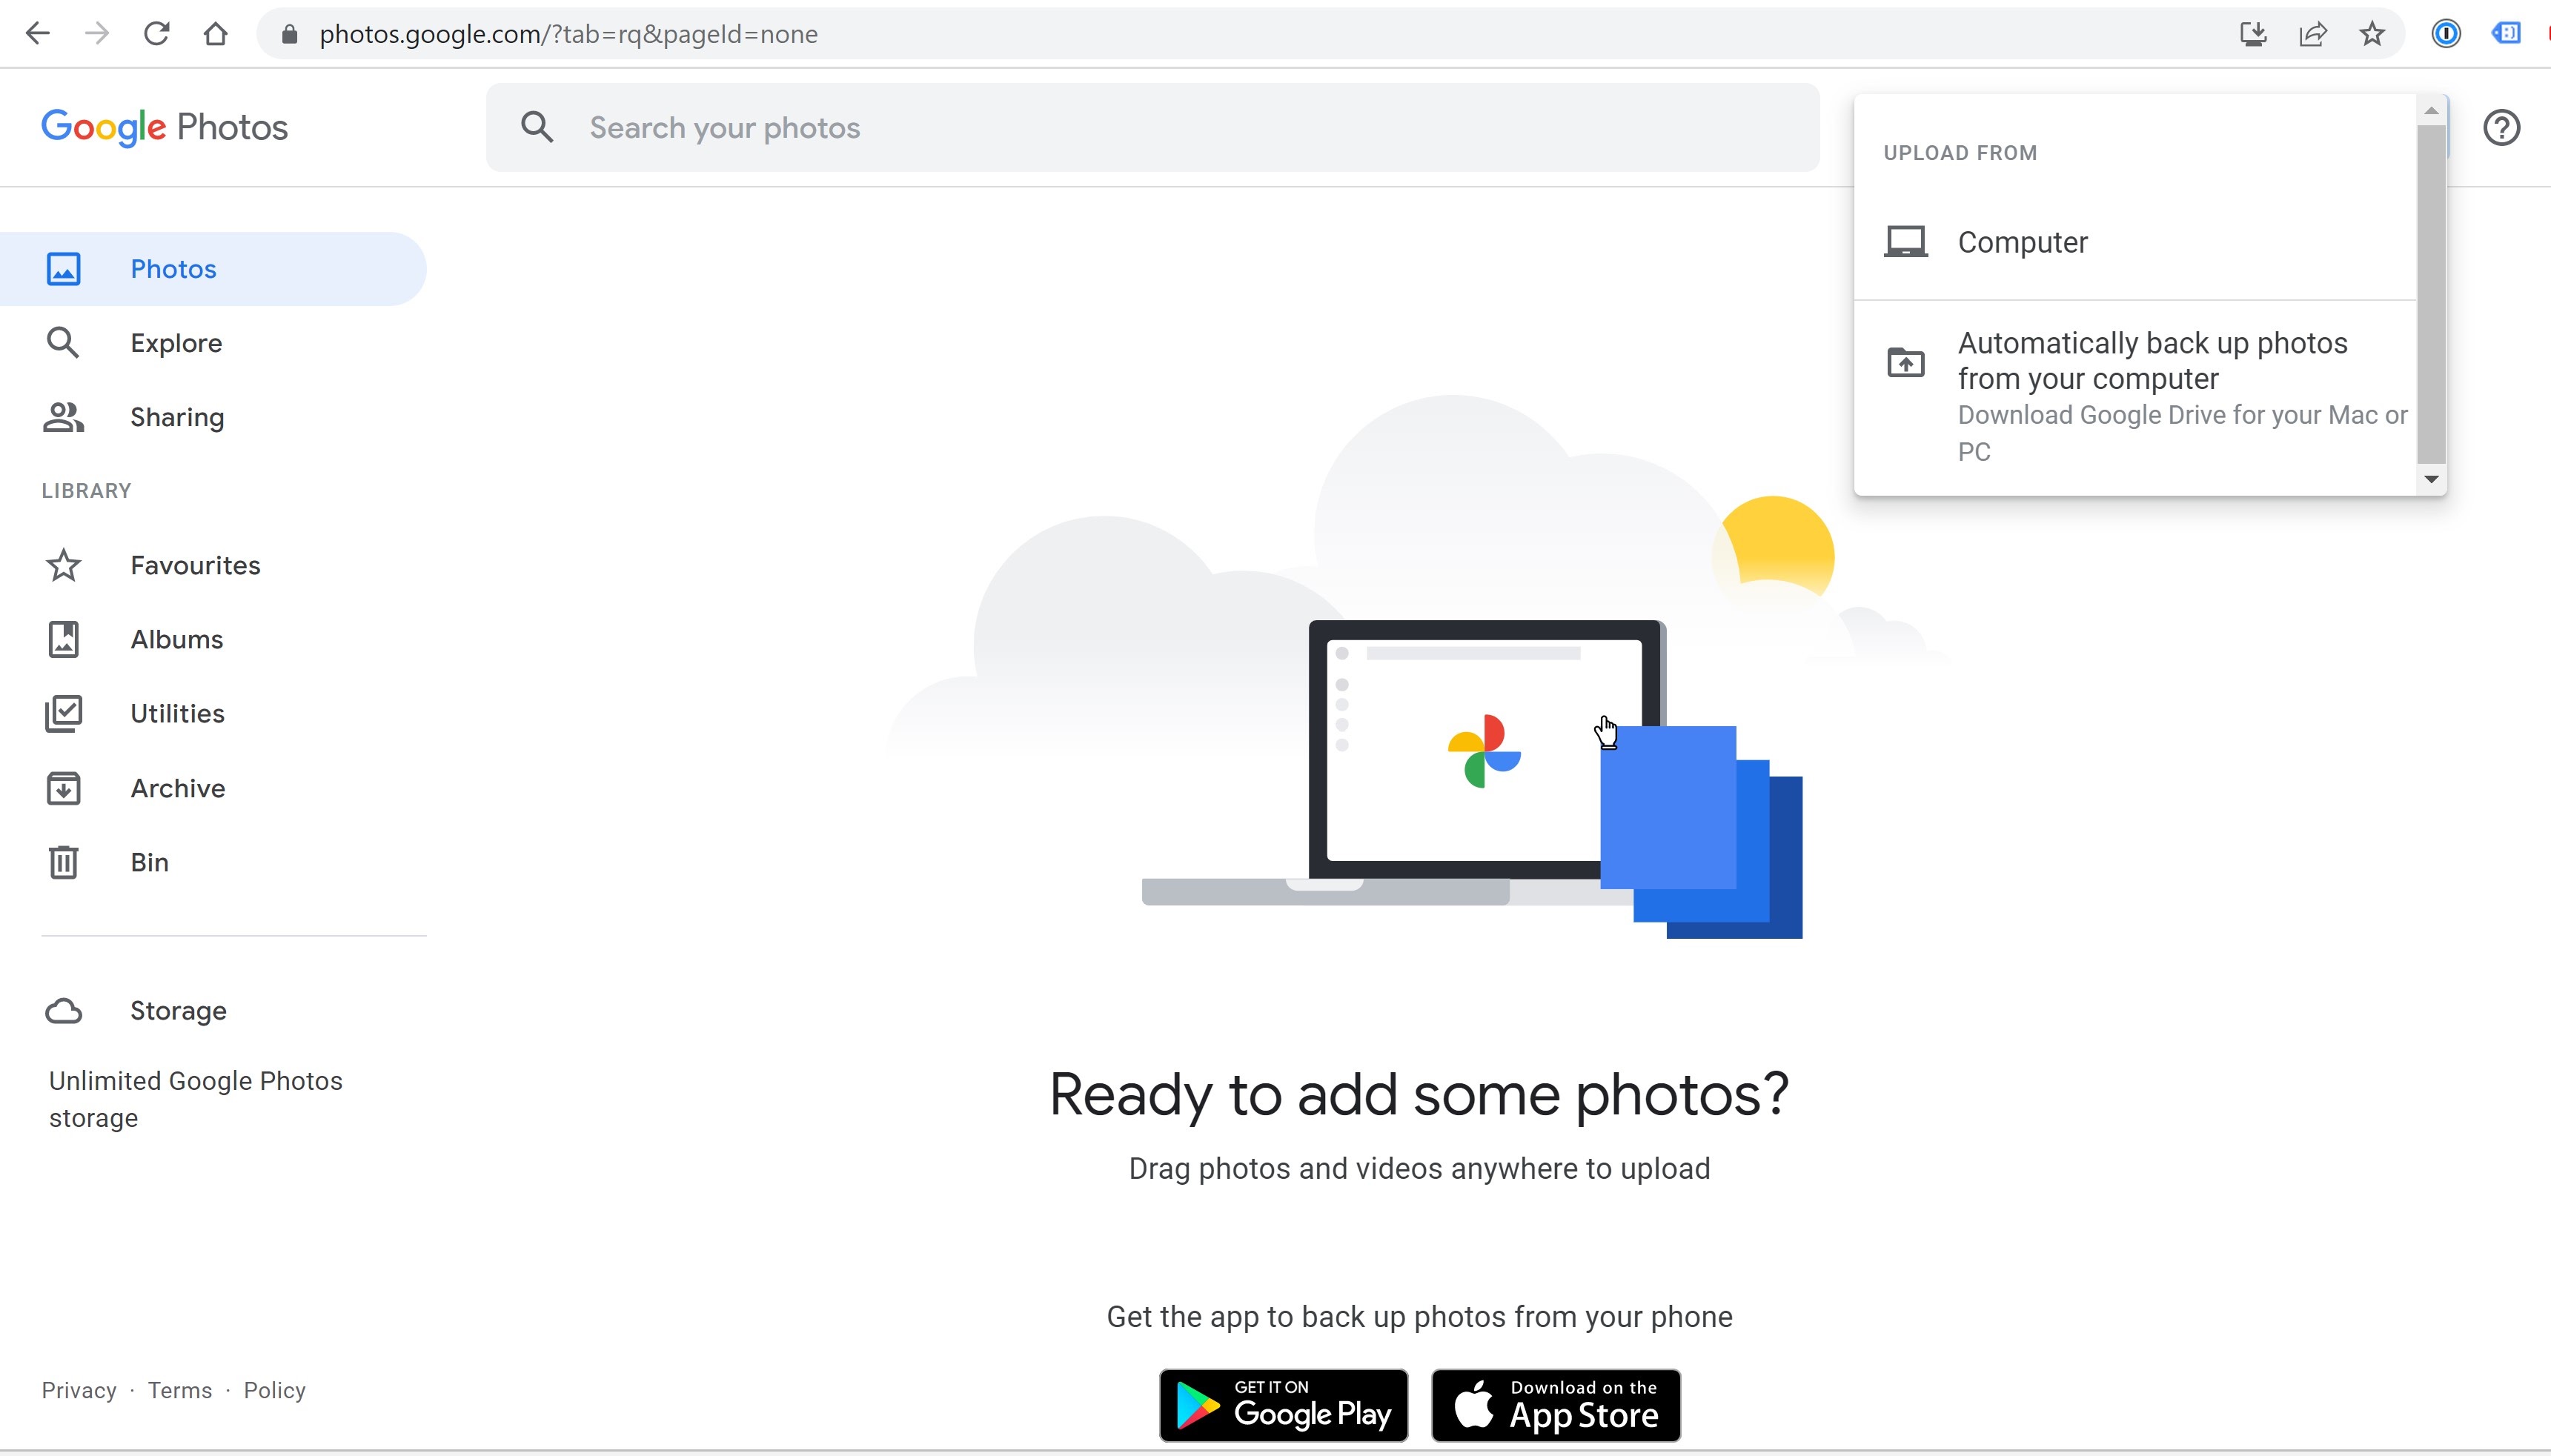
Method 2: Using Google Photos Website
If you prefer a more direct method without the need for external services, you can download your Google Photos directly from the Google Photos website. This method is convenient for users who want to download their photos to their computer without the need for additional software or apps.
Here’s how to download your Google Photos using the Google Photos website:
- Open your web browser and go to the Google Photos website.
- Sign in to your Google account if prompted.
- Navigate to the album or the specific photos you want to download.
- Click on the first photo to select it.
- Press and hold the Shift key on your keyboard, then click on the last photo to select a range of photos. Alternatively, you can hold the Ctrl key and click on individual photos to select them one by one.
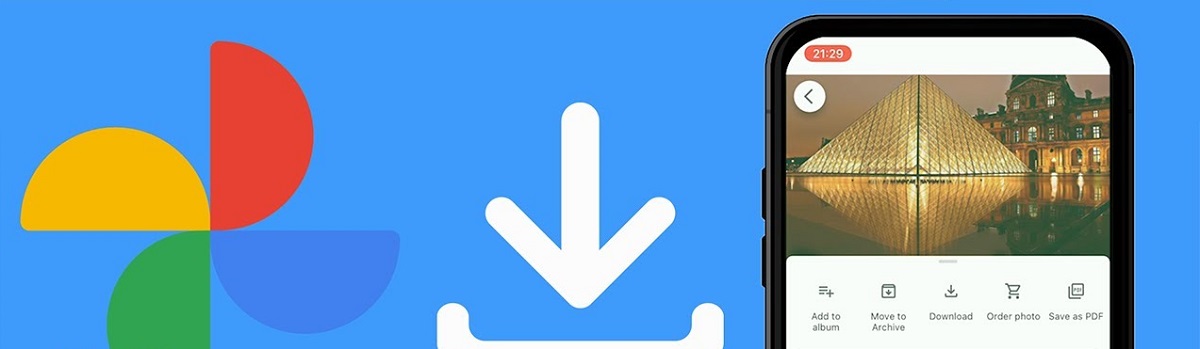
- Once you have made your selection, click on the three-dot menu icon at the top-right corner of the page.
- From the drop-down menu, select “Download” to initiate the download process.
- Your browser will prompt you to choose a location on your computer to save the downloaded photos.
- Select a destination folder and click on “Save” to start the download.
- Google Photos will package the selected photos into a zip file and begin downloading it to your computer.
- After the download is complete, navigate to the chosen destination folder to access your downloaded Google Photos.
Using the Google Photos website provides a quick and simple method to download specific albums or individual photos. Keep in mind that the download process may take some time depending on the size of the selected photos.
Now that you know how to download your Google Photos using the Google Photos website, let’s explore other methods to help you download your photos from different devices.
Method 3: Using Google Photos App on Android
If you primarily use an Android device, you can take advantage of the Google Photos app to easily download your photos. The app provides seamless integration with your device and offers a convenient way to manage and access your Google Photos.
Follow these steps to download your Google Photos using the Google Photos app:
- Launch the Google Photos app on your Android device. If you don’t have it installed, you can download it from the Google Play Store.
- Sign in to your Google account if prompted.
- Navigate to the album or specific photos you want to download.
- Tap on the three-dot menu icon located at the top-right corner of the screen.
- From the menu, select “Download” to initiate the download process.
- The Google Photos app will package the selected photos into a zip file and prompt you to choose a destination on your device to save them.
- Select a location on your device and tap on “Save” to start the download.
- Once the download is complete, you can access your downloaded Google Photos through the file manager on your Android device.
The Google Photos app provides a user-friendly experience for managing, organizing, and downloading your photos on an Android device. It allows you to select specific albums or individual photos, making it convenient for customizing your download preferences.
Now that you know how to use the Google Photos app on Android to download your photos, let’s explore another method specifically for iPhone users.
Method 4: Using Google Photos App on iPhone
If you’re an iPhone user, you can still easily download your Google Photos using the dedicated Google Photos app available on the App Store. The app allows you to access and manage your Google Photos library directly from your iPhone.
Here’s how to download your Google Photos using the Google Photos app on your iPhone:
- Open the App Store on your iPhone and search for “Google Photos”.
- Download and install the Google Photos app from the App Store.
- Once the installation is complete, open the app and sign in to your Google account if prompted.
- Navigate to the album or specific photos you want to download.
- Tap on the three-dot menu icon located at the top-right corner of the screen.
- From the menu, select “Download” to start the download process.
- The Google Photos app will package the selected photos into a zip file and prompt you to choose a location on your iPhone to save them.
- Choose a destination folder and tap on “Save” to initiate the download.
- Once the download is complete, you can access your downloaded Google Photos through the Photos app or the Files app on your iPhone.
The Google Photos app on iPhone offers a seamless and convenient way to manage and download your Google Photos. Whether you want to download specific albums or individual photos, the app provides the necessary tools to complete the process on your iOS device.
Now that you know how to use the Google Photos app on iPhone to download your photos, let’s explore another method specifically for downloading Google Photos on desktop computers.
Method 5: Using Backup and Sync for Windows or macOS
If you prefer to download your Google Photos directly to your desktop computer or laptop, you can utilize the Backup and Sync application provided by Google. This software allows you to automatically sync and backup your Google Photos to a designated folder on your Windows or macOS system.
Follow these steps to download your Google Photos using Backup and Sync:
- Open your web browser and visit the Google Photos Apps page.
- Click on the “Download Backup and Sync” button to download the application for your respective operating system.
- Run the downloaded installer and follow the on-screen instructions to install Backup and Sync on your computer.
- Launch the Backup and Sync application.
- Sign in to your Google account when prompted.
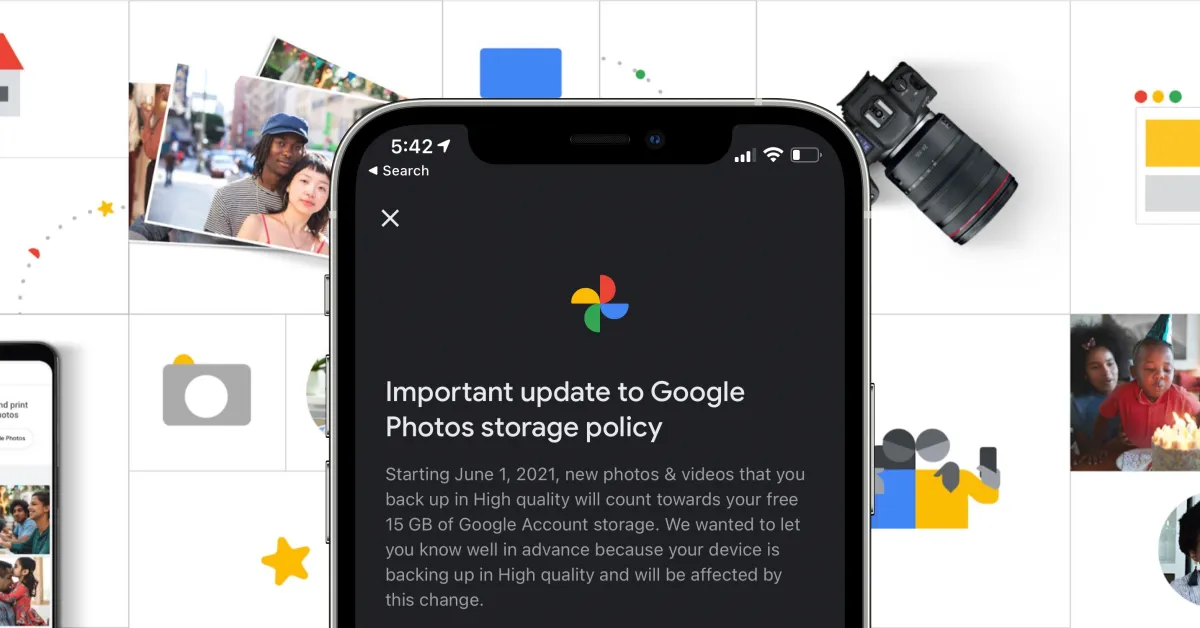
- In the “Upload size” section, choose the desired quality for your uploaded photos. Options include Original Quality or High Quality, which offers free unlimited storage but compresses the photos slightly.
- In the “Google Drive” section, uncheck the box next to “Sync My Drive to this computer” if you only want to sync and download your Google Photos.
- Click on the “Next” button to proceed.
- In the “Google Photos” section, check the box next to “Upload newly added photos and videos to Google Photos” and “Sync only these folders” if you want to specify certain folders for synchronization.
- Choose the destination folder on your computer where you want to download your Google Photos.
- Click on the “Start” button to begin the synchronization and download process.
The Backup and Sync application will create a designated folder on your computer and download all your Google Photos to that location. It will continually sync any changes made to your Google Photos, ensuring they are always up to date on your computer.
Now that you know how to use Backup and Sync to download your Google Photos on Windows or macOS, let’s explore another method for downloading Google Photos using the Picasa desktop application.
Method 6: Using Picasa Desktop Application
If you’re already familiar with Picasa, the popular desktop photo management software developed by Google, you can utilize this application to download your Google Photos to your desktop computer or laptop. Picasa provides a range of features to organize, edit, and download your photos from various sources, including Google Photos.
Follow these steps to download your Google Photos using the Picasa desktop application:
- If you don’t already have Picasa installed on your computer, you can download it from the Picasa website.
- Once you have installed Picasa, open the application on your computer.
- Sign in to your Google account if prompted.
- In the left-hand sidebar, you should see a “Photos” tab or a folder labeled “Google Photos”. Click on it to access your Google Photos within Picasa.
- Navigate to the album or specific photos you want to download.
- Select the photos you want to download by holding the Ctrl key (Windows) or the Command key (macOS) and clicking on each photo.
- Click on the “File” tab at the top of the Picasa window.
- From the drop-down menu, select “Export Picture to Folder”.
- Choose the destination folder on your computer where you want to save the downloaded Google Photos.
- Click on the “Export” button to initiate the download process.
Picasa will download and save the selected Google Photos to the specified folder on your computer. This method allows you to take advantage of Picasa’s powerful organization and editing features while conveniently downloading your Google Photos to your local storage.
Now that you know how to use the Picasa desktop application to download your Google Photos, you have a range of options to choose from when it comes to downloading your photos.
Conclusion
Downloading all your Google Photos can be a valuable task, whether you’re looking to maintain a local backup, create a physical photo album, or transition to a different platform. In this article, we explored six different methods to help you achieve this goal seamlessly.
Firstly, we learned about using Google Takeout, a comprehensive service that allows you to export your Google Photos and download them as a package. This method ensures you receive a complete copy of your photo library.
We then explored using the Google Photos website, which offers a direct method to download specific albums or individual photos without the need for additional software or apps.
For Android users, we discussed the convenience of using the Google Photos app, allowing you to easily download your photos to your Android device.
Similarly, for iPhone users, we highlighted the dedicated Google Photos app available on the App Store, providing a seamless way to manage and download your Google Photos on iOS devices.
For those who prefer to download the photos directly to their desktop or laptop, we covered the use of the Backup and Sync application for Windows or macOS. This software allows you to automatically sync and download your Google Photos to a designated folder on your computer.
Lastly, we explored the option of using the Picasa desktop application, which offers a range of management and editing features while allowing you to download your Google Photos directly to your computer.
Each method has its advantages and caters to different preferences and devices. Choose the method that suits your needs and enjoy the process of downloading all your cherished Google Photos.
Now, armed with the knowledge from this article, you can confidently download all your Google Photos and have them safely stored and accessible as you desire.