Introduction
Transferring your Google Photos to Apple Photos can be a great way to consolidate all your cherished memories in one place. Whether you’re switching from an Android device to an iPhone, or simply want to have your photos accessible across all your Apple devices, this guide will walk you through the process step by step.
Why transfer to Apple Photos?
Apple Photos offers a seamless and user-friendly interface, making it easy to organize, edit, and share your photos and videos. Plus, by transferring your Google Photos to Apple Photos, you can take advantage of Apple’s powerful editing tools, intelligent search capabilities, and the convenience of having all your media accessible in one app.
Getting started
Before you begin, make sure you have a Google account and an Apple device that is compatible with Apple Photos. This process requires access to the internet, both on your Google account and Apple device.
Disclaimer: It’s crucial to note that transferring your photos from Google Photos to Apple Photos is a one-way process, meaning you won’t be able to sync changes or edits made in Apple Photos back to your Google Photos account. Additionally, ensure that you have sufficient storage space on both your Google and Apple accounts to accommodate the transfer.
Now that you’re ready, let’s dive into the step-by-step process of transferring your Google Photos to Apple Photos.
Step 1: Sign in to your Google Photos account
The first step in transferring your Google Photos to Apple Photos is to sign in to your Google account and access your Google Photos library. Follow these steps to get started:
- On your computer or mobile device, open a web browser and go to photos.google.com.
- Sign in to your Google account using your username and password. If you have multiple Google accounts, make sure you sign in with the account that contains the photos you want to transfer.
- Once you’re signed in, you’ll be directed to your Google Photos library. This is where all your photos and videos are stored.
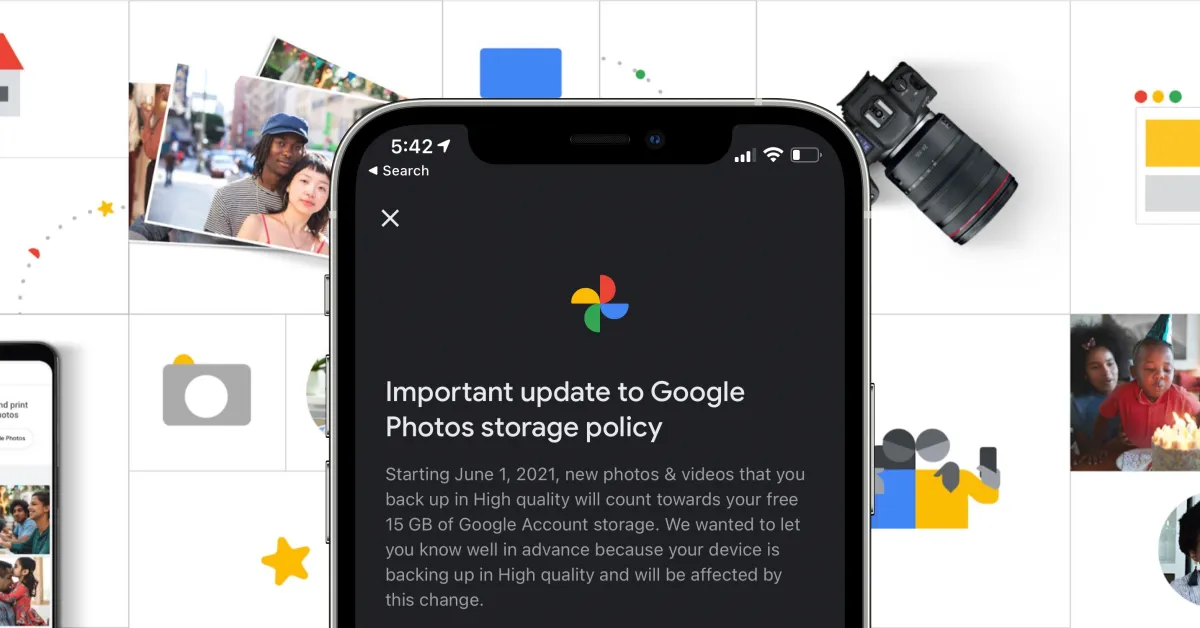
If you haven’t backed up your photos to Google Photos, you’ll need to do so before proceeding with the transfer. Google Photos offers an automatic backup feature that can upload your photos from your device to the cloud. To enable this feature, follow the prompts on the Google Photos website or mobile app.
Once you’ve signed in and ensured that your photos are backed up, you’re ready to move on to the next step: downloading your Google Photos data.
Step 2: Download your Google Photos data
In order to transfer your Google Photos to Apple Photos, you’ll need to download your photos and videos from your Google account. This process allows you to have a local copy of your media that can be imported into Apple Photos. Follow these steps to download your Google Photos data:
- On your computer or mobile device, go to takeout.google.com. This is Google’s data export tool that allows you to download various types of data from your account.
- Sign in to the same Google account that you used in Step 1.
- Scroll down and locate the “Photos” option. Make sure the checkbox next to it is selected.
- Click on “Multiple formats” to specify the format in which you want to download your photos and videos. You can choose between .zip, .tgz, or .tbz formats.
- Next, click on “All photo albums included” if you want to download all your albums. If you only want to download certain albums, click on “Select albums” and choose the ones you want.
- Click on “Next” to proceed to the next step.
- Now, you have the option to choose how you want to receive your download link. You can either have it sent via email, add it to Google Drive, add it to Dropbox, or add it to Microsoft OneDrive. Select your preferred method.
- Click on “Create export” to start the process. Note that it may take some time for Google to prepare your download. You’ll receive an email notification once it’s ready.
- Once you receive the email, click on the download link provided. This will allow you to download a compressed file containing all your Google Photos data.
- Extract the downloaded file to access your photos and videos. You’ll now have a local copy of your Google Photos that can be imported into Apple Photos.
With your Google Photos data downloaded, you’re ready to move on to the next step: preparing your Apple device for the import process.
Step 3: Prepare your Apple device
Before you can import your Google Photos data into Apple Photos, you need to ensure that your Apple device is ready for the transfer process. Follow these steps to prepare your device:
- Make sure you have the latest version of the iOS or macOS software installed on your Apple device. Keeping your device updated will ensure compatibility and optimal performance.
- Open the App Store on your iPhone, iPad, or Mac and search for “Apple Photos”. If you don’t already have the app installed, download and install it from the App Store.
- Launch the Apple Photos app on your device. If prompted, sign in to your Apple ID or iCloud account.
- In the Apple Photos app, go to the “Preferences” or “Settings” menu. This is usually located under the “Photos” or “Preferences” section.
- Check the settings to ensure that you have enough storage space available on your device and iCloud storage to accommodate the transfer. If needed, consider upgrading your iCloud storage plan to have enough space for your photos and videos.
- If you want to organize your photos into albums or folders in Apple Photos, create the relevant albums or folders beforehand. This will make it easier to organize your transferred media.
By following these steps, you’ll ensure that your Apple device is ready and optimized for importing your Google Photos data into Apple Photos. Once your device is prepared, you can proceed to the next step: importing your photos and videos.
Step 4: Import photos to Apple Photos
Now that you’ve signed in to your Google Photos account, downloaded your Google Photos data, and prepared your Apple device, it’s time to import your photos and videos into Apple Photos. Follow these steps to complete the import process:
- Locate the downloaded Google Photos data on your device. This will typically be a folder containing your photos and videos.
- Open the Apple Photos app on your device.
- Navigate to the location where you want to import your photos and videos. This can be the default library or a specific album or folder.
- Drag and drop the photos and videos from your Google Photos folder into the desired location in Apple Photos. Alternatively, you can use the import feature within Apple Photos to select and import the files.
- Wait for the import process to complete. This may take some time depending on the number and size of the files being imported.
- Once the import is finished, you’ll see your Google Photos transferred into Apple Photos. They will be organized based on the folder structure you created or by default in the library.
- Double-check your imported photos and videos to ensure they have been successfully transferred and are in the correct location. You can also take this opportunity to organize them further by creating additional albums or adding tags and descriptions.
By following these steps, you’ll be able to seamlessly transfer your Google Photos to Apple Photos, keeping all your precious memories securely stored in one place. Now, let’s move on to the final step: organizing your photos in Apple Photos.
Step 5: Organize your photos in Apple Photos
With your Google Photos successfully transferred into Apple Photos, it’s time to organize them to ensure easy access and a clutter-free experience. Here’s how you can organize your photos in Apple Photos:
- Create albums: Albums are a great way to organize your photos based on specific themes or events. To create an album in Apple Photos, go to the “Albums” tab, click on the “+” icon, and give your album a name. Then, drag and drop the relevant photos into the album.
- Add tags and descriptions: Tags and descriptions can help you categorize and search for specific photos. In Apple Photos, select a photo and click on the “i” icon to view its details. Here, you can add tags and descriptions to provide context and make it easier to find the photo later.
- Use smart albums: Apple Photos offers smart albums that automatically organize your photos based on criteria like date, location, or specific keywords. To create a smart album, go to the “Albums” tab, click on the “+” icon, and choose “New Smart Album”. Set the desired rules for the smart album, and the app will automatically update it based on your criteria.
- Edit and enhance your photos: Apple Photos provides a range of editing tools to enhance your photos further. Click on a photo and select the “Edit” option to access editing options like cropping, adjusting exposure, applying filters, and more. Experiment with different edits to make your photos truly shine.
- Enable iCloud Photo Library: To keep your photos synced across all your Apple devices, enable iCloud Photo Library. This allows you to access your photos from any device and ensures that any changes or edits you make are automatically synced. Go to your device’s settings, select your Apple ID/iCloud, and enable iCloud Photo Library.
By organizing your photos in Apple Photos, you’ll be able to easily navigate and find specific moments, create personalized collections, and relive your favorite memories. Take some time to explore the various organizing features and customize your photo library according to your preferences and needs.
Conclusion
Transferring your Google Photos to Apple Photos is a straightforward process that allows you to bring all your cherished memories into one convenient location. By following the steps outlined in this guide, you can seamlessly transfer your photos and videos, ensuring they are organized and easily accessible in Apple Photos.
Remember, before starting the transfer, make sure to sign in to your Google Photos account, download your photos and videos, and prepare your Apple device. Once you’ve completed these initial steps, importing the data into Apple Photos becomes a breeze. You can then organize your photos by creating albums, adding tags and descriptions, and taking advantage of smart album features.
Additionally, enhancing your photos using the editing tools available in Apple Photos allows you to create stunning visuals and relive your favorite moments. Enabling iCloud Photo Library further ensures that your photos are synced across all your Apple devices, giving you instant access wherever you go.
Now that you have successfully transferred and organized your Google Photos in Apple Photos, you can enjoy the benefits of Apple’s robust photo management system. Take some time to explore the app, experiment with editing tools, and relive your treasured memories with ease.
Remember to keep your Google Photos account backed up and regularly sync your Apple Photos with iCloud to ensure the safety and accessibility of your photos for years to come.
Happy organizing and enjoying your photo collection in Apple Photos!


