Introduction
Welcome to the modern era of smartphones, where we constantly crave the latest and greatest devices. If you’ve recently decided to make the switch from an Android device to an iPhone, you’re in for an exciting journey. With a sleek design, cutting-edge features, and a user-friendly interface, the iPhone offers a captivating mobile experience.
However, the thought of transferring all your data and information from your Android device to your new iPhone can seem daunting. But fear not! In this article, we’ll guide you through the step-by-step process of transitioning seamlessly to your new iPhone.
Transferring data from Android to iPhone involves transferring your contacts, photos, videos, music, messaging app data, email, calendar, notes, apps, and app data. Each step requires specific instructions to ensure a successful transfer. But don’t worry, we’ll explain each step in detail to make the process as effortless as possible.
Before we dive into the intricacies of the transfer process, it’s crucial to note that backing up your Android device is essential. This helps safeguard your valuable data, ensuring that even if something goes wrong during the transfer, you’ll still have a backup to rely on.
Now, let’s get started on this exciting journey as we explore the various steps to transfer from Android to iPhone. So grab your Android device, your new iPhone, and let’s make the switch!
Step 1: Backing up your Android device
Before you begin the transfer process, it’s crucial to back up all your important data from your Android device. This ensures that even if something goes wrong during the transfer, you won’t lose any valuable information. Here’s how you can back up your Android device:
- Cloud Backup: One of the easiest ways to back up your Android device is by utilizing cloud storage services. Most Android devices come with built-in options like Google Drive, where you can sync your device data to the cloud. Simply go to the Settings menu, select “Backup & Restore” or “Cloud and Accounts,” and enable the relevant options. This will automatically back up your contacts, app data, settings, and more to the cloud.
- External Storage: Another option is to back up your device data to an external storage medium such as an SD card or USB drive. Connect your Android device to a computer and transfer all your important files and folders to the external storage. This includes your photos, videos, music, documents, and any other files you want to retain.
- Third-Party Backup Apps: There are various third-party backup apps available on the Google Play Store that offer comprehensive backup and restore functions. These apps allow you to create a complete backup of your device, including app data, contacts, messages, and more. Research and choose a reliable backup app that suits your needs, install it on your Android device, and follow the app’s instructions to create a backup.
Once you’ve successfully backed up your Android device, double-check to ensure that all your important data is securely stored. Take your time to verify that your contacts, photos, videos, documents, and other crucial files are included in the backup.
Remember, having a backup gives you peace of mind during the transfer process. So, before proceeding to the next steps, ensure that you’ve completed the backup process and have a copy of your Android device data stored safely.
Now that your Android device is backed up, it’s time to move on to the next step: transferring your contacts from Android to iPhone.
Step 2: Transferring your contacts
Transferring your contacts from your Android device to your new iPhone is essential to stay connected with your friends, family, and colleagues. Fortunately, there are multiple methods available to ensure a seamless transfer. Let’s explore two popular options:
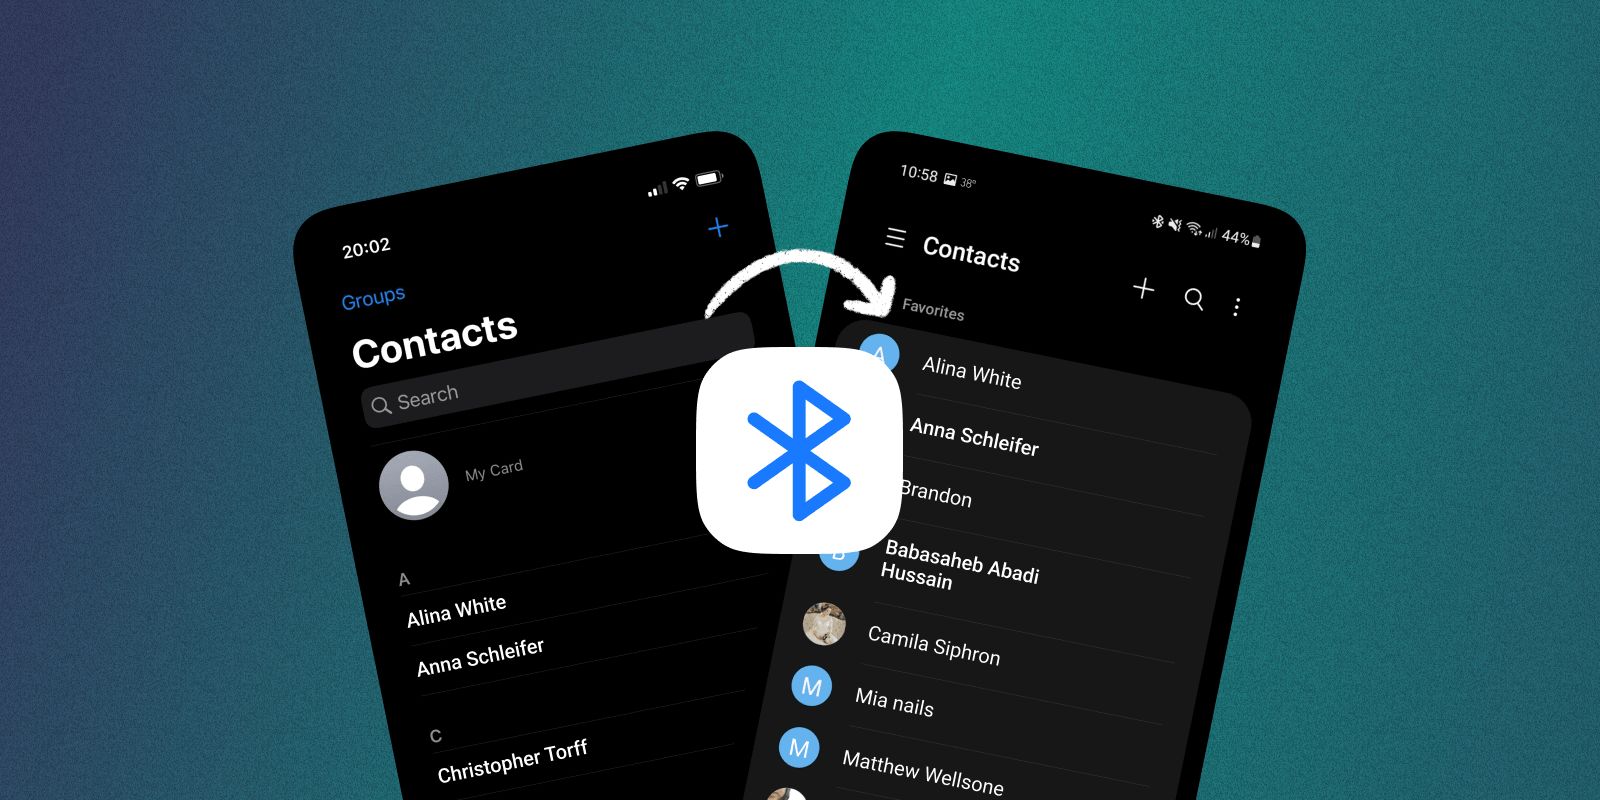
- Transfer via Google Account: If you’ve been using a Google account on your Android device to store your contacts, this method is perfect for you. On your iPhone, go to “Settings” and select “Passwords & Accounts.” Tap on “Add Account” and choose “Google.” Enter your Google account credentials and enable the “Contacts” option. Your Android contacts will now sync with your iPhone through your Google account. Give it some time, and soon you’ll find all your Android contacts on your iPhone’s address book.
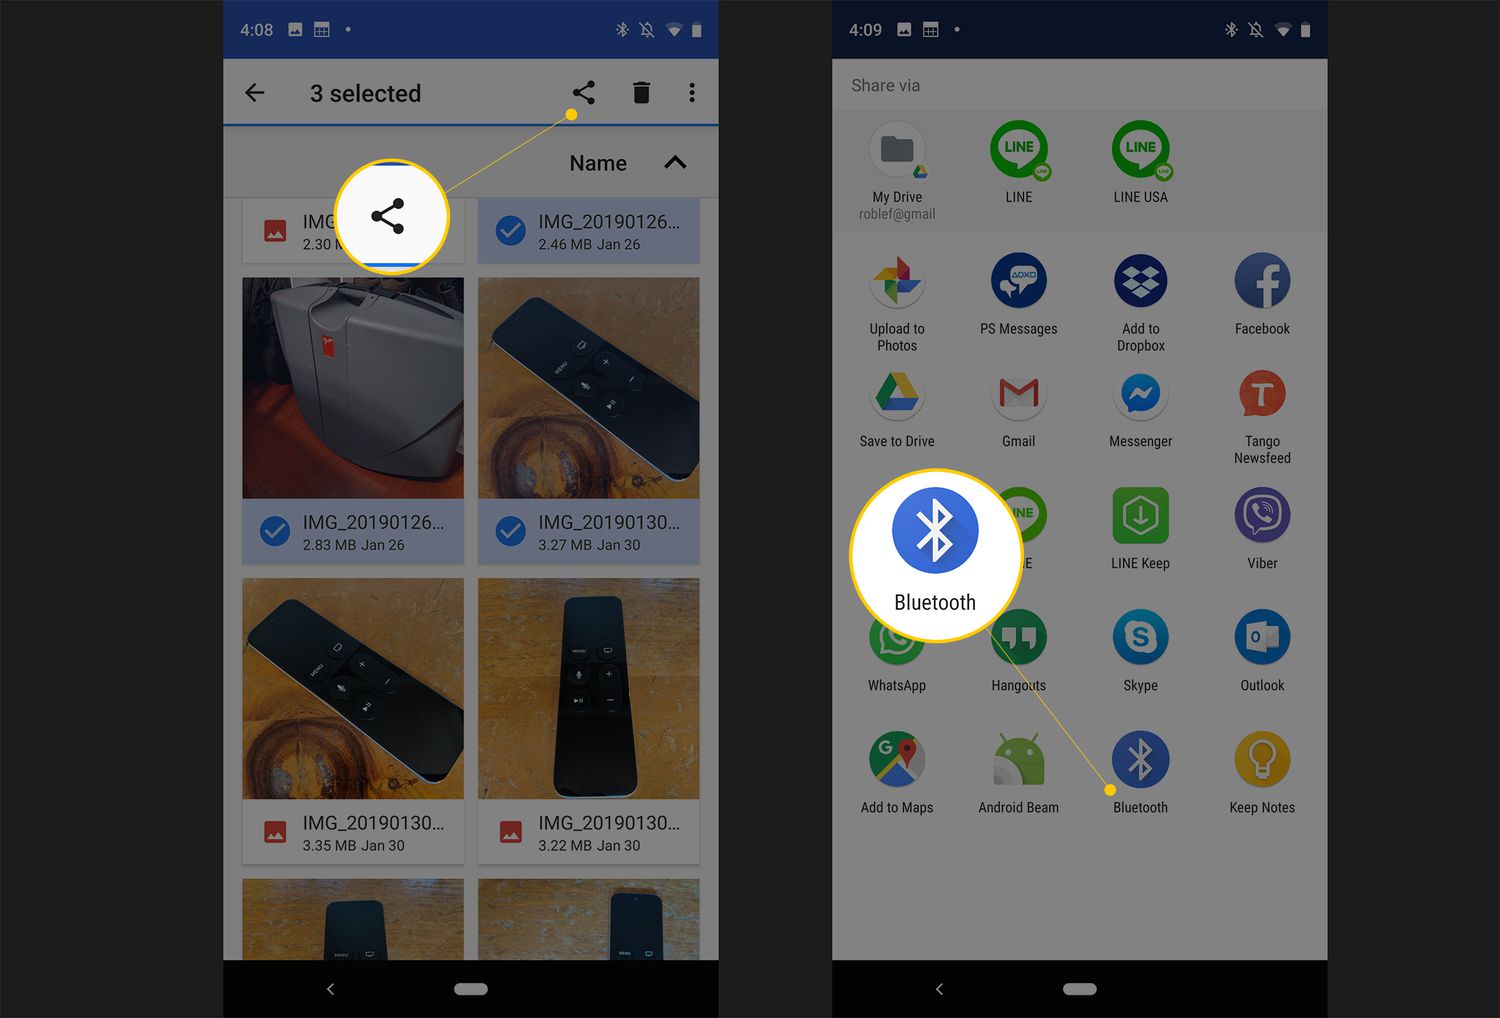
- Transfer via VCF File: If you haven’t been using a Google account or prefer an alternative method, you can export your contacts from your Android device as a VCF (Virtual Contact File) file and import it on your iPhone. To do this, open the Contacts app on your Android device, go to the settings menu, and select “Import/Export.” Choose the “Export to Storage” or “Export to SD card” option and save the VCF file. Now, transfer this file to your iPhone using various methods like email, cloud storage, or USB connection. On your iPhone, open the email or file app, locate the VCF file, and select “Import” to transfer the contacts to your iPhone’s address book.
Whichever method you choose, it’s important to double-check that all your contacts have been successfully transferred to your new iPhone. Open the Contacts app and ensure that all the names, phone numbers, and other details are accurate and complete.
Remember, your contacts are crucial for staying connected, so take your time and ensure that the transfer process is carried out accurately. Once you’re satisfied that your contacts have been successfully transferred, you can continue to the next step: moving your photos and videos.
Step 3: Moving your photos and videos
Your photos and videos capture precious memories and moments that you wouldn’t want to lose when transitioning from Android to iPhone. Thankfully, transferring your visual memories is a straightforward process. Here are a couple of methods to help you move your photos and videos:
- Using a Cloud Storage Service: If you have been utilizing a cloud storage service like Google Photos or Dropbox on your Android device, you can easily access these services on your new iPhone as well. Install the respective app on your iPhone and sign in to your account. Enable syncing and allow the app to download your photos and videos onto your iPhone. This process may take some time depending on the size of your media collection and your internet connection speed. Once the syncing is complete, you’ll have all your photos and videos readily available on your new iPhone.
- Transferring via Computer: Another option is to transfer your photos and videos directly from your Android device to your computer and then onto your iPhone. Connect your Android device to your computer using a USB cable and access the device’s storage. Locate the photos and videos you want to transfer, and copy them to a folder on your computer. Disconnect your Android device and connect your iPhone to the computer. Open iTunes (if using Windows) or Finder (if using macOS) and select your iPhone. Go to the “Photos” tab and enable the option to sync photos. Choose the folder where you saved your Android photos and videos, and click “Apply” or “Sync” to transfer them to your iPhone.
Whichever method you choose, it’s essential to ensure that all your photos and videos successfully transfer to your new iPhone. Take your time to browse through your photo library on the iPhone, making sure that everything is in order. You can organize them into albums or folders to keep everything neatly categorized.
Remember, your photos and videos hold countless memories, so it’s crucial to ensure a smooth and accurate transfer. Now that your visual memories have found a new home in your iPhone, it’s time to move on to the next step: transferring your music and playlists.
Step 4: Transferring your music and playlists
Music is a crucial part of our lives, and transferring your favorite tunes and playlists from your Android device to your new iPhone ensures that you can continue enjoying your curated collection. Here are a couple of methods to help you transfer your music and playlists:
- iTunes or Music App: If you have been using iTunes or the Apple Music app on your computer to manage your music library, the transfer process becomes a breeze. Connect your Android device to your computer using a USB cable and access the device’s storage. Locate the music files you want to transfer and copy them to a folder on your computer. Disconnect your Android device and connect your iPhone to the computer. Open iTunes (if using Windows) or Finder (if using macOS). Select your iPhone and go to the “Music” tab. Enable the option to sync music and select the folder where you saved your Android music. Click “Apply” or “Sync” to transfer the music and playlists onto your iPhone. If you’re using Apple Music, simply sign in with your Apple ID on your new iPhone, and your saved playlists and music library will automatically sync.
- Third-Party Apps: Alternatively, you can use third-party apps to transfer your music and playlists. There are several apps available on both Android and iPhone that facilitate seamless music transfer. One such example is “Stamp” which allows you to transfer your music and playlists from various music streaming platforms. Install the app on both your Android device and your iPhone, follow the instructions within the app, and your music and playlists will be transferred effortlessly.
Regardless of the method you choose, it’s important to double-check that all your music and playlists have been successfully transferred to your new iPhone. Open the Music app and make sure that all your songs and playlists are present and playable.
Remember, your music collection reflects your unique taste, so it’s crucial to carry it over smoothly to your new iPhone. Now that your music and playlists are ready to accompany you on your iPhone, it’s time to move on to the next step: transferring your messaging apps data.
Step 5: Moving your messaging apps data
When transitioning from an Android device to an iPhone, you’ll want to ensure that you don’t lose any important conversations and data from your messaging apps. Although transferring messaging app data can be more challenging than other types of data, it’s still possible to move your conversations to your new iPhone. Here’s how:
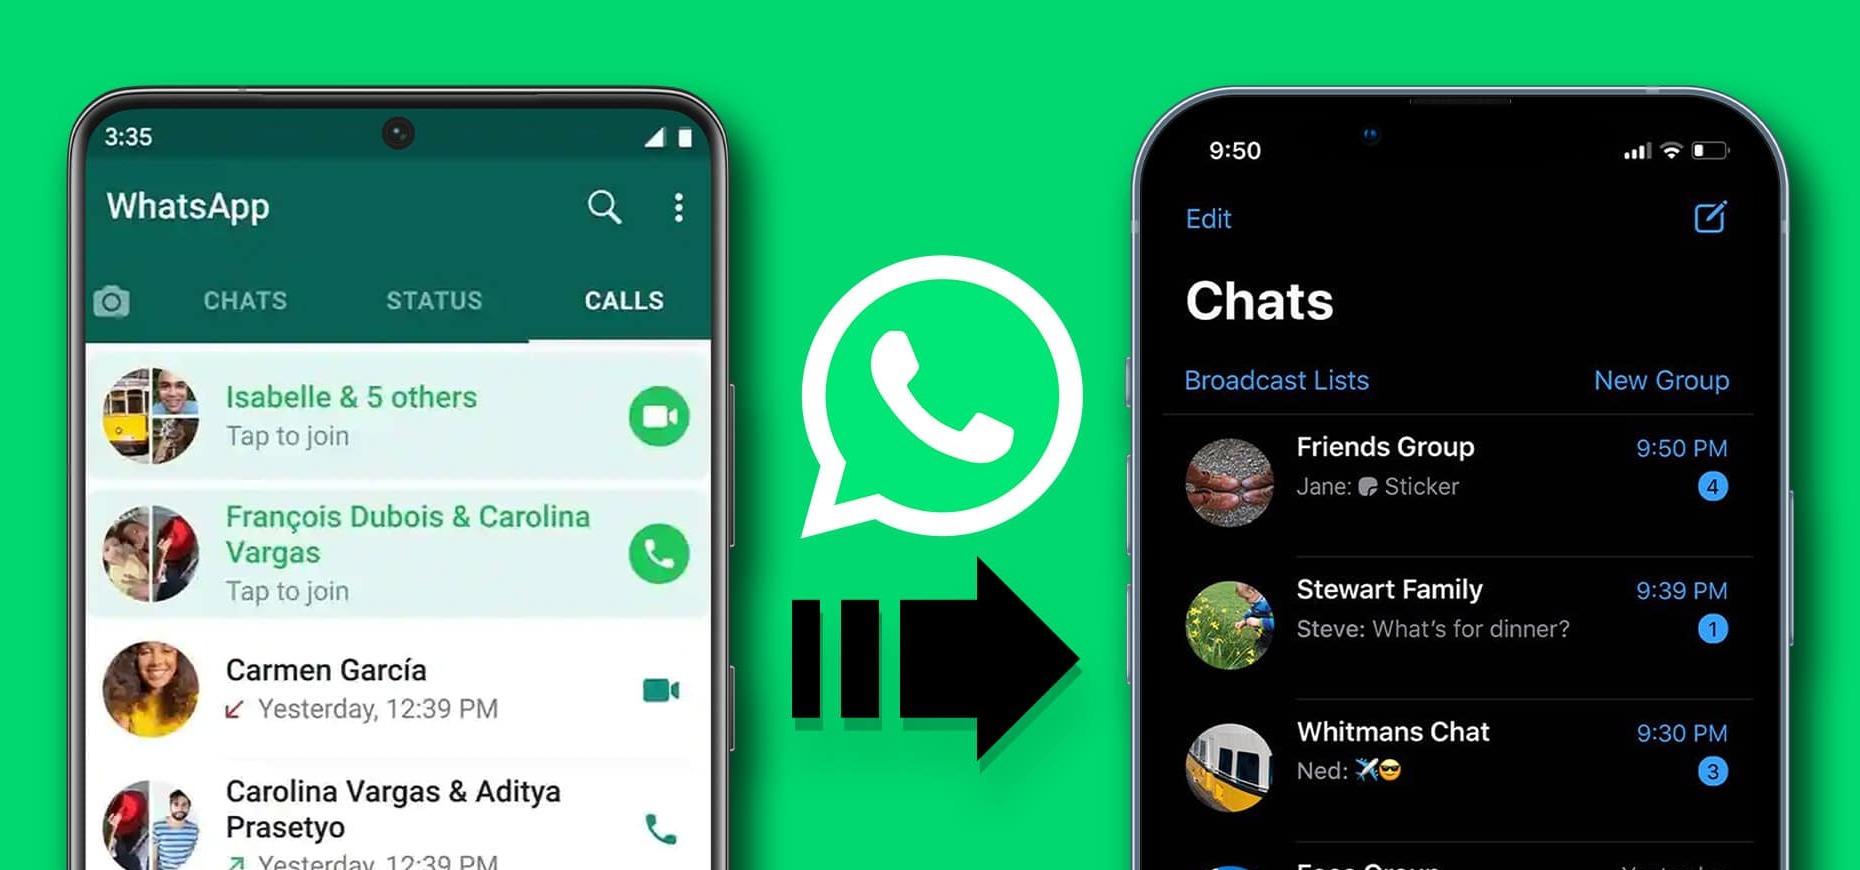
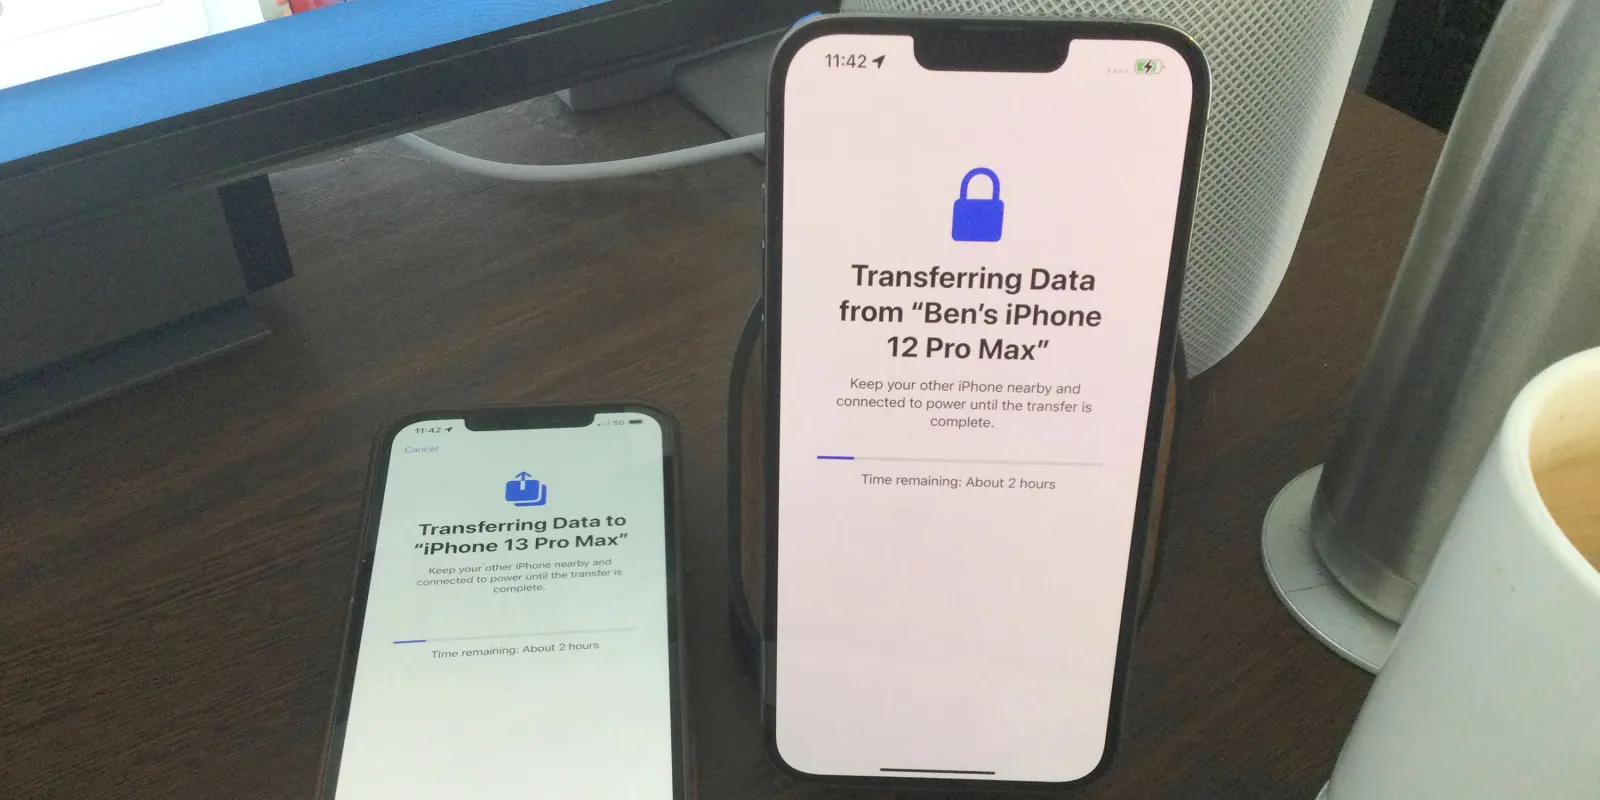
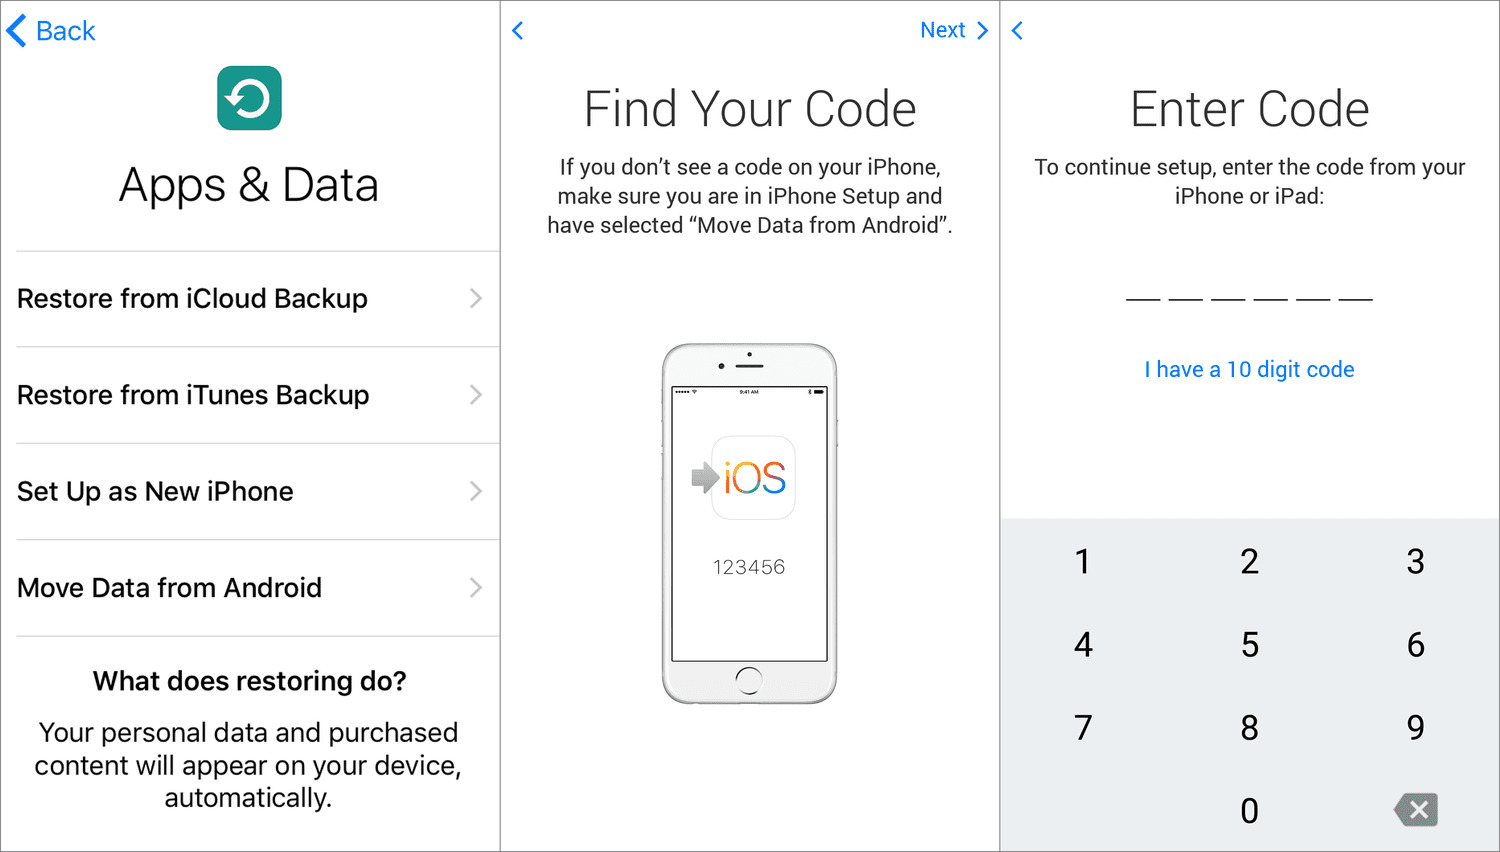
- WhatsApp: If you’re a WhatsApp user, the official way to transfer your conversations to your iPhone is by utilizing the “Move to iOS” feature. On your Android device, open WhatsApp, go to Settings > Chats > Chat backup, and create a backup of your chats to Google Drive. On your iPhone, download the WhatsApp app from the App Store and install it. When prompted, select “Restore Chat History” and follow the on-screen instructions to restore your chats from the backup on Google Drive. Your WhatsApp conversations should now be available on your iPhone.
- Other Messaging Apps: For messaging apps like Facebook Messenger, Telegram, and Signal, the process may vary. In most cases, you’ll need to install the respective app on your iPhone and sign in with your account credentials. Once signed in, your contacts and previous conversations should automatically sync to your new device. Remember to check the specific instructions provided by each messaging app to ensure a smooth transition.
It’s important to note that not all messaging apps have a direct and seamless transfer process from Android to iPhone. Some apps may require you to manually back up your conversations and restore them on your new device. If you’re unable to find a way to transfer your messaging app data, it’s recommended to reach out to the app’s support or explore online forums for further assistance.
Remember, your messaging app conversations hold important information and memories, so it’s crucial to ensure a successful transfer. Now that you’ve moved your messaging app data, it’s time to proceed to the next step: transferring your email, calendar, and notes.
Step 6: Transferring your email, calendar, and notes
Transferring your email, calendar, and notes to your new iPhone is essential for staying organized and connected. Fortunately, Apple provides seamless integration with popular email services, making the transfer process relatively straightforward. Here’s how you can transfer your email, calendar, and notes:
- Email: If you’ve been using a popular email service such as Gmail, Yahoo, or Outlook, setting up your email account on your iPhone is effortless. Simply go to “Settings” and select “Passwords & Accounts.” Tap on “Add Account” and choose the appropriate email service. Enter your email address and password, and your email account will be set up on your iPhone. Once configured, your email messages, contacts, folders, and settings should synchronize automatically. If you have multiple email accounts, repeat the process for each one.
- Calendar: If you’ve been using a cloud-based calendar service like Google Calendar or iCloud Calendar, transferring your calendars to your new iPhone is a breeze. Open the Settings app and select “Passwords & Accounts.” Tap on “Add Account” and choose the appropriate calendar service. Sign in to your account, and your calendars should start syncing with the built-in Calendar app on your iPhone. Ensure that your events and appointments are accurately displayed on your new device.
- Notes: For transferring your notes, Apple’s iCloud service is the most seamless option. Open the Settings app and select your Apple ID at the top of the screen. From there, go to “iCloud” and toggle on the “Notes” option. This will sync your notes from your old Android device to your new iPhone. If you’ve been using other note-taking apps such as Google Keep or Evernote, you can download their respective apps from the App Store, sign in with your account credentials, and your notes should sync automatically.
Double-check your email, calendar, and notes on your new iPhone to ensure that everything has been successfully transferred. Open the relevant apps and verify that your emails, calendar events, and notes are all accessible and up to date.
Remember, staying connected and organized is crucial in our daily lives, so ensuring a smooth transfer of your email, calendar, and notes is of utmost importance. Now that your digital organization tools have seamlessly transitioned to your new iPhone, it’s time to move on to the next step: transferring your apps and app data.
Step 7: Transferring your apps and app data
Transferring your favorite apps and app data from your Android device to your new iPhone ensures that you can continue using your preferred applications seamlessly. While the process of transferring apps may not be as straightforward as transferring other data, there are still methods available to make the transition smooth. Let’s explore a couple of options:
- iTunes or App Store: Apple’s App Store offers a vast selection of apps, including many popular ones available on Android as well. Search for the desired apps on the App Store and check if they are available for download on your iPhone. Note that some apps may have different names or slightly different features on iOS compared to Android. When you find the app you want, simply download and install it on your iPhone. However, please be aware that app data (such as game progress, settings, and preferences) typically cannot be transferred from Android to iPhone.
- Third-Party Apps and Services: There are various third-party apps and services available that aim to simplify the process of transferring apps and app data between Android and iPhone. These apps often require you to install the app on both your Android device and iPhone. Follow the provided instructions within the app to initiate the transfer process, which may involve creating backups, exporting data, or syncing via a cloud service. Keep in mind that not all apps and app data can be transferred using these methods, so it’s important to research and select a reputable and compatible app for your specific needs.
Remember, while it may be possible to install similar apps on your iPhone, the app data from your Android device may not be transferable. You may need to start over with a fresh account or recreate your settings within the app on your new iPhone.
Once you’ve transferred your desired apps to your new iPhone, explore the App Store to discover new and exciting applications that are exclusively available on iOS. Take your time to set up your apps according to your preferences, signing in to your accounts and adjusting any necessary settings.
Now that your apps are ready to go, it’s time to proceed to the final step: setting up your new iPhone to your preferences.
Step 8: Setting up your new iPhone
Now that you’ve successfully transferred all your data and content from your Android device to your new iPhone, it’s time to set up your iPhone to your preferences. Here are some key steps to follow:
- Language and Region: Begin by selecting your preferred language and region settings. These preferences will influence the display language, date and time formats, and other regional-specific features on your iPhone.
- Apple ID: If you already have an Apple ID, sign in with your existing account credentials. This will allow you to access iCloud services, App Store purchases, and sync your data across devices. If you don’t have an Apple ID, you can create one directly from your iPhone during the setup process.
- Privacy Settings: During the setup, you’ll be prompted to review and customize your privacy settings. You can choose to enable or disable features like location services, analytics, and data sharing with app developers. Take the time to carefully review and adjust these settings according to your comfort level.
- Face ID or Touch ID: If your iPhone supports Face ID or Touch ID, you’ll be prompted to set up biometric authentication during the initial setup. Follow the on-screen instructions to scan your face or fingerprint and secure your device with this convenient and secure feature.
- Customization: Customize your iPhone’s appearance and functionality based on your preferences. You can set your wallpaper, rearrange the app icons on the home screen, and adjust various settings such as display brightness, sound, and notifications to suit your needs.
- App Installation: Now that your iPhone is set up, it’s time to install your desired apps from the App Store. Browse through the App Store and download apps that cater to your interests, hobbies, and productivity needs. Remember to sign in to your accounts within each app to access your data and personalized settings.
- Syncing and Restoring: If you have previously backed up your data to iCloud or iTunes, you can choose to restore your device from a backup during the initial setup. This will transfer your saved settings, app data, and other preferences to your new iPhone, providing a seamless transition from your old device.
- Finalize your Device Settings: Go through the various settings on your iPhone and adjust them according to your preferences. This includes notifications, sound and haptic settings, display settings, keyboard preferences, and more. Take the time to explore the features and capabilities of your new iPhone and make it truly yours.
Take your time to go through each step and personalize your iPhone to fit your needs. Experiment with the various features, explore the settings, and enjoy the seamless experience that comes with using an iPhone.
Congratulations! You have successfully transferred from Android to iPhone and completed the setup process. Your new iPhone is now ready to provide you with a smooth and enjoyable mobile experience.
Conclusion
Congratulations on successfully transitioning from your Android device to your new iPhone! Throughout this guide, we’ve explored the step-by-step process of transferring your data, including contacts, photos, videos, music, messaging app data, email, calendar, notes, and apps. By following these steps, you’ve ensured that your valuable information and cherished memories are seamlessly carried over to your new iPhone.
Backing up your Android device, transferring your contacts, moving your photos and videos, transferring your music and playlists, moving your messaging app data, transferring your email, calendar, and notes, transferring your apps and app data, and setting up your new iPhone were all crucial steps in the process. By carefully following each step and verifying the successful transfer of data, you’ve set yourself up for an enjoyable experience using your new iPhone.
Remember, as you explore the features and capabilities of your new iPhone, take the time to personalize it to your preferences. Customize the settings, organize your apps, and make use of the vast collection of apps and services available on the App Store.
Should you encounter any difficulties during the transfer process or need further assistance, consider reaching out to the respective app’s support or referring to online forums for guidance. The vast online community of Apple users will often offer helpful tips and solutions.
With your new iPhone in hand, you’re ready to enjoy the seamless integration, advanced features, and user-friendly interface that Apple devices offer. Embrace this new chapter in your mobile experience and make the most out of all the exciting possibilities that your new iPhone brings.
Now, go ahead and explore all the amazing features and innovations that await you with your new iPhone. Make it your personal hub for communication, productivity, entertainment, and more. The possibilities are endless!