Introduction
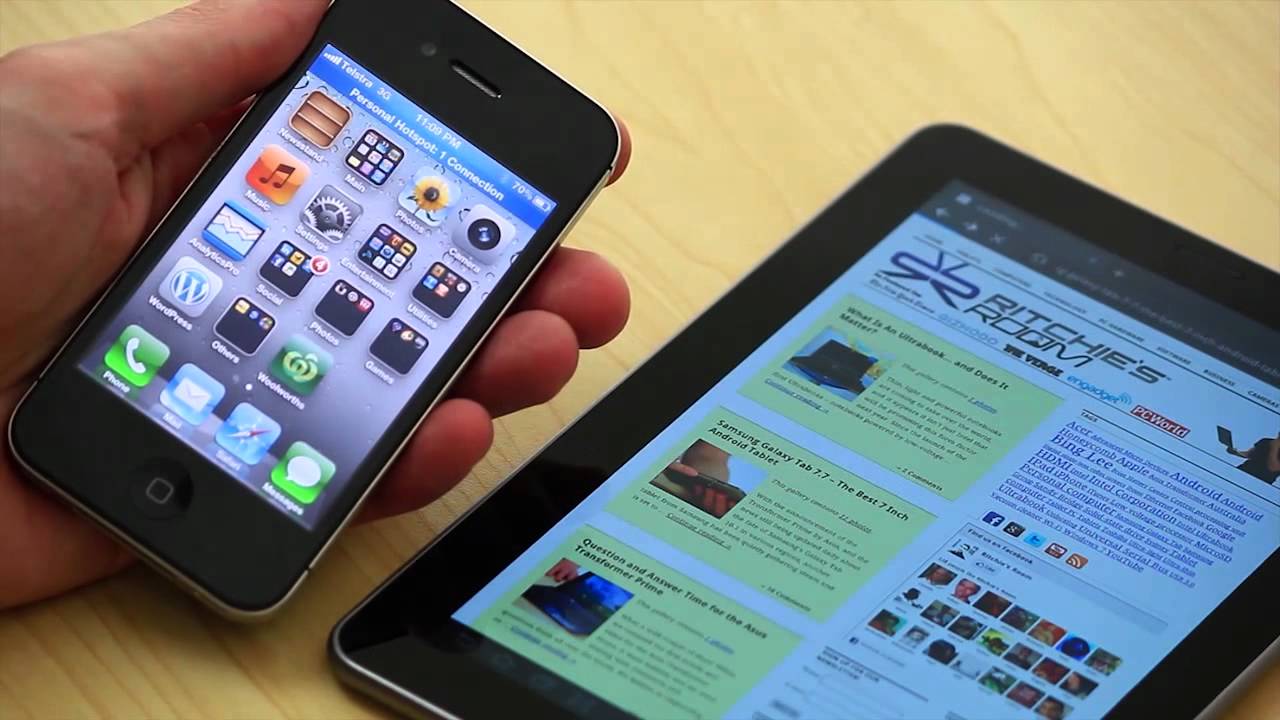
Transferring files from an Android device to an iPhone can seem like a daunting task, especially if you’re not familiar with the intricacies of different operating systems. However, with the right tools and techniques, transferring files between these two devices can be a breeze. One convenient method is using a Wi-Fi connection to establish a seamless transfer process. In this article, we will guide you through the steps to transfer files from an Android device to an iPhone using Wi-Fi.
Whether you’re switching to an iPhone or just need to share files with someone who owns one, utilizing a Wi-Fi transfer can save you time and effort. Gone are the days when you had to rely on complicated procedures or physical connections to transfer files. With the help of a file transfer app and a stable Wi-Fi network, you can easily move your photos, videos, and documents from your Android device to an iPhone.
By following the steps outlined in this guide, you’ll be able to quickly transfer your files without the need for a computer or cables. This method offers a convenient and wireless solution to meet your file-sharing needs. So, without further ado, let’s dive into the steps required to transfer files from an Android device to an iPhone via Wi-Fi.
Step 1: Connect both devices to the same Wi-Fi network
Before you can begin the file transfer process, it’s crucial to ensure that both your Android device and iPhone are connected to the same Wi-Fi network. This step is essential as it establishes a direct connection between the two devices, allowing for seamless file sharing. To connect both devices to the same Wi-Fi network, follow the steps below:
- Unlock your Android device and navigate to the settings menu.
- Tap on the “Wi-Fi” option to access the Wi-Fi settings.
- Locate the Wi-Fi network that you want to connect to and select it.
- Enter the Wi-Fi password if prompted and tap on “Connect” or “Join”.
- Once connected, ensure that your Android device has a stable Wi-Fi signal.
- Next, take your iPhone and navigate to the settings menu.
- Tap on the “Wi-Fi” option and select the same Wi-Fi network that your Android device is connected to.
- Enter the Wi-Fi password if necessary and tap on “Connect” or “Join”.
- Wait for the iPhone to connect to the Wi-Fi network and ensure a stable connection.
It’s important to note that a stable Wi-Fi connection is crucial for a smooth file transfer process. Consequently, make sure both devices have a strong connection and are not too far away from the Wi-Fi router. By connecting both your Android device and iPhone to the same Wi-Fi network, you have laid the foundation for a successful file transfer. Now, let’s move on to the next step in the process.
Step 2: Download and install the file transfer app on both devices
To transfer files between your Android device and iPhone, you will need a reliable file transfer app that supports cross-platform transfers. There are several popular options available, such as Xender, SHAREit, and Send Anywhere. Follow the steps below to download and install the file transfer app on both devices:
- Unlock your Android device and open the Google Play Store.
- Tap on the search bar at the top of the screen and type in the name of the file transfer app you want to use (e.g., Xender).
- Select the appropriate app from the search results and tap on “Install”.
- Wait for the app to download and install on your Android device.
- Once installed, tap on “Open” to launch the file transfer app.
- Repeat the above steps on your iPhone by unlocking the device and opening the App Store.
- Tap on the search tab at the bottom of the screen and enter the name of the file transfer app you want to use.
- Select the right app from the search results and tap on “Get” or the cloud icon to download and install it.
- Wait for the app to finish installing and tap on “Open” to launch it on your iPhone.
Downloading and installing the file transfer app on both devices is a crucial step in enabling seamless file transfer between your Android device and iPhone. These apps are designed to simplify the process and offer a user-friendly interface for transferring various file types. Once you have successfully downloaded and installed the app on both devices, you are ready to proceed to the next step in the file transfer process.
Step 3: Open the app on both devices
With the file transfer app installed on both your Android device and iPhone, it’s time to open the app and prepare for the file transfer. Follow the steps below to launch the app on both devices:
- Unlock your Android device and locate the file transfer app icon on your home screen or app drawer.
- Tap on the app icon to open it.
- Once the app is open, you may be prompted to grant certain permissions, such as access to your files or camera. Follow the on-screen prompts and allow the necessary permissions for the app to function properly.
- Repeat the above steps on your iPhone by unlocking the device and finding the file transfer app icon on your home screen or app library.
- Tap on the app icon to launch it.
- Similar to the Android device, you may be prompted to grant permissions on your iPhone as well. Follow the prompts and provide the necessary permissions for the app.
Opening the file transfer app on both devices is a crucial step in preparing for the file transfer process. The app acts as a bridge between your Android device and iPhone, facilitating the transfer of files seamlessly. By granting the necessary permissions on both devices, you ensure that the app can access the files and carry out the transfer smoothly. Now that you have both devices with the app open, let’s move on to the next step in the file transfer process.
Step 4: Select the files you want to transfer
With the file transfer app open on both your Android device and iPhone, it’s time to select the files you want to transfer. This step will allow you to choose specific photos, videos, documents, or any other file types that you wish to transfer from your Android device to your iPhone. Follow the steps below to select the files you want to transfer:
- On your Android device, navigate to the file transfer app.
- Look for the option to select files and tap on it. The interface may display your files in a grid or list view.
- Browse through your files and select the ones you want to transfer. You may also be able to select multiple files by using the app’s built-in selection tools.
- Once you have selected the files, proceed to the next step to initiate the transfer process.
- On your iPhone, go to the file transfer app and access the file selection feature.
- Browse through the available files and choose the ones you want to receive from your Android device.
- Similar to the Android app, you can use the app’s selection tools to choose multiple files if needed.
Remember to choose the files you want to transfer carefully. You can select photos, videos, music, documents, or any other compatible file types that you need to transfer from your Android device to your iPhone. By selectively choosing the files, you can ensure an efficient transfer process without transferring unnecessary or unwanted files. Once you have completed the file selection process, it’s time to move on to the next step and initiate the transfer.
Step 5: Initiate the Transfer
After selecting the files you want to transfer from your Android device to your iPhone, it’s time to initiate the transfer process. Follow the steps below to start transferring the selected files:
- On your Android device, locate the “Transfer” button or a similar option within the file transfer app.
- Tap on the “Transfer” button to initiate the transfer process.
- Once the transfer process has started, your Android device will search for nearby devices to establish a connection with your iPhone.
- On your iPhone, you will receive a notification or a prompt to accept the incoming transfer request from your Android device.
- Tap on the “Accept” or “Allow” option to authorize the transfer.
- Both devices will establish a direct connection to facilitate the file transfer.
- Your Android device will begin sending the selected files to your iPhone through the established connection.
- Wait for the transfer process to complete. The time required for the transfer will depend on the size and number of files being transferred.
During the transfer process, ensure that both devices remain within the range of the Wi-Fi network. It’s important to have a stable Wi-Fi connection throughout the transfer to avoid any interruptions or delays. Once the transfer is complete, you can proceed to the next step to finalize the process.
Step 6: Wait for the Transfer to Complete
After initiating the file transfer process, it’s important to exercise patience and wait for the transfer to complete successfully. The duration of the transfer will depend on factors such as the size and number of files being transferred, as well as the speed of your Wi-Fi network. Follow the steps below to ensure a smooth and uninterrupted transfer process:
- Monitor the progress of the transfer on both your Android device and iPhone. The file transfer app may display a progress bar or provide an estimate of the remaining time.
- Avoid interrupting the transfer process by closing the file transfer app, turning off the Wi-Fi, or exiting the app on either device. Interruptions can cause the transfer to fail or result in incomplete file transfers.
- During the transfer process, refrain from using other data-intensive apps or activities that may consume excessive bandwidth and potentially impact the transfer speed.
- Be mindful of the battery level on both devices. If the battery is low, consider connecting your devices to a power source to prevent any disruptions due to low power.
- Remain within the range of the Wi-Fi network to ensure a stable connection between your Android device and iPhone. Leaving the network coverage area may cause the transfer to pause or fail.
Waiting for the transfer to complete is a crucial step in the file transfer process. It’s essential to exercise patience and avoid any actions that may hinder or interrupt the transfer. By following these guidelines, you ensure a successful transfer of your selected files from your Android device to your iPhone. Once the transfer is complete, you can proceed to access and use the transferred files on your iPhone.
Conclusion
Transferring files from an Android device to an iPhone may seem like a daunting task, but using a Wi-Fi connection can simplify the process. By following the steps outlined in this guide, you can easily transfer your files without the need for a computer or cables.
First, ensure that both devices are connected to the same Wi-Fi network. This establishes a direct connection between your Android device and iPhone, enabling seamless file sharing. Next, download and install a file transfer app on both devices. Popular options include Xender, SHAREit, and Send Anywhere.
After opening the app on both devices, select the files you want to transfer. Be selective in your choices to ensure an efficient transfer process. Once the files are selected, initiate the transfer by tapping the appropriate button in the file transfer app on your Android device. Then, accept the incoming transfer request on your iPhone.
During the transfer, be patient and wait for the process to complete. Avoid interrupting the transfer by closing the app or turning off the Wi-Fi. Also, ensure that both devices remain within the range of the Wi-Fi network for a stable connection.
In conclusion, transferring files from an Android device to an iPhone via Wi-Fi can be accomplished with a few simple steps. With the right file transfer app and a stable Wi-Fi network, you can effortlessly share photos, videos, documents, and more. So, the next time you need to transfer files between these devices, follow this guide and experience a seamless file transfer process.