Introduction
Welcome to the world of Android! If you’re making the switch from an iPhone to an Android device, you may be wondering how to transfer all your data seamlessly. Whether you’re attracted to the versatility of Android or simply looking for a change, rest assured that the process of transferring your iPhone data to an Android phone is easier than you might think.
Transferring from one operating system to another may seem like a daunting task, but with the right steps and a little guidance, you’ll be up and running on your new Android device in no time. In this article, we’ll walk you through the process of transferring all your important data, including contacts, photos, music, apps, messages, and more.
Before we dive into the intricacies of the transfer process, we highly recommend taking a few moments to familiarize yourself with your new Android device. Spend some time exploring the interface, settings, and features so you can personalize it according to your preferences. This will make the transition even smoother and ensure you make the most of your new Android phone.
Ready to embark on this exciting journey? Let’s get started with the step-by-step process of transferring your iPhone data to an Android device.
Getting Started
Before you begin the data transfer process, there are a few preliminary steps you need to take to ensure a successful transition. Here’s what you need to do to get started:
1. Check compatibility: Make sure your new Android device is compatible with the operating system version of your iPhone. Most Android devices are compatible with iOS 9 and above, but it’s always a good idea to check the specifications of your Android phone to confirm.
2. Update your iPhone: Before you transfer your data, it’s essential to ensure that your iPhone is running on the latest version of iOS. This ensures that your data is up to date and compatible with the Android device.
3. Charge your devices: Ensure that both your iPhone and Android phone are adequately charged before initiating the transfer process. This will prevent any interruptions during the data transfer and ensure a smooth transition.
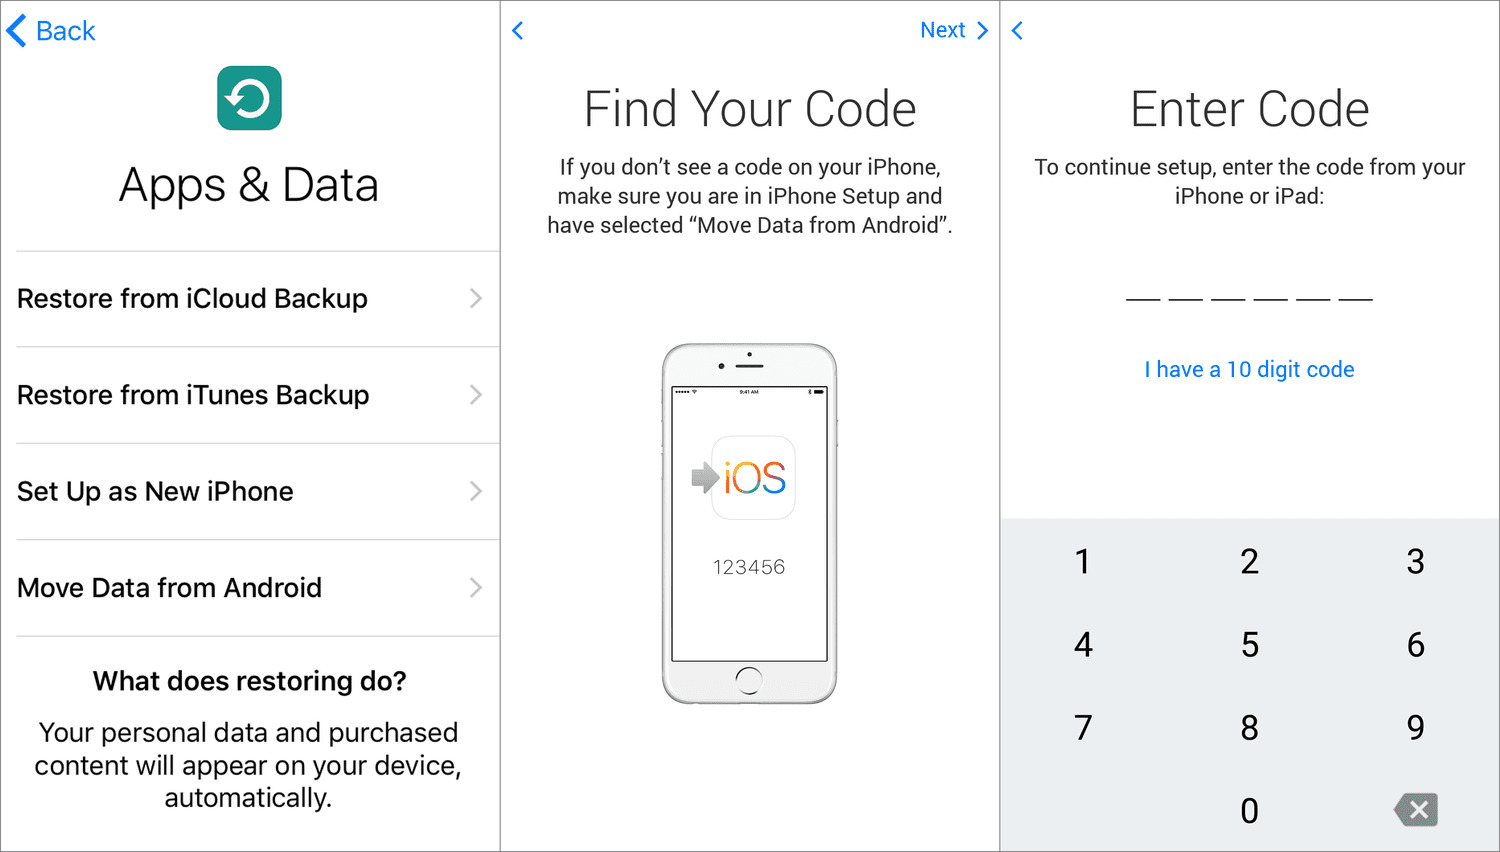
4. Download necessary apps: Some apps are specifically designed to aid in the transfer process from iPhone to Android. Look for apps like “Move to Android” in the App Store and download it on your iPhone. Similarly, check for any recommended apps for your Android device that can assist with the transfer process.
Once you’ve completed these initial steps, you’re ready to proceed with backing up your iPhone and preparing it for the data transfer. This ensures that your important data is safely stored and ready to be transferred to your new Android device.
Backup Your iPhone
Prior to transferring your data from your iPhone to Android, it’s crucial to create a backup of your iPhone. This ensures that all your important data, including contacts, photos, messages, and app data, is safely stored and can be easily transferred to your new Android phone. Here’s how to back up your iPhone:
1. iCloud Backup: The simplest way to back up your iPhone is by using iCloud. Open the Settings app on your iPhone, tap on your Apple ID at the top of the screen, and select “iCloud.” From there, scroll down and tap on “iCloud Backup.” Ensure that the “iCloud Backup” toggle is enabled, and then tap on “Back Up Now.” Wait for the backup process to complete, and make sure to stay connected to a stable Wi-Fi network throughout the process.
2. iTunes Backup: Another option is to back up your iPhone using iTunes on your computer. Connect your iPhone to your computer using a USB cable and open iTunes. Click on the iPhone icon in the top-left corner of iTunes, navigate to the “Summary” tab, and select “Back Up Now” under the “Manually Back Up and Restore” section. Wait for the backup process to finish, and ensure that you don’t disconnect your iPhone during this time.
3. Verify the backup: After the backup is complete, it’s a good idea to verify that the backup was successful. You can do this by going to Settings > [Your Name] > iCloud > iCloud Backup for iCloud backups or by going to iTunes Preferences > Devices for iTunes backups. Confirm that the latest backup is listed and that the backup size matches your data.
Creating a backup of your iPhone is an essential step to safeguard your data and ensure a smooth transition to your new Android device. Once your backup is complete, you’re ready to move on to transferring your data from your iPhone to your Android phone.
Sync Contacts and Calendars
One of the most critical aspects of transferring from an iPhone to an Android device is syncing your contacts and calendars. Here’s how you can seamlessly transfer these essential pieces of information:
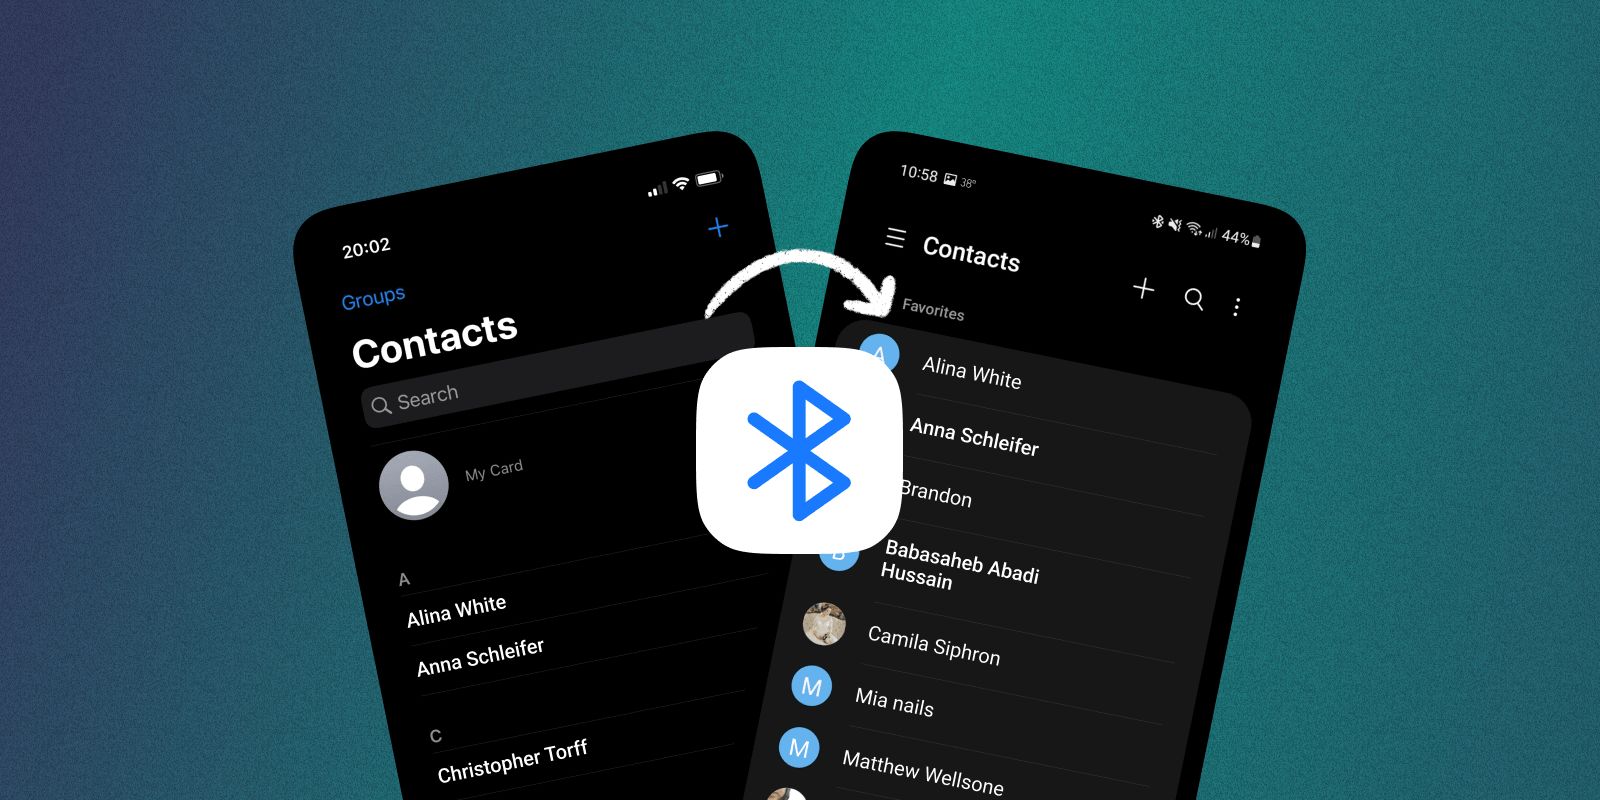
1. Sync contacts: If you’ve backed up your contacts through iCloud or have them stored on your Google account, syncing them to your new Android phone is a breeze. On your iPhone, go to Settings > [Your Name] > iCloud and ensure that the “Contacts” toggle is enabled. Then, on your Android phone, open the Settings app, navigate to the “Accounts” section, and select “Add Account.” Choose “Google,” sign in with your Google account credentials, and make sure the “Contacts” toggle is enabled. Your iPhone contacts will now sync to your Android phone.
2. Sync calendars: To sync your calendars, open the Settings app on your iPhone and go to Calendar > Accounts. Make sure that your Google account is added and syncing with your Calendar. If not, select “Add Account” and choose “Google” to sign in with your Google account. Once you’ve set up your Google account, your iPhone calendars will automatically sync to your Android device, with all events and appointments intact.
3. Third-party apps: If you use third-party apps or services for contacts and calendars, such as Microsoft Exchange, make sure to install the corresponding apps on your Android phone and sign in with your account credentials. These apps usually have built-in syncing capabilities, allowing you to easily transfer your contacts and calendars to your new device.
By syncing your contacts and calendars to your new Android phone, you’ll have all your important contacts and appointments readily available. This ensures a seamless transition and keeps you organized as you make the switch.
Transfer Photos and Videos
Your photos and videos capture precious memories, and it’s important to ensure that you can access them on your new Android device. Here are a few methods to transfer your photos and videos from your iPhone to your Android phone:
1. Google Photos: Google Photos is an excellent tool for seamlessly transferring your photos and videos. Install the Google Photos app on your iPhone from the App Store and sign in with your Google account. Open the app and select “Backup & Sync” to upload your photos and videos to your Google account. Once uploaded, install the Google Photos app on your Android device, sign in with the same Google account, and enable the “Sync” option. Your photos and videos will now be accessible on your Android phone.
2. iTunes: If you prefer to transfer your photos and videos directly from your iPhone to your computer, you can use iTunes. Connect your iPhone to your computer using a USB cable and open iTunes. Click on the iPhone icon in the top-left corner, navigate to the “Photos” tab, and check the box next to “Sync Photos.” Choose the folder or app that contains your photos and videos, and click on “Apply” to initiate the syncing process. After the sync is complete, transfer the photos and videos from your computer to your Android phone using a USB cable or via cloud storage services.
3. Cloud storage: Another option is to use cloud storage services like Dropbox or OneDrive to transfer your photos and videos. Install the respective app on your iPhone, sign in with your account, and upload the photos and videos to the cloud. Then, access the same cloud storage service on your Android device and download the files onto your phone.
Remember to delete any unwanted photos and videos from your iPhone after ensuring that your files have been successfully transferred to your Android phone. This will free up space on your iPhone and prevent duplication of files.
With these methods, you can easily transfer your photos and videos to your new Android device, preserving your cherished memories and allowing you to relive them on your new phone.
Move Music and Playlists
Music is a significant part of our lives, and transferring your favorite tracks and playlists to your new Android device will allow you to enjoy your music seamlessly. Here are a few methods to move your music and playlists from your iPhone to your Android phone:
1. Streaming services: If you are using a streaming service like Spotify, Apple Music, or Google Play Music, you can simply download the app on your Android phone and sign in with your account. Your playlists and saved songs will automatically sync to your Android device, giving you immediate access to your music library.
2. iTunes Library: If you have a collection of songs in your iTunes library on your computer, you can transfer them to your Android device. Connect your Android phone to your computer using a USB cable and set it to “File Transfer” mode. On your computer, locate your music folder or iTunes library, and copy the desired songs to the Music folder on your Android phone. Once the transfer is complete, you can use a music player app on your Android device to access and play your music.
3. Cloud storage: Another option is to rely on cloud storage services like Google Drive or Dropbox to transfer your music files. Upload your music files to the cloud storage using your iPhone and download them onto your Android phone using the respective app. You can then use a music player app on your Android device to play your transferred music.
4. Third-party apps: There are several third-party apps available that specialize in transferring music and playlists between different platforms. Explore options such as “Soundiiz” or “Stamp” which allow you to seamlessly transfer your music library and playlists from your iPhone to your Android phone.
Ensure that you organize your transferred music into folders or playlists on your Android device, so you can easily navigate and enjoy your favorite tunes. Additionally, consider updating any music streaming or playback settings on your Android phone to optimize the audio quality and enhance your listening experience.
With these methods, you can effortlessly move your music and playlists from your iPhone to your Android device, ensuring that you can continue enjoying your favorite tracks on your new phone.
Transfer Apps and App Data
Transferring your apps and app data from your iPhone to your Android device is an essential step in ensuring a seamless transition. While it’s not possible to directly transfer apps between different operating systems, here are some methods to transfer your apps and app data:
1. Re-download apps: Go to the Google Play Store on your Android device and search for the equivalent apps you had on your iPhone. Simply download and install them on your Android phone. While your app data won’t transfer, you’ll have access to the same apps on your new device. Make sure to sign in with your accounts within the apps to retrieve your data if applicable.
2. Check for Android alternatives: Some apps might not have direct Android counterparts. In such cases, explore the Google Play Store to find alternative apps that provide similar functionality and features. These alternatives might not have the exact same app data, but they can serve as suitable replacements for your needs.
3. Transfer app data: Certain apps allow you to transfer data directly between devices, regardless of the operating system. For example, messaging apps like WhatsApp and Telegram offer options to transfer chats and media. Check the settings of your apps to see if they provide any migration tools or backup options that can help with transferring app data.
4. Third-party transfer tools: There are third-party tools available, such as “Copy My Data” and “Shareit,” that offer cross-platform data transfer options. These tools allow you to transfer various types of data, including apps, app data, contacts, and more. Look for these apps in your respective app stores and follow the instructions to transfer your apps and app data to your Android device.
Remember that not all app data can be transferred due to technical limitations and differences between operating systems. However, by re-downloading your apps and using available transfer methods, you can still ensure a smooth transition and retain essential data within compatible apps on your Android phone.
Take this opportunity to clean up your app collection and only install the necessary apps on your Android device. This will help optimize your phone’s storage and performance, ensuring a streamlined experience.
Set up Email Accounts
Setting up your email accounts on your new Android device is crucial to staying connected and ensuring a seamless transition. Here’s how you can set up your email accounts on your Android phone:
1. Gmail: If you use a Gmail account for your email, setting it up on your Android device is effortless. Open the “Settings” app and select “Accounts.” Choose “Add Account” and select “Google.” Follow the prompts to sign in with your Gmail account credentials. Once added, your Gmail emails, contacts, and calendar events will automatically sync to your Android phone.
2. Other Email Providers: For email accounts with providers other than Gmail, the process may vary slightly.
- IMAP: If you use an IMAP email account (e.g., Yahoo, Outlook, or AOL), open the “Settings” app, select “Accounts,” and choose “Add Account.” Select “Personal (IMAP)” or “Email” and enter your email address and password. Follow the on-screen instructions to complete the setup process.
- Exchange: For Microsoft Exchange email accounts, open the “Settings” app, select “Accounts,” and choose “Add Account.” Select “Exchange” and enter your email address and password. Follow the prompts to complete the setup process.
- POP: If you use a POP email account, it’s recommended to check with your email provider for specific instructions on setting up your email account on an Android device.
3. Additional Email Accounts: You can add multiple email accounts to your Android device by following the same steps outlined above. This allows you to consolidate all your email accounts into one unified inbox for easy access.
4. Email Sync Settings: After setting up your email accounts, you can customize the sync settings to suit your preferences. Open the “Settings” app, select “Accounts,” and choose the email account you want to modify. From there, you can adjust settings like sync frequency, synchronization of contacts and calendars, and other account-specific preferences.
By setting up your email accounts on your Android device, you ensure that you can stay connected and have immediate access to your emails, contacts, and calendar events. This allows you to seamlessly continue your communication and productivity from your new Android phone.
Transfer Messages
Messages are an integral part of our communication, containing important conversations and valuable memories. While transferring messages from an iPhone to an Android device can be challenging due to platform differences, there are several methods you can try to ensure a seamless transition:
1. iCloud to Google Drive: If you have backed up your messages to iCloud, the simplest way to transfer them to your Android device is by using a third-party tool like “iSMS2droid” or “SMS Backup & Restore.” These apps allow you to extract your iPhone messages from the iCloud backup and save them as an XML or CSV file. You can then transfer the file to your Android device and use an app like “SMS Backup & Restore” to restore the messages.
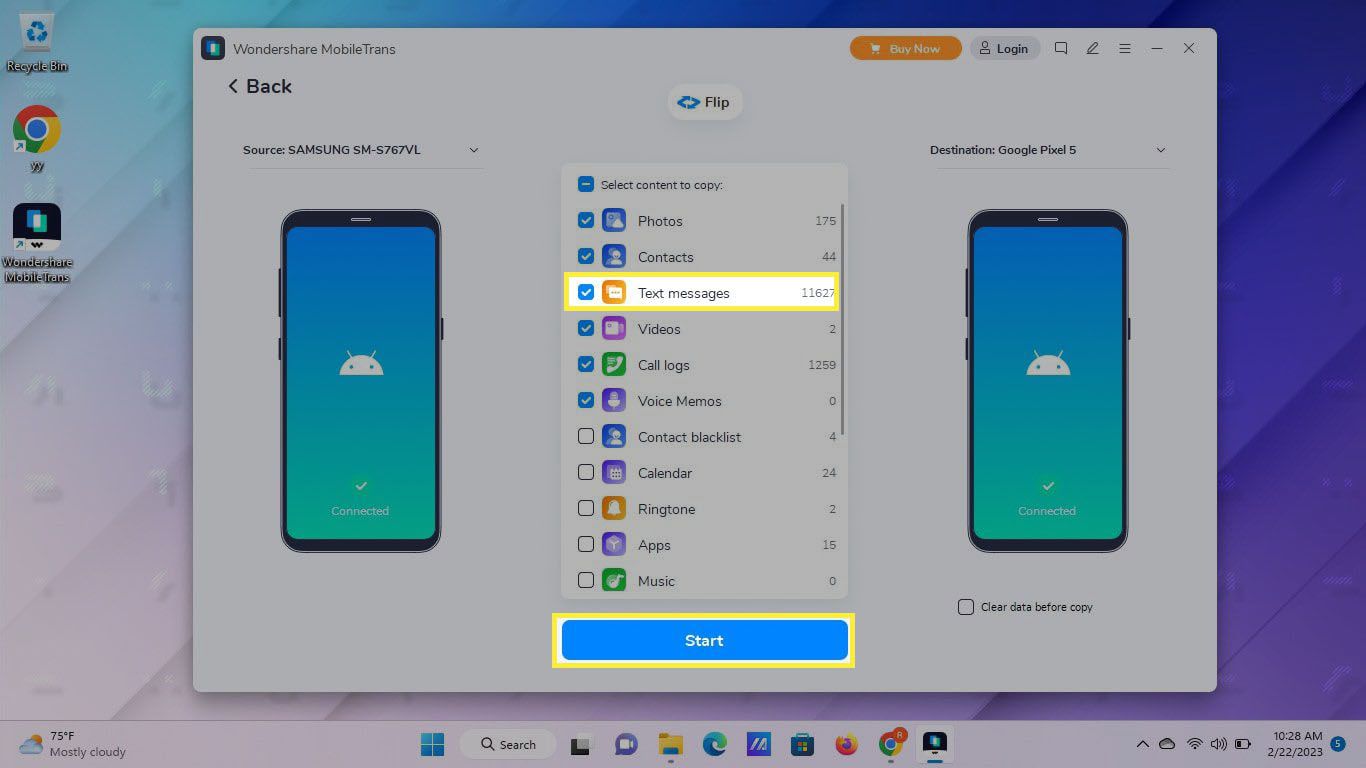
2. Third-party SMS Backup Apps: There are several apps available on both the App Store and Google Play Store that specialize in transferring messages between different platforms. Look for apps like “AnyTrans” or “MobileTrans” that offer cross-platform message transfer functionality. These apps typically require both your iPhone and Android device to be connected to the same Wi-Fi network for the transfer to proceed.
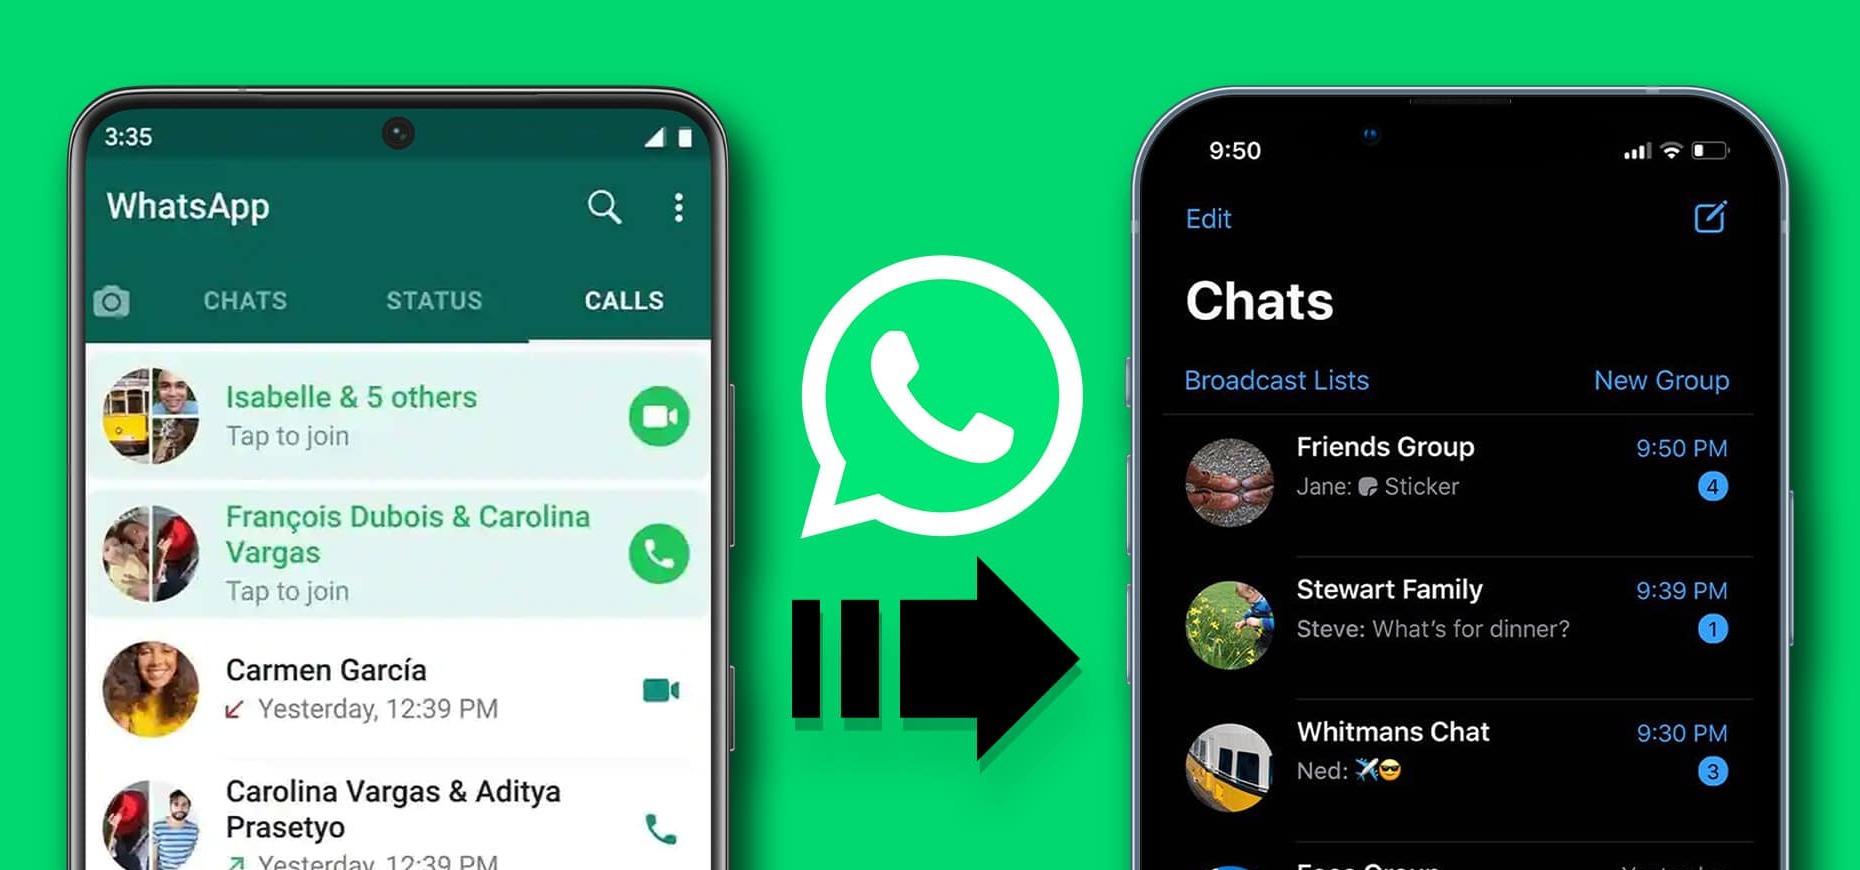
3. Find equivalent apps: Some messaging apps, like WhatsApp and Telegram, offer their own migration tools to transfer chats and media between devices. Install the equivalent app on your Android device, sign in with your account, and follow the prompts to restore your messages from your iPhone to your Android device.
4. Manually copy messages: If you have a small number of important messages that you want to transfer, you can manually copy and paste them from your iPhone to your Android device. This method is labor-intensive and may not be practical for transferring a large number of messages.
Remember that transferring messages from an iPhone to an Android device is not always straightforward due to differences in operating systems and privacy restrictions. It’s important to investigate each method thoroughly and backup your messages before attempting any transfers to avoid data loss.
Additionally, keep in mind that some message apps may not have direct counterparts on the Android platform. In such cases, consider alternative messaging apps available on the Google Play Store that support both iPhone and Android devices, ensuring that you can continue your conversations seamlessly on your new Android phone.
By exploring these methods and finding the one that suits your needs, you can successfully transfer messages from your iPhone to your Android device and retain your valuable conversations.
Import Bookmarks
If you have a collection of bookmarks saved on your iPhone, you’ll be happy to know that you can easily import them to your new Android device. Here’s how you can transfer your bookmarks:
1. iCloud Sync: If you use Apple’s Safari browser on your iPhone and have iCloud Sync enabled, your bookmarks should already be synced to your iCloud account. To import them to your Android device, open the Chrome browser on your Android phone, tap the menu icon (three dots), go to Settings > Sign in to Chrome, and sign in with the same Google account you use on your iPhone. Your bookmarks will now sync to your Android device.
2. Third-party apps: There are several third-party apps available on both the App Store and Google Play Store that specialize in bookmark syncing. Look for apps like “Xmarks” or “BookmarkSync” and follow the instructions to import and sync your bookmarks across devices. These apps typically require you to sign in with your accounts, and they will transfer your bookmarks to your Android device.
3. Manual export and import: If your bookmarks are stored within a specific app or browser on your iPhone, you may need to manually export and import them. For example, if you use a bookmarking app like Pocket or Instapaper, these apps often provide options to export bookmarks in a compatible format, such as HTML or CSV. Export your bookmarks from the app on your iPhone, transfer the file to your Android device, and then import them into a suitable bookmarking app or your preferred browser on Android.
4. Sync with a desktop browser: If you prefer managing your bookmarks on a desktop browser, you can sync them with your Android device. Sign in to the same browser account on both your desktop browser and Android phone (e.g., Chrome, Firefox, or Safari), and enable bookmark syncing. Your bookmarks will then be accessible on your Android device.
Remember to organize your bookmarks once they are imported to your Android device. You can create folders, rearrange them, or even delete any unnecessary bookmarks to keep your collection organized and easily accessible.
By following these methods, you can seamlessly transfer your bookmarks from your iPhone to your Android device. This ensures that your favorite websites and web resources are readily available on your new Android phone.
Other Data to Consider
When transitioning from an iPhone to an Android device, there are other types of data that you may want to consider transferring to ensure a smooth transition and continued access to your important information. Here are some additional data items to consider:
1. Call Logs: If you want to transfer your call history from your iPhone to your Android device, there are third-party apps available that can assist with this. Apps like “Call History Manager” or “Super Backup” allow you to backup and restore call logs between devices.
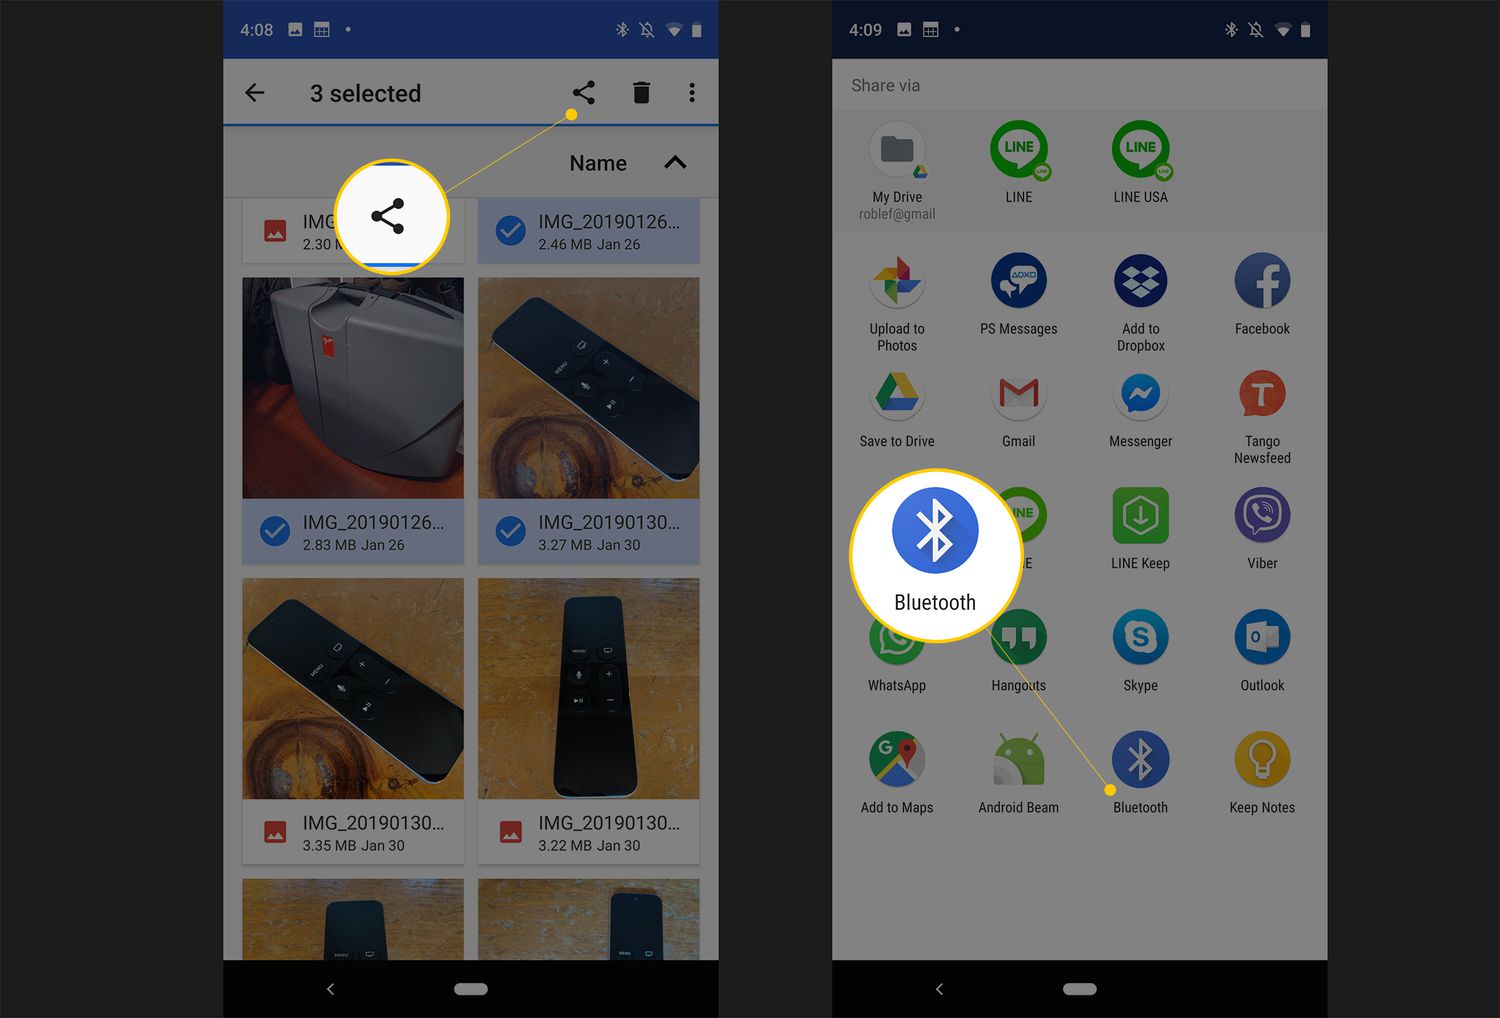
2. Documents and Files: If you have important documents or files saved on your iPhone, consider transferring them to your Android device. You can use cloud storage services like Google Drive, Dropbox, or Microsoft OneDrive to sync and access your files across devices. Alternatively, you can transfer files manually via USB or using a file transfer app like “SHAREit” or “Send Anywhere”.
3. Notes: If you rely on the Notes app on your iPhone, you can manually copy your notes to your Android device. Open the Notes app on your iPhone, select the note you want to transfer, tap the share icon, and choose the “Copy” option. Then, paste the note into a suitable notes app on your Android device, such as Google Keep or Microsoft OneNote.
4. Passwords: If you use a password manager app like 1Password or LastPass, ensure that you have the app installed on your Android device and sign in with your account to access your passwords. These apps securely store your passwords and allow you to access them across different platforms and devices.
5. Health and Fitness Data: If you utilize health and fitness apps on your iPhone, such as Apple Health or specific fitness trackers, check if there is an Android equivalent available. Some fitness tracking apps support data migration between platforms, allowing you to continue tracking your health and fitness goals on your new Android device.
Additionally, take some time to review any other apps or data on your iPhone that you want to transfer, ranging from game progress to saved preferences in various applications. Explore the Google Play Store for Android alternatives to these apps, and check if they offer data transfer options within the app.
By considering these various data types, you can ensure a comprehensive transfer of your important information and continue using your preferred apps and services on your new Android device.
Wrap Up
Transferring from an iPhone to an Android device may initially seem like a complex task, but by following the steps outlined in this guide, you can smoothly transition to your new Android phone and seamlessly transfer all your important data.
From backing up your iPhone to setting up email accounts, syncing contacts and calendars, transferring photos and videos, moving music and playlists, and considering other data types, each step is essential to ensure a successful transition. Take the time to explore the available options and find the best method that suits your needs for each data type.
Remember to backup your data before initiating any transfers and verify the success of each transfer. It’s also a good opportunity to clean up and organize your data and apps, optimizing your new Android device for a fresh start.
While the process of transferring data from iPhone to Android may require some effort, it opens up a whole new world of flexibility, customization, and possibilities. Embrace the change and enjoy the exciting features and vast ecosystem that Android offers.
If you encounter any difficulties during the transfer process, refer to the respective documentation and support resources provided by the manufacturers or third-party app developers for further assistance.
With these steps and your enthusiasm, you’re now equipped to make a smooth transition to your new Android device and continue enjoying a seamless digital experience.