Introduction
Moving your SIM card from an Android device to an iPhone may seem like a daunting task, but fear not! With the right guidance, this transition can be a smooth and straightforward process. Whether you've just upgraded to a new iPhone or are switching from an Android device, transferring your SIM card is an essential step in ensuring that your new device is fully functional.
In this tutorial, we will walk you through the step-by-step process of moving your SIM card from your Android device to your iPhone. By following these instructions, you'll be able to seamlessly transfer your SIM card and have your iPhone up and running in no time.
The SIM card, short for Subscriber Identity Module, plays a crucial role in connecting your device to your mobile network. It stores essential information such as your phone number, network authorization details, and contacts. As such, ensuring a smooth transition of your SIM card from one device to another is vital for maintaining uninterrupted access to your mobile network and contacts.
So, if you're ready to embark on this SIM card migration journey, grab your Android device, your new iPhone, and let's get started on transferring your SIM card. With our easy-to-follow instructions, you'll soon be enjoying your new iPhone with all your essential mobile connectivity intact.
Step 1: Turn off both devices
Before embarking on the process of transferring your SIM card from your Android device to your new iPhone, it is crucial to ensure that both devices are powered off. This step is essential to prevent any potential damage to the SIM card or the devices themselves during the transfer process.
Turning off your devices not only minimizes the risk of data loss but also creates a safe environment for handling the SIM card. By powering down both the Android device and the iPhone, you can avoid any potential network conflicts or disruptions that may arise during the SIM card transfer.
To power off your Android device, simply press and hold the power button until the power-off menu appears on the screen. Then, select the "Power Off" or "Shut Down" option to turn off the device completely.
For the iPhone, you can power it off by pressing and holding the side button along with either volume button until the power-off slider appears on the screen. Slide the power-off slider to shut down the iPhone.
Ensuring that both devices are fully powered off sets the stage for a seamless SIM card transfer process. This initial step lays the foundation for a smooth transition and paves the way for the subsequent steps involved in moving your SIM card from your Android device to your iPhone.
With both devices safely powered down, you are now ready to proceed to the next step in the SIM card migration process. Let's move on to locating the SIM card tray on your Android device to continue the seamless transfer of your SIM card to your new iPhone.
Step 2: Locate the SIM card tray on your Android device
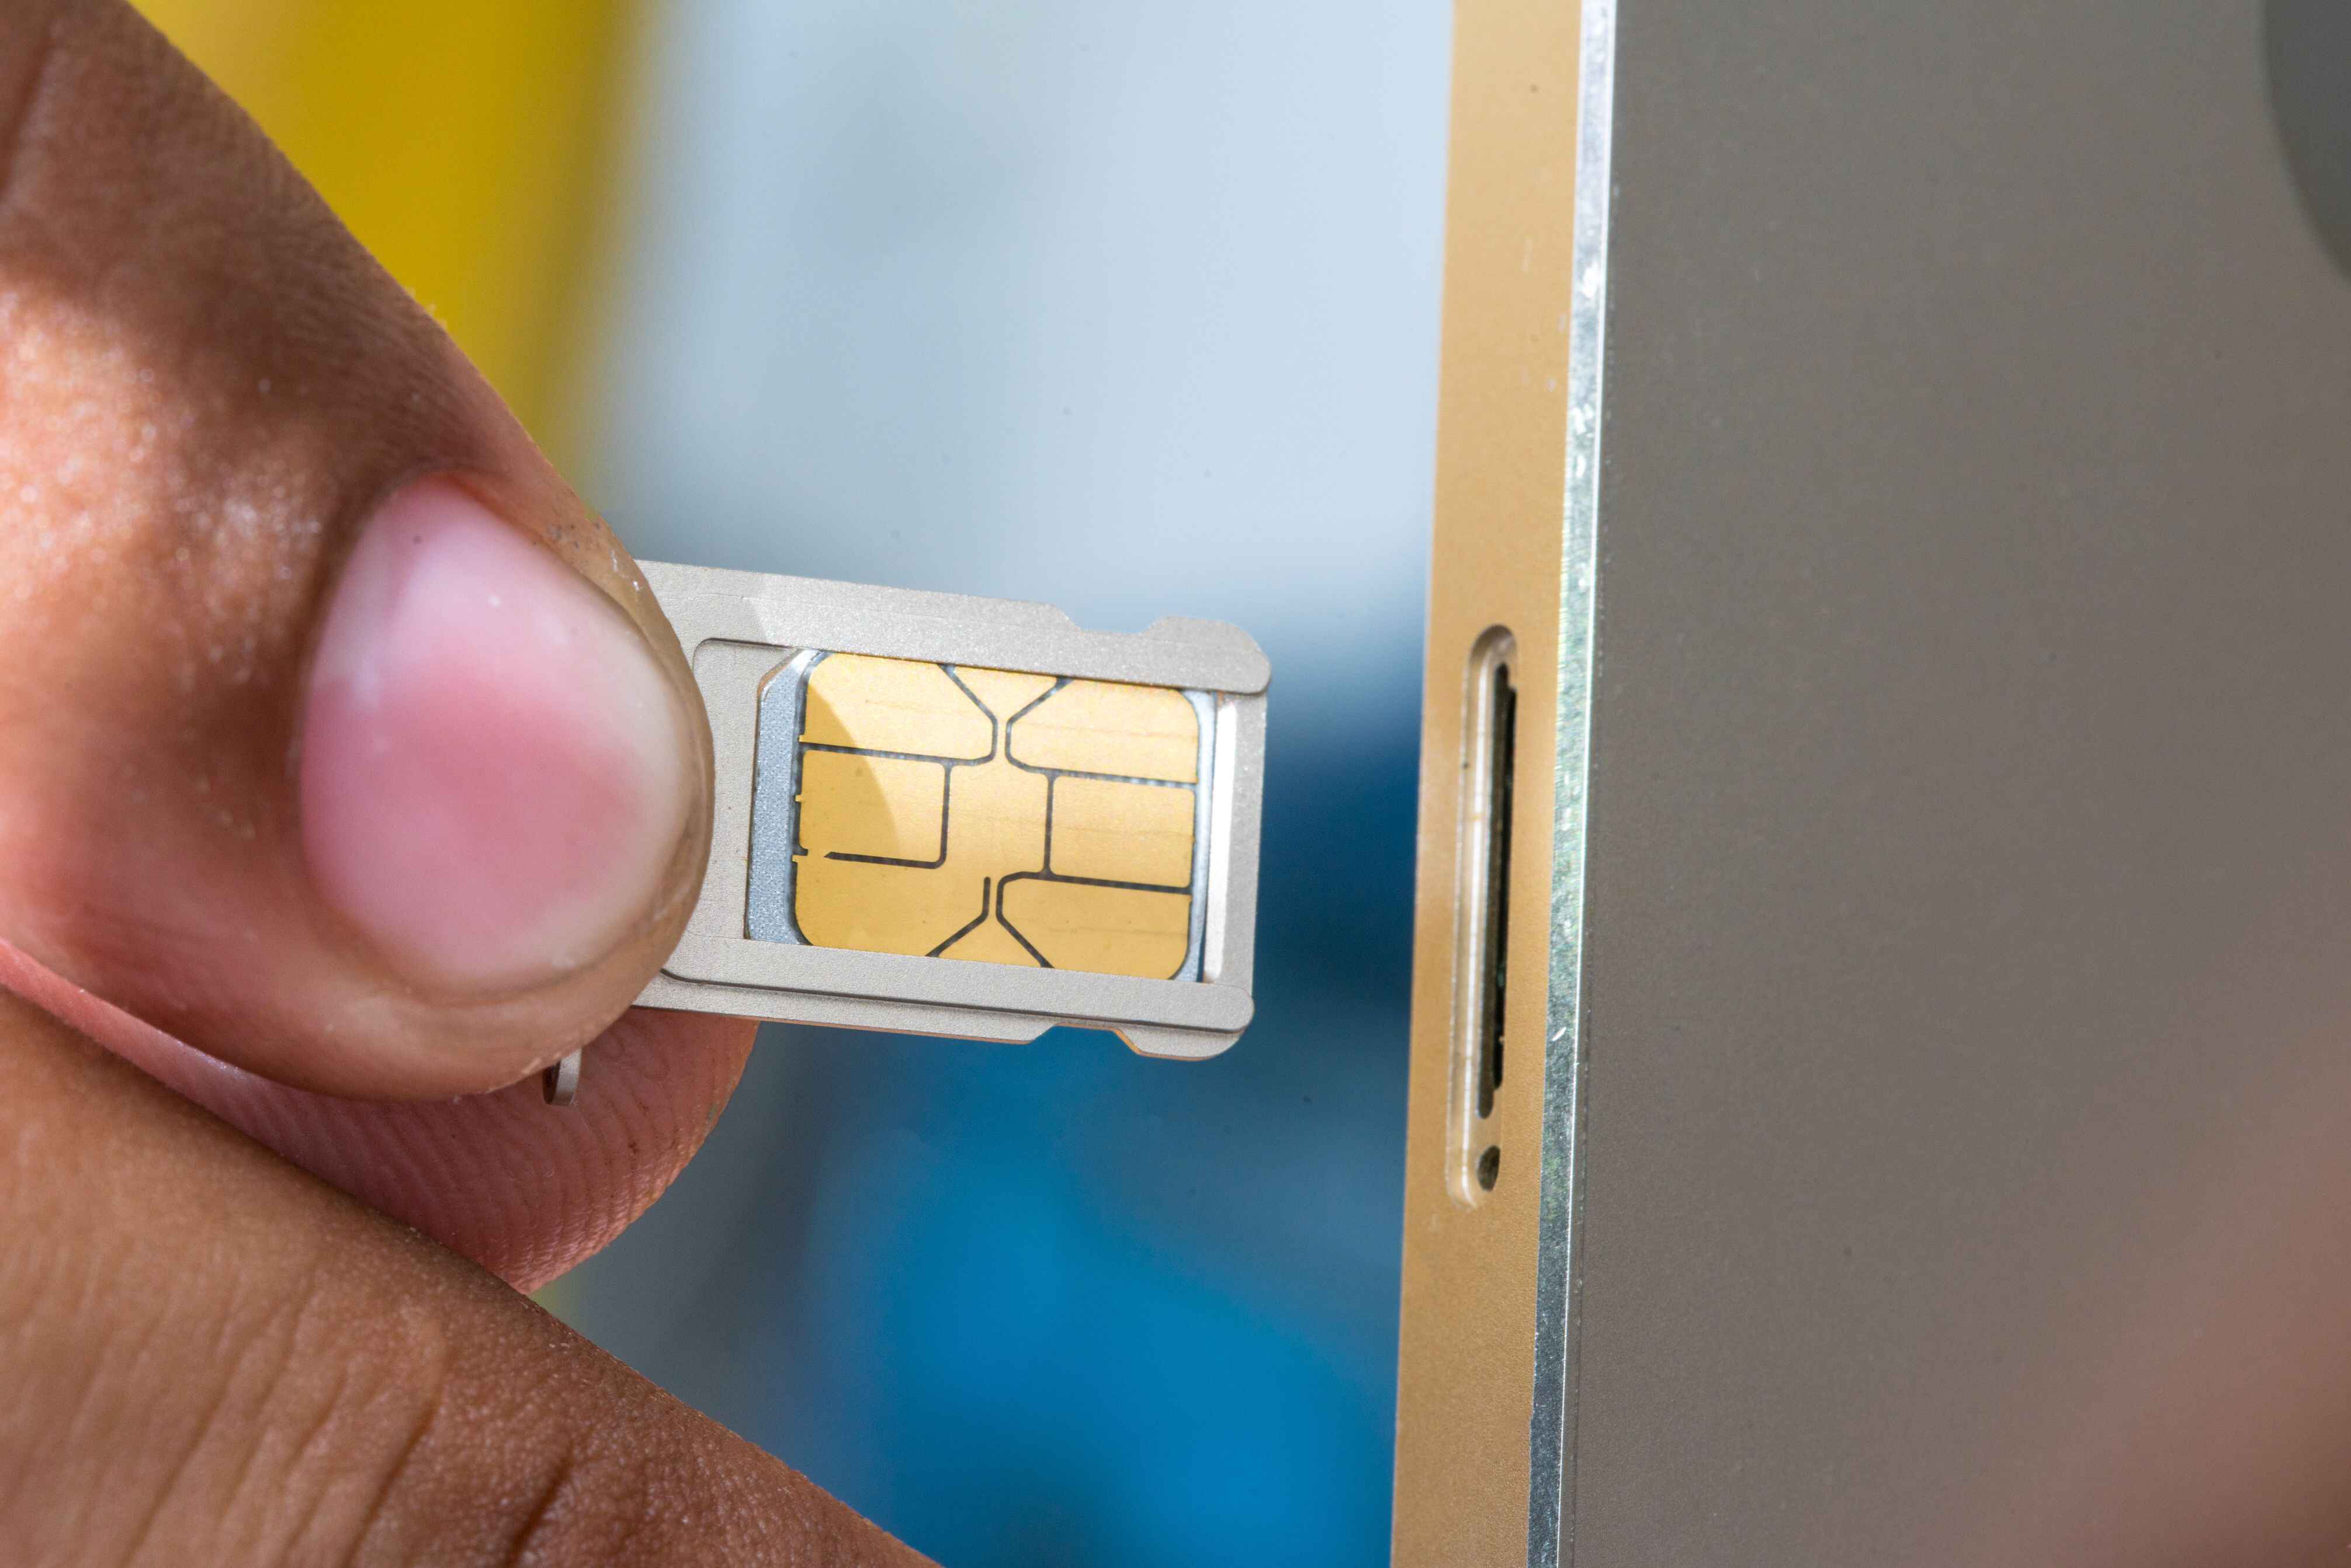
Locating the SIM card tray on your Android device is a crucial step in the process of transferring your SIM card to your new iPhone. The SIM card tray is where the SIM card is housed within the device, and accessing it is essential for a successful transfer. While the exact location of the SIM card tray may vary depending on the make and model of your Android device, it is typically located on the side of the device or at the top, near the power button.
To locate the SIM card tray on your Android device, you can refer to the device's user manual for specific instructions. Alternatively, you can visually inspect the sides and top of the device for a small pinhole or a removable panel. In most cases, the SIM card tray will be accompanied by a small pinhole or a tiny indentation that allows for the insertion of a SIM card removal tool or a paperclip.
Once you have identified the location of the SIM card tray, gently insert the SIM card removal tool or a straightened paperclip into the pinhole or indentation to eject the SIM card tray. Applying gentle pressure, the tray should slide out, revealing the slot where the SIM card is housed.
It's important to handle the SIM card tray with care to avoid any damage to the tray or the SIM card itself. Take your time and exercise caution when ejecting the tray to ensure a smooth and hassle-free process. Once you have successfully located the SIM card tray and ejected it from your Android device, you are now ready to proceed to the next step of removing the SIM card from your Android device.
By carefully locating the SIM card tray on your Android device, you have taken a crucial step toward ensuring a seamless transfer of your SIM card to your new iPhone. With the SIM card tray in hand, you are now well-positioned to proceed with the subsequent steps involved in the transfer process, bringing you one step closer to enjoying your new iPhone with your existing mobile connectivity seamlessly intact.
Step 3: Remove the SIM card from your Android device
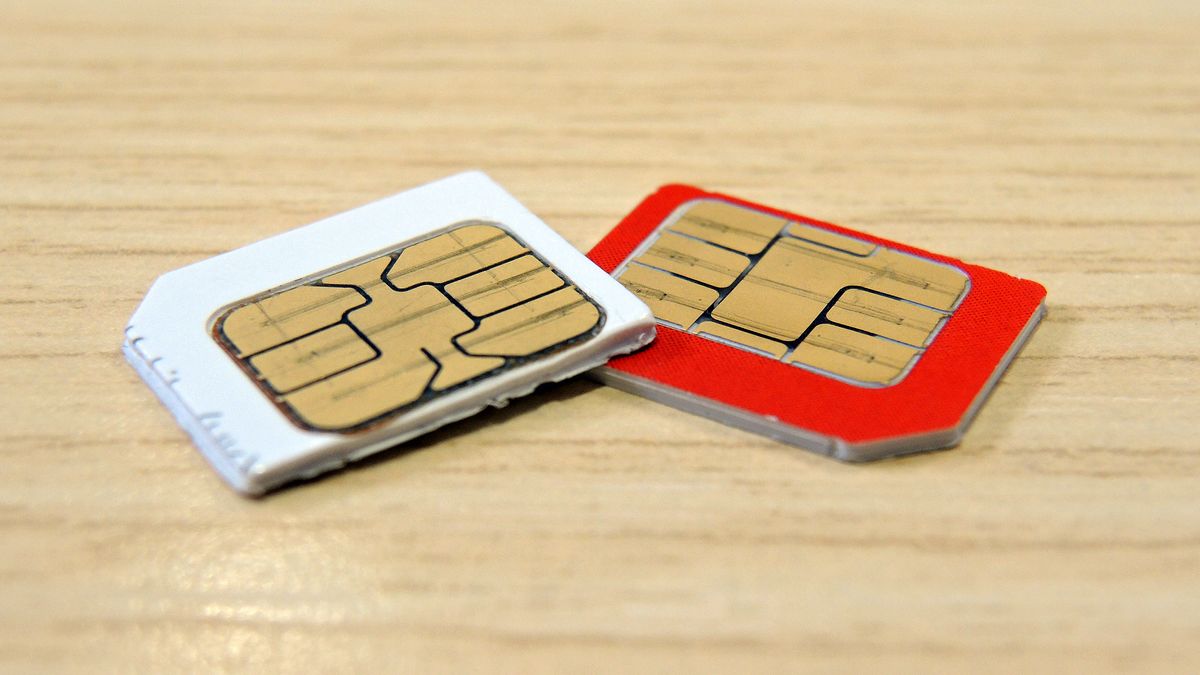
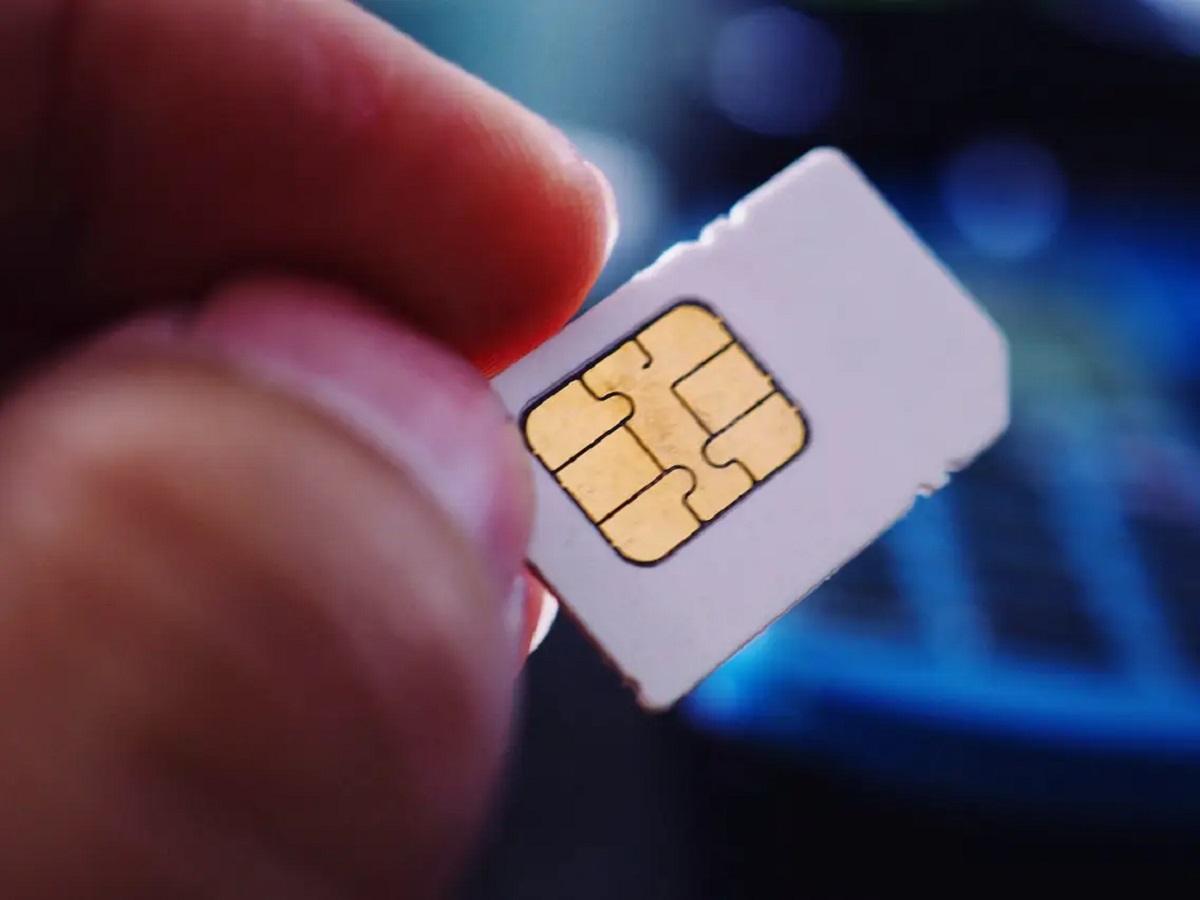
With the SIM card tray in hand, it's time to carefully remove the SIM card from your Android device. The SIM card is a small, rectangular card that contains vital information essential for connecting to your mobile network. Before proceeding with the removal process, it's important to handle the SIM card with care to prevent any damage or loss of data.
To remove the SIM card from your Android device, gently slide the SIM card tray out of the device using the SIM card removal tool or a paperclip. Once the tray is fully ejected, you can carefully lift it out, revealing the SIM card resting in its designated slot. Take a moment to observe the orientation of the SIM card within the tray, noting the position of the gold contacts and any notches or cut corners.
Next, delicately slide the SIM card out of the tray, taking care to avoid bending or damaging it. The SIM card is a delicate component, and any mishandling could result in connectivity issues or data loss. By handling the SIM card with precision and attention to detail, you can ensure a smooth transition to your new iPhone without any complications.
As you remove the SIM card from your Android device, it's essential to keep it in a secure location, away from any potential sources of damage or interference. Placing the SIM card in a protective case or a designated storage container can help safeguard it during the transition process. Additionally, being mindful of the SIM card's small size is crucial to prevent misplacement or accidental damage.
Once the SIM card has been safely removed from your Android device, take a moment to inspect it for any signs of damage or wear. Check for any visible scratches, dents, or dirt that may impede its functionality. If the SIM card appears to be in good condition, you are now ready to proceed to the next step of inserting the SIM card into your new iPhone.
By carefully removing the SIM card from your Android device and ensuring its safekeeping, you have completed a crucial phase in the process of transferring your SIM card to your new iPhone. With the SIM card in hand, you are well-prepared to proceed with the subsequent steps, bringing you closer to enjoying your new iPhone with seamless mobile connectivity.
Step 4: Insert the SIM card into your iPhone
With the SIM card safely removed from your Android device, it's time to proceed with the crucial step of inserting it into your new iPhone. The SIM card slot on an iPhone is typically located on the side of the device, and accessing it is essential for establishing connectivity with your mobile network. By following the steps outlined below, you can seamlessly transfer your SIM card to your iPhone and ensure uninterrupted access to your mobile services.
-
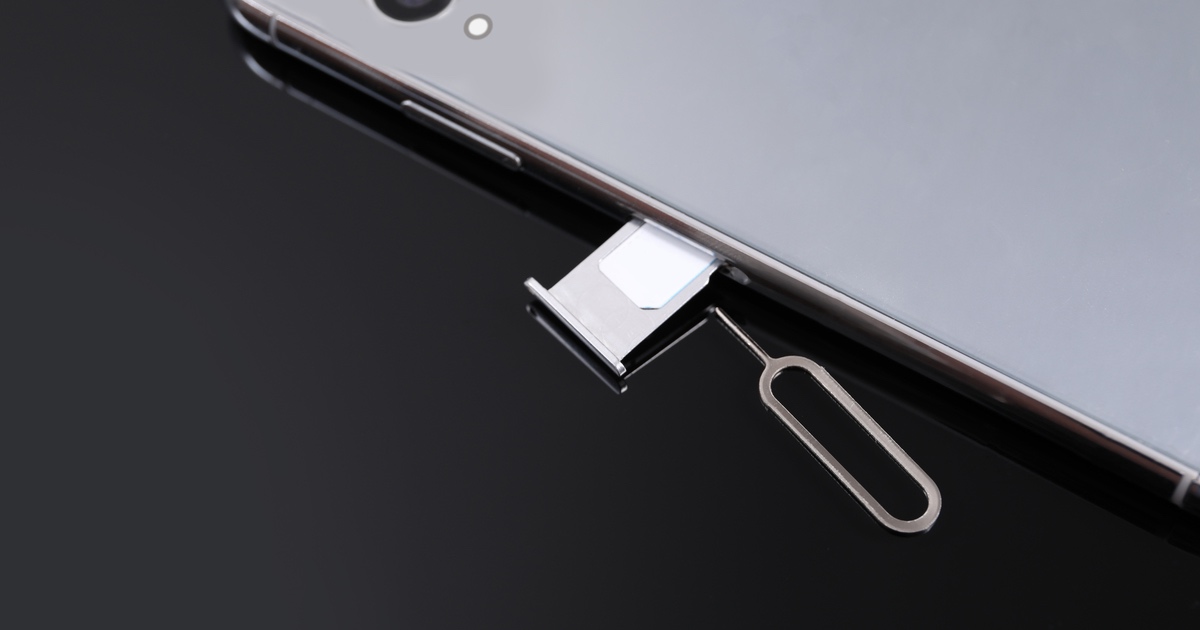
Locate the SIM card slot: Begin by identifying the SIM card slot on your iPhone. Depending on the model of your iPhone, the SIM card slot may be located on the right-hand side of the device or on the opposite side of the volume buttons. Look for a small pinhole or a removable panel that provides access to the SIM card slot.
-
Insert the SIM card removal tool: To access the SIM card slot, you will need to use the SIM card removal tool that came with your iPhone or a small paperclip. Gently insert the tool into the pinhole or indentation adjacent to the SIM card slot. Apply light pressure to release the SIM card tray from the device.
-
Place the SIM card in the tray: Once the SIM card tray is ejected, carefully place the SIM card into the designated slot on the tray. Take note of the orientation of the SIM card, ensuring that the gold contacts align with the corresponding contacts within the slot. The SIM card should fit snugly into the tray without any forceful pressure.
-
Reinsert the SIM card tray: With the SIM card securely placed in the tray, carefully reinsert the tray back into the iPhone. Ensure that the tray is aligned with the slot and slides in smoothly without resistance. Avoid using excessive force when reinserting the tray to prevent any potential damage to the SIM card or the device.
-
Power on your iPhone: Once the SIM card tray is securely in place, power on your iPhone by pressing and holding the side button until the Apple logo appears on the screen. Allow your iPhone to boot up, and once it's ready, you should see your mobile network signal bars indicating that the SIM card has been successfully recognized.
By following these steps, you have effectively inserted your SIM card into your new iPhone, paving the way for seamless connectivity and access to your mobile network. With the SIM card securely in place, you are now ready to power on your iPhone and enjoy the full functionality of your new device with your existing mobile services seamlessly integrated.
Step 5: Turn on your iPhone
Turning on your iPhone is the final step in the process of transferring your SIM card from your Android device to your new iPhone. After successfully inserting the SIM card into your iPhone, powering on the device will initiate the recognition of the SIM card by the iPhone's operating system, enabling seamless connectivity to your mobile network. Follow the steps outlined below to power on your iPhone and ensure that your SIM card is fully recognized and operational.
-
Press and hold the side button: To power on your iPhone, begin by pressing and holding the side button located on the right-hand side of the device. As you press and hold the side button, the Apple logo will appear on the screen, indicating that the iPhone is booting up.
-
Wait for the startup process: Allow your iPhone to complete the startup process, during which the device's operating system initializes and prepares for use. As your iPhone boots up, it will recognize the presence of the SIM card and establish connectivity with your mobile network.
-
Check for network signal: Once the startup process is complete, observe the upper corner of the iPhone's screen for the presence of network signal bars. The appearance of network signal bars indicates that your iPhone has successfully recognized the SIM card and established connectivity with your mobile network.
-
Verify mobile network access: To ensure that your iPhone is fully operational with the transferred SIM card, attempt to make a test call or send a text message. Verifying that you can successfully connect to your mobile network and communicate with others confirms that the SIM card transfer process has been completed successfully.
By following these steps to power on your iPhone, you have completed the final phase of the SIM card transfer process, ensuring that your new iPhone is fully operational with your existing mobile services seamlessly integrated. With your iPhone powered on and connected to your mobile network, you can now enjoy the full functionality of your new device, including making calls, sending messages, and accessing mobile data.
Congratulations! You have successfully transferred your SIM card from your Android device to your new iPhone, and your device is now ready for use with all your essential mobile connectivity intact. As you embark on this new chapter with your iPhone, you can take pride in seamlessly transitioning your SIM card and embracing the enhanced features and capabilities of your new device.
Conclusion
Congratulations on successfully completing the seamless transfer of your SIM card from your Android device to your new iPhone. By following the step-by-step instructions outlined in this tutorial, you have ensured that your iPhone is fully operational with all your essential mobile connectivity intact. The process of moving your SIM card may have seemed daunting at first, but with the right guidance, you have successfully navigated this essential transition.
Transferring your SIM card is a pivotal step in the journey of transitioning to a new device. By carefully handling your SIM card and following the outlined steps, you have guaranteed uninterrupted access to your mobile network, contacts, and essential mobile services on your new iPhone. This smooth transition sets the stage for you to fully enjoy the enhanced features and capabilities of your iPhone without any connectivity disruptions.
As you power on your iPhone and witness the familiar network signal bars indicating successful connectivity, you can take pride in your accomplishment. The seamless transfer of your SIM card reflects your readiness to embrace the advanced functionalities and innovative possibilities offered by your new iPhone. With your mobile network seamlessly integrated, you can confidently explore the myriad features and apps that make the iPhone experience truly exceptional.
Moving forward, your iPhone stands ready to serve as a powerful tool for communication, productivity, entertainment, and more. Whether you're making calls, sending messages, browsing the web, or utilizing a wide range of apps, your iPhone is now fully equipped to meet your mobile needs. The successful transfer of your SIM card symbolizes the smooth continuity of your mobile experience, ensuring that you can stay connected and productive in all aspects of your daily life.
As you embark on this new chapter with your iPhone, remember that the device represents not only a technological upgrade but also a gateway to a world of possibilities. Your seamless SIM card transfer signifies your readiness to embrace the future of mobile connectivity and innovation, and your iPhone stands as a reliable companion on this journey.
With your SIM card securely in place and your iPhone fully operational, you are now poised to explore, create, and connect in ways that align with your unique lifestyle and preferences. Your new iPhone, with its seamless SIM card integration, is ready to empower you in your personal and professional endeavors, enabling you to stay connected, informed, and inspired.
So, as you begin to explore the myriad capabilities of your new iPhone, take pride in the successful transfer of your SIM card, knowing that you have seamlessly integrated your essential mobile connectivity into your new device. Embrace the possibilities, stay connected, and enjoy the enhanced features of your iPhone as you embark on this exciting new phase of your mobile journey.