Introduction
Transitioning your SIM card from an Android device to an iPhone is a seamless process that allows you to retain your mobile number and easily switch between devices. Whether you're upgrading to a new iPhone or simply want to experience the iOS ecosystem, this guide will walk you through the steps to ensure a smooth transition.
Moving your SIM card from one device to another is a fundamental aspect of mobile device ownership. It enables you to maintain connectivity and access to your mobile network, ensuring that you can make calls, send messages, and access mobile data without interruption. By following this guide, you can effortlessly transfer your SIM card from your Android device to your new iPhone, empowering you to stay connected while enjoying the features and capabilities of your Apple smartphone.
This process is especially beneficial if you have been using an Android device and are making the switch to an iPhone for the first time. It eliminates the need to obtain a new SIM card and facilitates a hassle-free transition, allowing you to seamlessly continue using your existing mobile number and carrier plan.
In the following steps, we will cover the essential aspects of transitioning your SIM card, including backing up data on your Android device, removing the SIM card, inserting it into your iPhone, and setting up your iPhone with the SIM card. By carefully following these steps, you can ensure that your transition is smooth and problem-free, enabling you to enjoy your new iPhone without any disruptions to your mobile connectivity.
Step 1: Backing up Data on Android Device
Before transitioning your SIM card from your Android device to your new iPhone, it's crucial to back up your data to ensure that no information is lost during the process. Android devices offer various methods for backing up data, including contacts, photos, videos, and app data. By performing a comprehensive backup, you can seamlessly transfer your essential information to your new iPhone, enabling a smooth transition without the risk of data loss.
Backing up Contacts and Media
To begin, ensure that your contacts are synced with your Google account. This can be done by navigating to the "Settings" menu on your Android device, selecting "Accounts," and verifying that your Google account is set to sync contacts. This ensures that your contacts are securely backed up to your Google account and will be easily accessible when setting up your new iPhone.
Next, it's essential to back up your media, including photos and videos. One of the most convenient methods for this is to use Google Photos, which automatically syncs and backs up your media to the cloud. If you haven't already enabled Google Photos, you can download the app from the Google Play Store and follow the prompts to back up your media to your Google account.
Backing up App Data
Many Android apps offer built-in backup options that allow you to save app data, settings, and preferences to your Google account. Before transitioning to your new iPhone, it's recommended to check if your essential apps offer backup functionality and enable this feature to ensure that your app data is securely saved.
Additionally, Google offers a built-in backup service that allows you to back up a wide range of data, including app data, call history, device settings, and more. This service can be accessed through the "Backup & reset" section in the Android device settings, where you can enable automatic backups to your Google account.
By meticulously backing up your contacts, media, and app data on your Android device, you can ensure that your essential information is securely stored and ready to be transferred to your new iPhone. This proactive approach minimizes the risk of data loss and streamlines the transition process, allowing you to seamlessly continue using your mobile services on your iPhone.
Remember to double-check that all your important data has been successfully backed up before proceeding to the next step of transitioning your SIM card to your iPhone.
Step 2: Removing SIM Card from Android Device
Removing the SIM card from your Android device is a straightforward process that requires minimal effort. The SIM card, which stores crucial information related to your mobile network subscription, must be carefully removed from your Android device before being inserted into your new iPhone. This step is essential to ensure that your iPhone can seamlessly connect to your mobile network and enable you to make calls, send messages, and access mobile data using your existing SIM card.
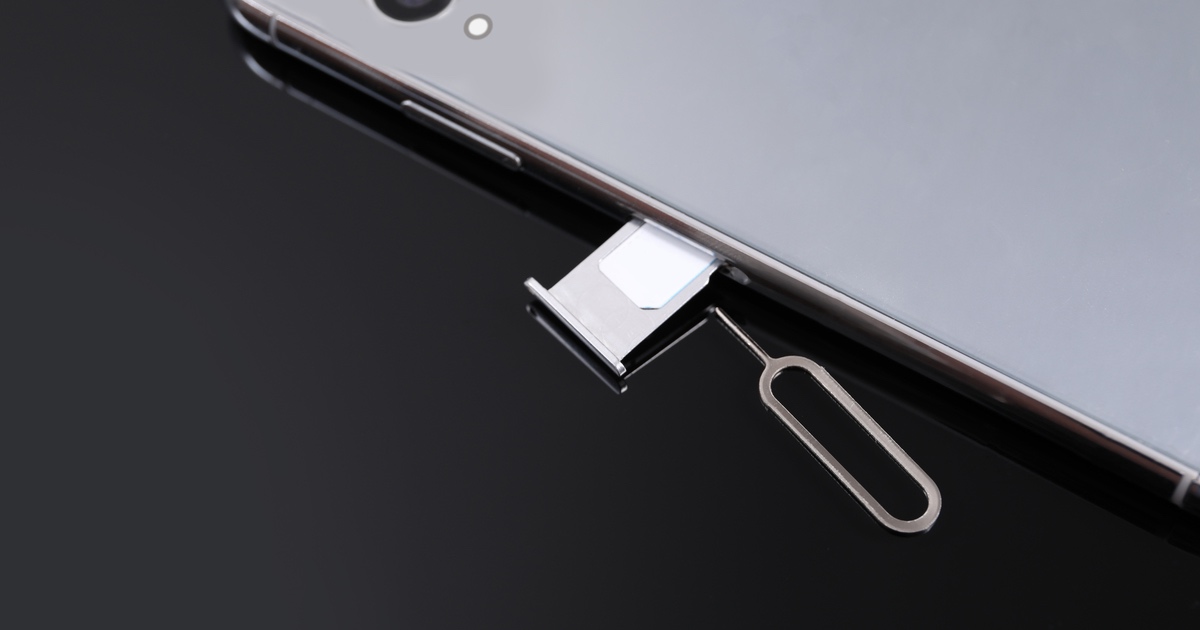
To begin, locate the SIM card tray on your Android device. The location of the SIM card tray may vary depending on the device model, but it is typically found on the side of the device. Some devices may have a small pinhole next to the tray, while others may require the use of a SIM card removal tool or a small, pointed object to eject the tray.
Once you have located the SIM card tray, carefully insert the SIM card removal tool or a suitable alternative, such as a paperclip, into the pinhole or the designated slot on the SIM card tray. Gently apply pressure to eject the tray from the device.
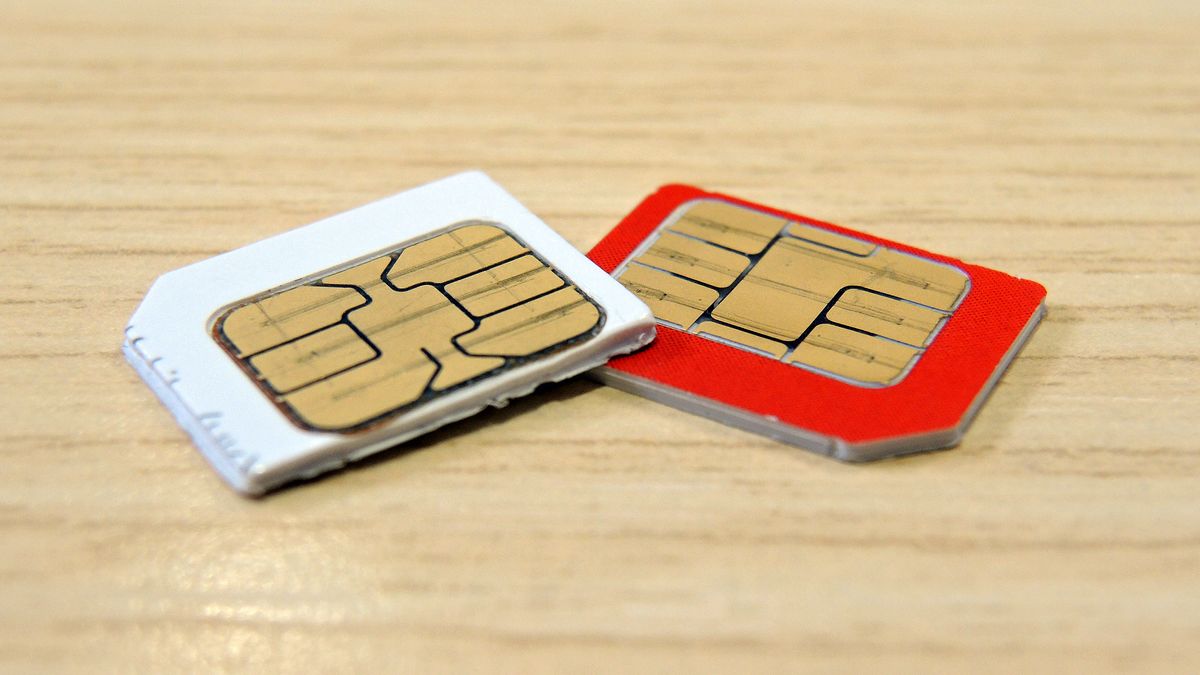
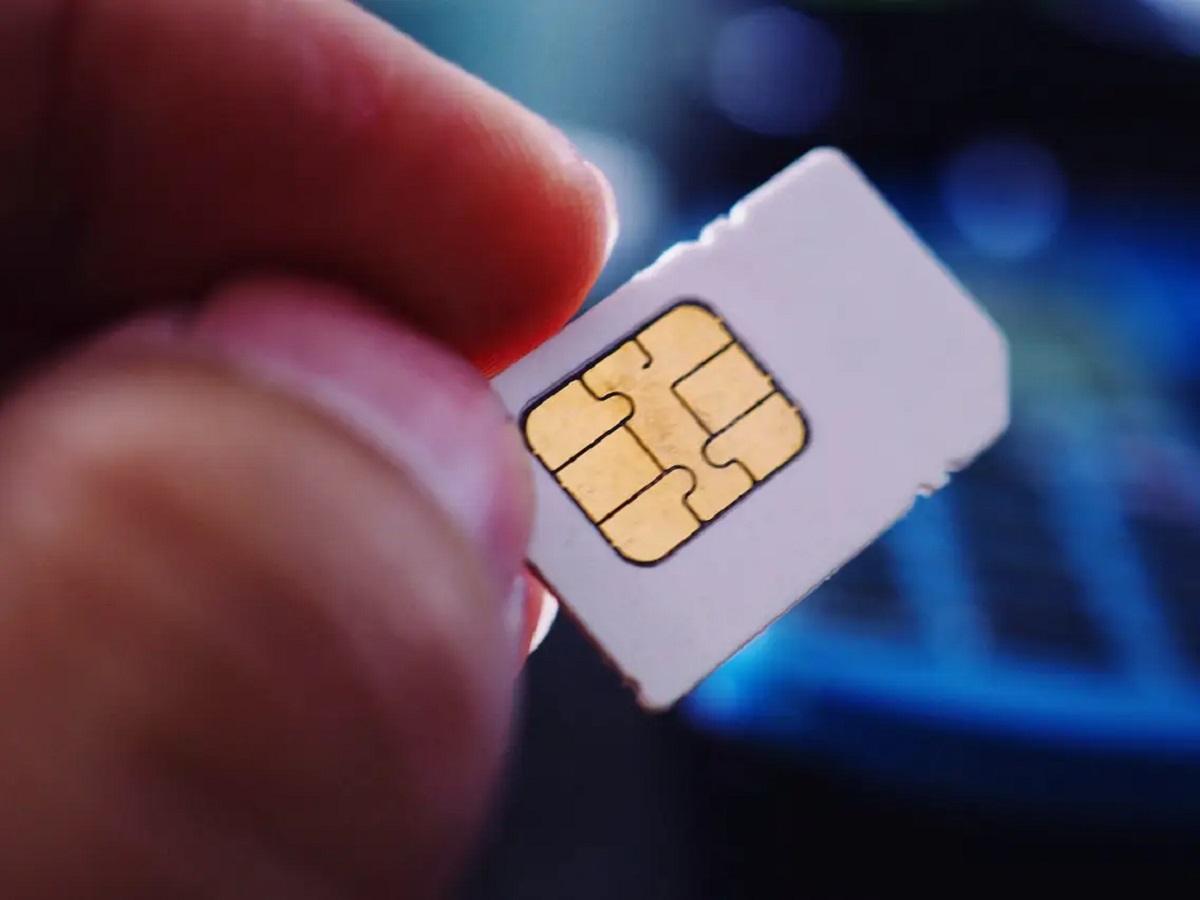
After removing the SIM card tray from your Android device, you will notice the SIM card positioned within the tray. Carefully remove the SIM card from the tray, ensuring that you handle it with care to avoid any damage. The SIM card is a small, delicate component that contains vital information, so it's important to handle it gently during the removal process.
Once the SIM card has been successfully removed from your Android device, place it in a secure location to prevent misplacement or damage. It's advisable to store the SIM card in its original packaging or a SIM card holder to ensure that it remains safe and easily accessible when you are ready to insert it into your new iPhone.
By following these simple steps, you can safely remove the SIM card from your Android device, preparing it for the next phase of the transition process. With the SIM card in hand, you are now ready to proceed to the next step of inserting it into your new iPhone, enabling you to seamlessly activate your mobile network and continue using your existing mobile number and carrier plan.
Step 3: Inserting SIM Card into iPhone
Inserting the SIM card into your iPhone is a pivotal step in the process of transitioning from your Android device. This step enables your iPhone to establish a connection with your mobile network, allowing you to make calls, send messages, and access mobile data using your existing SIM card. By carefully following the steps outlined below, you can seamlessly integrate your SIM card into your new iPhone, ensuring uninterrupted access to your mobile services.
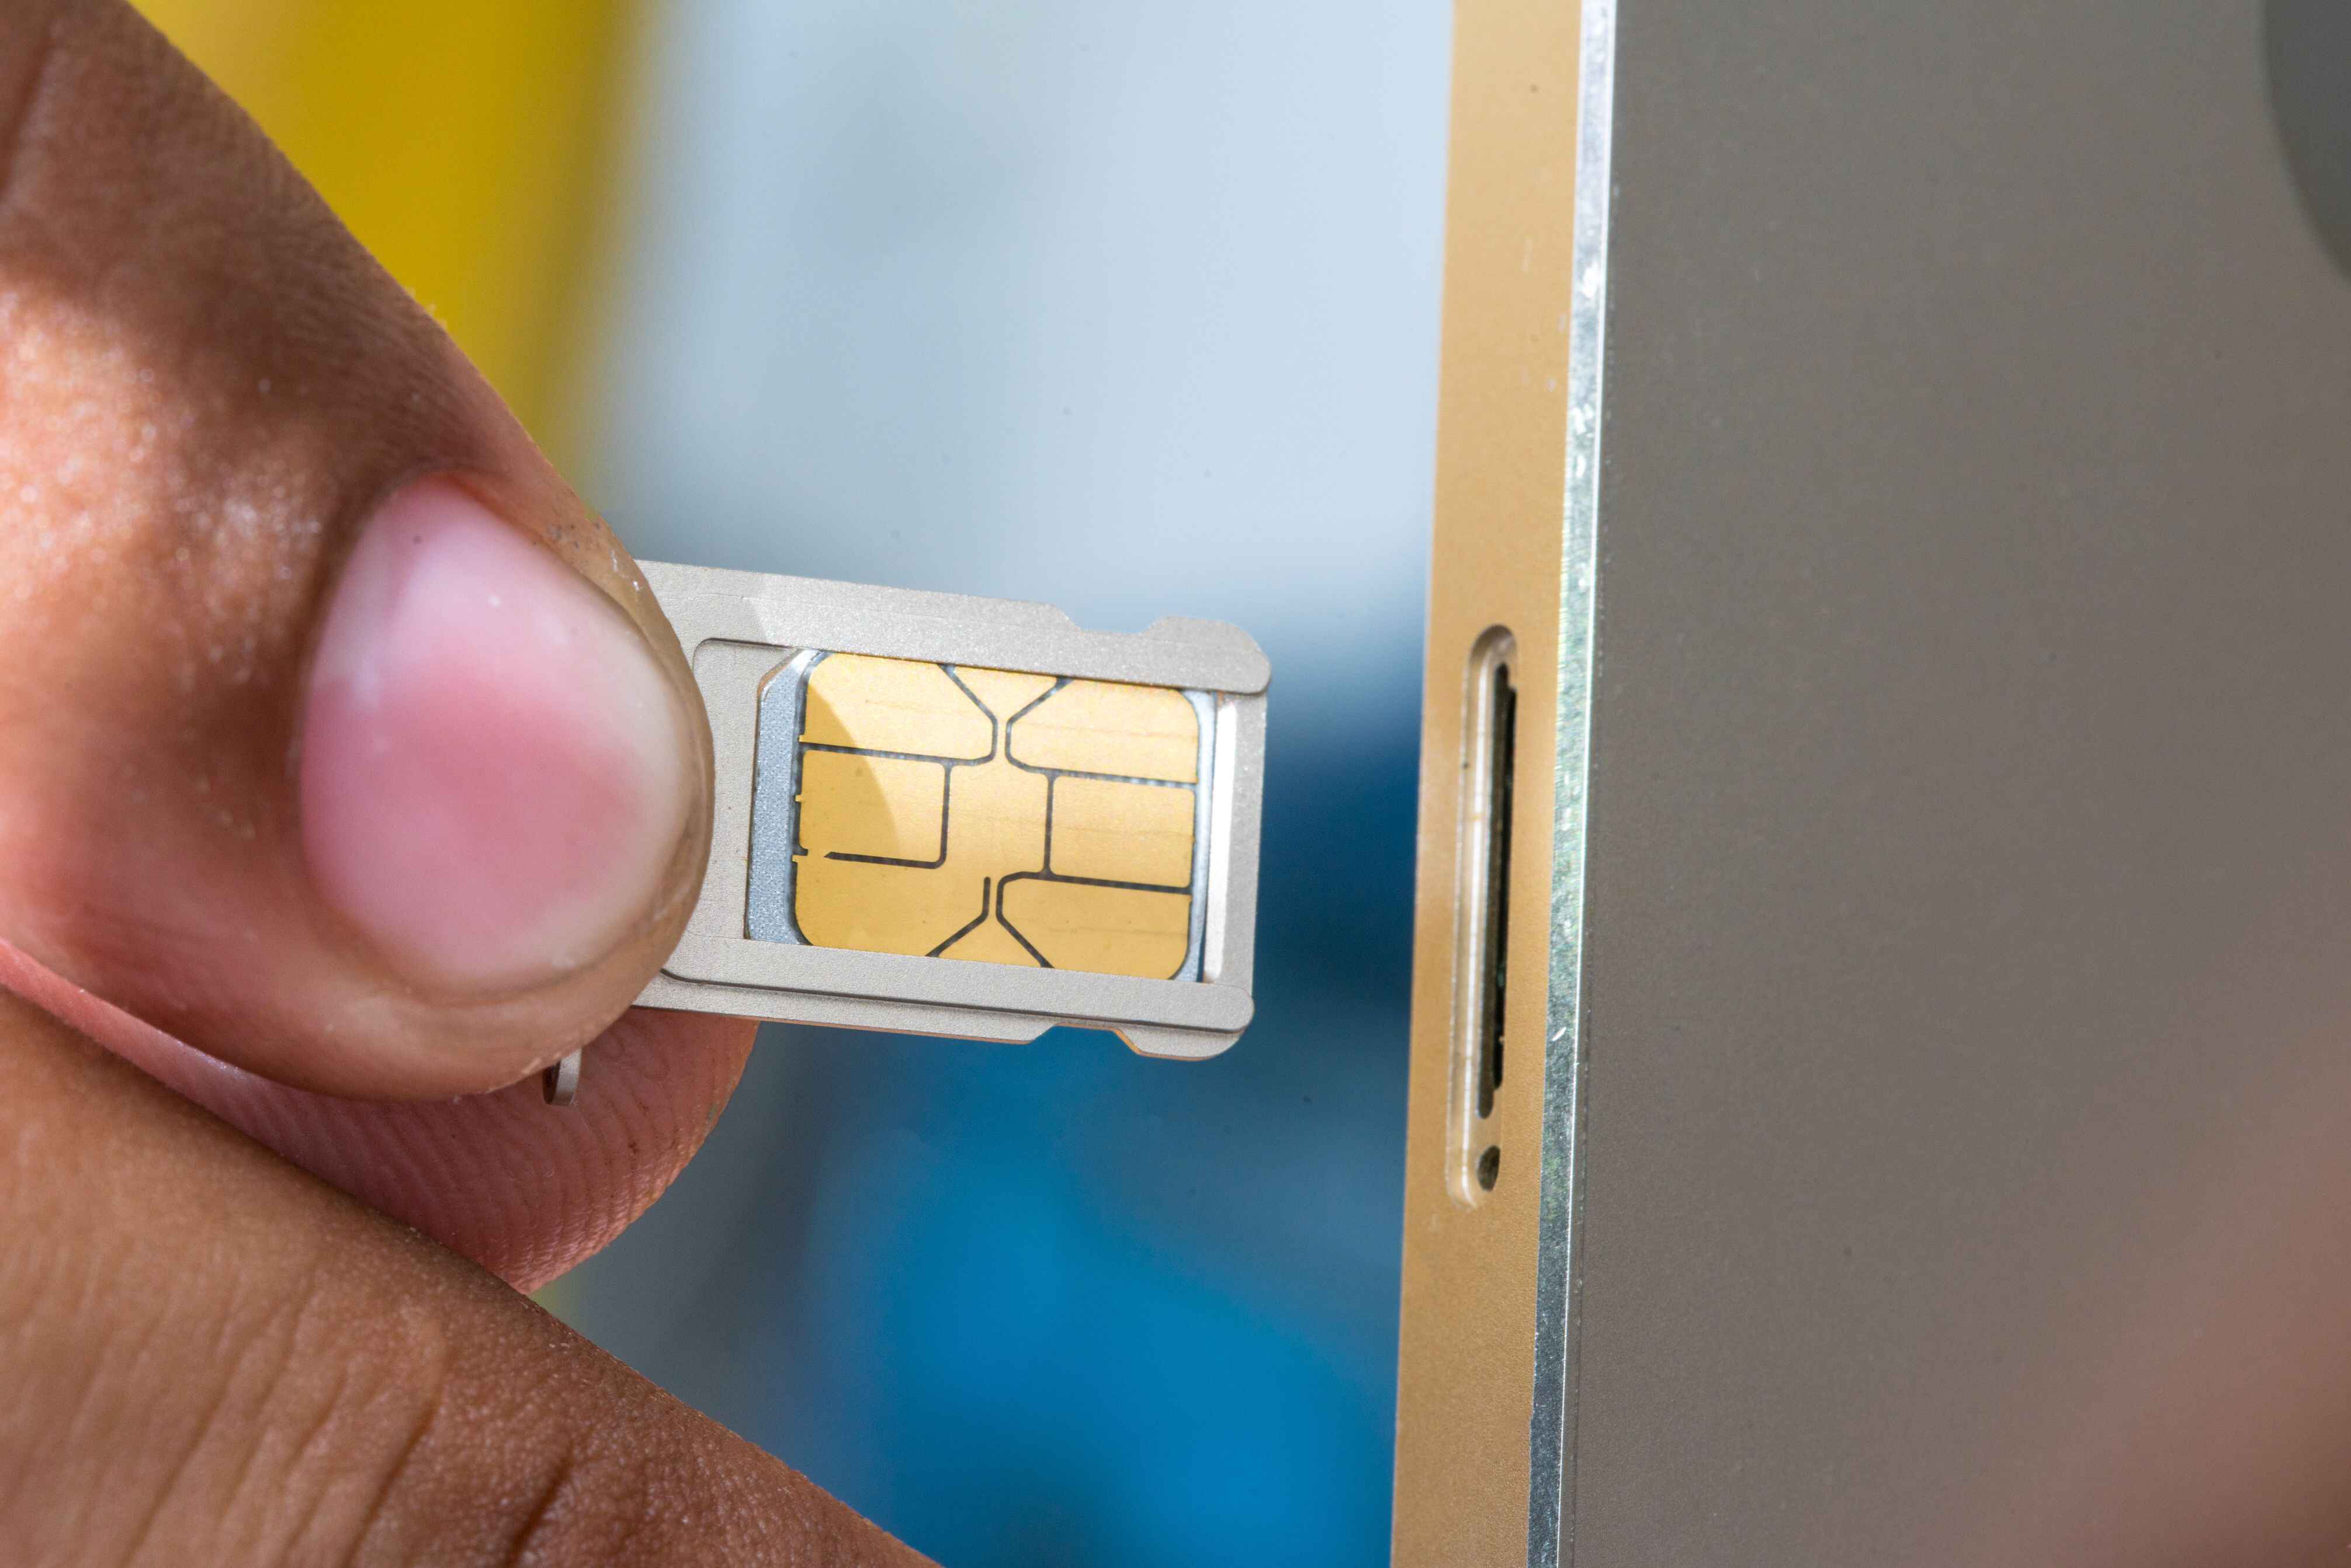
To begin, locate the SIM card tray on your iPhone. The location of the SIM card tray varies depending on the iPhone model. For most iPhone models, the SIM card tray is situated on the side of the device, typically on the right-hand side. Some iPhone models feature a small pinhole next to the tray, while others require the use of a SIM card removal tool or a paperclip to eject the tray.
Once you have located the SIM card tray, gently insert the SIM card removal tool or a suitable alternative into the pinhole or designated slot on the SIM card tray. Apply slight pressure to eject the tray from the device, ensuring a smooth and controlled release.
After removing the SIM card tray from your iPhone, carefully position the SIM card within the tray. The SIM card is designed to fit securely in the tray, with a notch that aligns with the tray's shape to ensure proper placement. Take care to position the SIM card correctly, ensuring that it sits flush within the tray without any protrusions.
Once the SIM card is securely positioned in the tray, carefully reinsert the tray into the iPhone, ensuring that it slots back into place smoothly. Avoid applying excessive force during this step to prevent any potential damage to the SIM card or the device.
After the SIM card tray is securely inserted, power on your iPhone to initiate the setup process. Your iPhone will automatically detect the SIM card and prompt you to complete the setup, including activating the SIM card and configuring your mobile network settings.
By following these meticulous steps, you can seamlessly insert your SIM card into your new iPhone, enabling it to establish a connection with your mobile network. This essential process ensures that your iPhone is ready to use with your existing SIM card, allowing you to enjoy uninterrupted mobile connectivity and the full range of features offered by your new iPhone.
Step 4: Setting up iPhone with SIM Card
Setting up your iPhone with the newly inserted SIM card is the final step in the seamless transition from your Android device. This crucial phase ensures that your iPhone is fully configured to utilize your existing SIM card, enabling you to make calls, send messages, and access mobile data without any interruptions. By carefully following the steps outlined below, you can complete the setup process and begin using your new iPhone with confidence.
Upon powering on your iPhone after inserting the SIM card, you will be guided through the initial setup process. Follow the on-screen prompts to select your preferred language, region, and Wi-Fi network. Once these initial settings are configured, your iPhone will automatically detect the inserted SIM card and proceed to activate it.
During the activation process, your iPhone will prompt you to enter the PIN associated with your SIM card, if applicable. This PIN is a security measure designed to protect your SIM card from unauthorized use. Enter the PIN provided by your mobile carrier to successfully activate the SIM card and establish connectivity with the mobile network.
After activating the SIM card, your iPhone will proceed to configure the mobile network settings, including cellular data, voice, and messaging. These settings are automatically detected based on the information provided by your mobile carrier, ensuring that your iPhone is optimized to seamlessly connect to the mobile network.
Once the mobile network settings are configured, your iPhone will display the network signal indicator, indicating that it is successfully connected to the mobile network. At this stage, you can proceed to test the functionality of the SIM card by making a test call or sending a message to ensure that the mobile services are operational.
Additionally, it's advisable to check the mobile data connectivity by accessing a website or using a data-dependent app. This allows you to verify that the mobile data services are functioning as expected, enabling you to browse the internet and access online content using your existing mobile data plan.
By completing the setup process and confirming the functionality of your SIM card on the iPhone, you have successfully transitioned your mobile services from your Android device to your new iPhone. With the SIM card seamlessly integrated and activated, you can now enjoy the full range of features and capabilities offered by your iPhone, while retaining your existing mobile number and carrier plan.
This meticulous process ensures that your transition to the iPhone is smooth and trouble-free, allowing you to seamlessly continue using your mobile services without any disruptions. With your iPhone fully set up and connected to the mobile network, you are now ready to explore the innovative features and functionalities of your new device while staying connected through your existing SIM card.
Conclusion
The process of transitioning your SIM card from an Android device to an iPhone is a pivotal step in embracing the seamless connectivity and innovative features offered by Apple's renowned smartphone. By following the comprehensive steps outlined in this guide, you have successfully navigated through the essential stages of transitioning your SIM card, ensuring a smooth and uninterrupted transfer of your mobile services.
The meticulous process of backing up data on your Android device serves as a proactive measure to safeguard your essential information, including contacts, media, and app data. By ensuring that your data is securely backed up, you have minimized the risk of data loss and streamlined the transition process, allowing for a hassle-free transfer of your information to your new iPhone.
The careful removal of the SIM card from your Android device and its subsequent insertion into your iPhone represents a pivotal phase in the transition process. By handling the SIM card with care and precision, you have ensured that it is seamlessly integrated into your new iPhone, enabling it to establish a connection with your mobile network and activate your existing mobile services.
The final step of setting up your iPhone with the newly inserted SIM card marks the culmination of the transition process. By configuring the initial settings, activating the SIM card, and verifying the functionality of your mobile services, you have successfully completed the transition, allowing your iPhone to seamlessly connect to the mobile network and enabling you to enjoy uninterrupted connectivity.
In conclusion, the transition of your SIM card from an Android device to an iPhone empowers you to embrace the innovative features, seamless connectivity, and unparalleled user experience offered by Apple's iconic smartphone. By carefully following the steps outlined in this guide, you have seamlessly integrated your existing mobile services into your new iPhone, ensuring that you can continue using your mobile number and carrier plan without any disruptions.
As you embark on your journey with your new iPhone, equipped with your existing SIM card and mobile services, you are poised to explore the full range of capabilities and functionalities offered by Apple's ecosystem. With a seamless transition and uninterrupted connectivity, you can confidently navigate the world of iOS, leveraging the power of your iPhone while staying connected through your familiar mobile network.
Congratulations on successfully transitioning your SIM card to your new iPhone, and may your mobile experience be enriched with the exceptional features and possibilities that await you in the world of Apple's iconic smartphone.