Introduction
Switching from an Android to an iPhone can be an exciting endeavor, but it often involves the crucial step of transferring your SIM card. The Subscriber Identity Module (SIM) card is a small, removable card that stores important information such as your phone number, contacts, and cellular plan details. When transitioning from an Android device to an iPhone, it's essential to understand the process of switching SIM cards to ensure a seamless transition.
In this comprehensive guide, we will walk you through the step-by-step process of switching your SIM card from your Android device to your new iPhone. Whether you're upgrading to the latest iPhone model or simply making the switch to iOS, understanding how to handle your SIM card is crucial for maintaining uninterrupted cellular service and preserving your valuable data. By following the instructions outlined in this guide, you can confidently navigate the SIM card transition and enjoy a hassle-free experience as you make the leap to your new iPhone.
Throughout this guide, we will cover essential topics such as understanding SIM cards, preparing your Android phone for SIM card removal, removing the SIM card from your Android device, preparing your iPhone for SIM card installation, inserting the SIM card into your iPhone, activating your iPhone with the new SIM card, troubleshooting common issues, and more. By addressing each of these steps in detail, we aim to equip you with the knowledge and confidence to successfully transfer your SIM card and seamlessly integrate your new iPhone into your mobile lifestyle.
Whether you're a tech-savvy enthusiast or a first-time iPhone user, this guide is designed to provide clear, actionable instructions that will empower you to handle the SIM card transition with ease. As we delve into the intricacies of SIM card switching, you'll gain valuable insights into the technical aspects of mobile devices while learning practical tips for ensuring a smooth and successful transition to your new iPhone. So, let's embark on this journey together as we unravel the intricacies of switching your SIM card from Android to iPhone.
Understanding SIM Cards
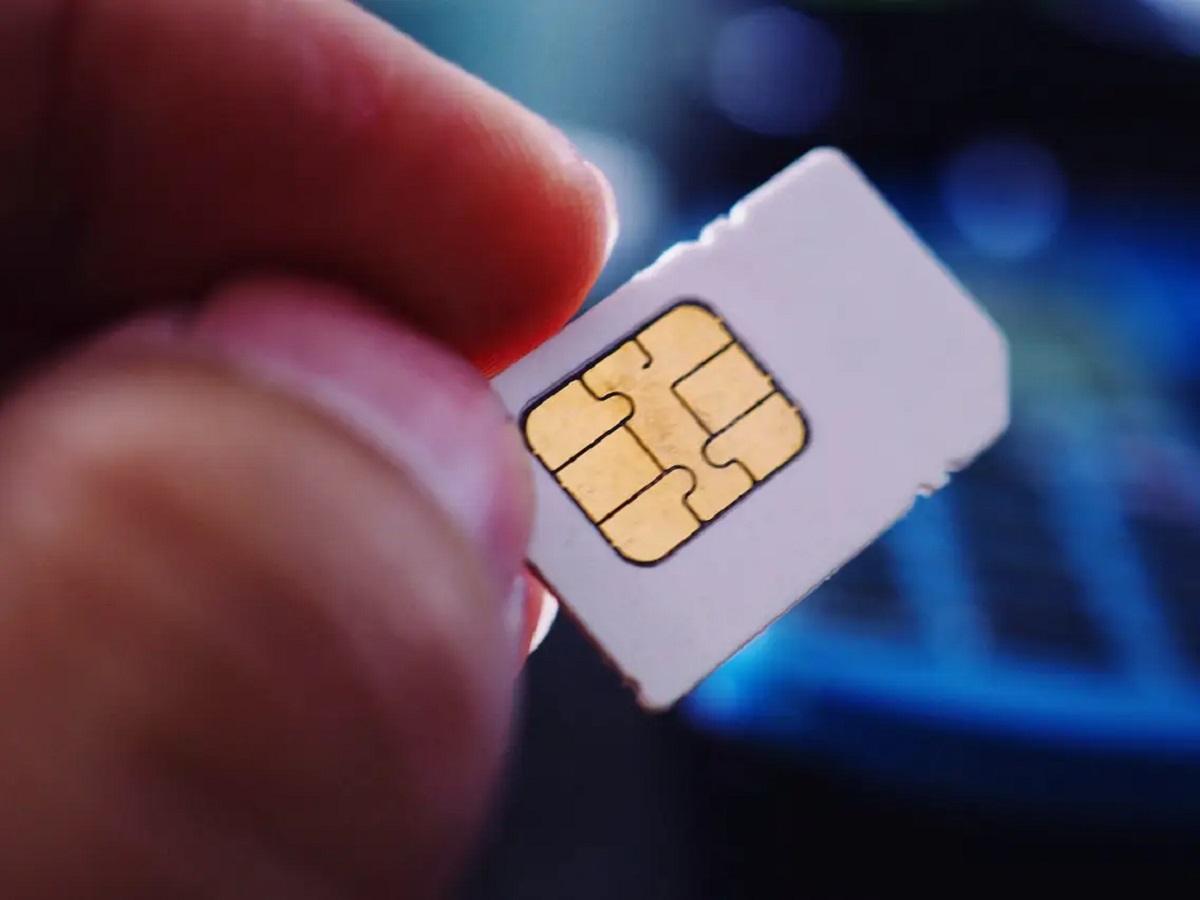
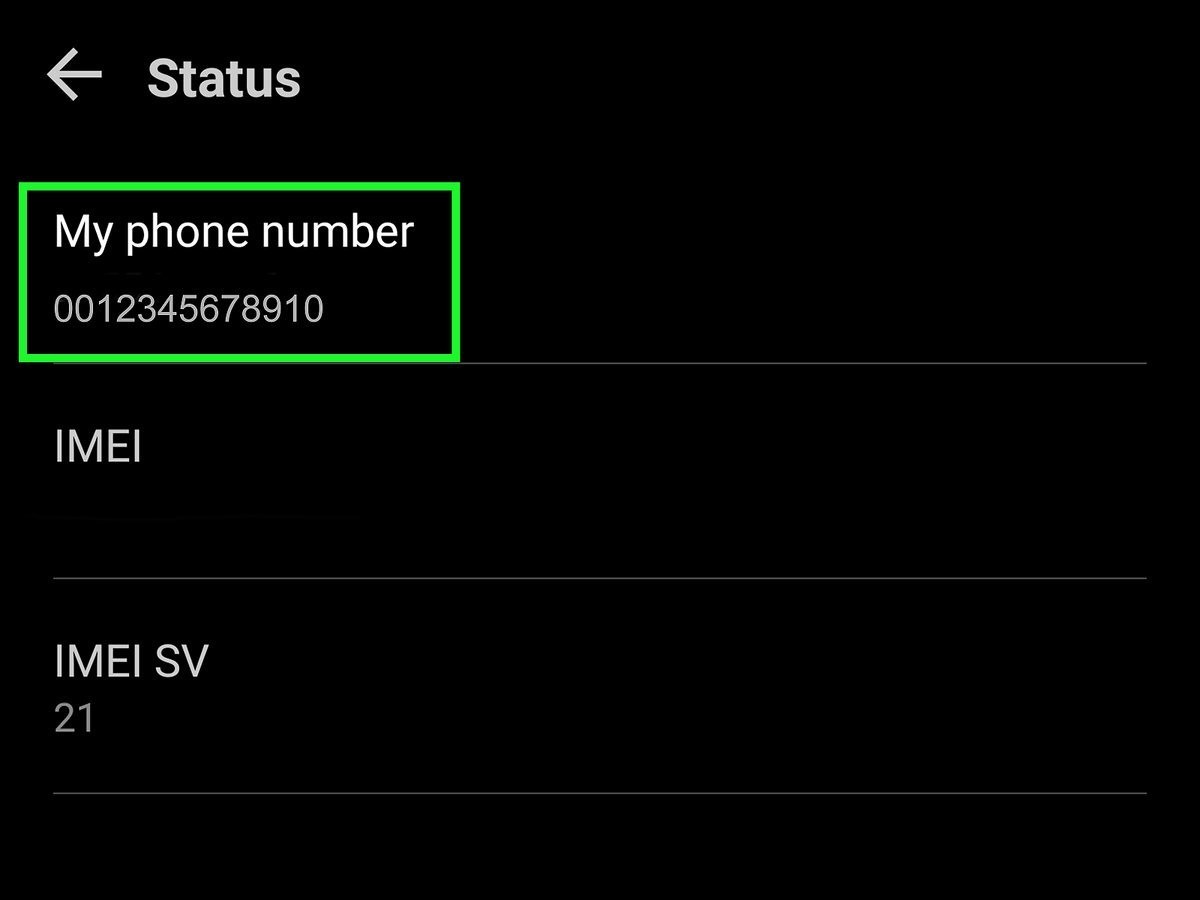
A Subscriber Identity Module (SIM) card is a small, portable card that plays a pivotal role in the functionality of mobile devices. It serves as the link between your phone and your cellular service provider, storing essential information that enables you to make calls, send text messages, and access mobile data. The SIM card holds unique details associated with your cellular plan, including your phone number, network authentication key, and other personalized data.
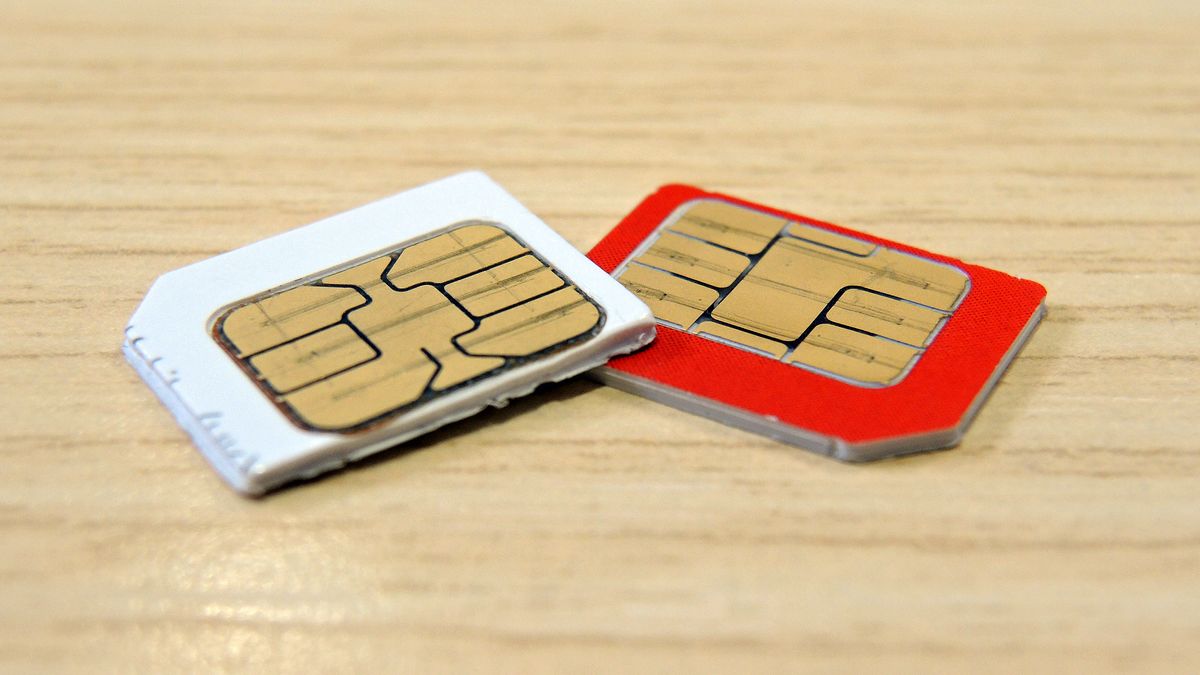
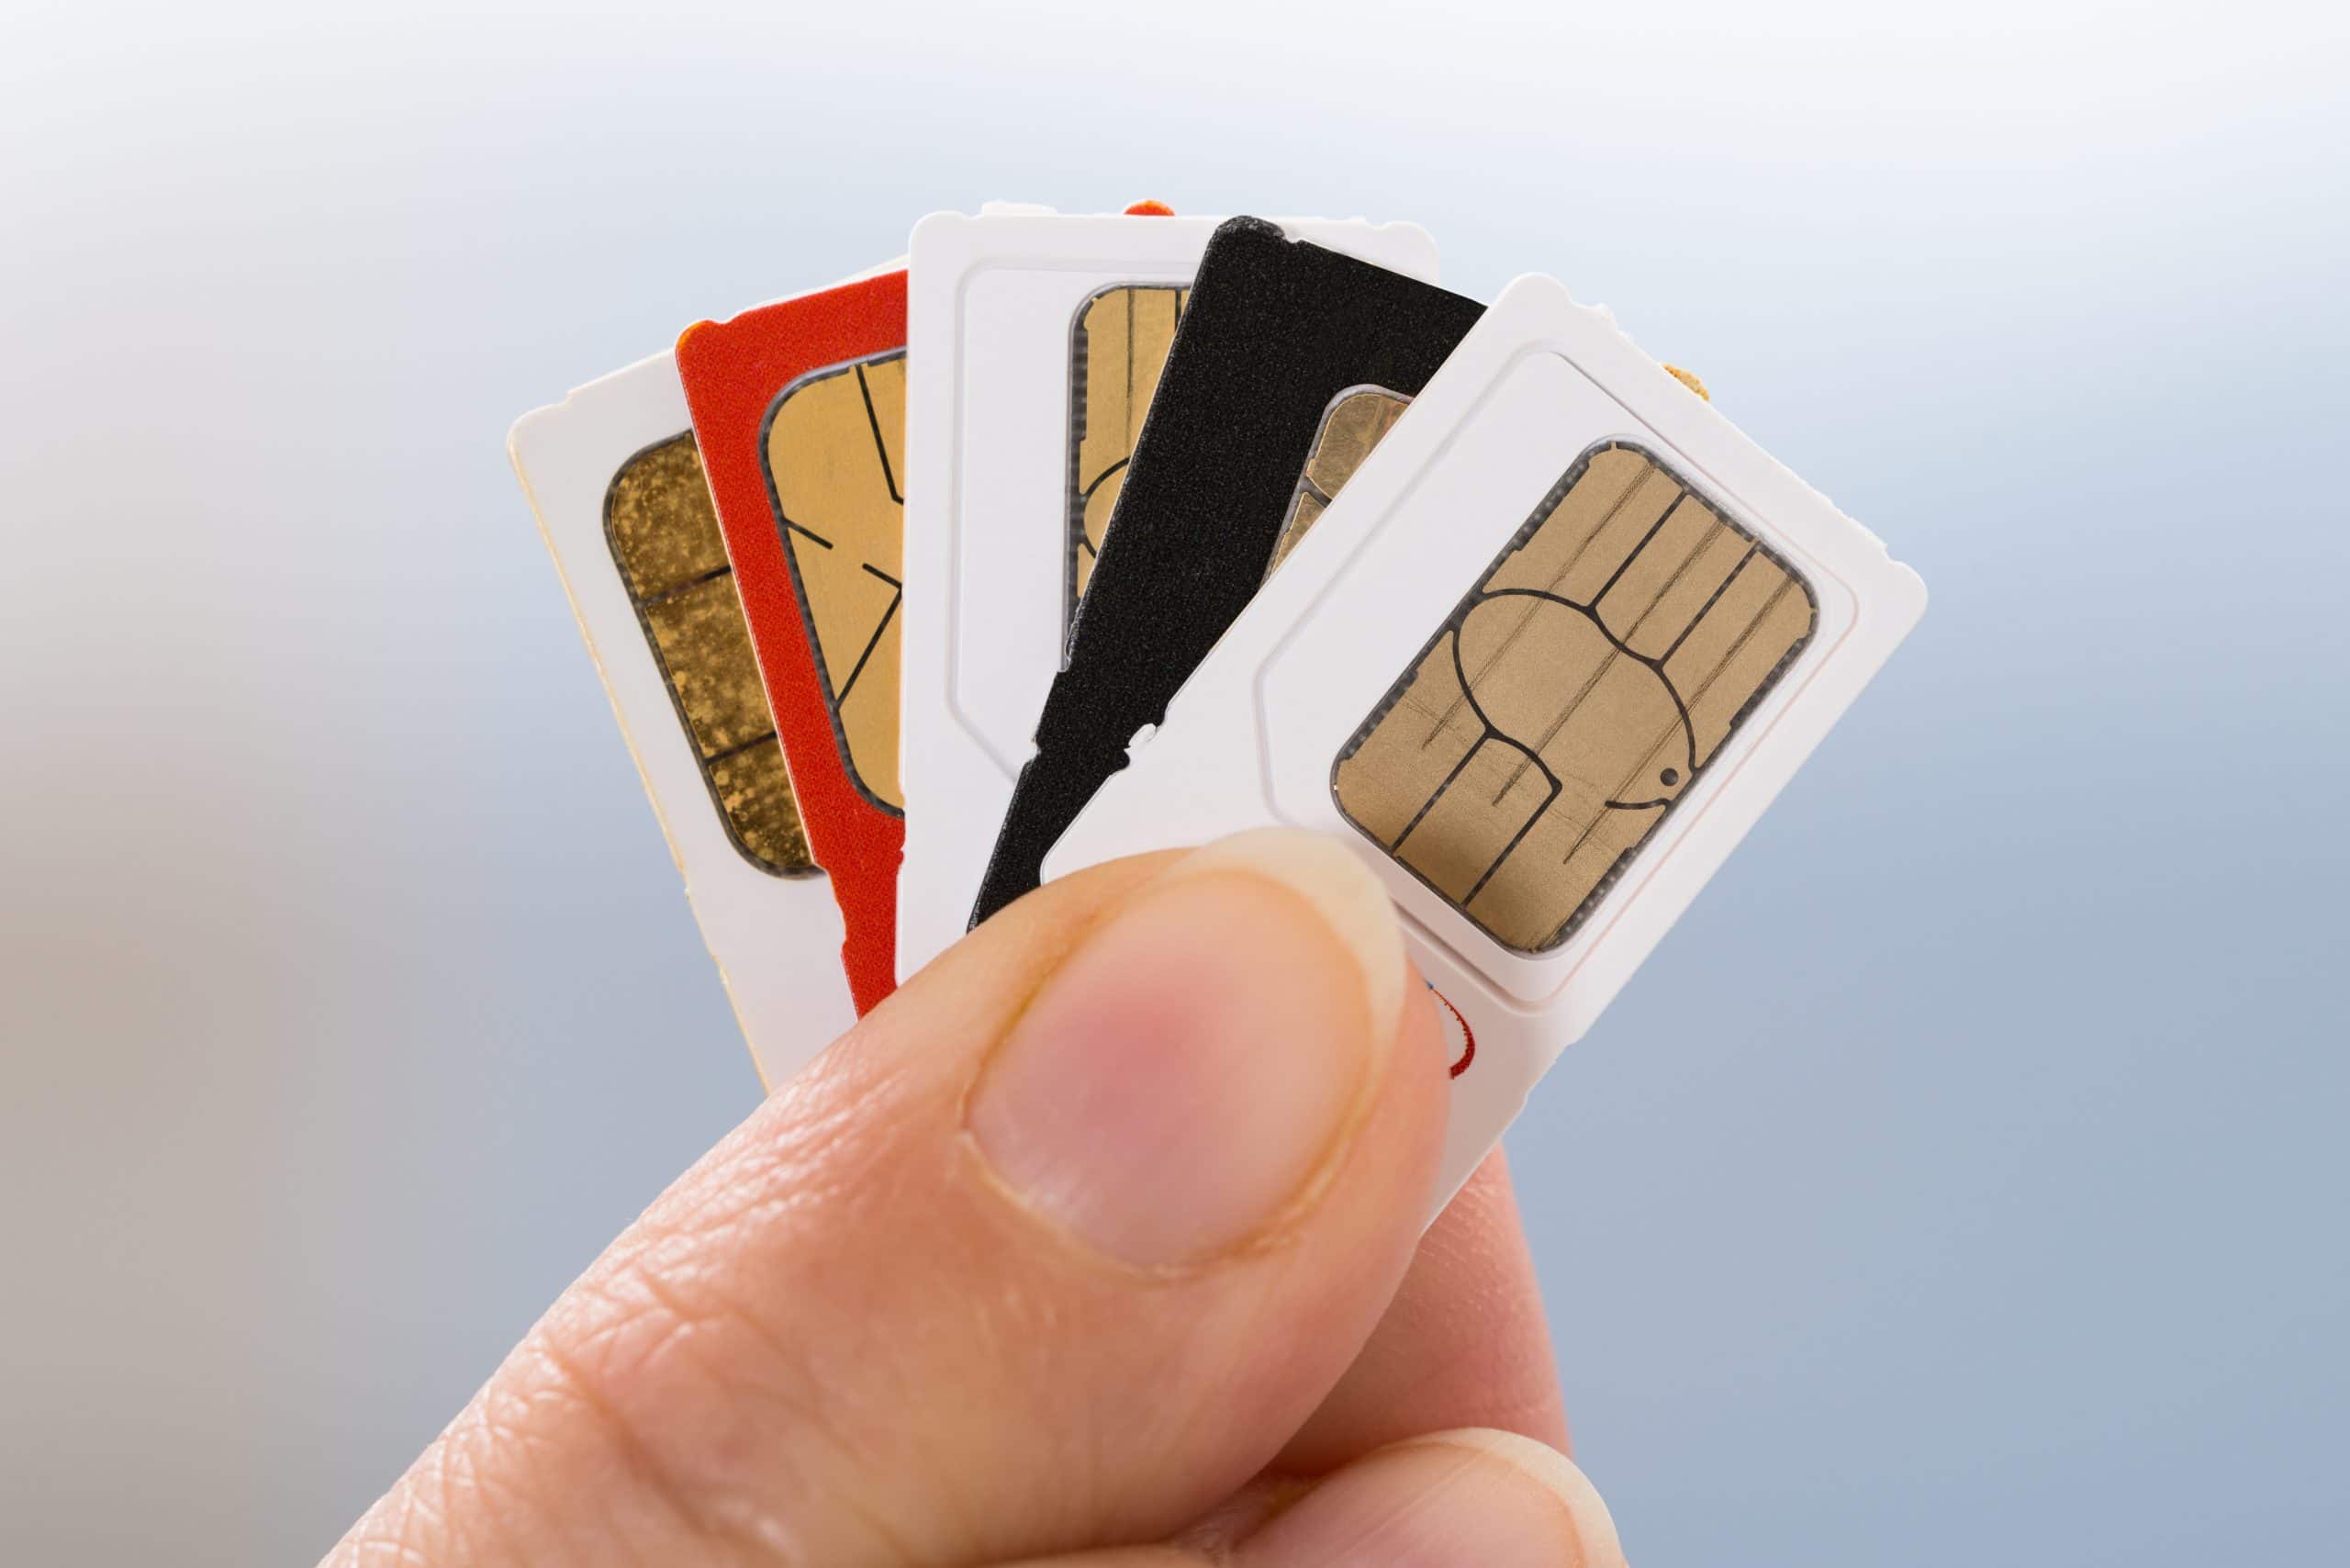
SIM cards come in various sizes, including standard SIM, micro-SIM, and nano-SIM, each designed to fit different types of mobile devices. The standard SIM card, which was prevalent in older cell phones, has gradually been replaced by the smaller micro-SIM and nano-SIM cards, which are commonly used in modern smartphones. These compact cards are designed to be easily inserted and removed from compatible devices, allowing users to switch between phones or upgrade to new devices without losing their cellular service or data.
In addition to storing crucial information related to your cellular plan, SIM cards also house your contact list and text messages, making them a valuable repository of personal data. When transitioning from an Android device to an iPhone, it's important to understand the significance of the SIM card in preserving this data and maintaining seamless connectivity. By grasping the role of the SIM card and its impact on your mobile experience, you can appreciate the importance of handling it with care during the transition process.
Furthermore, SIM cards are linked to specific mobile networks, dictating which carriers and services your phone can access. This means that when you switch to a new device, such as an iPhone, the SIM card must be compatible with the new device and the cellular network it will be connected to. Understanding the compatibility and technical aspects of SIM cards is crucial for ensuring that your new iPhone can effectively communicate with your cellular service provider and access the full range of features and services available on the network.
In essence, the SIM card serves as a gateway to your mobile world, encapsulating vital information and enabling seamless communication between your phone and the cellular network. By comprehending the significance of the SIM card and its intricate role in the mobile ecosystem, you can approach the process of switching your SIM card from Android to iPhone with a deeper understanding of its impact on your overall mobile experience.
Preparing Your Android Phone for SIM Card Removal
Before embarking on the process of removing the SIM card from your Android phone, it's essential to take preparatory steps to ensure a smooth transition. Preparing your Android device for SIM card removal involves safeguarding your data, understanding the location of the SIM card slot, and ensuring that you have the necessary tools at your disposal.
-
Backup Your Data: Begin by backing up any important data stored on your Android phone, such as contacts, photos, and messages. This ensures that your valuable information is securely stored and can be easily transferred to your new iPhone once the SIM card has been switched.
-
Identify the SIM Card Slot: Locate the SIM card slot on your Android phone. Depending on the device model, the SIM card slot may be positioned on the side, top, or back of the phone. Refer to the user manual or manufacturer's guidelines to pinpoint the exact location of the SIM card slot to avoid any potential damage to the device.
-
Power Off Your Phone: Turn off your Android phone before proceeding with the SIM card removal. This minimizes the risk of disrupting the device's functionality and ensures a safe environment for handling the SIM card.
-
Gather Necessary Tools: Prepare a SIM card removal tool or a small paperclip to eject the SIM card tray from your Android phone. Having the appropriate tool on hand streamlines the removal process and reduces the likelihood of damaging the SIM card or the device.
-
Remove Phone Case (If Applicable): If your Android phone is equipped with a protective case, consider removing it to access the SIM card slot more easily. This allows for a clear view of the SIM card slot and facilitates the insertion of the removal tool.
By meticulously preparing your Android phone for SIM card removal, you can set the stage for a successful transition to your new iPhone. These preparatory measures not only ensure the safety of your data and device but also contribute to a seamless SIM card switching process, enabling you to navigate the transition with confidence and ease.
Removing the SIM Card from Your Android Phone
Once you have diligently prepared your Android phone for the SIM card removal process, you are ready to proceed with extracting the SIM card from its slot. The following step-by-step instructions will guide you through the process of safely removing the SIM card from your Android device:
-
Locate the SIM Card Slot: As mentioned earlier, identify the precise location of the SIM card slot on your Android phone. This may require referring to the user manual or consulting the manufacturer's guidelines to ensure that you pinpoint the correct slot without causing any damage to the device.
-
Insert the Removal Tool: Take the SIM card removal tool or a small paperclip and gently insert it into the pinhole located next to the SIM card slot. Apply light pressure to push the tool into the pinhole until the SIM card tray is partially ejected from the phone.
-
Remove the SIM Card Tray: Once the SIM card tray is partially ejected, carefully pull it out from the phone using your fingers. Exercise caution to avoid applying excessive force, as this could damage the tray or the SIM card itself.
-
Retrieve the SIM Card: With the SIM card tray removed, you can now access the SIM card. Extract the SIM card from the tray by gently sliding it out, taking care to handle it delicately to prevent any damage to the card's circuitry or contacts.
-
Inspect the SIM Card and Tray: Before proceeding further, take a moment to inspect both the SIM card and the tray for any signs of damage or debris. Ensure that the SIM card is in good condition and free from any visible defects.
By following these steps, you can successfully remove the SIM card from your Android phone, setting the stage for the subsequent process of preparing your iPhone for SIM card installation. With the SIM card safely extracted from your Android device, you are one step closer to seamlessly transitioning to your new iPhone and activating it with the transferred SIM card.
Preparing Your iPhone for SIM Card Installation
Preparing your iPhone for SIM card installation involves several essential steps to ensure a seamless transition and optimal functionality. As you embark on this crucial phase of the SIM card switching process, it's important to approach the task with care and attention to detail. By following the steps outlined below, you can effectively prepare your iPhone for the successful installation of the SIM card from your previous Android device.
-
Power Off Your iPhone: Before initiating the SIM card installation process, power off your iPhone to prevent any potential disruption during the setup. This simple yet vital step creates a safe environment for handling the SIM card and ensures that the device is ready to receive the new card.
-
Locate the SIM Card Tray: Familiarize yourself with the location of the SIM card tray on your iPhone. Depending on the iPhone model, the SIM card tray may be situated on the side or top of the device. Refer to the iPhone's user manual or the manufacturer's guidelines to pinpoint the precise location of the SIM card tray.
-
Retrieve the SIM Card Removal Tool: If provided, utilize the SIM card removal tool that came with your iPhone. Alternatively, a small paperclip can be used to eject the SIM card tray. Having the appropriate tool readily available streamlines the installation process and minimizes the risk of damage to the device or the SIM card.
-
Position the iPhone: Place your iPhone on a stable surface with the screen facing up. This positioning facilitates the smooth insertion of the SIM card tray and minimizes the likelihood of accidental damage to the device or the SIM card.
-
Eject the SIM Card Tray: Insert the SIM card removal tool or a straightened paperclip into the pinhole adjacent to the SIM card tray. Apply gentle pressure to release the tray and carefully pull it out from the iPhone. Exercise caution to avoid bending or damaging the tray during this process.
-
Prepare the SIM Card: Retrieve the SIM card from your previous Android device and ensure that it is free from any visible damage. Take a moment to inspect the SIM card for any debris or irregularities, and gently wipe it with a clean, dry cloth if necessary.
By meticulously preparing your iPhone for SIM card installation, you can lay the groundwork for a successful transition and ensure that your device is ready to receive the SIM card from your previous Android phone. This careful preparation sets the stage for the subsequent step of inserting the SIM card into your iPhone, marking a pivotal milestone in the process of switching to your new device.
Inserting the SIM Card into Your iPhone
With your iPhone primed and ready, it's time to proceed with the pivotal step of inserting the SIM card into your device. This process marks a significant milestone in the transition from your previous Android phone to your new iPhone, as it establishes the vital connection between your device and your cellular service provider. Follow these step-by-step instructions to seamlessly insert the SIM card into your iPhone:
-
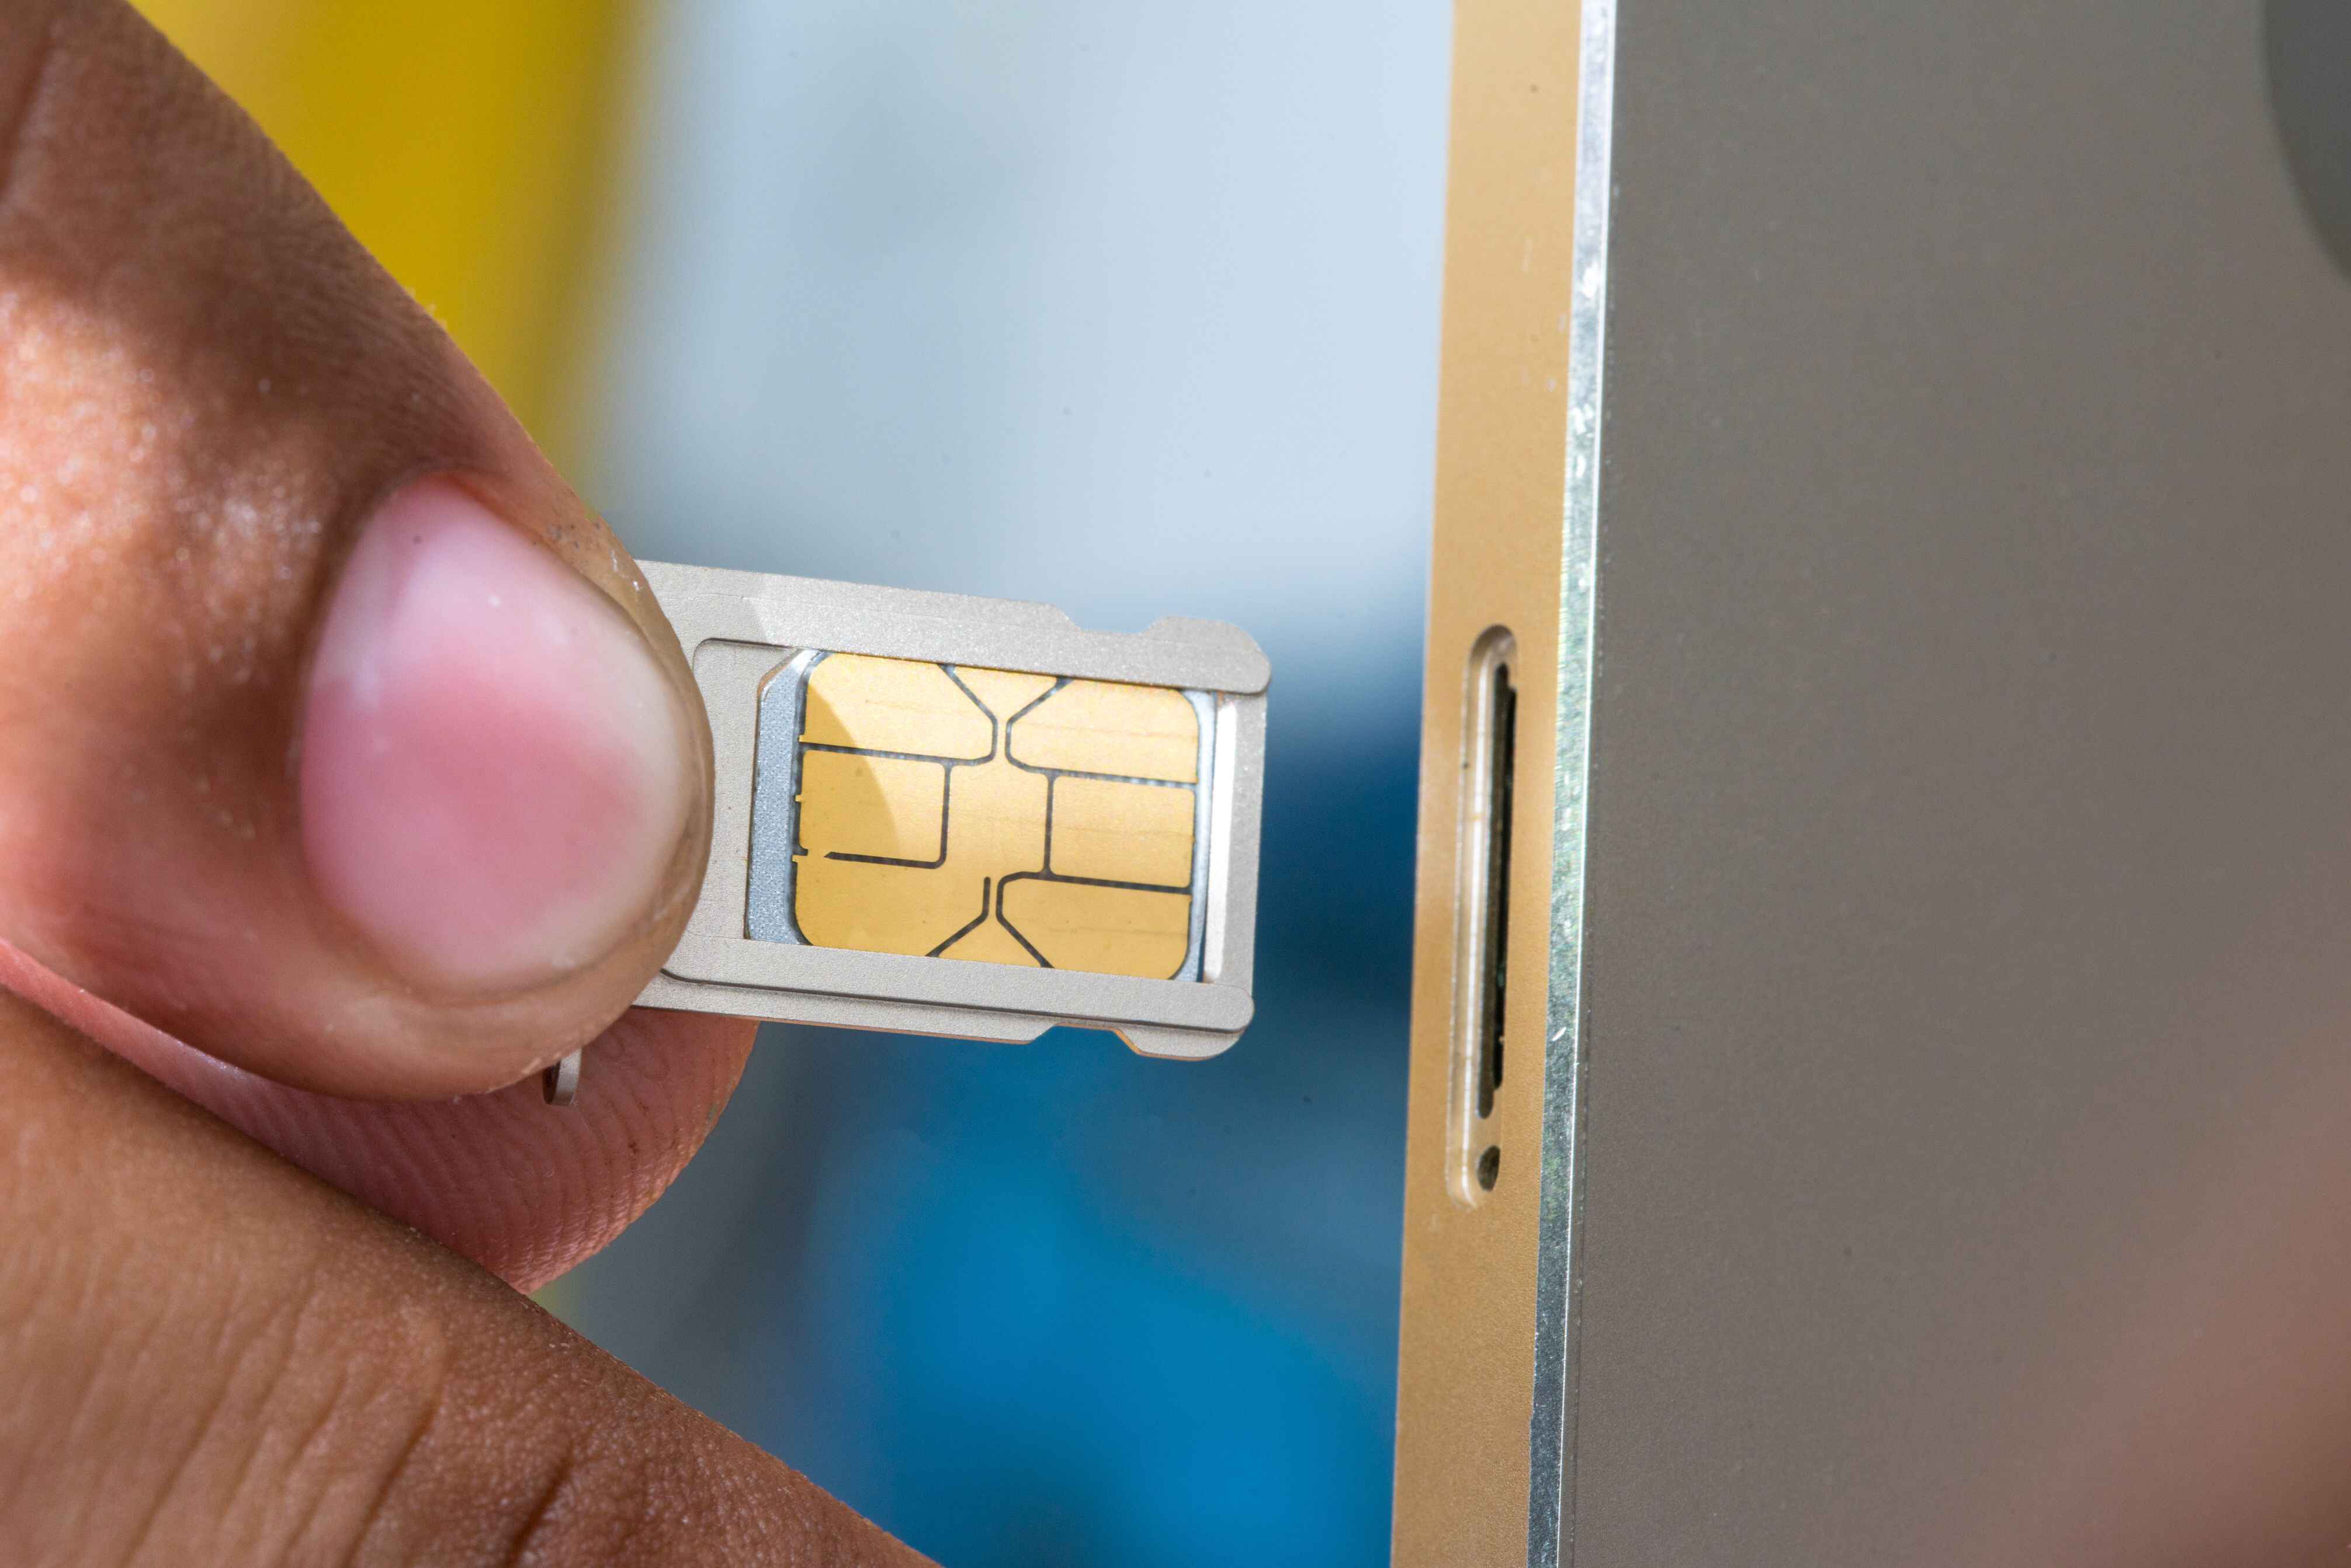
Prepare the SIM Card: Retrieve the SIM card from your previous Android device and hold it with the metal contacts facing down. Ensure that the SIM card aligns with the shape of the SIM card tray on your iPhone, as improper alignment may lead to difficulty inserting the tray.
-
Position the SIM Card Tray: Orient the SIM card tray in a way that allows you to gently place the SIM card onto it. Take care to align the SIM card with the designated space on the tray, ensuring a proper fit that prevents any potential damage to the card or the tray.
-
Insert the SIM Card Tray: With the SIM card securely positioned on the tray, carefully slide the tray back into the SIM card slot on your iPhone. Apply gentle pressure to ensure that the tray smoothly glides into place without any resistance.
-
Verify the Installation: Once the SIM card tray is fully inserted, take a moment to ensure that it sits flush with the iPhone's exterior and aligns seamlessly with the device's frame. This visual confirmation indicates that the SIM card has been successfully installed and is ready for activation.
-
Power On Your iPhone: Turn on your iPhone and allow the device to initialize. As the iPhone powers up, it will detect the presence of the new SIM card and initiate the activation process, signaling that the transition from your Android phone to your iPhone is progressing smoothly.
By following these detailed steps, you can confidently insert the SIM card into your iPhone, laying the foundation for a seamless transition to your new device. This critical phase of the SIM card switching process establishes the crucial link between your iPhone and your cellular service provider, enabling you to harness the full capabilities of your new device and embark on an exciting journey with your upgraded mobile experience.
Activating Your iPhone with the New SIM Card
Activating your iPhone with the new SIM card is a pivotal step that finalizes the transition from your previous Android device to your new iPhone. This process establishes the vital connection between your iPhone and your cellular service provider, enabling you to make calls, send messages, and access mobile data. By following the steps outlined below, you can seamlessly activate your iPhone with the new SIM card, ensuring a smooth and uninterrupted mobile experience.
-
Power On Your iPhone: After inserting the new SIM card into your iPhone, power on the device to initiate the activation process. As the iPhone boots up, it will detect the presence of the new SIM card and prompt you to proceed with the activation.
-
Follow On-Screen Prompts: Your iPhone will display on-screen prompts guiding you through the activation process. Follow the instructions provided, which may include entering your cellular plan details, such as your phone number and account information, to complete the activation.
-
Connect to a Wi-Fi Network: To expedite the activation process and ensure a seamless transition, connect your iPhone to a Wi-Fi network. This enables the device to communicate with the cellular service provider's activation servers and swiftly complete the activation.
-
Wait for Activation: Once you have entered the necessary information and connected to a Wi-Fi network, allow your iPhone to process the activation request. This may take a few moments, during which the device communicates with the cellular network to finalize the activation.
-
Confirmation of Activation: Upon successful activation, your iPhone will display a confirmation message, indicating that the new SIM card has been successfully recognized and integrated with the device. At this point, your iPhone is ready for use with the new SIM card, and you can begin enjoying the full range of features and services offered by your cellular plan.
By diligently following these steps, you can effectively activate your iPhone with the new SIM card, marking the culmination of the SIM card switching process. This seamless activation process ensures that your iPhone is fully integrated with the new SIM card, enabling you to harness the capabilities of your device and embark on an exciting mobile journey with your upgraded iPhone.
This completes the activation process, allowing you to seamlessly transition to your new iPhone and enjoy a seamless and uninterrupted mobile experience with your new device.
Troubleshooting Common Issues
While the process of switching your SIM card from an Android device to an iPhone is generally straightforward, you may encounter common issues that can potentially disrupt the transition. By being aware of these challenges and understanding how to address them, you can navigate the SIM card switching process with confidence and resolve any issues that may arise. Here are some common issues that individuals may encounter when switching SIM cards, along with troubleshooting steps to mitigate these challenges:
-
SIM Card Not Detected: If your iPhone fails to recognize the new SIM card after insertion, first ensure that the SIM card is properly aligned in the tray and securely inserted into the device. If the issue persists, try restarting your iPhone to allow the device to re-detect the SIM card.
-
Activation Failure: In some cases, the activation process may encounter difficulties, leading to a failure to complete the activation. To address this issue, verify that the SIM card is compatible with your iPhone model and ensure that the cellular plan associated with the SIM card is active and in good standing. Contact your cellular service provider for assistance in resolving activation issues.
-
No Service or Signal: If your iPhone displays "No Service" or fails to establish a cellular signal after SIM card insertion, check the signal strength in different locations to rule out potential network coverage issues. Additionally, ensure that the SIM card is not damaged and that the iPhone's network settings are correctly configured. Resetting network settings on the iPhone may help resolve connectivity issues.
-
Data Roaming and Settings: When transitioning to a new iPhone, it's essential to review the data roaming settings to ensure that they align with your usage preferences and cellular plan. Incorrect data roaming settings can lead to unexpected charges or limitations on data usage. Access the iPhone's settings to adjust data roaming preferences as needed.
-
Incompatible SIM Card: If the SIM card from your Android device is not compatible with your new iPhone, you may encounter compatibility issues that prevent the device from recognizing the SIM card. In such cases, consider obtaining a compatible SIM card from your cellular service provider and initiating the SIM card switching process anew.
-
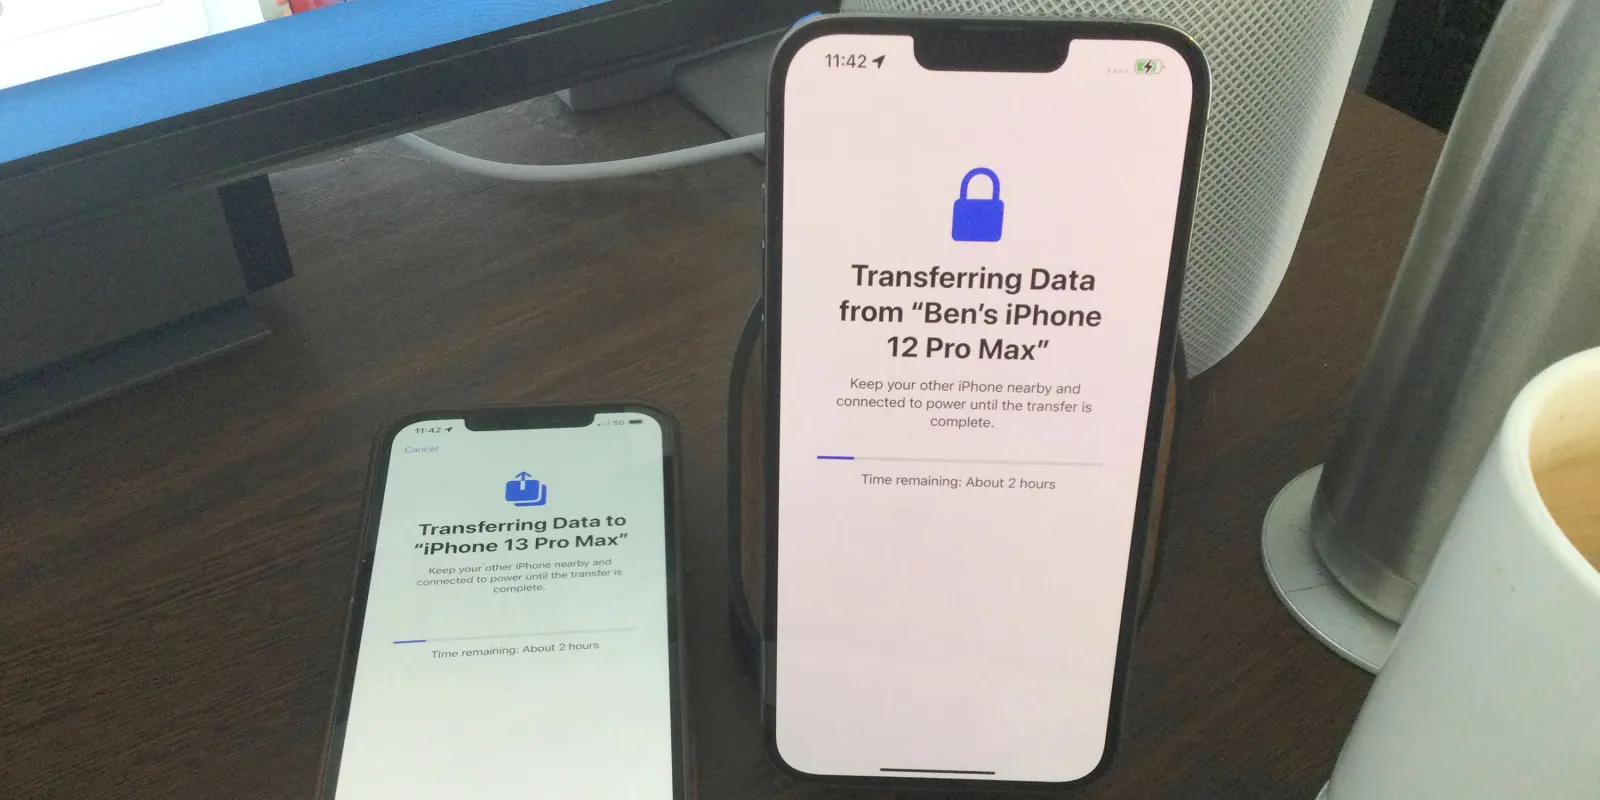
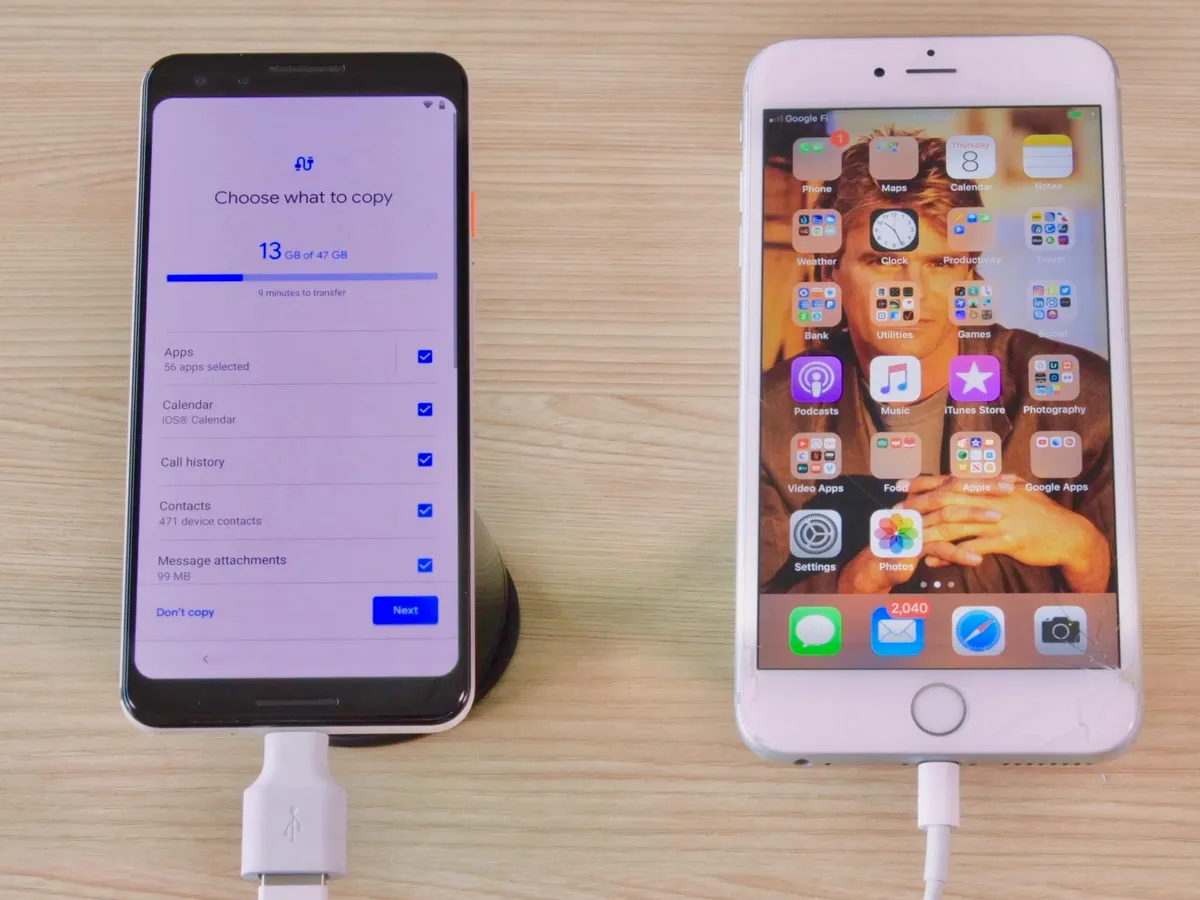
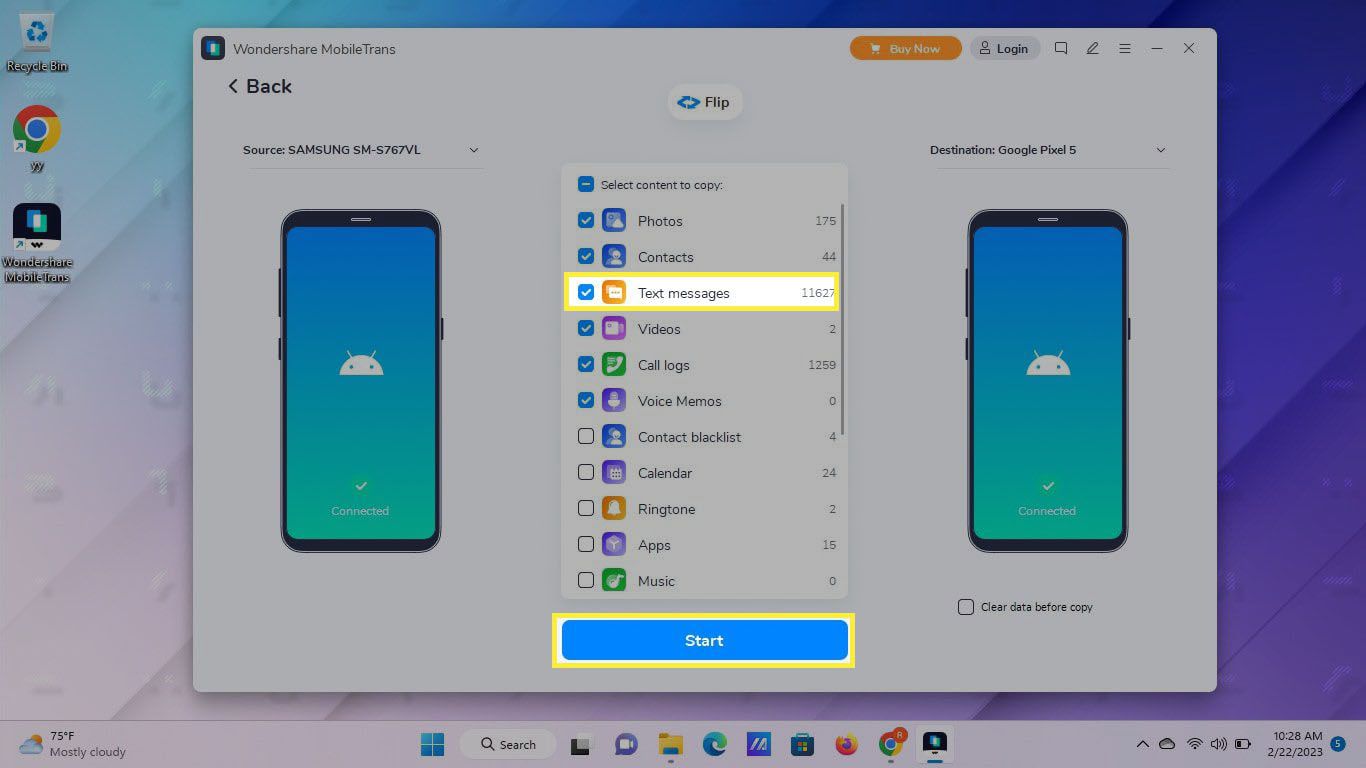
Contact Transfer: After switching SIM cards, ensure that your contacts and personal data have been successfully transferred to your new iPhone. Utilize built-in tools or third-party applications to transfer contacts and other essential data from your previous Android device to your iPhone, ensuring a seamless transition of your personal information.
By addressing these common issues and implementing the troubleshooting steps outlined above, you can overcome potential challenges associated with switching your SIM card from an Android device to an iPhone. By proactively troubleshooting and resolving these issues, you can streamline the transition process and ensure a smooth and successful integration of your new iPhone with the transferred SIM card.
Conclusion
In conclusion, the process of switching your SIM card from an Android device to an iPhone is a pivotal step in transitioning to a new mobile ecosystem. Throughout this comprehensive guide, we have delved into the intricacies of understanding SIM cards, preparing your Android phone for SIM card removal, removing the SIM card from your Android device, preparing your iPhone for SIM card installation, inserting the SIM card into your iPhone, activating your iPhone with the new SIM card, troubleshooting common issues, and more. By addressing each of these steps in detail, we aimed to equip you with the knowledge and confidence to successfully transfer your SIM card and seamlessly integrate your new iPhone into your mobile lifestyle.
The significance of the SIM card in preserving vital data and maintaining seamless connectivity cannot be overstated. As you embark on the journey of switching your SIM card, it's essential to approach the process with care and attention to detail. By diligently following the step-by-step instructions provided in this guide, you can navigate the SIM card switching process with confidence, ensuring a smooth and uninterrupted transition to your new iPhone.
Furthermore, in the event of encountering common issues such as SIM card detection failures, activation challenges, or connectivity issues, it's crucial to remain proactive and implement the troubleshooting steps outlined in this guide. By doing so, you can effectively address potential obstacles and ensure a successful SIM card transition, enabling you to fully harness the capabilities of your new iPhone.
As you embrace your new iPhone with the transferred SIM card, take the time to explore the myriad features and functionalities offered by the device. From seamless communication and advanced camera capabilities to an array of productivity tools and entertainment options, your new iPhone opens the door to a world of possibilities.
In essence, the process of switching your SIM card from Android to iPhone marks a significant milestone in your mobile journey. By leveraging the insights and instructions provided in this guide, you are well-equipped to embark on this transition with confidence, ensuring a seamless integration of your new iPhone into your daily life. Embrace the opportunities that come with your new device, and may your mobile experience be enriched with the seamless connectivity and innovative features offered by your iPhone.