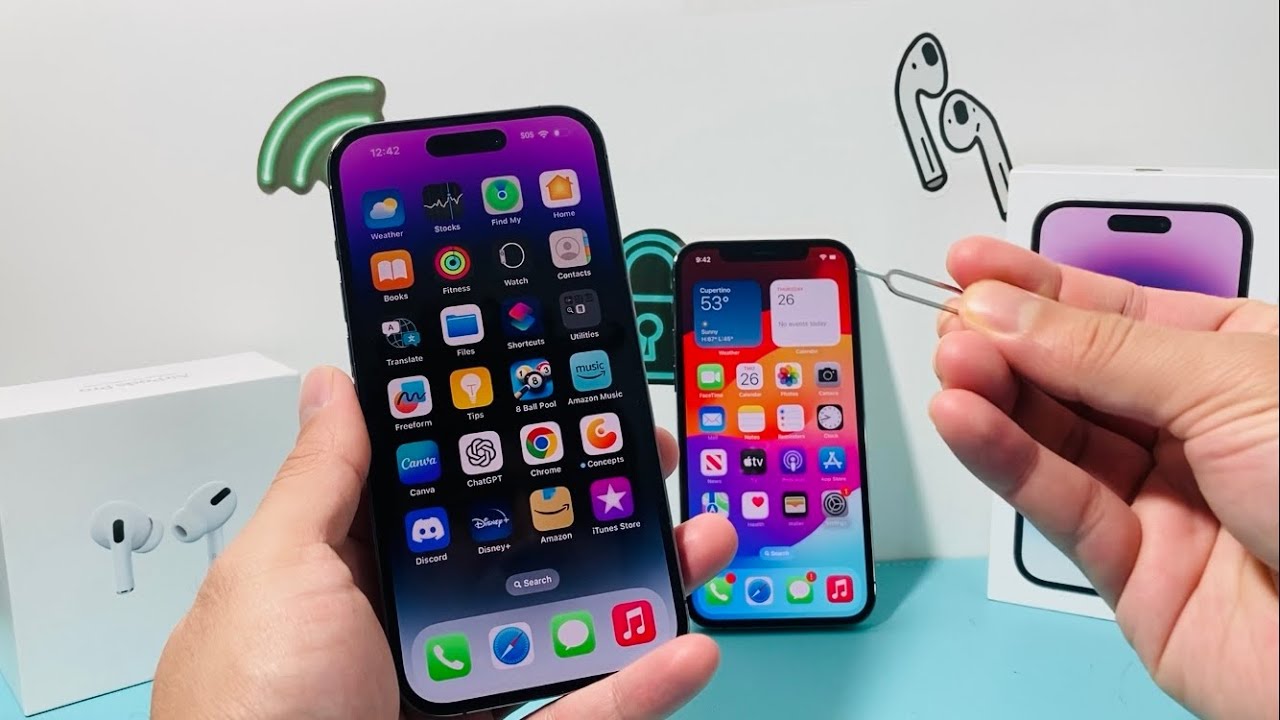
Checking SIM Card Compatibility
Before setting up your SIM card on your new iPhone 14, it's crucial to ensure that the SIM card is compatible with your device. The iPhone 14 requires a nano-SIM card, which is the smallest of the three SIM card sizes commonly used in mobile phones. To check the compatibility of your SIM card, follow these steps:
-
Identify the SIM Card Type: Start by identifying the type of SIM card you have. If you've recently switched from another phone, you may already have a nano-SIM card. However, if you're upgrading from an older device, your current SIM card might be a micro-SIM or a standard SIM. The iPhone 14 only supports the nano-SIM size, so if your current SIM card is larger, you'll need to contact your mobile service provider to obtain a compatible nano-SIM card.
-
Check with Your Mobile Service Provider: Contact your mobile service provider to verify the compatibility of your current SIM card with the iPhone 14. You can do this by reaching out to their customer support team via phone, visiting a retail store, or accessing their online support resources. Provide them with your SIM card details, such as the SIM card number, and they will be able to confirm whether it is compatible with the iPhone 14.
-
Review the iPhone 14 Specifications: Another way to confirm SIM card compatibility is by reviewing the specifications of the iPhone 14 provided by Apple. The official product specifications will clearly indicate that the device requires a nano-SIM card. By cross-referencing this information with the type of SIM card you currently have, you can determine whether a replacement nano-SIM card is necessary.
Ensuring that your SIM card is compatible with your iPhone 14 is a crucial first step in the setup process. By taking the time to verify compatibility, you can avoid potential issues and seamlessly proceed with the activation and use of your new device.
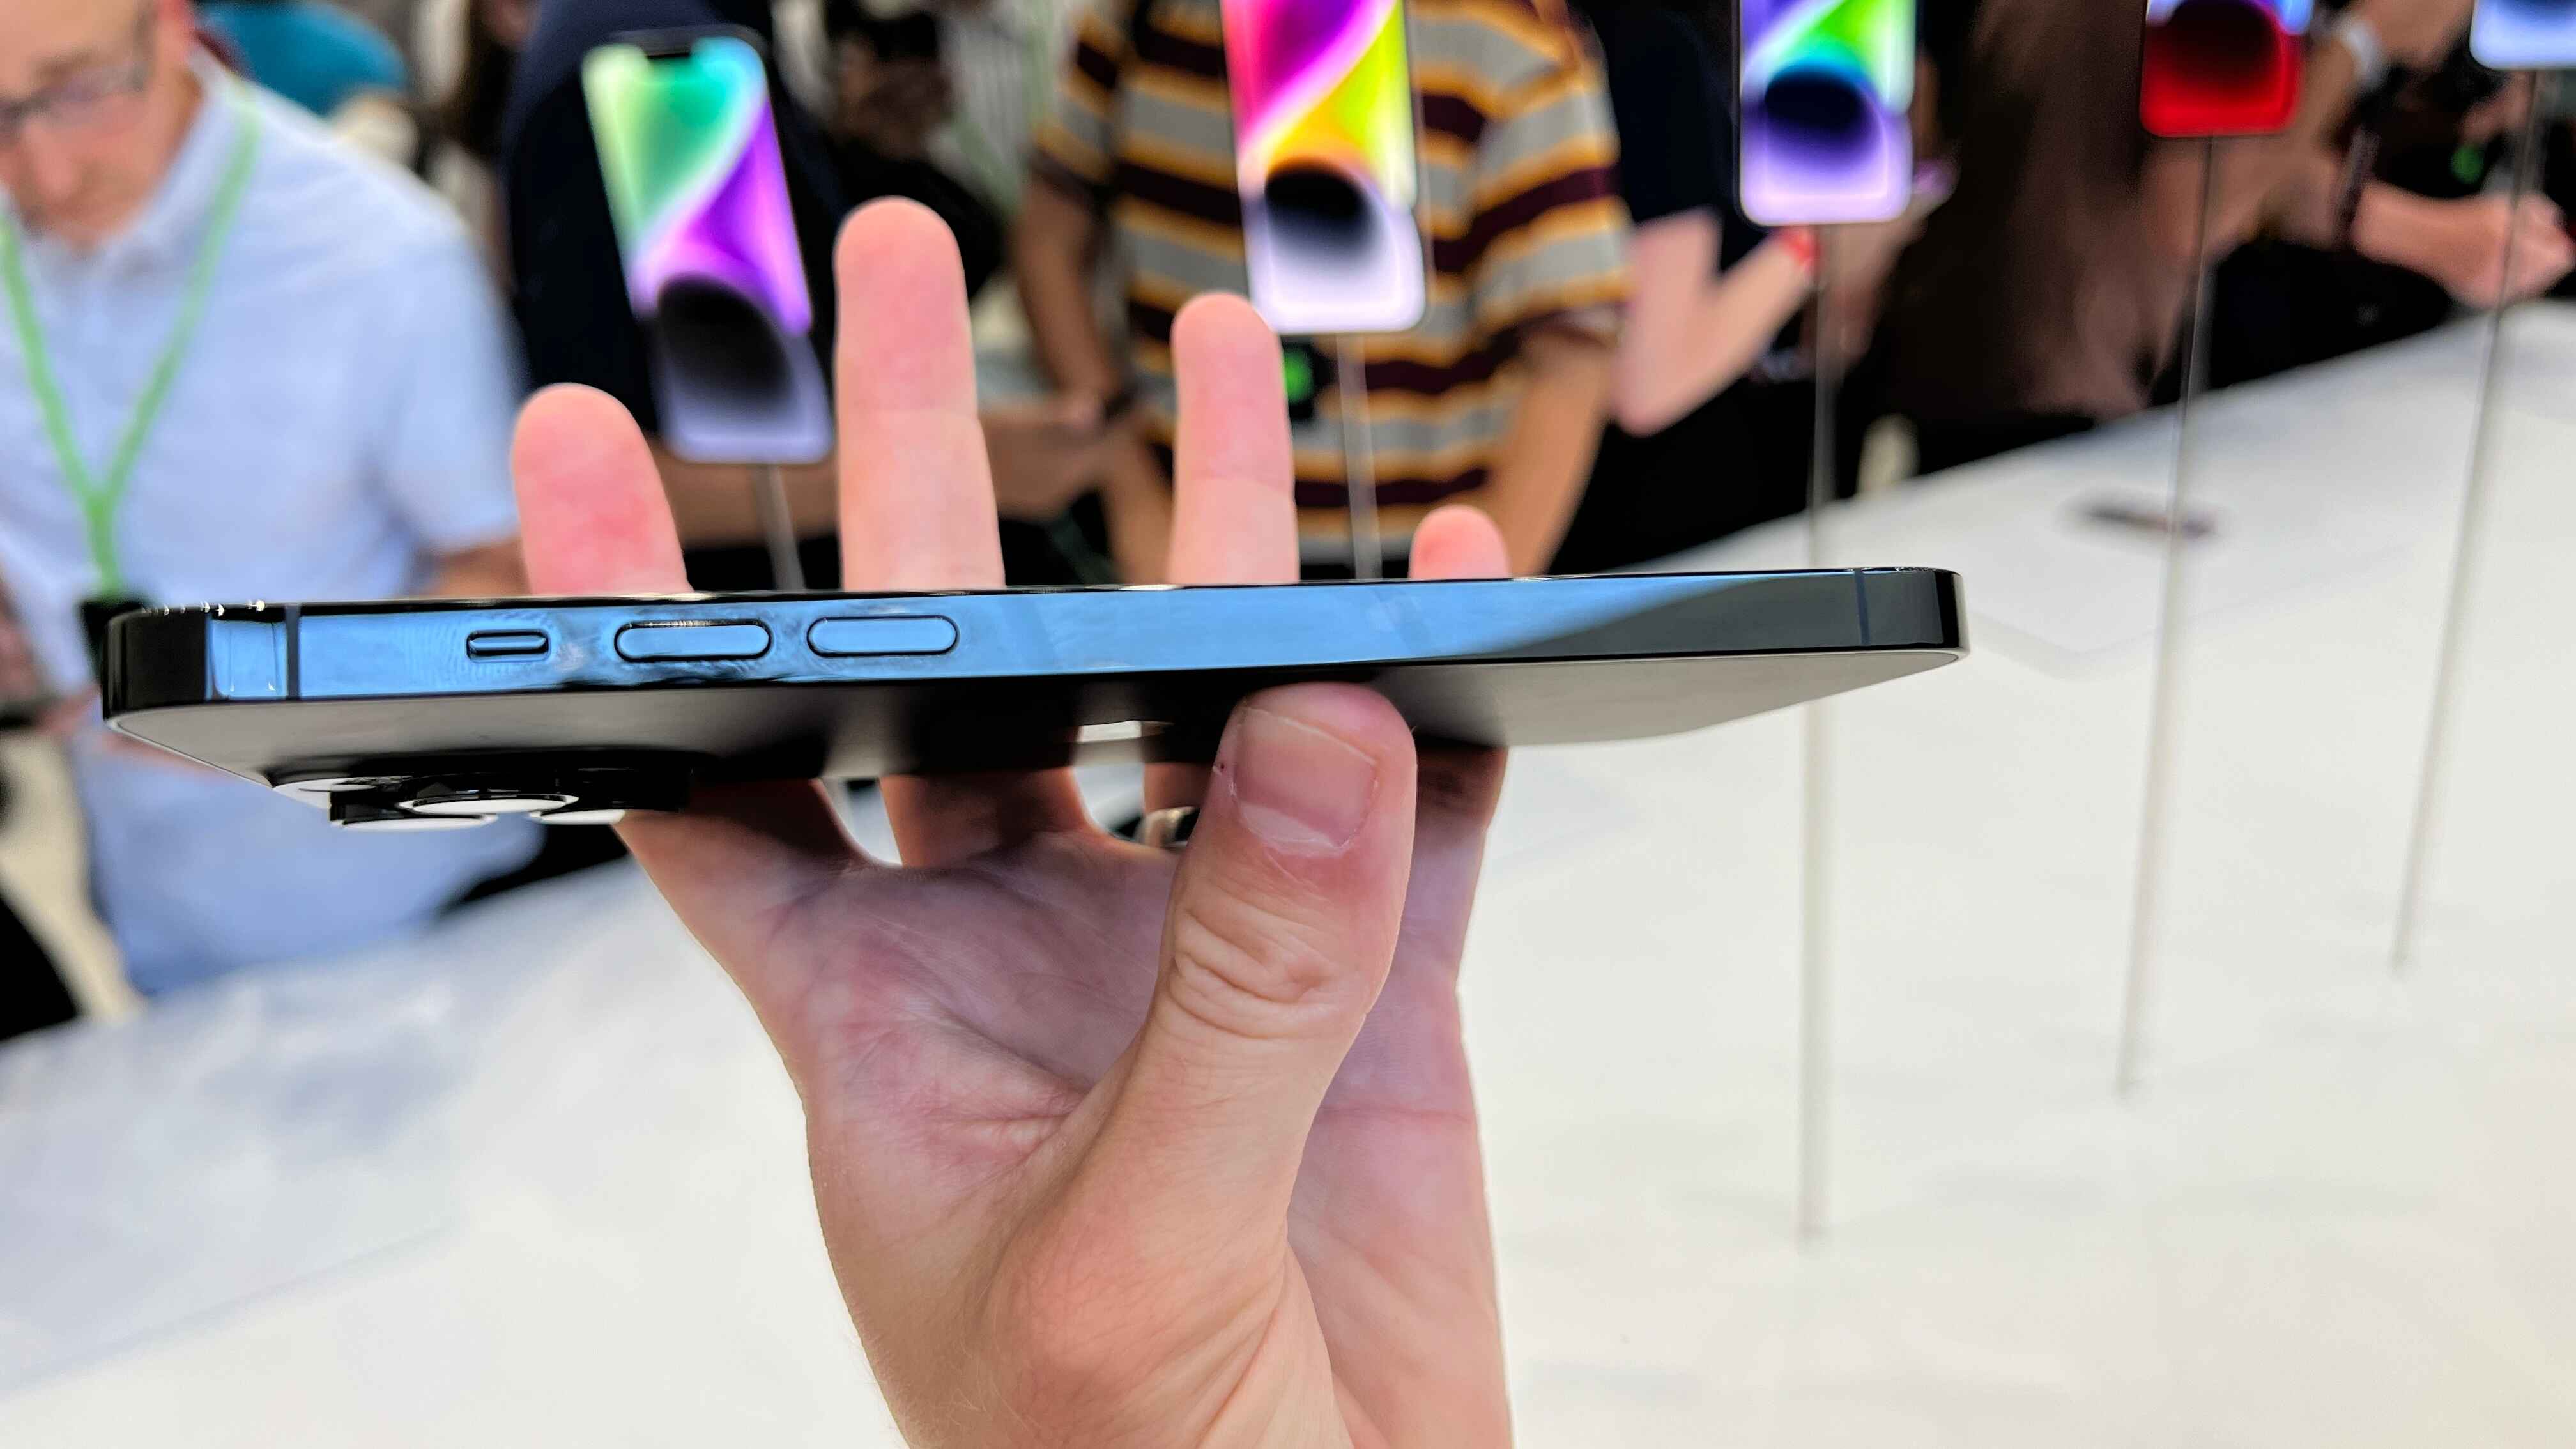
Powering Off Your iPhone 14
Powering off your iPhone 14 is a simple yet essential step before inserting or removing the SIM card. Whether you're setting up your device for the first time or performing routine maintenance, powering off your iPhone 14 ensures a safe and smooth process. Here's a detailed guide on how to power off your iPhone 14:
-
Locate the Side Button: The iPhone 14 features a side button, which serves multiple functions, including powering off the device. The side button is located on the right side of the device, either alone or as part of a dual button configuration. It is essential to familiarize yourself with the location of this button to proceed with powering off your device.
-
Press and Hold the Side Button: To initiate the power off sequence, press and hold the side button along with either volume button simultaneously. Hold these buttons until the "slide to power off" slider appears on the screen. This action prompts the iPhone 14 to begin the shutdown process, preparing it for the next steps in the SIM card setup.
-
Slide to Power Off: Once the "slide to power off" slider appears, use your finger to swipe the slider from left to right. This gesture confirms your intention to power off the device. As you slide the control, the screen dims, indicating that the iPhone 14 is shutting down.
-
Wait for the Power Off Process: After swiping the slider, the iPhone 14 will commence the power off process. It's important to wait for a few moments to ensure that the device fully powers down before proceeding with the next steps. This waiting period allows the internal components to safely deactivate and prepares the device for the SIM card manipulation.
Powering off your iPhone 14 is a straightforward process that sets the stage for inserting or removing the SIM card. By following these steps, you can safely power off your device as part of the SIM card setup process, ensuring a seamless and hassle-free experience.
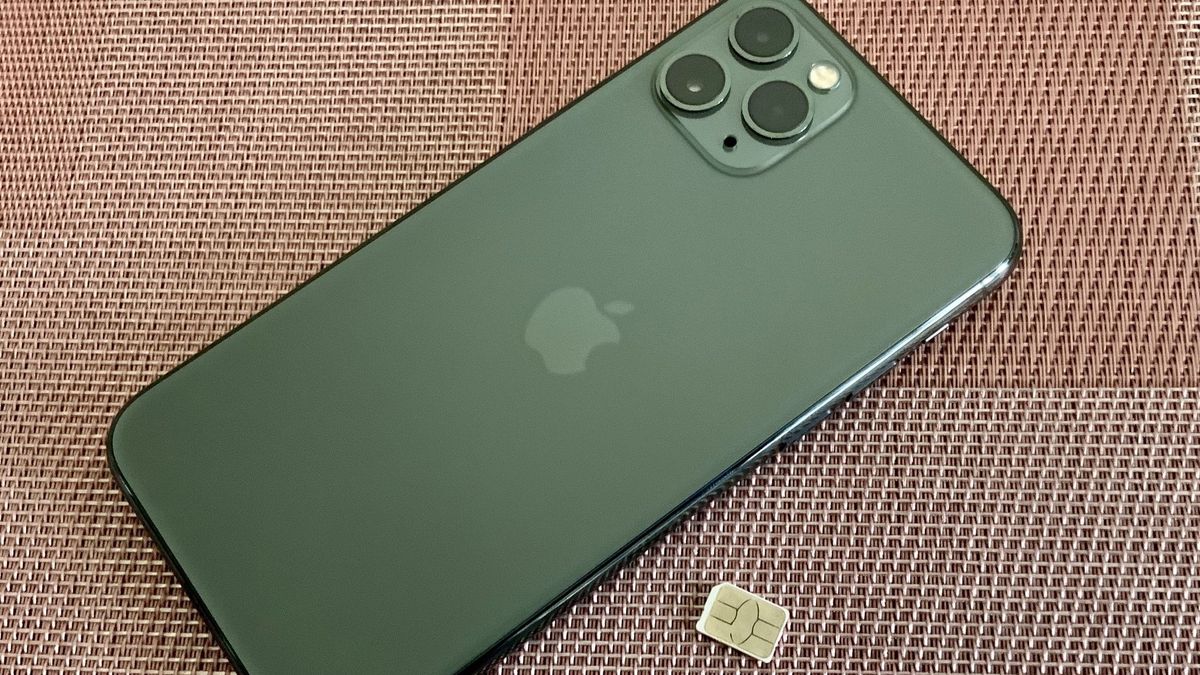
Inserting the SIM Card
Inserting the SIM card into your iPhone 14 is a pivotal step in the setup process, enabling you to establish connectivity and fully utilize the capabilities of your device. Here's a comprehensive guide on how to insert the SIM card into your iPhone 14:
-
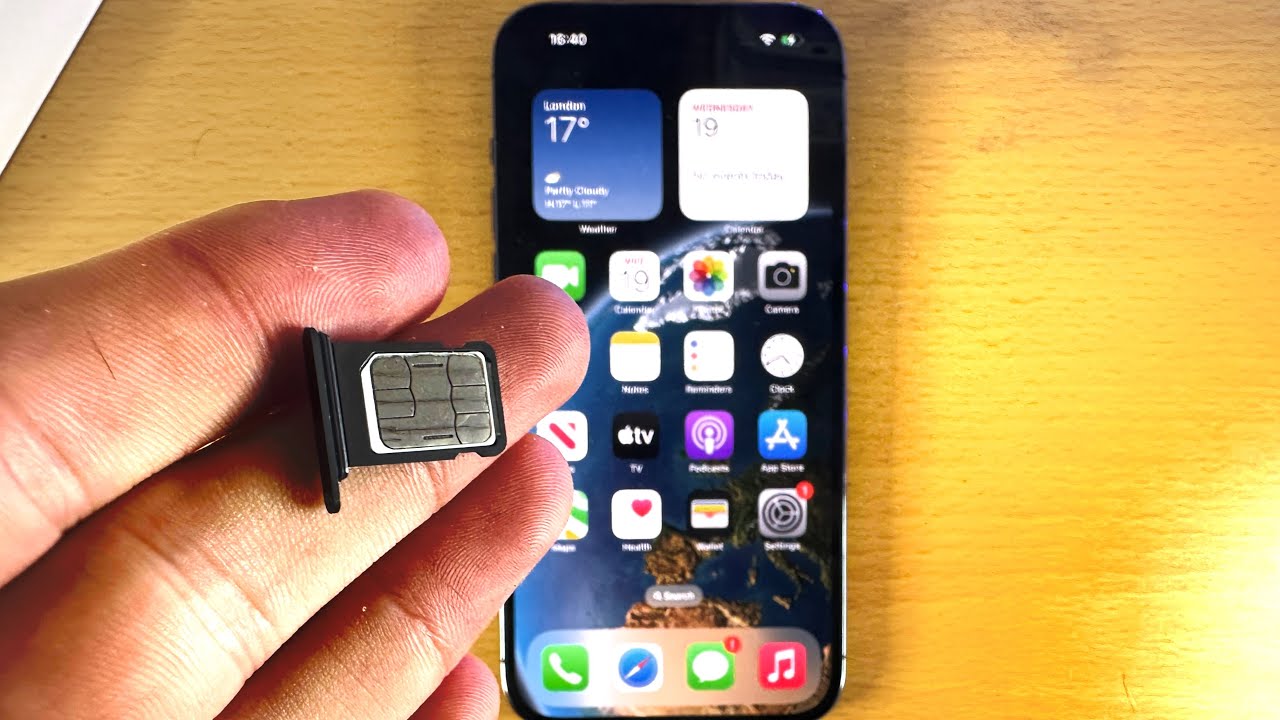
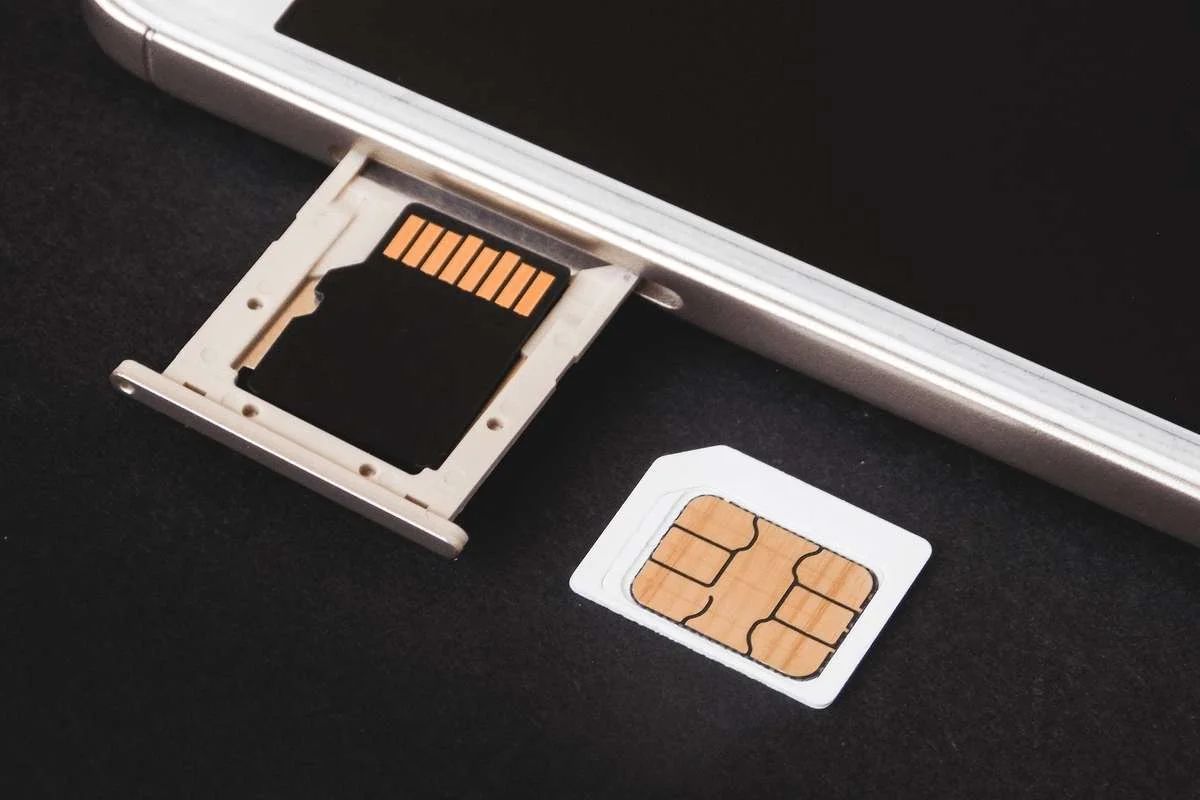
Locate the SIM Card Tray: Begin by identifying the SIM card tray on your iPhone 14. The SIM card tray is typically located on the side of the device, opposite the side button. It can be distinguished by a small pinhole or a removable panel that provides access to the tray.
-
Eject the SIM Card Tray: To access the SIM card tray, you'll need to use the SIM eject tool provided with your iPhone 14 or a suitable alternative, such as a paperclip. Insert the eject tool into the pinhole on the SIM card tray and apply gentle pressure. This action will cause the SIM card tray to partially protrude from the device, allowing you to remove it fully.
-
Remove the SIM Card Tray: Carefully pull out the SIM card tray from the iPhone 14, ensuring that it comes out smoothly without excessive force. The tray is designed to accommodate the nano-SIM card securely, and it's essential to handle it with care to prevent any damage.
-
Position the SIM Card: Examine the SIM card tray to identify the designated slot for the nano-SIM card. Place the nano-SIM card into the slot, aligning it with the tray's layout to ensure a proper fit. The SIM card should rest securely within the tray, with the metal contacts facing downward.
-
Reinsert the SIM Card Tray: Once the nano-SIM card is positioned correctly, carefully slide the SIM card tray back into the iPhone 14 until it is flush with the device's frame. Ensure that the tray is inserted in the correct orientation to prevent any potential issues with connectivity or damage to the SIM card.
-
Confirm the Installation: After reinserting the SIM card tray, verify that it is securely in place and flush with the device. The tray should sit seamlessly within the iPhone 14, with no protrusions or misalignments. This confirmation ensures that the SIM card is properly installed and ready for the next steps in the setup process.
By following these steps, you can successfully insert the SIM card into your iPhone 14, paving the way for seamless connectivity and the utilization of mobile services. This crucial step sets the stage for activating the SIM card and fully leveraging the capabilities of your device.
Powering On Your iPhone 14
Now that you have successfully inserted the SIM card into your iPhone 14, the next step is to power on the device. Powering on your iPhone 14 is a straightforward process that initiates the device's boot sequence, allowing you to access its features and functionalities. Here's a detailed guide on how to power on your iPhone 14:
-
Locate the Side Button: The side button, which was used to power off the device, also serves as the power button for turning on the iPhone 14. It is situated on the right side of the device, either as a single button or as part of a dual button configuration. Familiarize yourself with the location of this button to proceed with powering on your device.
-
Press and Hold the Side Button: To power on the iPhone 14, press and hold the side button until the Apple logo appears on the screen. This action triggers the device to start its boot process, initializing the operating system and preparing the device for use. Holding the side button for a few seconds is all it takes to activate your iPhone 14.
-
Wait for the Apple Logo: As you continue to hold the side button, the Apple logo will appear on the screen, indicating that the iPhone 14 is powering on. This iconic symbol signifies that the device is undergoing its startup procedure and will soon be ready for use. It's important to hold the side button until the Apple logo becomes visible to ensure a successful power-on sequence.
-
Release the Side Button: Once the Apple logo appears, release the side button. The iPhone 14 will continue its boot process, and within a short period, you will be greeted by the familiar lock screen or home screen, depending on your device's configuration. This signifies that your iPhone 14 has been successfully powered on and is ready for use.
Powering on your iPhone 14 is a fundamental step that sets the stage for exploring its features, accessing your mobile network, and enjoying the full functionality of the device. By following these simple steps, you can seamlessly power on your iPhone 14 and embark on an exciting journey with your new device.
Activating Your SIM Card
Activating your SIM card is a crucial step that allows your iPhone 14 to establish a connection with your mobile network, enabling you to make calls, send messages, and access mobile data. The activation process ensures that your SIM card is recognized by your mobile service provider and is ready to be used with your device. Here's a detailed guide on how to activate your SIM card on the iPhone 14:
-
Access the Activation Screen: After powering on your iPhone 14, the device will prompt you to activate the SIM card. If the activation screen does not appear automatically, you can initiate the activation process by accessing the device's settings. Navigate to the "Settings" app and select the "Cellular" or "Mobile Data" option. From there, you can follow the on-screen prompts to begin the activation process.
-
Enter Activation Information: During the activation process, you may be required to enter specific details, such as your mobile service provider's activation code or the SIM card's unique identifier. This information is typically provided by your mobile service provider at the time of obtaining the SIM card. Input the required details accurately to ensure a successful activation.
-
Wait for Activation: Once the activation information is entered, your iPhone 14 will initiate the activation process. This involves communicating with your mobile service provider's network to register the SIM card and associate it with your account. It's essential to wait patiently as the device completes the activation procedure, which may take a few minutes.
-
Confirmation of Activation: Upon successful activation, your iPhone 14 will display a confirmation message indicating that the SIM card has been activated and is ready for use. This confirmation signifies that the SIM card is now recognized by the mobile network, allowing you to access voice and data services seamlessly.
-
Test Connectivity: After activating your SIM card, it's advisable to test the connectivity by making a test call or sending a text message. This allows you to verify that the SIM card is functioning correctly and that you can establish a connection with your mobile network. Additionally, you can test mobile data connectivity by accessing the internet or using data-dependent applications.
By following these steps, you can successfully activate your SIM card on the iPhone 14, enabling you to harness the full potential of your device's mobile capabilities. The activation process ensures that your SIM card is integrated with your mobile network, allowing you to stay connected and enjoy the myriad features offered by your iPhone 14.
Testing Your SIM Card Connection
Once you have activated your SIM card on the iPhone 14, it's essential to test the connectivity to ensure that your device can seamlessly access voice, messaging, and data services. Testing your SIM card connection allows you to verify that the activation process was successful and that your iPhone 14 can establish a reliable connection with your mobile network. Here's a detailed guide on how to test your SIM card connection:
Making a Test Call
Initiate a test call to confirm that your iPhone 14 can successfully connect to the mobile network and establish voice communication. Dial a known phone number, such as a friend or family member, and engage in a brief conversation to ensure that the call quality is clear and consistent. By making a test call, you can ascertain that your SIM card is fully functional for voice communication.
Sending a Test Message
Send a test message, such as a simple "Hello" or "Test" message, to another mobile device to verify that your iPhone 14 can send and receive text messages effectively. Ensure that the message is delivered promptly and that you receive a response, indicating that the messaging functionality is operational. Testing text message capabilities confirms that your SIM card can facilitate seamless communication.
Accessing Mobile Data
Verify the mobile data connectivity by accessing the internet or using data-dependent applications on your iPhone 14. Open a web browser and navigate to a website to confirm that you can browse the internet without any connectivity issues. Additionally, launch data-dependent applications, such as social media apps or streaming services, to ensure that your device can access and utilize mobile data effectively.
Checking Network Signal Strength
Observe the network signal strength indicator on your iPhone 14 to ensure that it displays a strong and consistent signal. The signal strength icon, typically represented by bars, should indicate a reliable connection to the mobile network. A strong signal ensures that your device can maintain consistent connectivity and access mobile services without interruptions.
By performing these tests, you can effectively evaluate the functionality of your SIM card and its seamless integration with your iPhone 14. Confirming voice, messaging, and data capabilities, as well as assessing network signal strength, provides assurance that your device is ready for everyday use, allowing you to stay connected and engaged with confidence.