Introduction
Welcome to the era of digital photography, where capturing precious moments has become easier than ever before. With the advent of smartphones and high-quality cameras, we now have the ability to take countless photos and store them in the digital world. One of the most popular platforms for storing and organizing our photos is Google Photos.
Google Photos provides a convenient way to backup, manage, and share our photo collection. It offers a range of features and functionalities that make it a go-to app for many users. However, there may come a time when you want to download your photos from Google Photos to your iPhone for offline access or to share them with friends and family. In this article, we will guide you through the steps to download photos from Google Photos to your iPhone.
Whether you’re capturing breathtaking landscapes, adorable family moments, or documenting your latest adventure, having your photos readily accessible on your iPhone is a must. By following the steps outlined in this article, you’ll be able to easily transfer your photos from Google Photos to your iPhone in just a few simple steps.
Without further ado, let’s get started with the process of downloading photos from Google Photos to your iPhone. Get ready to unlock the full potential of your photos and have them at your fingertips wherever you go!
Step 1: Open the Google Photos app on your iPhone
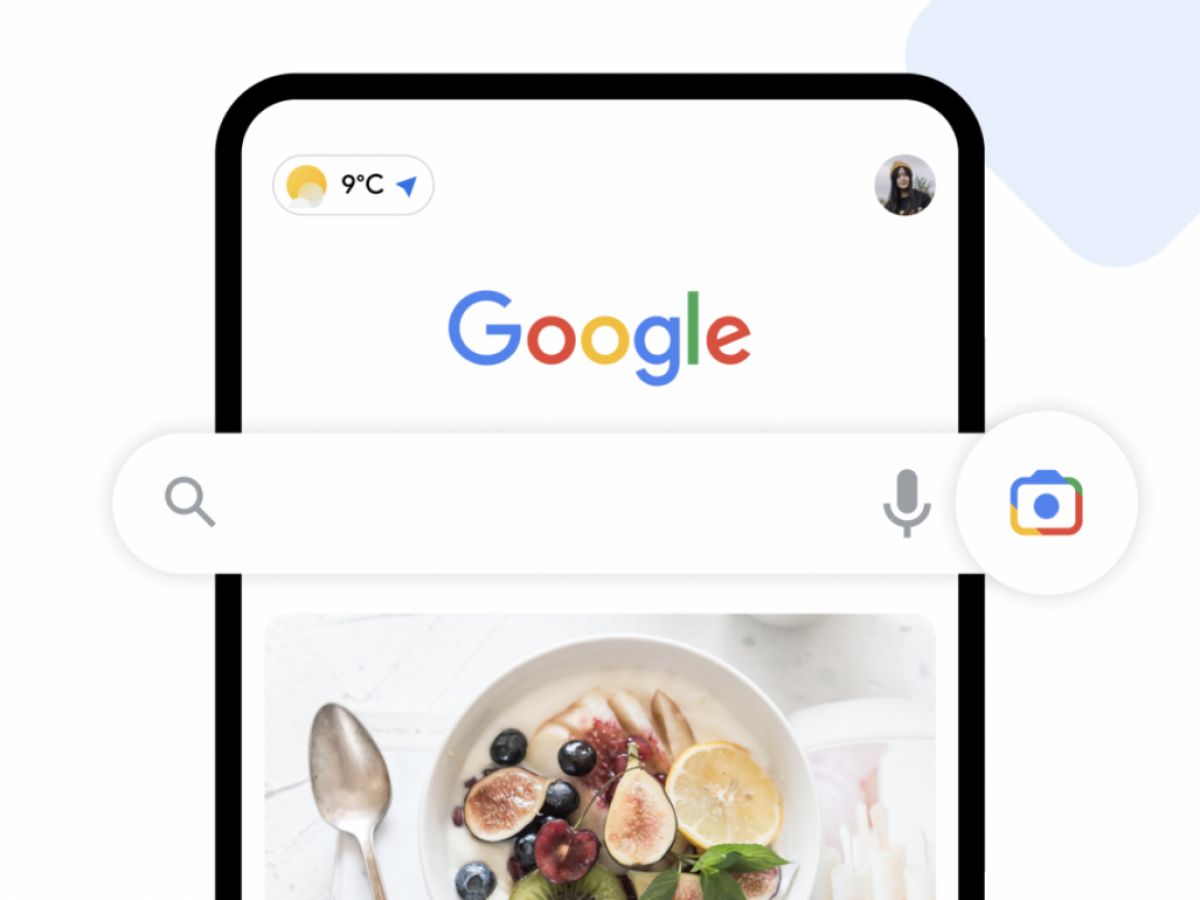
The first step to downloading photos from Google Photos to your iPhone is to open the Google Photos app on your device. If you haven’t already installed the app, you can download it from the App Store. Once you have the app installed, locate its icon on your iPhone’s home screen and tap on it to launch the app.
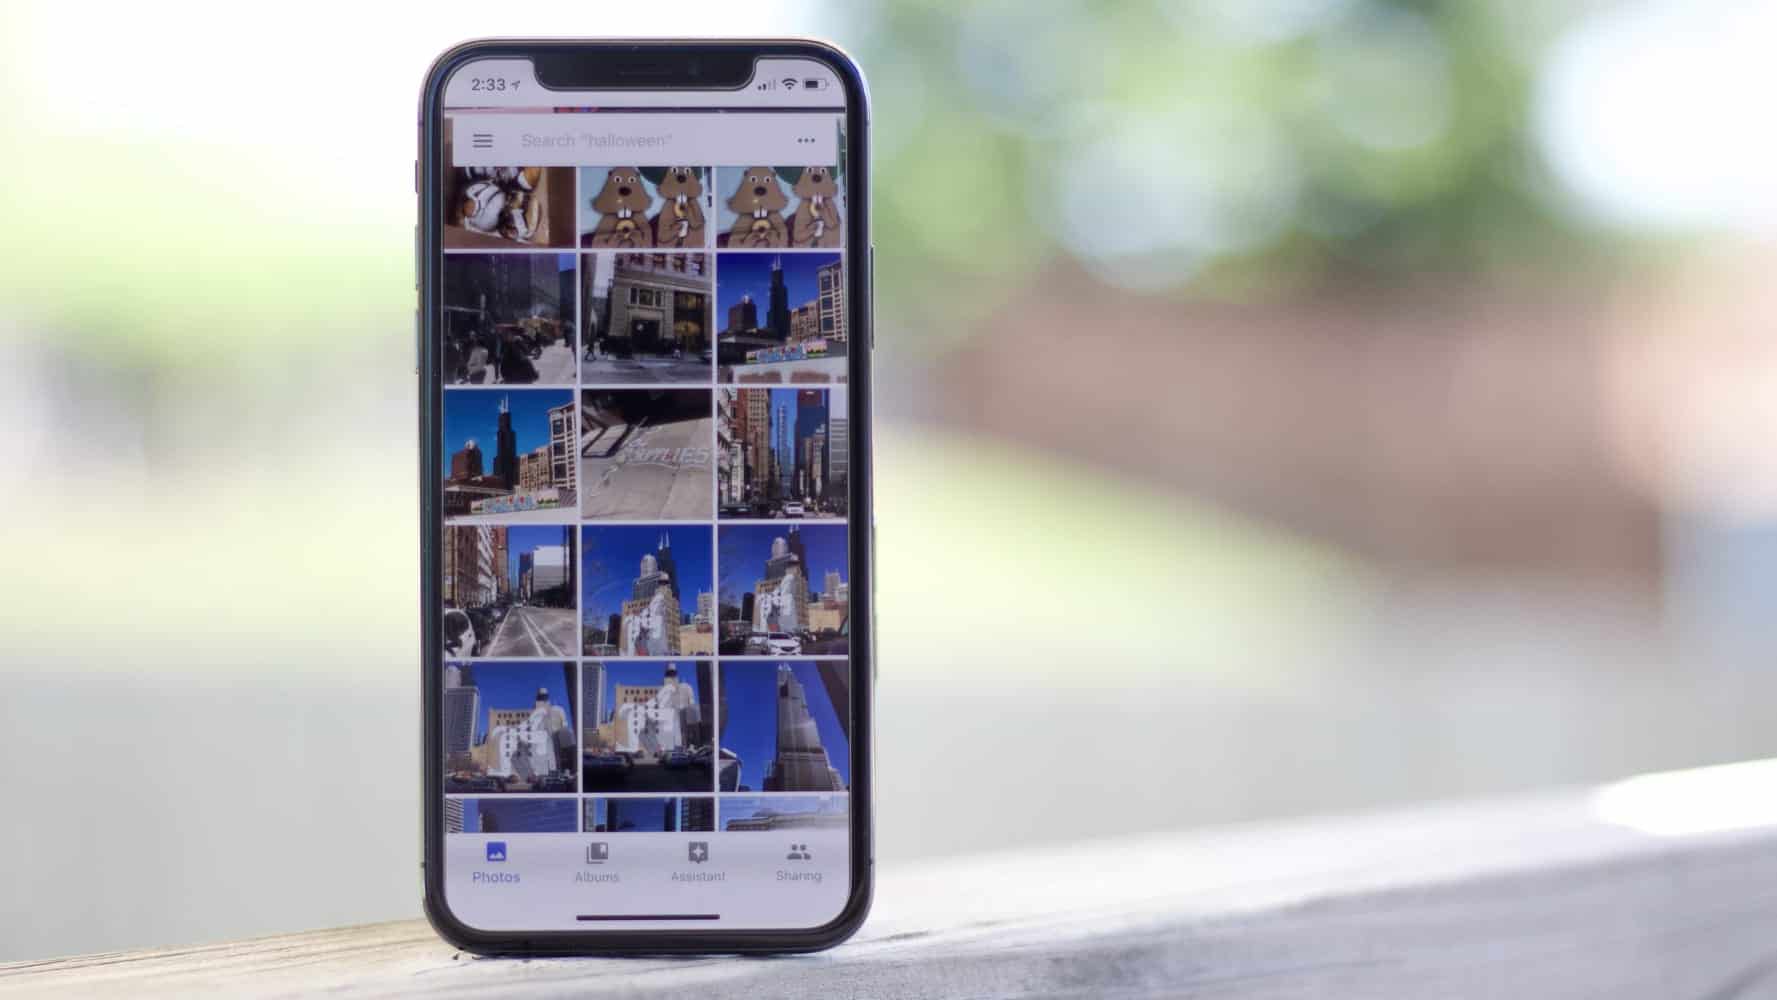
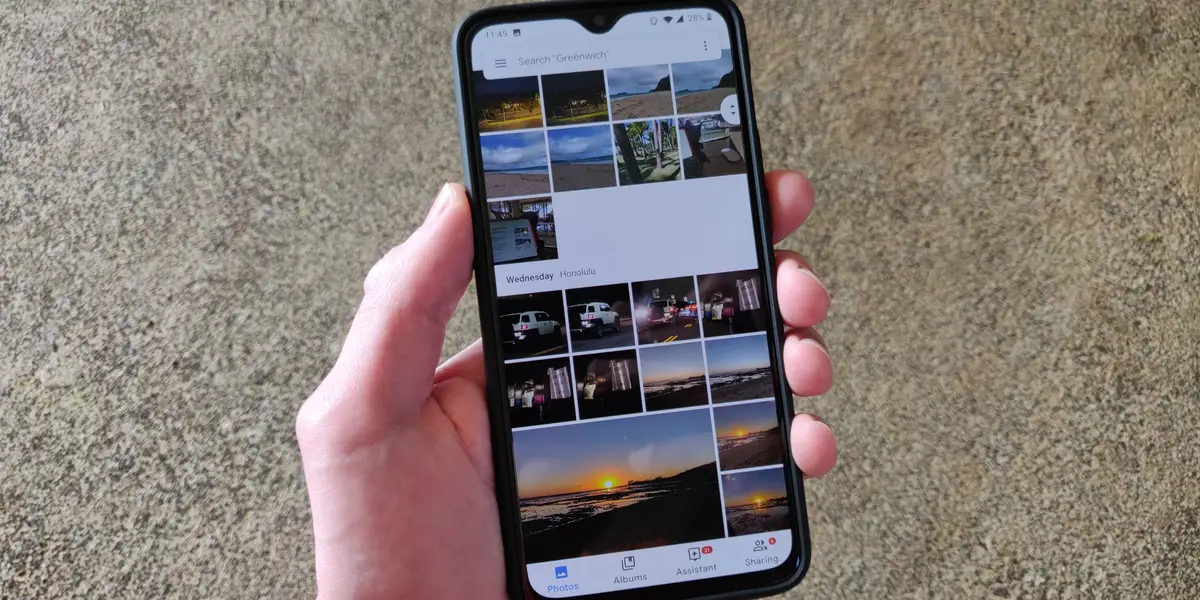
Upon opening the Google Photos app, you’ll be greeted with a screen displaying all your photos and albums. The app organizes your photos in a clutter-free manner, making it easy for you to navigate your collection. You will find various tabs at the bottom of the screen, such as “Photos,” “Search,” “Library,” and “For You.” These tabs provide different functionalities for managing and accessing your photos.
To begin the process of downloading your photos, you need to ensure that you are in the “Photos” tab. This tab displays all your photos in a grid layout, arranged in chronological order. Scroll through your photos or use the search bar at the top to locate specific ones that you want to download.
Once you have found the photos you wish to download, move on to the next step to continue the process. Remember, opening the Google Photos app is the crucial first step in transferring your photos from Google Photos to your iPhone.
Step 2: Select the photos you want to download
After opening the Google Photos app on your iPhone, it’s time to select the photos you want to download. The app provides a user-friendly interface that allows you to easily choose the specific photos you wish to transfer.
To select multiple photos, simply tap and hold on the first photo you want to download. As you continue to hold, you’ll notice that the selected photo will be highlighted, and a checkbox will appear at the top left corner of the photo. While still holding the first photo, you can now tap on additional photos to select them as well. Each selected photo will have a checkbox, indicating that it is included in the download.
If you want to select all the photos in a particular album or folder, you can do so by tapping on the three dots (…) at the top right corner of the screen while viewing the specific album or folder. Then, choose the “Select all” option from the menu that appears. This will automatically select all the photos in that album or folder.
Alternatively, if you want to download all the photos in your entire Google Photos library, you can tap on the three horizontal lines at the top left corner of the screen to open the side navigation menu. From there, select “Settings,” then “Back up & sync.” Finally, toggle the switch next to “Back up & sync” to turn it off. This will temporarily stop the syncing process, allowing you to access and download all your photos from the app.
Once you have selected the desired photos, you’re now ready to proceed with the next step. Remember to choose the photos carefully to ensure you download the ones you really want on your iPhone.
Step 3: Tap the share button
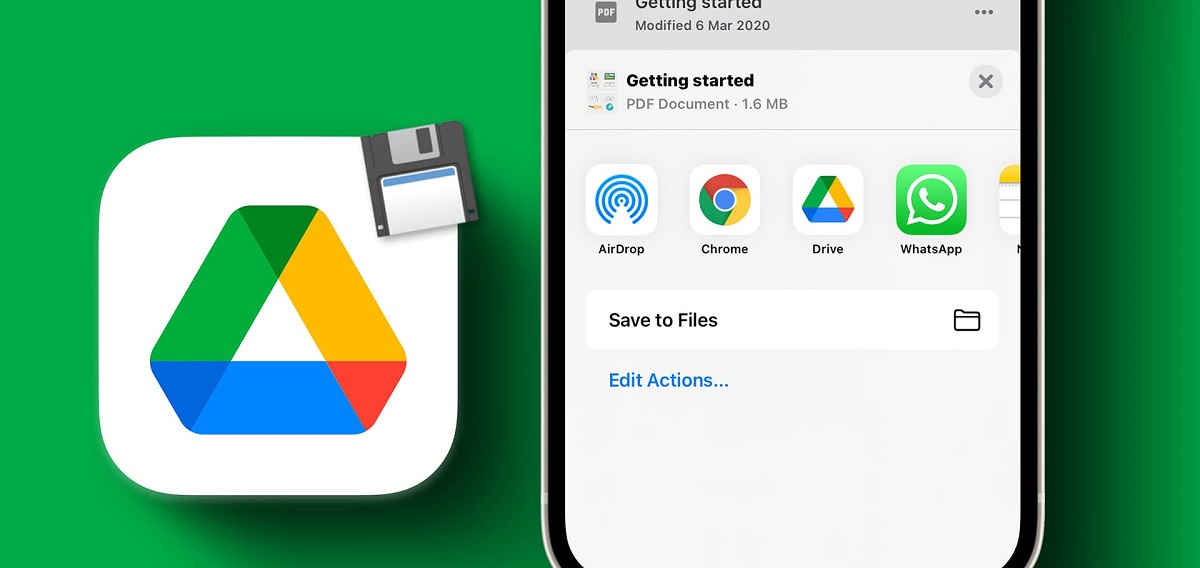
Now that you have selected the photos you want to download, it’s time to tap the share button within the Google Photos app. The share button is a powerful tool that allows you to perform various actions with your selected photos, including downloading them to your iPhone.
To find the share button, look for the icon that resembles a square with an upward-pointing arrow. You will typically find this button at the bottom of the screen, in the center or on the right-hand side, depending on the version of the app you are using.
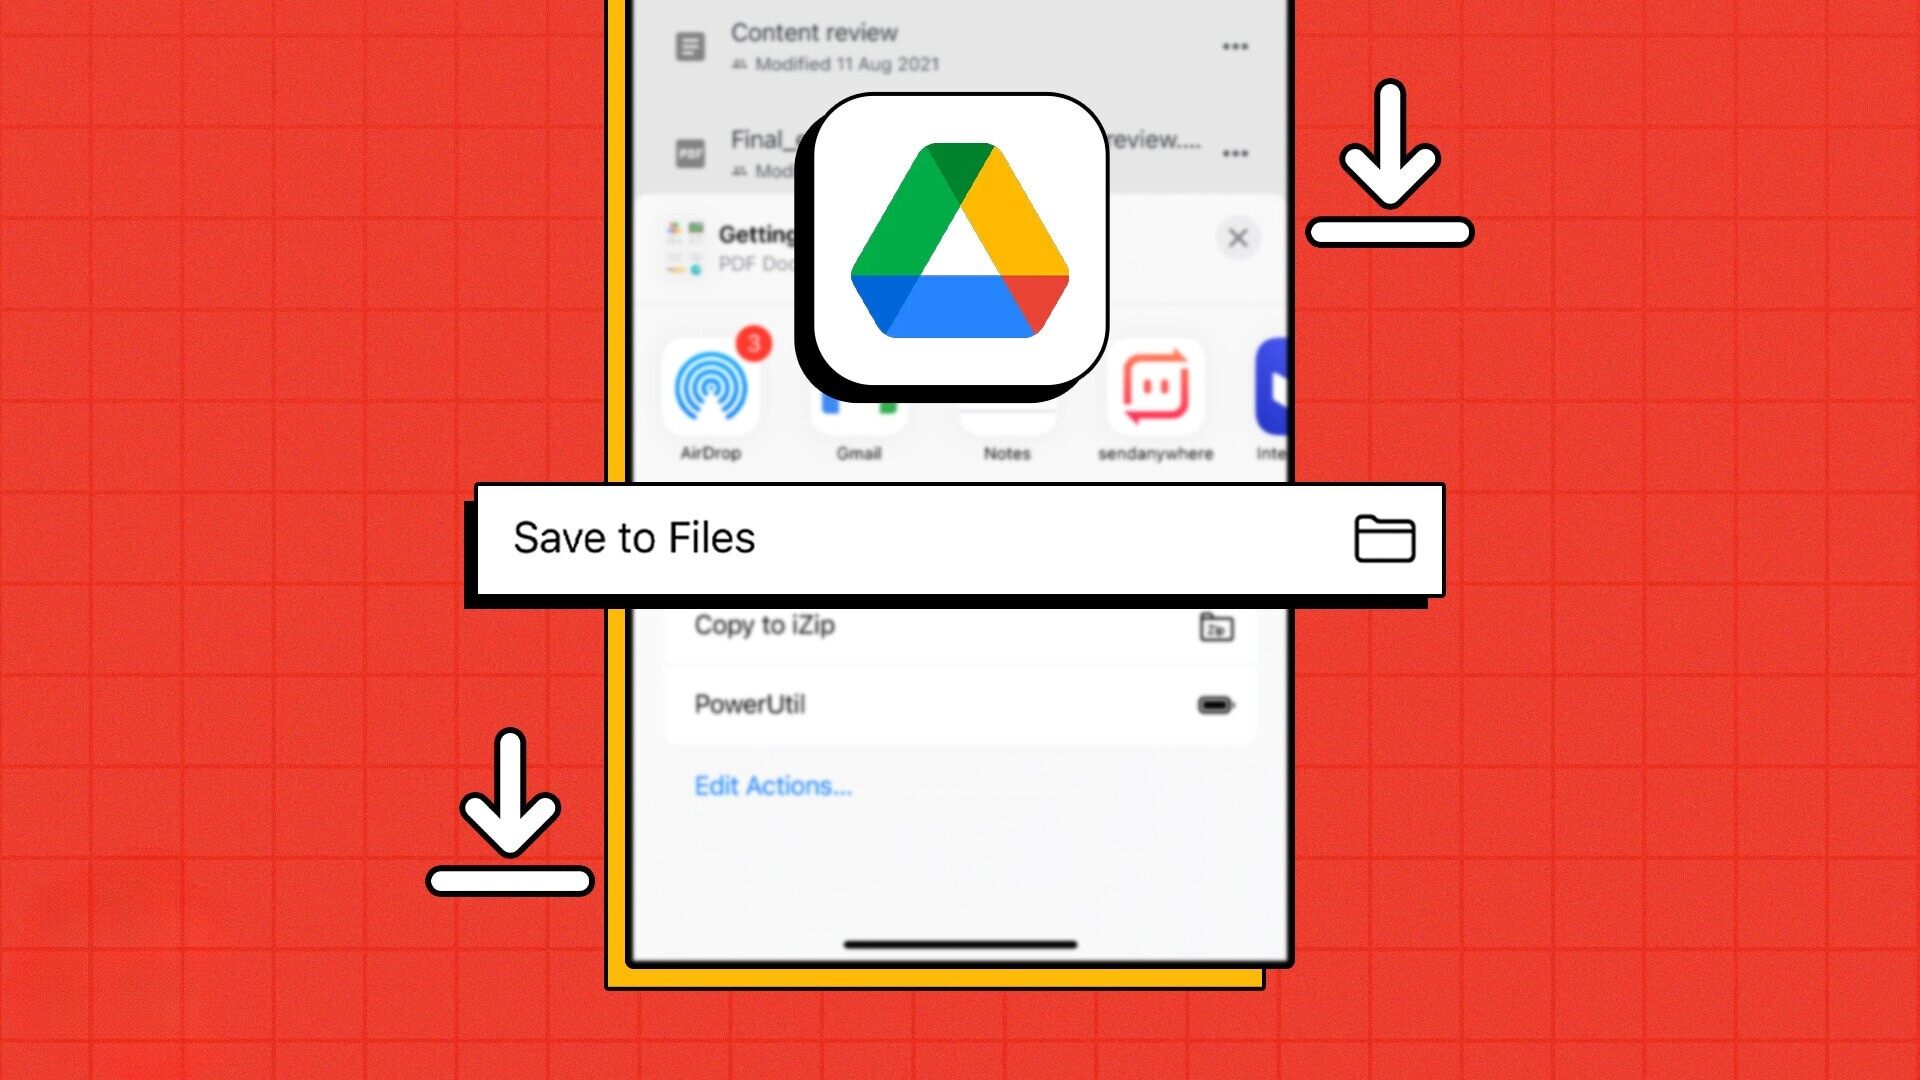
Tap on the share button to open the share menu, which will present you with a range of options to choose from. The share menu is designed to provide you with flexibility in how you share or save your photos. Among the options you’ll see, look for the one that allows you to download the selected photos.
Depending on your specific device and iOS version, the wording associated with the download option may vary. Look for options such as “Save Image,” “Save to Files,” or “Save to Camera Roll.” Tap on the appropriate download option to initiate the process of saving the selected photos to your iPhone.
At this point, you may encounter a prompt requesting access to your device’s photo library or requesting permission to save the photos. Simply follow the prompts and grant the necessary permissions to proceed with the download. The Google Photos app needs these permissions to save the photos directly to your iPhone’s Photos app.
Once you have tapped the appropriate download option and granted any necessary permissions, the selected photos will begin to transfer from Google Photos to your iPhone. The time it takes to complete the download will depend on the number and size of the photos being transferred.
Once the download is complete, move on to the next step to access the downloaded photos on your iPhone’s Photos app. Ensure that you tapped the share button and selected the download option to successfully initiate the transfer of your selected photos.
Step 4: Choose the download option
After tapping the share button in the Google Photos app, you will be presented with various sharing options. In this step, you need to choose the specific download option that will allow you to save the selected photos to your iPhone.
When you tap the share button, a menu will appear with a range of sharing options, such as email, messaging apps, social media platforms, and more. However, to download the selected photos to your device, you need to find the download option.
The download option may be labeled differently depending on your iOS version and device. Look for options such as “Save Image,” “Save to Files,” or “Save to Camera Roll.” The wording may vary, but the functionality remains the same – to save the selected photos from Google Photos to your iPhone.
Tap on the appropriate download option to trigger the downloading process. Once selected, the Google Photos app will begin transferring the photos to your iPhone’s storage. This may take some time, especially if you are downloading a large number of high-resolution photos.
Keep in mind that while downloading, it’s important to ensure that you have a stable internet connection. A poor or weak connection can potentially interrupt or stall the download process. If you encounter any issues, try connecting to a different Wi-Fi network or ensure that your cellular data connection is strong.
Once the download is complete, move on to the next step to learn how to access the downloaded photos on your iPhone’s Photos app. Remember to carefully choose the download option to save your selected photos from Google Photos onto your iPhone.
Step 5: Access the downloaded photos on your iPhone’s Photos app
After successfully downloading the selected photos from Google Photos to your iPhone, you can now access them in the Photos app. The Photos app is a default application on your iPhone that allows you to view, organize, and edit your photo collection.
Locate the Photos app on your iPhone’s home screen and tap on it to open it. Once launched, you will be presented with various tabs at the bottom of the screen, such as “Photos,” “For You,” “Albums,” and “Search.” Tap on the “Photos” tab to access your entire photo library.
In the Photos tab, your downloaded photos will be automatically sorted by the date they were taken. You can scroll through the timeline to find the recently added photos at the top or use the search bar at the top to locate specific photos by searching for keywords.
If you downloaded a large number of photos or have multiple albums, you may want to organize them further. You can create new albums within the Photos app to help you categorize and easily access specific groups of photos. To create a new album, tap on the “Albums” tab at the bottom of the screen, then tap on the “+” icon to create a new album. Give your album a suitable name and add the downloaded photos to the new album.
Once you have accessed your downloaded photos in the Photos app, you can perform various actions, including editing, sharing, creating slideshows, or even printing them. The Photos app provides a range of tools and features to enhance your photo viewing and sharing experience.
Remember to periodically back up your photos to ensure they are securely stored and protected. You can utilize cloud storage services like iCloud or Google Drive to create a backup of your photos, ensuring that they are not lost in the event of device damage or loss.
Congratulations! You have successfully accessed the downloaded photos from Google Photos in your iPhone’s Photos app. Enjoy the convenience of having your favorite memories at your fingertips and explore the various features offered by the Photos app to make the most of your photo collection.
Conclusion
In this guide, we walked you through the process of downloading photos from Google Photos to your iPhone. We started by opening the Google Photos app on your iPhone and selecting the desired photos for download. Then, we tapped the share button and chose the appropriate download option to initiate the transfer of photos. Finally, we learned how to access the downloaded photos on your iPhone’s Photos app.
By following these simple steps, you can easily transfer your favorite photos from Google Photos to your iPhone and have them readily available for offline viewing, sharing with others, or further editing. Whether you want to cherish precious moments, create photo albums, or showcase your photography skills, having your photos accessible on your iPhone provides convenience and flexibility.
Remember to regularly back up your photos to avoid any potential loss or damage. Utilizing cloud storage services or external backups ensures that your photo collection remains safe and secure.
So, the next time you want to download photos from Google Photos to your iPhone, refer back to this guide, follow the steps, and enjoy the convenience of having your cherished memories on your device.
We hope this guide has been helpful in assisting you with downloading photos from Google Photos to your iPhone. Now, go ahead and make the most of your photo collection and continue capturing and preserving your priceless moments!