Introduction
Welcome to the digital age, where capturing and storing precious memories has become easier than ever before. With the advent of smartphones and cloud storage, we no longer have to worry about losing our valuable photos. Google Photos, a popular photo storage and sharing platform, offers a seamless way to back up and access your photos from any device.
Downloading photos from Google Photos to your iPhone may seem like a daunting task, but fear not! In this article, we will guide you through the step-by-step process of downloading your cherished memories to your iPhone, ensuring that you can enjoy them anytime, anywhere.
Whether you want to save a collection of vacation pictures or simply back up your entire photo library, Google Photos has got you covered. By following the instructions outlined in this guide, you’ll be able to download your Google Photos to your iPhone in no time.
So, if you’re ready to relive those special moments and have them at your fingertips on your iPhone, let’s get started with the step-by-step process of downloading Google Photos to your device.
Step 1: Install Google Photos app
The first step in downloading Google Photos to your iPhone is to install the Google Photos app from the App Store. Here’s how you can do it:
- Open the App Store on your iPhone.
- Tap on the search tab at the bottom of the screen.
- Type “Google Photos” in the search bar and hit enter.
- Find the official Google Photos app from the search results and tap on it.
- Tap on the “Get” button next to the app icon.
- If prompted, enter your Apple ID or use Face ID/Touch ID to confirm the download.
- Wait for the app to download and install on your iPhone. This may take a few moments depending on your internet connection.
- Once the app is installed, you’ll find the Google Photos icon on your home screen. Tap on it to open the app.
Now that you have successfully installed the Google Photos app on your iPhone, you’re one step closer to downloading your photos from Google Photos and having them readily available on your device. Let’s move on to the next step!
Step 2: Sign in to your Google account
Before you can start downloading your Google Photos to your iPhone, you need to sign in to your Google account within the Google Photos app. Here’s how you can do it:
- Open the Google Photos app on your iPhone. If prompted, allow the app to access your photos and other media.
- You’ll be presented with a welcome screen. Tap on the “Get started” button to proceed.
- On the next screen, enter your Google account email address and password. If you use multiple Google accounts, make sure to select the one that contains the photos you want to download.
- Tap on the “Next” button.
- If you have two-factor authentication enabled on your Google account, you may need to verify your sign-in using the method you have set up, such as a verification code sent to your phone number or email.
- Once you’ve successfully signed in, you’ll be taken to the main interface of the Google Photos app, where you can view and manage your photos.
Signing in to your Google account within the Google Photos app ensures that you have access to your entire photo library and that any changes you make, such as downloading photos, are synced across all your devices. Now that you’re signed in, let’s move on to the next step of the process.
Step 3: Open the settings menu
After signing in to your Google account in the Google Photos app, it’s time to open the settings menu in order to customize the download options and ensure a smooth experience. Here’s how:
- Open the Google Photos app on your iPhone, and if necessary, sign in to your Google account.
- In the app’s interface, look for the “Menu” icon, typically represented by three horizontal lines or a hamburger icon. It is usually located in the top-left or top-right corner of the screen.
- Tap on the “Menu” icon to open the side navigation menu.
- In the side menu, scroll down and look for the “Settings” option. Tap on it to access the Google Photos settings.
By opening the settings menu, you gain the ability to configure various options that can improve your Google Photos experience. This includes selecting the upload size, managing mobile data usage, and more. Taking a few moments to explore and customize these settings will ensure that the photo download process aligns with your preferences and requirements.
With the settings menu opened and ready to be customized, let’s move on to the next step, where we’ll focus on the essential “Backup & Sync” option.
Step 4: Select “Backup & sync”
Now that you’re in the settings menu of the Google Photos app, it’s time to locate and select the “Backup & sync” option. This setting ensures that your photos are backed up and synced across all your devices. Follow these steps:
- Open the Google Photos app on your iPhone and make sure you are signed in to your Google account.
- In the settings menu, scroll down until you find the “Backup & sync” option. It is usually located near the top of the menu.
- Tap on the “Backup & sync” option to access its settings.
- In the “Backup & sync” settings, you’ll find options to control the backup and sync process. These options may include automatic backup, upload size, and mobile data usage.
- Review the available options and adjust them to your preference. For example, you can choose to enable automatic backup, select the upload size (high quality or original), and manage the use of mobile data for backups.
- Once you have customized the “Backup & sync” settings to your liking, make sure to tap on the “Save” or “Apply” button to apply the changes.
By selecting the “Backup & sync” option and configuring its settings, you’re ensuring that your Google Photos are securely and automatically backed up, while also being synced across all your devices. This means that any changes or additions you make to your Google Photos library will seamlessly appear on your iPhone as well.
Now that you’ve set up the “Backup & sync” settings, we’re ready to move on to the next step, where you’ll have the opportunity to choose a storage size option that suits your needs. Let’s dive in!
Step 5: Choose a storage size option
With the “Backup & sync” settings configured, it’s time to determine the storage size option that best suits your needs in Google Photos. By choosing the appropriate storage size, you can optimize the amount of space used on your device. Follow these steps:
- In the Google Photos app, ensure that you are signed in to your Google account and have accessed the settings menu.
- Within the settings menu, locate and tap on the “Backup & sync” option.
- In the “Backup & sync” settings, you’ll usually find an option for “Upload size” or “Storage size.” Tap on it to explore the available options.
- Google Photos typically offers two storage size options: “High quality” and “Original quality.”
- If you choose “High quality,” Google Photos will automatically compress your photos to a size that doesn’t count against your Google storage quota. This is the recommended option for most users, as it allows for unlimited storage of photos and videos at a slightly reduced quality.
- If you prefer to keep your photos at their original quality, select the “Original quality” option. However, please note that choosing this option may count towards your Google storage quota, and you may need to purchase additional storage if you run out of space.
- After selecting your preferred storage size option, tap on the “Save” or “Apply” button to save the changes.
Choosing the appropriate storage size option ensures that your Google Photos are stored in a way that optimizes space and fits your storage needs. Now that you’ve selected your desired storage size, it’s time to move on to the next step, where you’ll learn how to select the specific photos you want to download to your iPhone. Let’s continue!
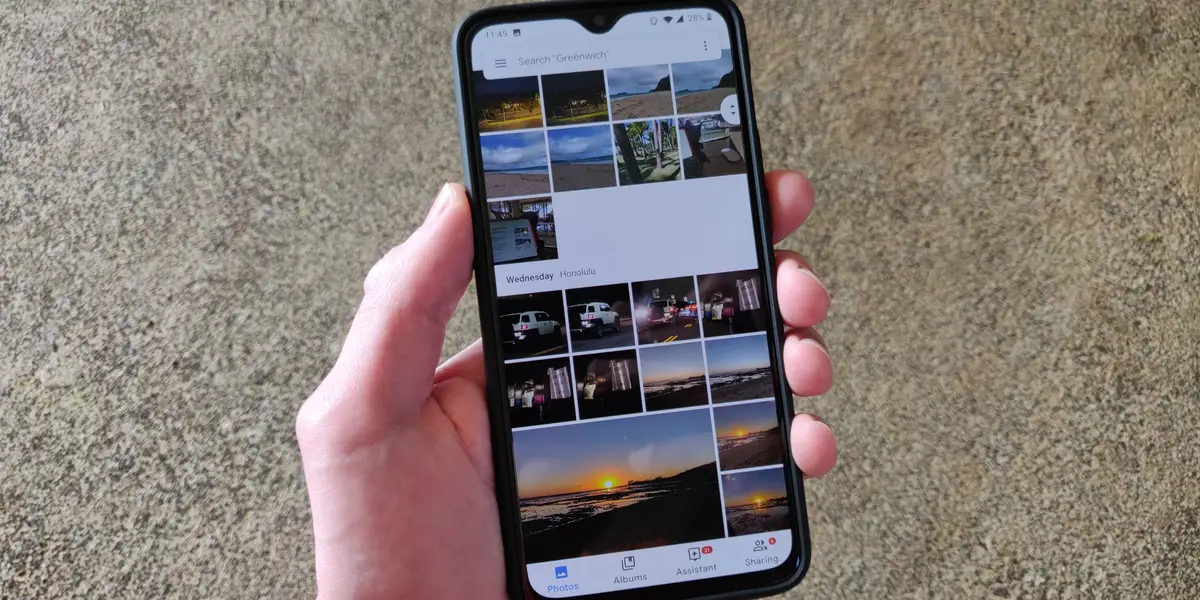
Step 6: Select the photos to download
Now that you’ve configured the backup and sync settings for Google Photos, it’s time to choose the specific photos you want to download to your iPhone. Follow these steps to select the photos you wish to have readily available on your device:
- Open the Google Photos app on your iPhone and ensure that you are signed in to your Google account.
- Browse through your photo library or albums to locate the photos you want to download. You can swipe through your photos or scroll through the albums to find the desired images.
- Tap on the first photo you want to download. This will open the photo in a larger view.
- To select additional photos, tap on the checkbox or the selection tool icon that appears on the photo preview. This will mark the photo for download.
- Continue scrolling or swiping through your photos and select the ones you want to download by tapping on the checkboxes or selection tool icons for each photo.
- You can also select all photos in an album by tapping on the three-dot menu icon and choosing the “Select all” option.
- Once you have selected all the photos you want to download, proceed to the next step to save your selected photos to your iPhone.
Selecting the specific photos you want to download allows you to have control over the content you save on your iPhone. Whether it’s a single image or a collection of memories, you can easily handpick the photos that matter most to you. Now that you have selected the photos, let’s move on to the next step, where you’ll learn how to save them to your Files app and access them on your iPhone.
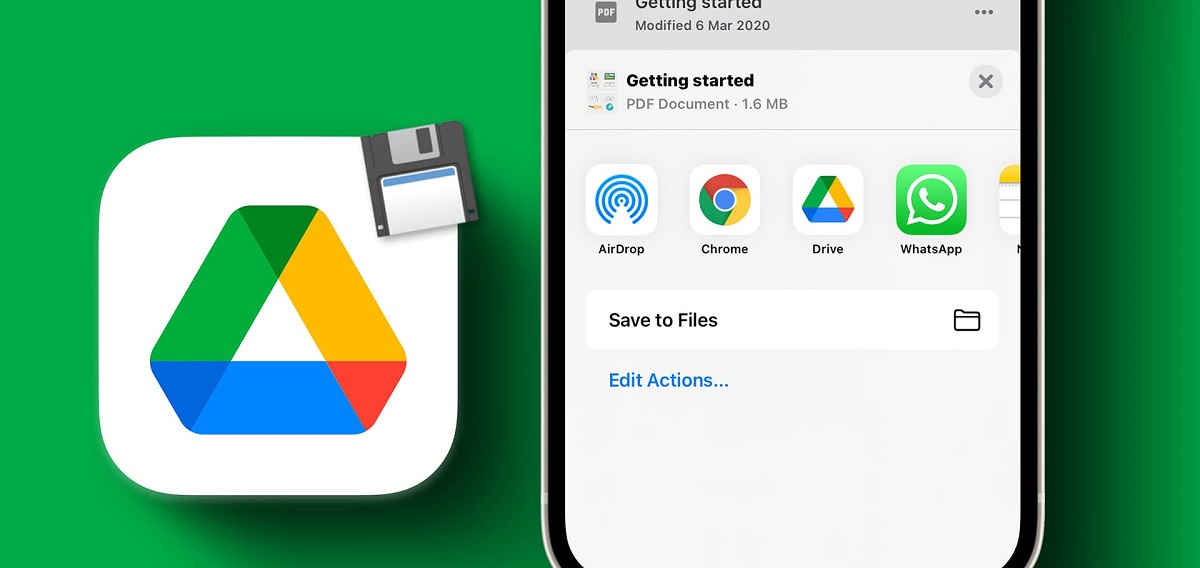
Step 7: Tap on the Share icon
Once you have selected the photos you want to download in Google Photos, it’s time to initiate the download process by tapping on the Share icon. The Share icon allows you to save and share your photos with various apps and services. Here’s how to proceed:
- In the Google Photos app, ensure that you have selected the photos you want to download by following the previous step.
- Look for the Share icon, typically represented by a square with an arrow pointing outwards. You can usually find it in the top-right corner of the screen or as an option in the menu.
- Tap on the Share icon, and a list of sharing options will appear.
- Scroll through the sharing options and choose “Save to Files” from the available options.
- If prompted, select the desired destination folder within the Files app where you want to save the photos. You can create a new folder or choose an existing one.
- Tap on “Save” or “Done” to start the process of saving the selected photos to the Files app on your iPhone.
Tapping on the Share icon is a crucial step that enables you to transfer the selected photos from Google Photos to the Files app on your iPhone. The Share feature provides a convenient way to save and share your photos with other apps and services. Having completed this step, let’s proceed to the next one, where you’ll choose a location to save the downloaded photos in the Files app.
Step 8: Select “Save to Files”
After tapping on the Share icon in Google Photos, you will see a range of sharing options. To save the selected photos to your iPhone, you need to choose the “Save to Files” option. Here’s how:
- In the sharing options menu, scroll through the list of available apps and services until you find “Save to Files.” Tap on it to proceed.
- You will be taken to the Files app, which is a file management tool on your iPhone.
- If you haven’t done so already, choose the location where you want to save the photos within the Files app. You can create a new folder by tapping on the “New Folder” button or select an existing folder.
- Once you have selected the destination folder, tap on the “Save” or “Done” button to save the photos to that location.
Selecting the “Save to Files” option allows you to store the selected photos directly on your iPhone within the Files app. This step ensures that you have easy access to the downloaded photos, making them readily available for viewing, sharing, or further organization.
With the “Save to Files” step completed, we’re almost finished with the process of downloading your Google Photos to your iPhone. In the next step, you’ll learn how to access the saved photos within the Files app on your device. Let’s move on!
Step 9: Choose a location to save the files
After selecting the “Save to Files” option in the previous step, you’ll need to choose a specific location within the Files app where you want to save the downloaded photos. Follow these steps to pick a suitable location:
- Once you are in the Files app, navigate through the available folders to find the desired location for saving the files.
- If you want to save the photos in an existing folder, tap on that folder to open it.
- If you prefer to create a new folder to keep the downloaded photos organized, tap on the “New Folder” option. Provide a name for the folder and tap on “Create” or “Done”.
- Once you have chosen the location for saving the files, tap on the “Save” or “Done” button to confirm the selection.
Choosing a suitable location within the Files app to save the downloaded photos ensures that you can easily find and access them whenever needed. It allows for better organization and ease of navigation within the Files app, making it simpler to manage your files and maintain a clutter-free storage system on your iPhone.
With the location selected and the files saved, we’re almost at the end of the process. In the final step, we’ll show you how to access the downloaded photos on your iPhone. Let’s proceed!
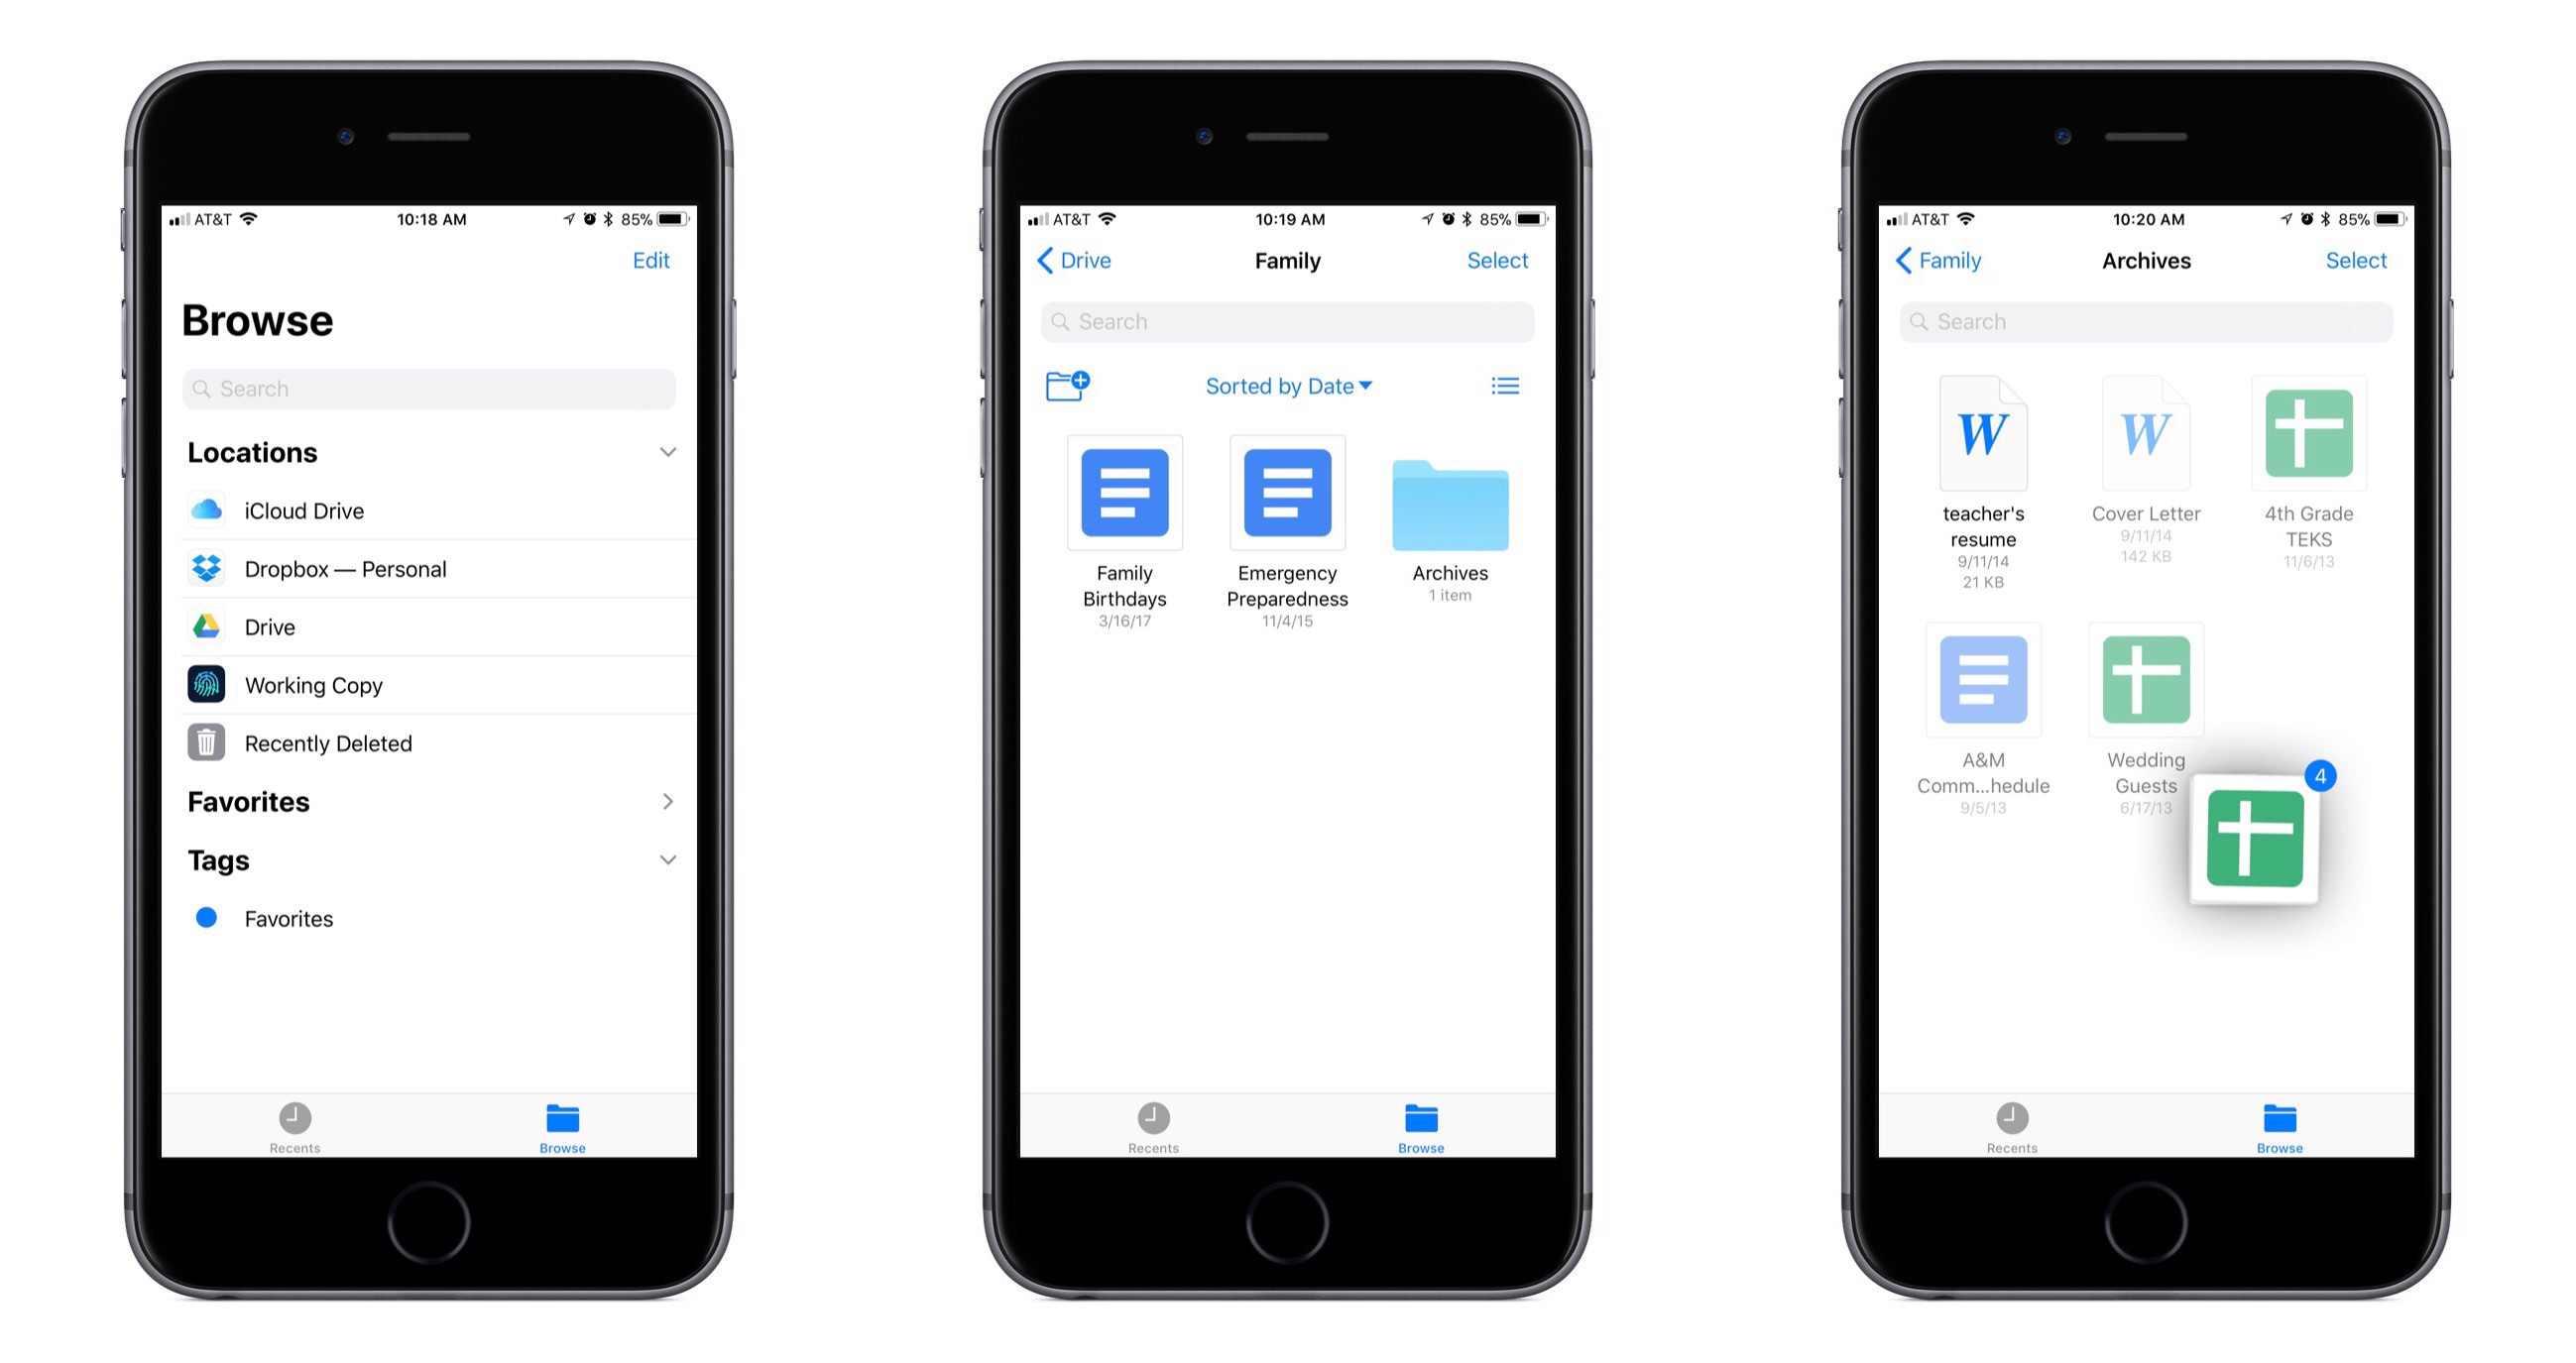
Step 10: Access the saved photos on your iPhone
Now that you have successfully downloaded and saved your Google Photos to the Files app on your iPhone, it’s time to access and view your precious memories. Follow these steps to locate the saved photos:
- On your iPhone, locate and open the Files app. It is usually represented by a blue folder icon and can be found on your home screen or within the App Library.
- Once you’re in the Files app, navigate through the folders to find the location where you saved the downloaded photos. If you created a new folder, locate that folder within the Files app.
- Tap on the folder to open it and browse through the contents until you find the downloaded photos.
- To view a photo, simply tap on it, and it will open in the default image viewer on your iPhone.
- You can swipe left or right to view other photos in the folder or use the pinch-to-zoom gesture to zoom in on specific details.
- To share a photo or perform any other actions, tap on the share icon or choose the relevant option from the actions menu.
By accessing the saved photos within the Files app, you can enjoy your Google Photos directly on your iPhone. Whether you want to reminisce about past adventures, share special moments with friends and family, or simply browse through your photo collection, the Files app provides a convenient and organized way to access your downloaded photos.
Congratulations! You have successfully completed all the necessary steps to download and access your Google Photos on your iPhone. Now you can relive your favorite moments anytime and anywhere, knowing that your precious memories are just a few taps away.
Conclusion
Congratulations! You have successfully learned how to download and access your Google Photos on your iPhone. By following the step-by-step process outlined in this guide, you can now have your cherished memories conveniently stored on your device, ready to be viewed and shared at any time.
The process involved installing the Google Photos app, signing in to your Google account, configuring the backup and sync settings, selecting the desired storage size, choosing the photos to download, tapping on the Share icon, saving the photos to the Files app, selecting a location to save the files, and finally, accessing the saved photos on your iPhone through the Files app.
Remember to regularly back up your photos to Google Photos to keep your memories safe and easily accessible. Additionally, take advantage of the various features and options available in the Google Photos app to enhance your photo viewing and management experience.
We hope this guide has been helpful in guiding you through the process of downloading your Google Photos to your iPhone. Now you can enjoy your cherished memories on the go, reliving special moments and sharing them with your loved ones.
Thank you for following along, and happy exploring with your downloaded Google Photos on your iPhone!