Introduction
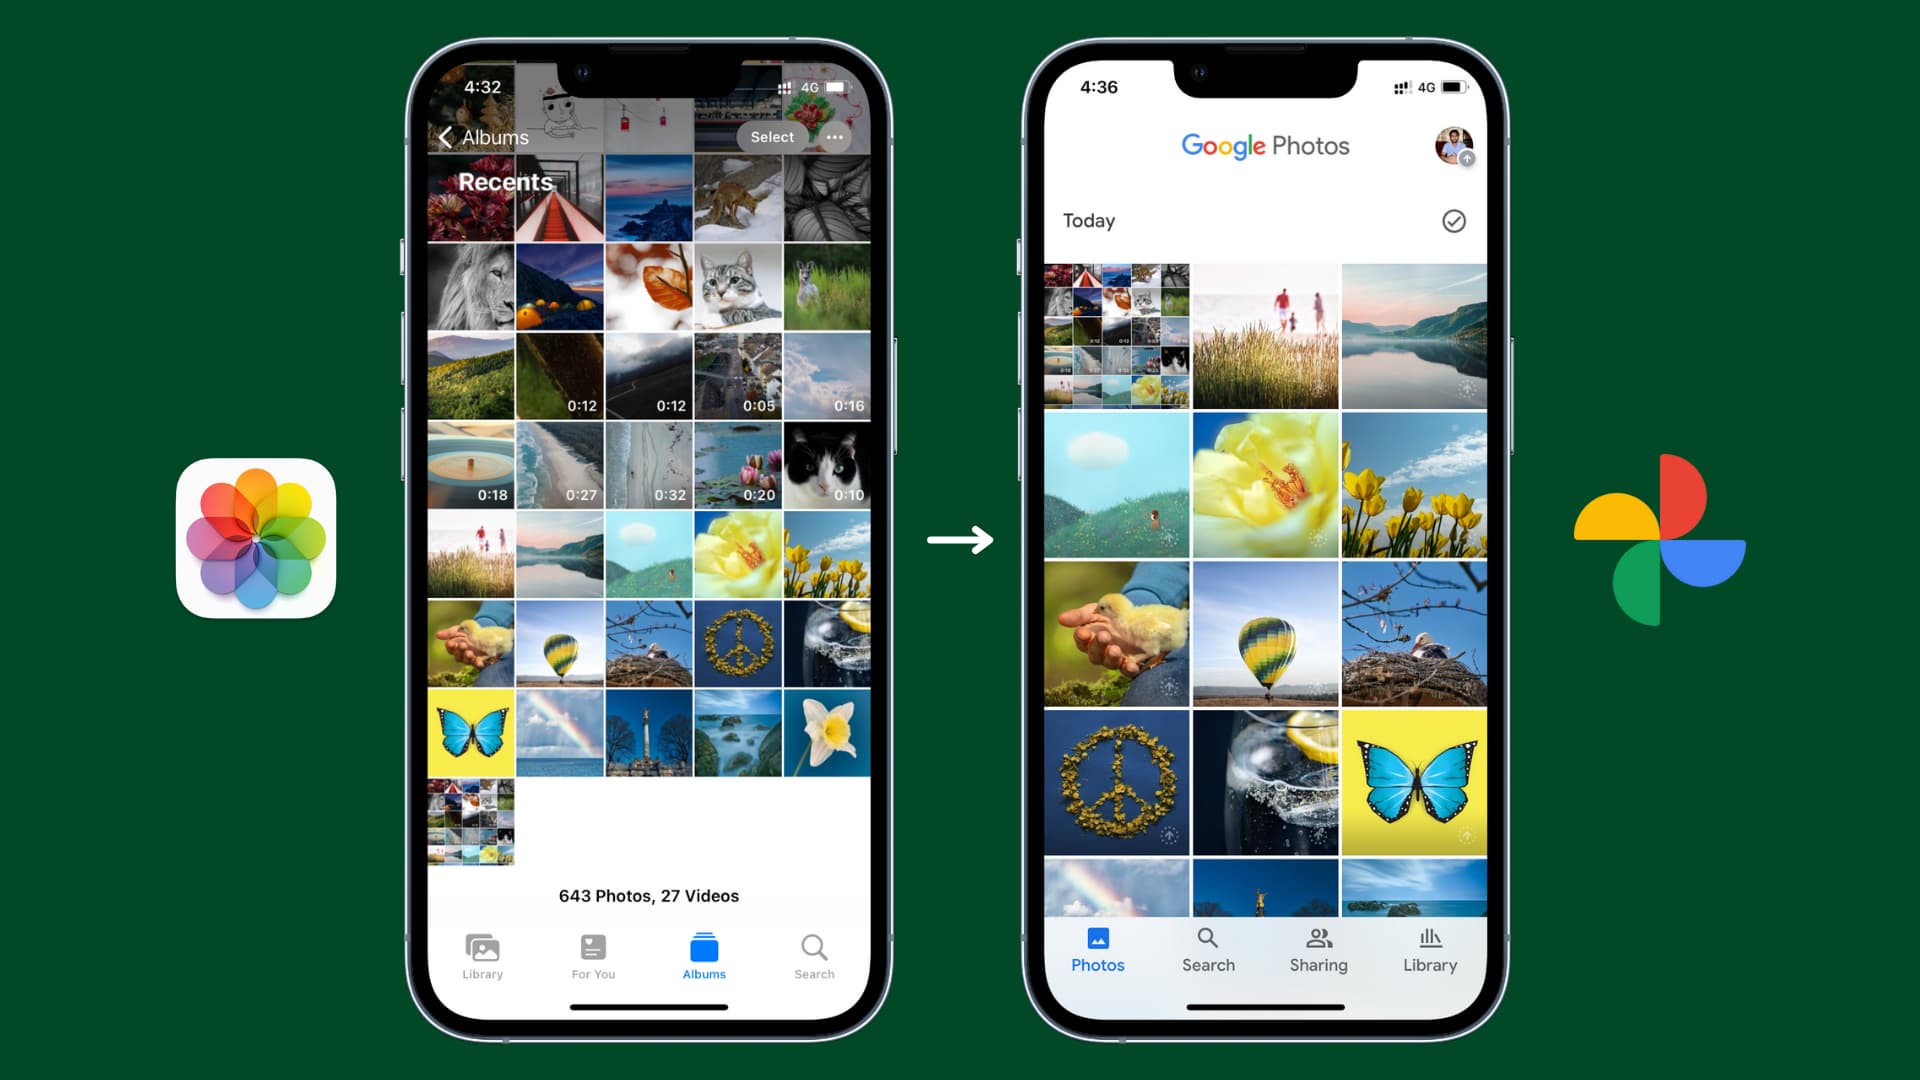
Syncing your Google Photos with your iPhone is a convenient way to access and manage your photos across different devices. By syncing, you can seamlessly transfer photos from your iPhone to your Google Photos account, ensuring that your precious memories are safely backed up and readily available wherever you go.
In this article, we will explore four different methods to sync your Google Photos with your iPhone. Whether you prefer using dedicated apps or want to rely on a computer, we’ve got you covered with step-by-step instructions.
Before we dive into the methods, it’s important to understand the benefits of syncing your Google Photos with your iPhone. First and foremost, syncing provides a backup for your photos, protecting them in case of device loss, damage, or theft. Additionally, syncing allows you to free up valuable storage space on your iPhone by safely storing your photos in the cloud.
By syncing your Google Photos, you also gain the ability to access your entire photo library from any device with an internet connection. This means you can view and share your photos from your iPhone, iPad, computer, or even your Android device, if you have one. It’s a convenient way to organize and manage your photos, create albums, and search for specific images using Google’s powerful image recognition technology.
Now, let’s explore the different methods you can use to sync your Google Photos with your iPhone. Whether you prefer using the Google Photos app, the iCloud Photos app, the Google Drive app, or a computer, there’s a method that will suit your needs.
Method 1: Using the Google Photos app
The Google Photos app is a powerful tool for managing and syncing your photos across different devices. Here’s how you can use the app to sync your Google Photos with your iPhone:
- Download and install the Google Photos app from the App Store.
- Open the app and sign in with your Google account. If you don’t have a Google account, you can create one for free.
- Once you’re signed in, the app will start syncing your Google Photos library with your iPhone. This may take some time, depending on the size of your photo library and your internet connection speed.
- Once the initial sync is complete, any new photos you take on your iPhone or add to your Google Photos library will automatically be synced between the two platforms.
- To ensure that your photos are always synced, make sure that the Google Photos app is set to automatically backup and sync your photos. You can do this by going to the app’s settings and enabling the “Backup & sync” option.
- You can also choose to upload your photos in their original resolution or have them compressed to high quality to save storage space. Keep in mind that uploading in the original resolution may consume your Google Drive storage if you exceed the free storage limit.
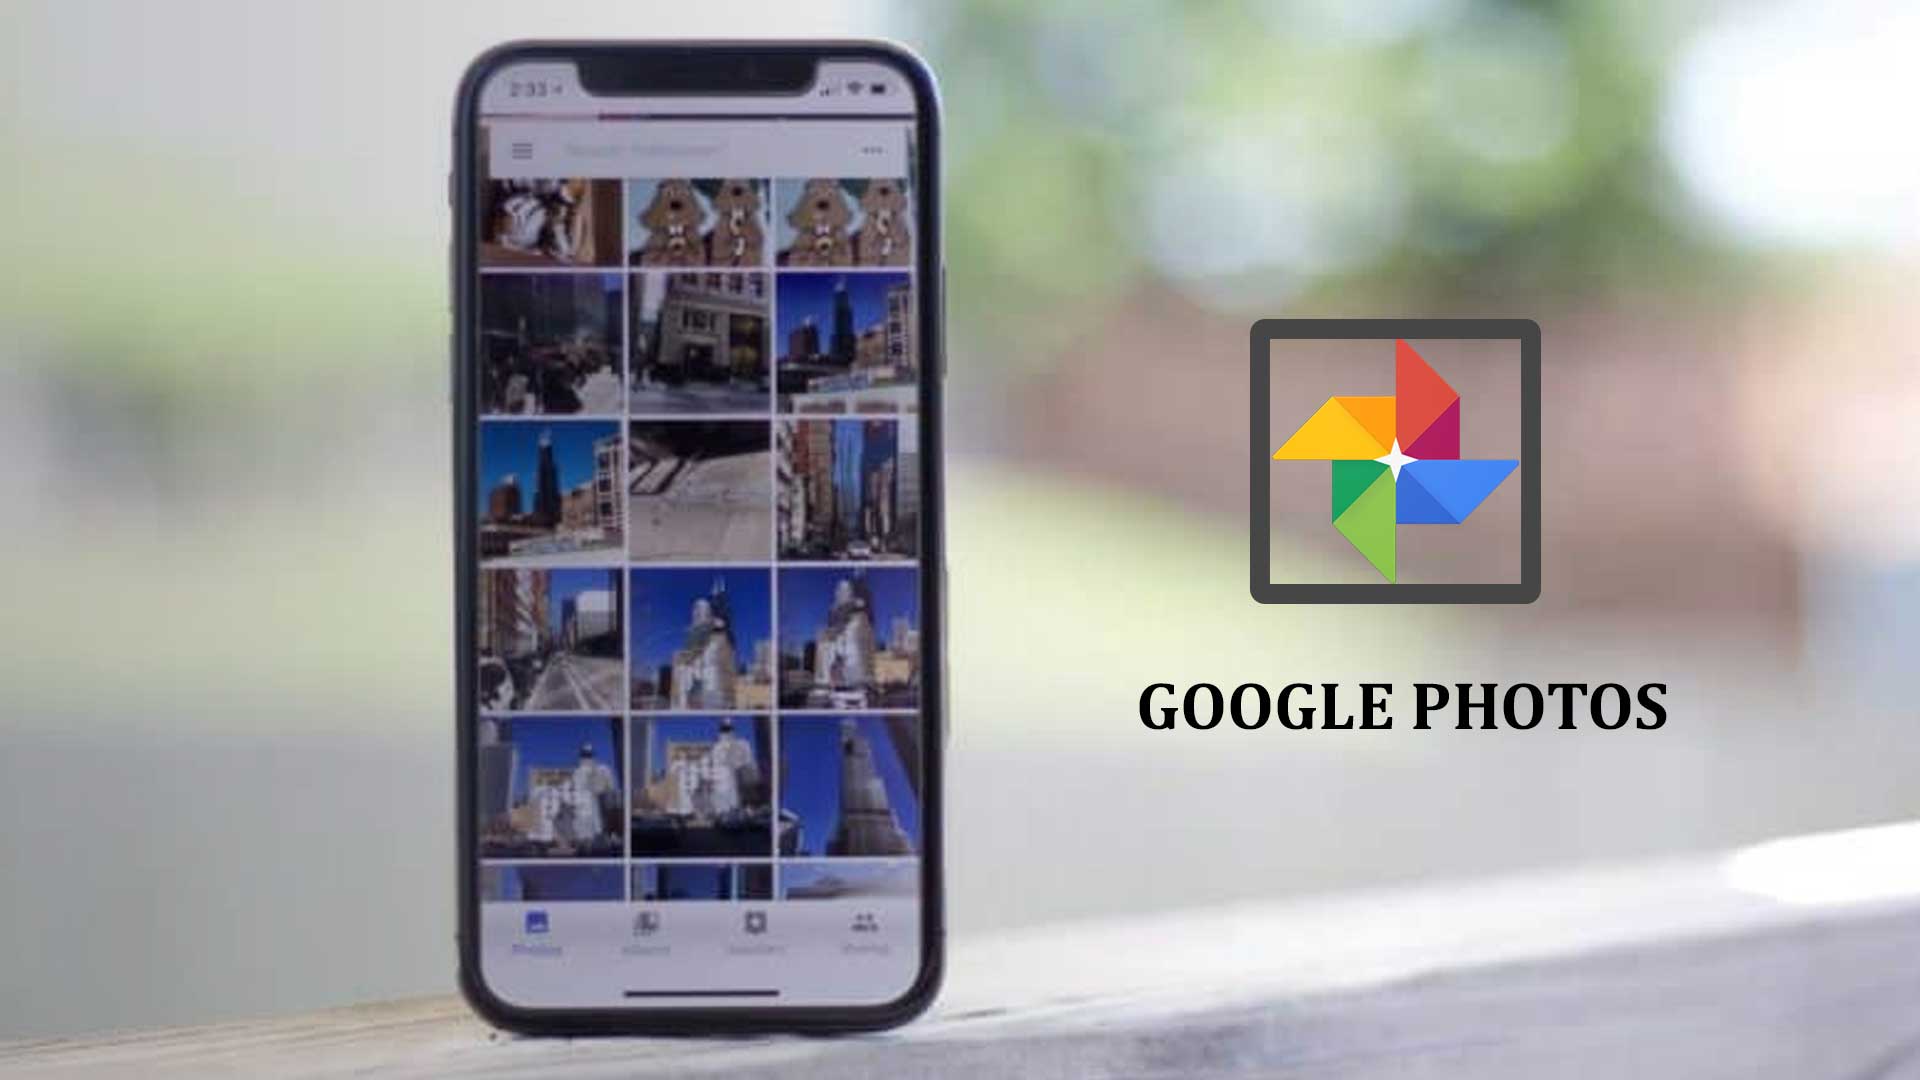
Once your Google Photos are synced with your iPhone, you can access them by opening the Google Photos app. You’ll be able to view, organize, and share your photos directly from the app. Additionally, any changes you make, such as edits or deletions, will be synced across all your devices, ensuring consistency.
It’s important to note that syncing your Google Photos with your iPhone using the Google Photos app requires a stable internet connection. Without an internet connection, you won’t be able to access or sync your photos. Additionally, any changes you make while offline will be synced once you regain an internet connection.
Overall, using the Google Photos app is a user-friendly and efficient way to sync your Google Photos with your iPhone. It provides a seamless integration between your devices and ensures that your photos are safely backed up and accessible wherever you go.
Method 2: Using the iCloud Photos app
If you’re an iPhone user, you’re likely already familiar with the iCloud Photos app, which offers a seamless way to sync and access your photos across Apple devices. Here’s how you can use the iCloud Photos app to sync your Google Photos with your iPhone:
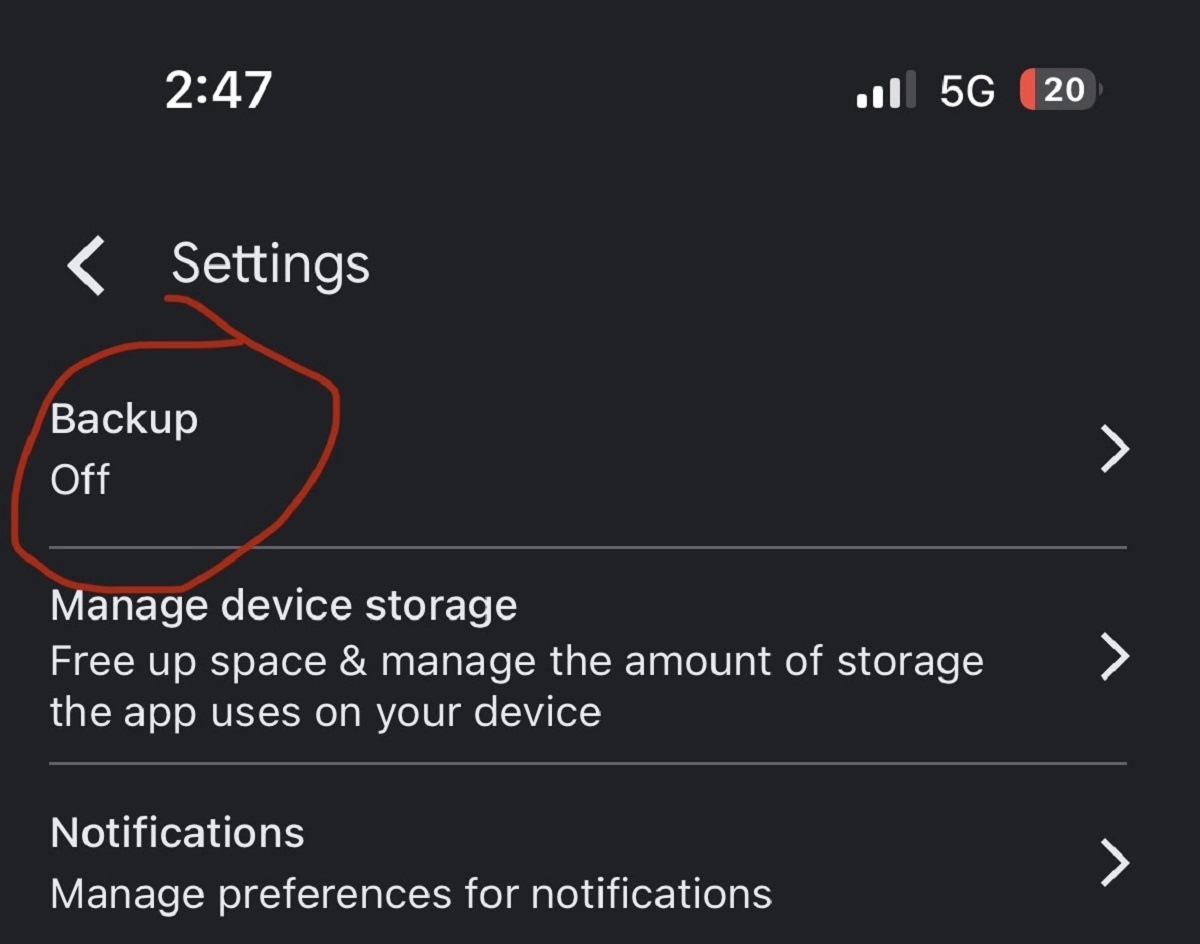
- Ensure that you have the iCloud Photos feature enabled on your iPhone. To do this, go to “Settings” and tap on your name at the top.
- Select “iCloud” and then “Photos”. Make sure that the “iCloud Photos” toggle is turned on.
- Now, open a web browser on your computer and visit the Google Photos website.
- Sign in to your Google account and go to the “Settings” by clicking on the gear icon located on the top right corner of the screen.
- In the settings menu, enable the “Sync photos & videos from Google Drive” option.
- Choose the folders or albums from your Google Drive that you want to sync with your iPhone.
- Wait for the sync to complete. The duration will depend on the size of your photo library and your internet connection speed.
Once the sync is complete, your Google Photos will start appearing in the “Photos” app on your iPhone. They will be organized in the “Albums” section under the name of the Google Drive folder or album you selected for syncing.
Any changes you make to your Google Photos, such as adding or deleting photos, will be reflected in the iCloud Photos app on your iPhone. However, keep in mind that any edits or modifications made to the photos themselves, like filters or cropping, will not carry over from Google Photos to the iCloud Photos app.
Using the iCloud Photos app provides a convenient way to sync your Google Photos with your iPhone. It ensures that your photos are seamlessly integrated into your device’s native Photos app, making them easily accessible and shareable. Additionally, by enabling iCloud Photos, you can take advantage of iCloud storage to keep your photos backed up and available across all your Apple devices.
Keep in mind that the amount of iCloud storage available to you depends on your iCloud storage plan, and additional storage may need to be purchased if you exceed the free plan limit.
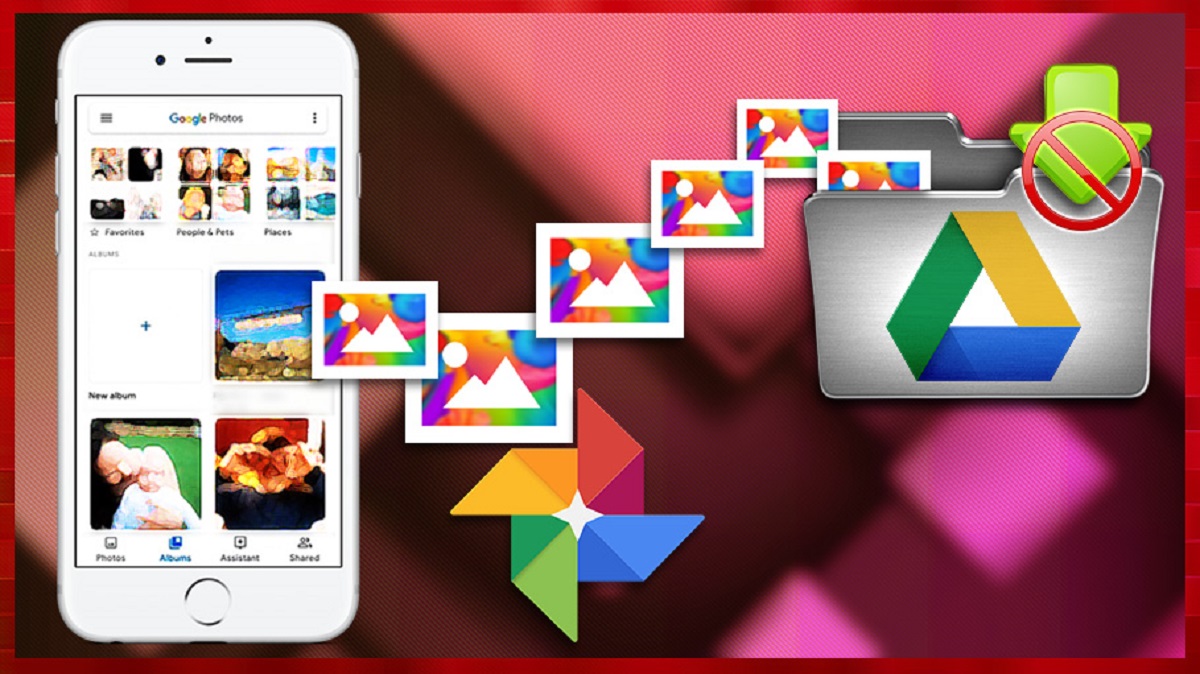
Method 3: Using the Google Drive app
Another method to sync your Google Photos with your iPhone is by using the Google Drive app. Here’s how you can do it:
- Download and install the Google Drive app from the App Store.
- Open the app and sign in with your Google account. If you don’t have a Google account, you can create one for free.
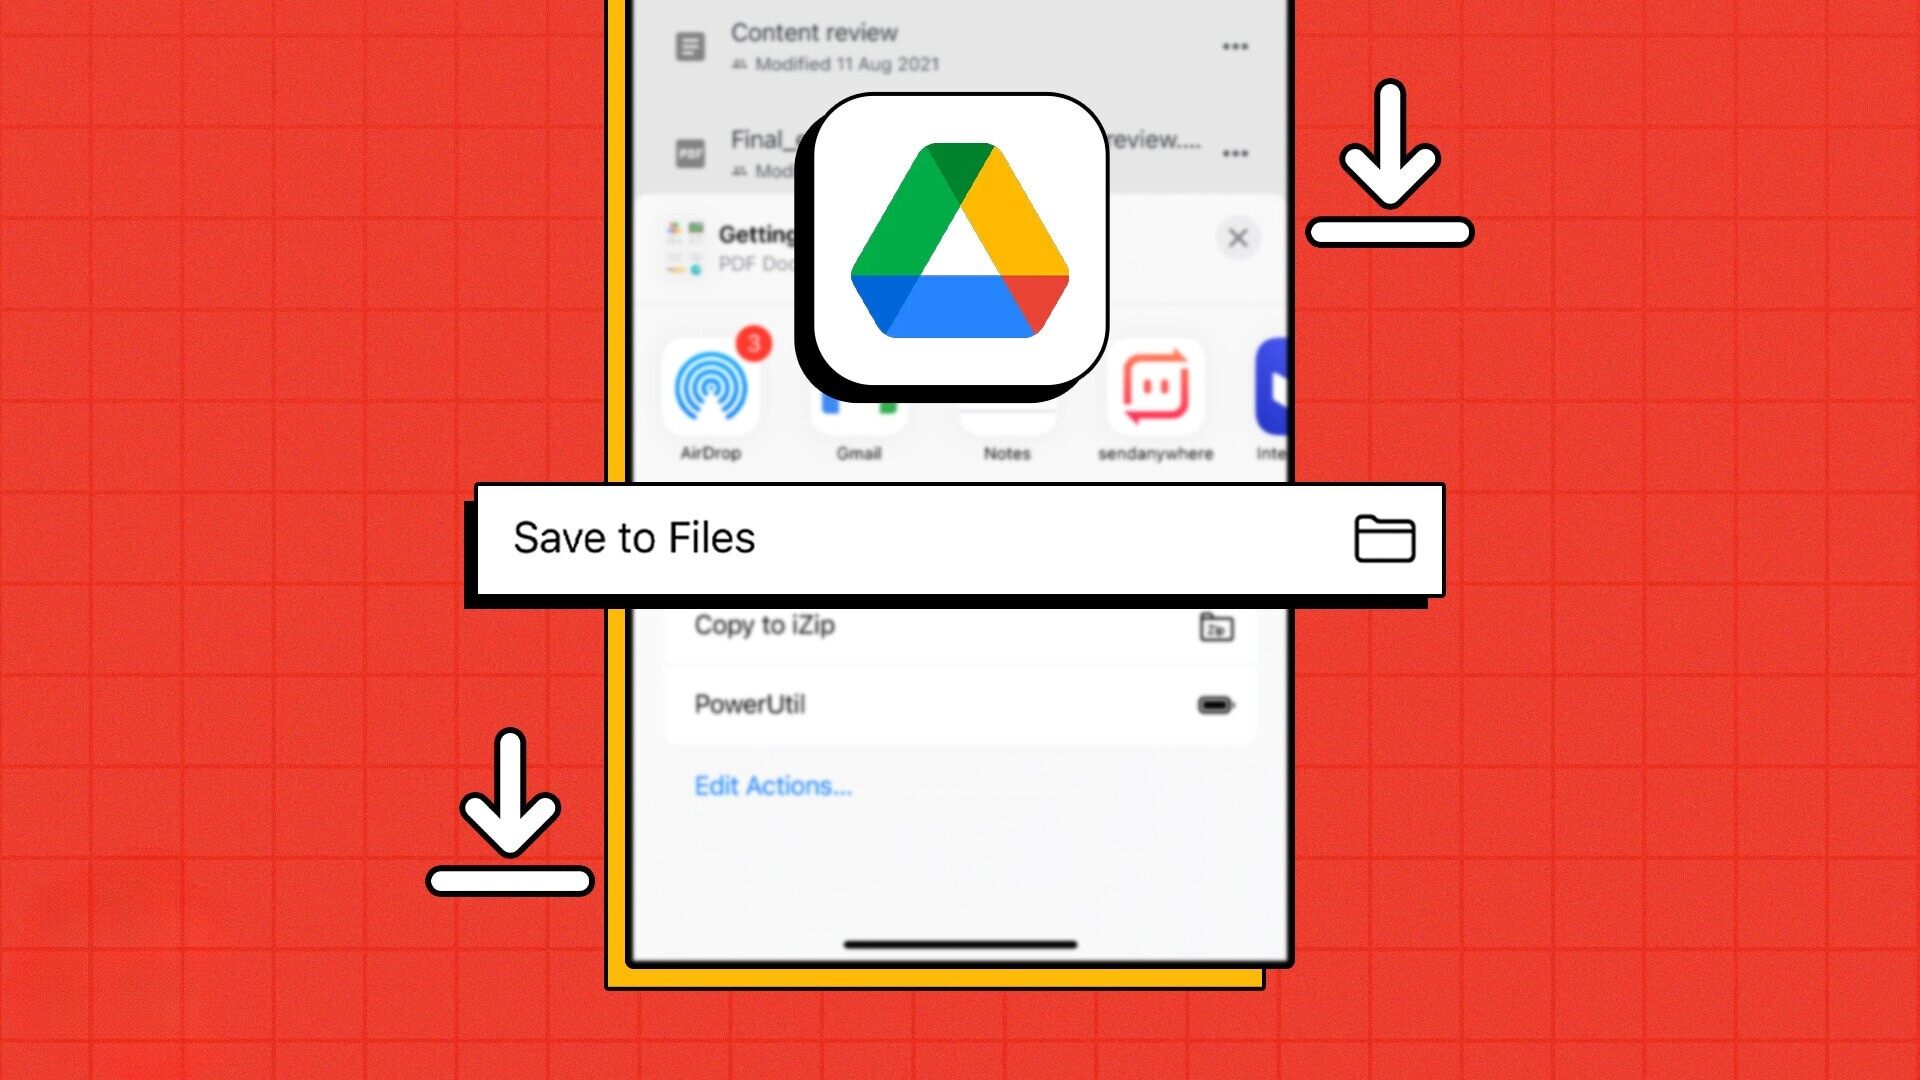
- After signing in, upload the photos you want to sync to your Google Drive. You can do this by tapping the “+” button in the app and selecting “Upload”. Choose the photos from your iPhone’s camera roll and wait for them to upload to your Google Drive.
- Once the photos are uploaded, you can access them on your iPhone by opening the Google Drive app and navigating to the “My Drive” section.
- To ensure that future photos taken on your iPhone are automatically synced with Google Drive, open the Google Drive app’s settings and enable the “Auto Backup” option. This will automatically upload new photos from your camera roll to your Google Drive.
- To view and manage your synced photos, you can use the Google Photos app or the Google Drive app. The photos will be accessible in both apps, allowing you to organize them into albums, share them with others, or make edits as needed.
Using the Google Drive app to sync your Google Photos with your iPhone offers a straightforward way to upload and access your photos on the go. It allows you to choose which photos to upload and provides a backup in your Google Drive account.
One thing to keep in mind is that the Google Drive app provides limited storage for free, and if you exceed the free storage limit, you may need to upgrade to a paid plan to continue syncing your photos.
Overall, using the Google Drive app is a reliable method to sync your Google Photos with your iPhone, giving you easy access to your photos wherever you are.
Method 4: Using a computer
If you prefer using a computer to sync your Google Photos with your iPhone, there’s a straightforward method that you can follow. Here’s how:
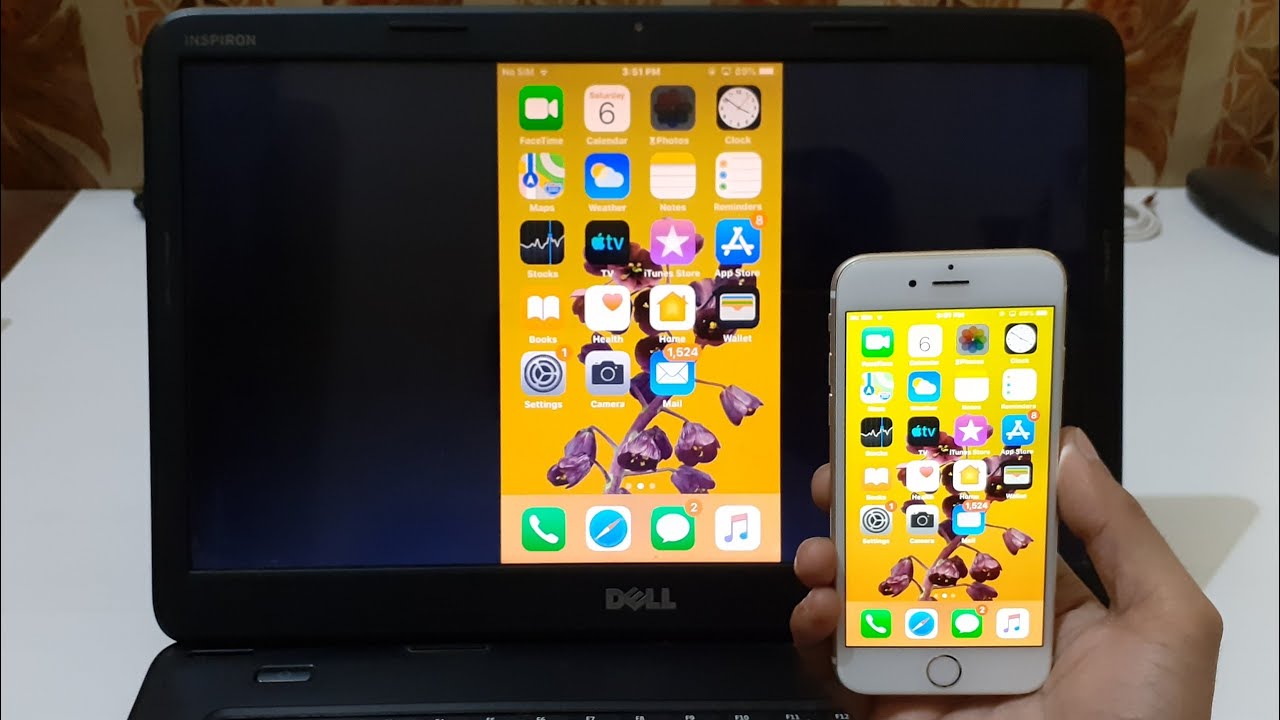
- On your computer, open a web browser and go to the Google Photos website (photos.google.com).
- Sign in to your Google account. If you don’t have a Google account, you can create one for free.
- Click on the “Settings” icon (the gear-shaped icon) located in the top right corner of the screen.
- In the settings menu, click on “Backup & sync”. Here, you can choose to upload photos and videos from your computer to Google Photos. You can also select the upload size (original or high quality) and choose whether to include videos in the backup.
- Once the backup and sync settings are configured, you can select the photos and videos you want to upload to Google Photos. You can do this by either dragging and dropping the files into the Google Photos website or by clicking on the “Upload” button and selecting the files from your computer.
- Wait for the photos and videos to upload to Google Photos. The duration will depend on the size of your library and the speed of your internet connection.
Once your photos are uploaded to Google Photos, you can access them on your iPhone by downloading and installing the Google Photos app from the App Store. Sign in to the app using the same Google account you used to upload the photos.
In the Google Photos app on your iPhone, you will find all the photos and videos you uploaded from your computer. The photos will be organized based on the date of upload, and you can create albums, apply filters, and edit them as needed.
This method offers more control over which photos and videos you want to sync with your iPhone. It also allows you to free up space on your iPhone by storing your photos in your Google Photos account.
Keep in mind that syncing your Google Photos with your iPhone using a computer requires an internet connection and may take some time to complete, depending on the size of your photo library and the speed of your internet connection.
Overall, using a computer to sync your Google Photos with your iPhone offers a flexible and efficient method, allowing you to have easy access to your photos on both devices.
Conclusion
Syncing your Google Photos with your iPhone is a simple and effective way to ensure that your photos are easily accessible and backed up across different devices. In this article, we explored four methods to sync your Google Photos with your iPhone: using the Google Photos app, the iCloud Photos app, the Google Drive app, and a computer.
Using the Google Photos app provides a user-friendly experience, allowing you to seamlessly transfer and manage your photos between your iPhone and your Google Photos account. It offers convenient options for backup and sync settings, ensuring that your photos are always up to date across devices.
The iCloud Photos app, on the other hand, is a native solution for iPhone users. It integrates well with the iOS ecosystem, automatically syncing your Google Photos with your iPhone’s native Photos app. By enabling iCloud Photos, you can take advantage of iCloud storage and easily access your synced photos on all your Apple devices.
The Google Drive app offers a straightforward method to upload and access your Google Photos on your iPhone. With the option to manually choose which photos to upload, it provides more control over the syncing process. However, keep in mind that free storage is limited, and exceeding the storage limit may require you to upgrade to a paid plan.
Lastly, using a computer to sync your Google Photos with your iPhone gives you the freedom to upload and manage your photos directly from your desktop. This method offers more control and flexibility over the syncing process, allowing you to easily access your photos on your iPhone through the Google Photos app.
Overall, syncing your Google Photos with your iPhone enhances the accessibility and security of your precious memories. Choose the method that best suits your preferences and needs, and enjoy the convenience of having your photos readily available across all your devices.