Introduction
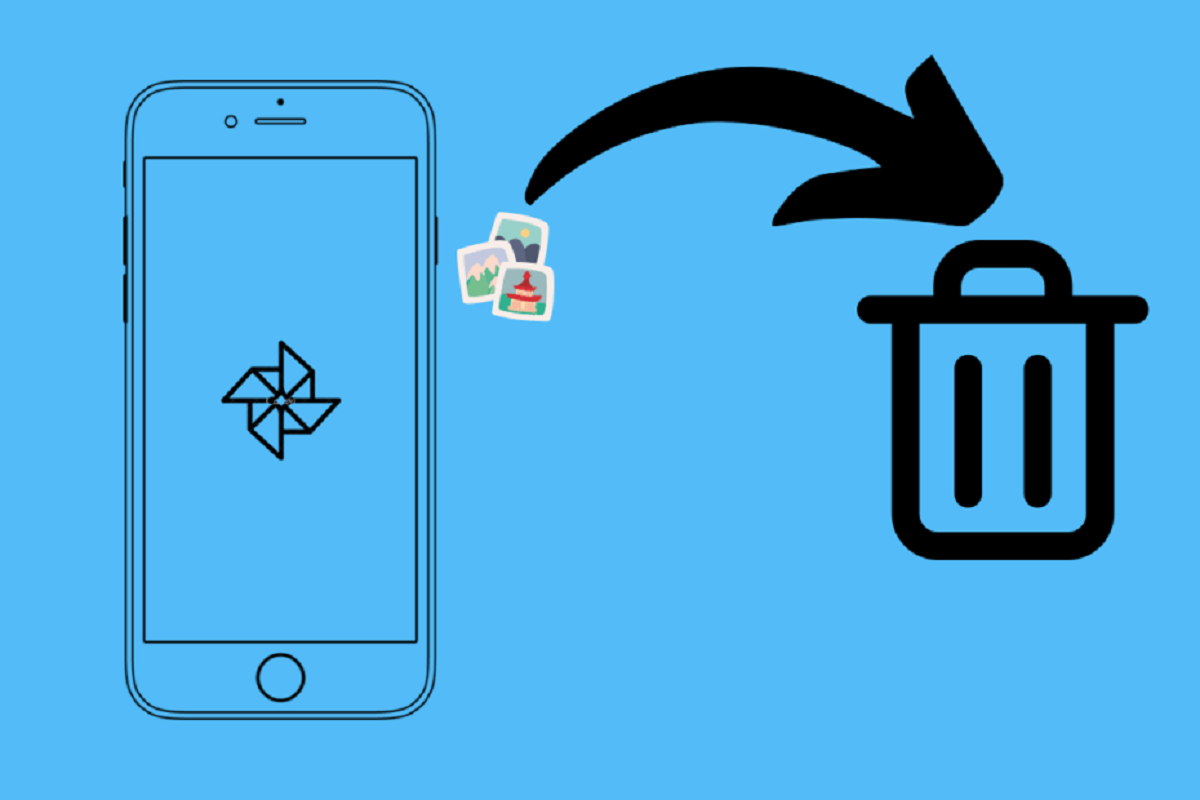
Google Photos is a popular cloud-based service that allows you to store and organize your photos and videos. It also provides the handy feature of a Trash folder, where deleted photos and videos are temporarily stored. While this feature provides a safety net in case you accidentally delete something, it’s important to regularly empty your trash to free up storage space and keep your photo library organized.
In this article, we will guide you through three easy methods to empty the trash on Google Photos: using the mobile app, the website, or setting up automatic trash emptying. Whether you’re on-the-go or prefer to manage your photos from a computer, you’ll find a method that suits your needs.
As we delve into these methods, it’s worth noting that emptying the trash in Google Photos is a permanent action. Once you empty the trash, you won’t be able to recover any deleted items. Therefore, it’s essential to double-check and make sure you’ve backed up any important photos or videos before proceeding with the deletion.
Now, without further ado, let’s explore the different methods to empty the trash on Google Photos and reclaim that valuable storage space!
Method 1: Empty Trash on Google Photos Mobile App
If you prefer managing your photos on the go, the Google Photos mobile app provides a convenient way to empty the trash. Follow these simple steps:
- Open the Google Photos app on your mobile device.
- Tap on the Library tab located at the bottom of the screen.
- In the Library view, tap on the Trash folder.
- Here, you will see all the photos and videos that have been deleted recently and are awaiting permanent deletion. You can browse through the items to double-check if there’s anything you want to restore.
- To permanently delete all the items in the trash, tap on the menu icon (three vertical dots) located at the top right corner of the screen.
- From the dropdown menu, select Empty trash.
- A confirmation message will appear, informing you that the action cannot be undone. If you’re sure you want to proceed, tap on Empty to permanently remove all the items from your trash.
Once you’ve completed these steps, all the contents of your Google Photos trash folder will be permanently deleted, freeing up storage space on your device.
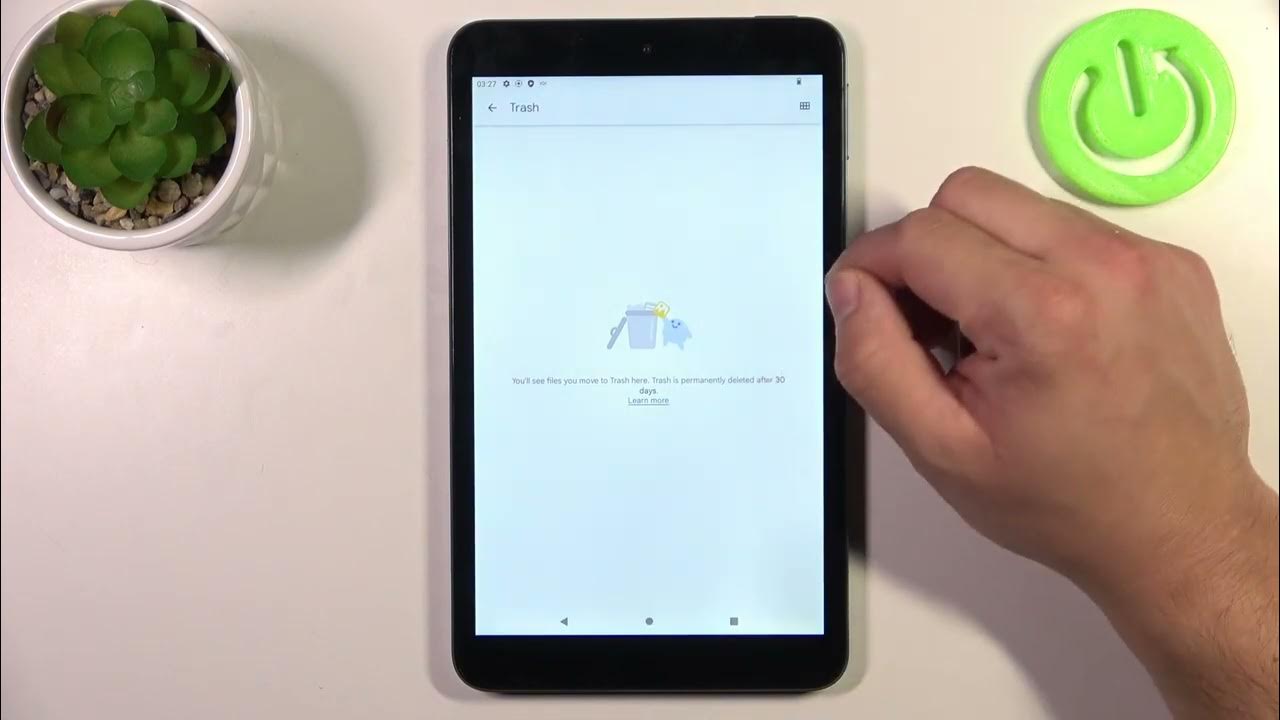
It’s worth mentioning that if you accidentally delete a photo or video and realize it immediately, you can restore it from the trash folder within 60 days. However, after that time period, the items will be automatically removed from the trash and cannot be recovered.
Now that you know how to empty the trash using the Google Photos mobile app, let’s move on to the next method, which involves using the Google Photos website on a computer.
Method 2: Empty Trash on Google Photos Website
If you prefer managing your photos and videos on a larger screen or want to access additional features, using the Google Photos website on your computer is the way to go. Follow these steps to empty the trash:
- Open your preferred web browser on your computer and visit the Google Photos website.
- Sign in to your Google account if you haven’t already.
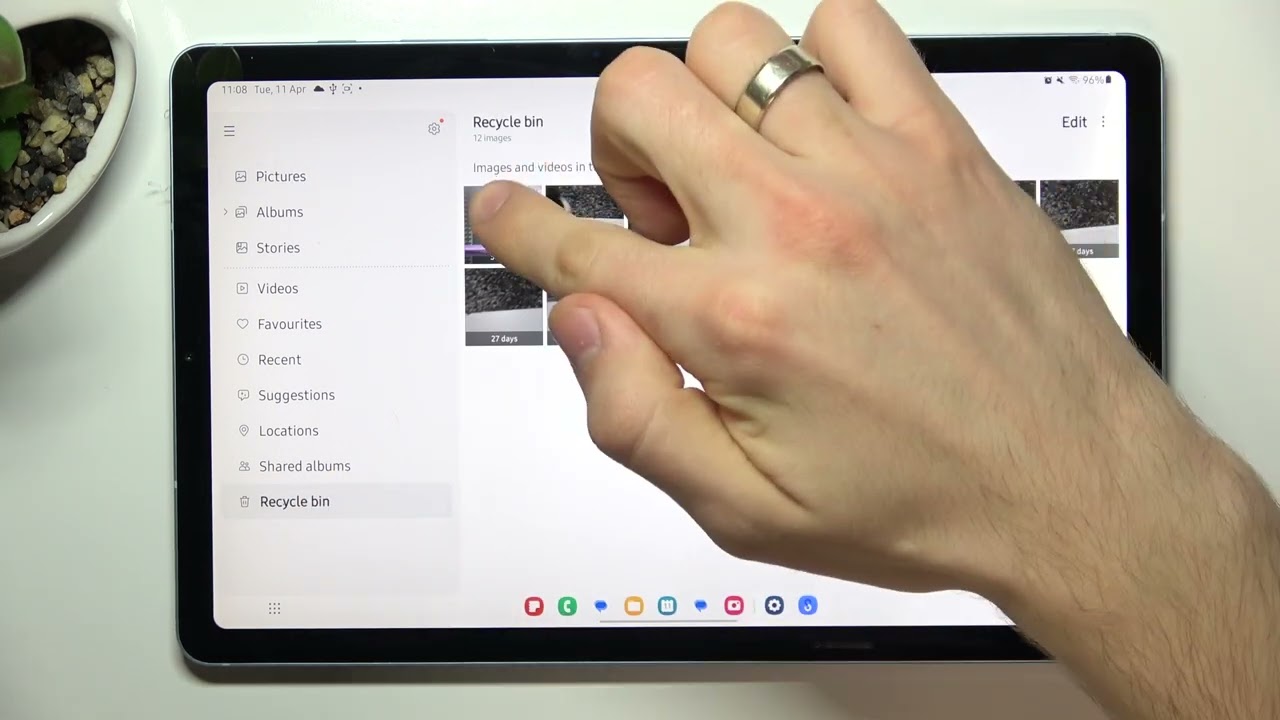
- In the left-hand panel, click on the Trash folder.
- Here, you’ll find all the photos and videos that are pending permanent deletion. Take a moment to review them and ensure that nothing needs to be restored.
- To delete all the items in the trash, click on the menu icon (three vertical dots) located at the top right corner of the screen.
- From the dropdown menu, click on Empty trash.
- A confirmation window will appear, reminding you that the action cannot be undone. If you’re certain about deleting the items permanently, click on Empty to proceed.
By following these steps, you will effectively empty the trash folder on Google Photos through the website. Remember that once the trash is emptied, there is no way to recover the deleted items, so proceed with caution.
Using the Google Photos website offers additional functionalities, such as creating albums, editing photos, and sharing them with others. Take advantage of these features to enhance your photo management experience.
Now that you know how to empty the trash using the Google Photos website, let’s move on to the final method, which allows you to automatically empty the trash on a regular basis.
Method 3: Automatically Empty Trash in Google Photos
If you want to streamline the process of emptying the trash in Google Photos and ensure that it’s done regularly, you can set up automatic trash emptying. Here’s how:
- Open the Google Photos app on your mobile device or visit the Google Photos website on your computer.
- Go to the settings menu. On the app, tap on your profile picture at the top right corner of the screen and select Photos settings. On the website, click on the menu icon (three horizontal lines) at the top left corner of the screen and select Settings.
- In the settings, scroll down and locate the Trash section.
- Toggle on the option that says Empty trash every 60 days (or select a different time interval if desired).
- Confirm your decision by clicking on OK or Save.
With this option enabled, Google Photos will automatically empty the trash folder every 60 days (or the specified interval). This helps in keeping your photo library clean and organized without requiring manual intervention.
Keep in mind that any items in the trash will be permanently deleted according to the specified time interval. Therefore, it’s crucial to double-check and make sure you have backed up any important photos or videos before they are permanently removed.
By implementing automatic trash emptying, you can free up storage space, maintain an organized photo library, and avoid the hassle of manually emptying the trash periodically.
Now that you know how to set up automatic trash emptying, let’s summarize the methods discussed so far and wrap up the article.
Conclusion
Emptying the trash in Google Photos is a vital step in managing your photo library and freeing up storage space. Whether you prefer using the mobile app, the website, or setting up automatic trash emptying, there’s a method that suits your preferences and needs.
In Method 1, we explored how to empty the trash on the Google Photos mobile app. By following a few simple steps, you can permanently delete the items in your trash folder and regain valuable storage space on your device.
In Method 2, we discussed how to empty the trash using the Google Photos website. By accessing your photo library on a computer, you can easily delete all the items in the trash in just a few clicks, keeping your library organized.
Method 3 introduced the concept of automatic trash emptying. By enabling this feature, you can set a time interval for Google Photos to automatically delete the items in the trash, streamlining your photo management process.
Remember, before emptying the trash, it’s crucial to review the items and ensure that nothing needs to be restored. Permanently deleting the trash eliminates the possibility of recovering any accidentally deleted photos or videos.
Whether you’re an avid photographer or just someone who enjoys capturing memorable moments, maintaining a clean and organized photo library is essential. By regularly emptying the trash in Google Photos, you can keep your storage space optimized, find your photos and videos easily, and have peace of mind knowing that your precious memories are safely stored.
Now that you have the knowledge and tools to empty the trash in Google Photos, go ahead and take control of your photo collection. Start decluttering and organizing your library today!