Introduction
Welcome to this step-by-step guide on how to upload videos to Google Photos. Google Photos is a popular cloud-based service that allows users to securely store and organize their photos and videos. With its user-friendly interface and robust features, Google Photos makes it easy to upload and access your videos from any device, anywhere.
Whether you want to save your precious family moments, store your personal videos, or share your creative projects, Google Photos offers a convenient platform to do just that. In this article, we will walk you through the process of uploading videos to Google Photos, ensuring that you can easily and efficiently store and manage your video collection.
Before we begin, make sure you have a Google account. If you don’t have one, you can easily create a new account by visiting the official Google website. Once you have your account ready, let’s dive into the step-by-step process of uploading your videos to Google Photos.
Step 1: Sign in to Google Photos
The first step to uploading videos to Google Photos is signing in to your Google Photos account. If you already have a Google account, you can use the same credentials to sign in. If not, you can easily create a new account by visiting the official Google website and clicking on the “Sign Up” button.
Once you have your Google account ready, follow these simple steps to sign in to Google Photos:
- Open a web browser on your computer or launch the Google Photos app on your mobile device.
- Enter the URL photos.google.com in the address bar or open the Google Photos app.
- Click on the “Sign in” button located at the top-right corner of the screen.
- Enter your Google account email or phone number associated with Google Photos.
- Enter your password and click on the “Next” button.
- If you have two-factor authentication enabled, you may be prompted to enter a verification code sent to your device. Enter the code to proceed.
- Once you have successfully signed in, you will be redirected to the Google Photos homepage or the main screen of the mobile app.
You are now signed in to your Google Photos account and a step closer to uploading your videos. Let’s move on to the next step.
Step 2: Open the Upload page
After signing in to your Google Photos account, the next step is to navigate to the Upload page, where you can begin the process of adding your videos to your Google Photos library. Here’s how you can open the Upload page:
- On your computer, click on the “Upload” button located at the top-right corner of the Google Photos website.
- If you are using the Google Photos app on your mobile device, tap on the “Library” icon located at the bottom of the screen.
- From the options that appear, select “Upload” or “Upload from device.”
By following these steps, you will be taken to the Upload page, which allows you to select and add videos from your computer or mobile device to your Google Photos account.
It’s important to note that Google Photos provides two options for uploading videos: “Original” and “High quality.” The “Original” option preserves the original quality of your videos but may count against your Google storage limit. On the other hand, the “High quality” option provides unlimited storage for compressed videos up to 1080p resolution.
Once you have reached the Upload page, you are now ready to select the videos you want to upload. We will explore the next step in the process in the following section.
Step 3: Select the video(s) you want to upload
Now that you have reached the Upload page in Google Photos, it’s time to select the videos you want to upload to your account. Whether you want to upload a single video or multiple videos at once, Google Photos makes it easy and efficient to choose the content you want to add to your library.
Follow these steps to select the video(s) you want to upload:
- On the Upload page, you will be presented with the option to either drag and drop your videos or click on the “Select a file from your computer” or “Select from Google Drive” button.
- If you choose to drag and drop, simply locate the video file(s) on your computer and drag them to the specified area on the Upload page.
- If you prefer the “Select a file from your computer” option, click on the button and navigate to the location where your video file(s) are stored. Select the video(s) you want to upload and click “Open” or “Choose” to add them to the upload queue.
- If you select the “Select from Google Drive” option, you can choose videos that are already stored in your Google Drive account and have them automatically added to your Google Photos library.
- If you are using the Google Photos app on your mobile device, you can tap on the “Add +” button and follow the prompts to select the video(s) you want to upload from your device’s media library.
- Once you have selected the video(s), they will be added to the upload queue, and you can proceed to the next step by choosing the upload size and starting the upload process.
By following these steps, you will have successfully selected the video(s) you want to upload to your Google Photos account. In the next section, we will explore the different upload size options available to you.
Step 4: Choose the upload size
Once you have selected the video(s) you want to upload in Google Photos, the next step is to choose the upload size. Google Photos offers two options: “Original” and “High quality.”
Here’s how you can choose the upload size:
- On the Upload page, you will see the option to choose the upload size. Click on the drop-down menu next to “Upload size.”
- Select either “Original” or “High quality” based on your preference and storage needs.
Choosing “Original” will maintain the original quality of your videos, but keep in mind that the file size will count against your Google storage limit. If you have sufficient storage space and want the best possible quality, then “Original” is the right choice for you.
On the other hand, selecting “High quality” will compress your videos to a resolution of 1080p, which helps save storage space. The “High quality” option provides unlimited storage for your videos, ensuring that you can upload and store a large collection without worrying about running out of space.
Once you have made your selection, the upload settings will be applied to the videos you have chosen. You can always change the upload size setting in the Google Photos settings menu in the future.
It’s worth noting that if you choose the “High quality” option, Google Photos will automatically compress any new videos you add to your library. Existing videos uploaded in “Original” quality will not be compressed unless you manually choose to do so.
By understanding and choosing the appropriate upload size option, you can manage your storage space effectively and proceed to the next step of the upload process.
Step 5: Start the upload process
Now that you have selected the upload size for your videos in Google Photos, it’s time to initiate the upload process. Uploading videos is a straightforward and automated process in Google Photos, allowing you to easily add your chosen videos to your account.
To start the upload process, follow these steps:
- On the Upload page, click on the “Upload” or “Start upload” button.
- If you are using the Google Photos app on your mobile device, tap on the “Upload” button or the cloud icon to begin the upload.
- The selected videos will now start uploading to your Google Photos account. The time required for the upload process depends on the size and number of videos being uploaded, as well as the speed of your internet connection.
- During the upload process, you can continue using Google Photos or even close the browser or app as the upload happens in the background.
- If you encounter any issues during the upload, ensure that you have a stable internet connection and sufficient storage space in your Google account.
Google Photos also provides a progress indicator that shows the status of the upload, including the number of videos uploaded and the remaining time. This way, you can easily track the progress and estimate the time needed for your videos to be uploaded successfully.
It’s important to note that once the upload process is initiated, you can continue adding more videos, selecting different upload sizes, or managing your uploaded videos in Google Photos without interrupting the ongoing uploads.
Once the upload process is complete, you can move on to the next step and monitor the progress of your uploaded videos in Google Photos.
Step 6: Monitor the upload progress
After initiating the upload process of your videos in Google Photos, it’s important to monitor the progress to ensure that the files are successfully uploaded to your account. Google Photos provides an easy way to track and monitor the upload progress, allowing you to keep an eye on the status of your video uploads.
Follow these steps to monitor the upload progress:
- Once the upload process starts, keep an eye on the progress indicator that appears on the screen. This indicator will show you the number of videos that have been uploaded and the remaining videos yet to be uploaded.
- You can also check the notification center in the Google Photos app on your mobile device for updates on the upload progress.
- In the Google Photos app or website, you can navigate to the “Library” or “Photos” section and look for the “Uploads” tab or indicator. This section will provide you with an overview of the videos currently being uploaded to your Google Photos account.
- If you want to view more detailed information about the upload progress, click on the “Uploads” tab or indicator. You will be able to see a list of the videos being uploaded, along with the upload status and any errors, if applicable.
- If any issues arise during the upload process, such as a failed upload or a slow connection, Google Photos will notify you and provide suggestions on how to troubleshoot the problem.
- Depending on the size and number of videos being uploaded, as well as the speed of your internet connection, the upload process may take some time. Patience is key, and it’s essential to allow the process to complete without interruptions.
By monitoring the upload progress, you can ensure that all selected videos are successfully uploaded to your Google Photos account. Once the upload is complete, you can proceed to the final step and access your uploaded videos in Google Photos.
Step 7: Access your uploaded videos in Google Photos
Once the upload process is complete and your videos have been successfully uploaded to Google Photos, you can easily access and manage them within your account. Google Photos provides a seamless and user-friendly interface that allows you to view, organize, and share your uploaded videos.
Follow these steps to access your uploaded videos in Google Photos:
- Open a web browser on your computer or launch the Google Photos app on your mobile device.
- Sign in to your Google Photos account using your Google credentials.
- Upon signing in, you will be directed to the main screen of Google Photos, which displays your uploaded videos, along with other media files such as photos and albums.
- In the web browser, you can browse through your videos by scrolling down the page or using the search bar to find specific videos.
- In the mobile app, you can swipe up or down to view your videos, or use the search function to find videos based on specific keywords or locations.
- You can also organize your videos into albums, add tags or labels, and apply filters to make it easier to find specific videos in the future.
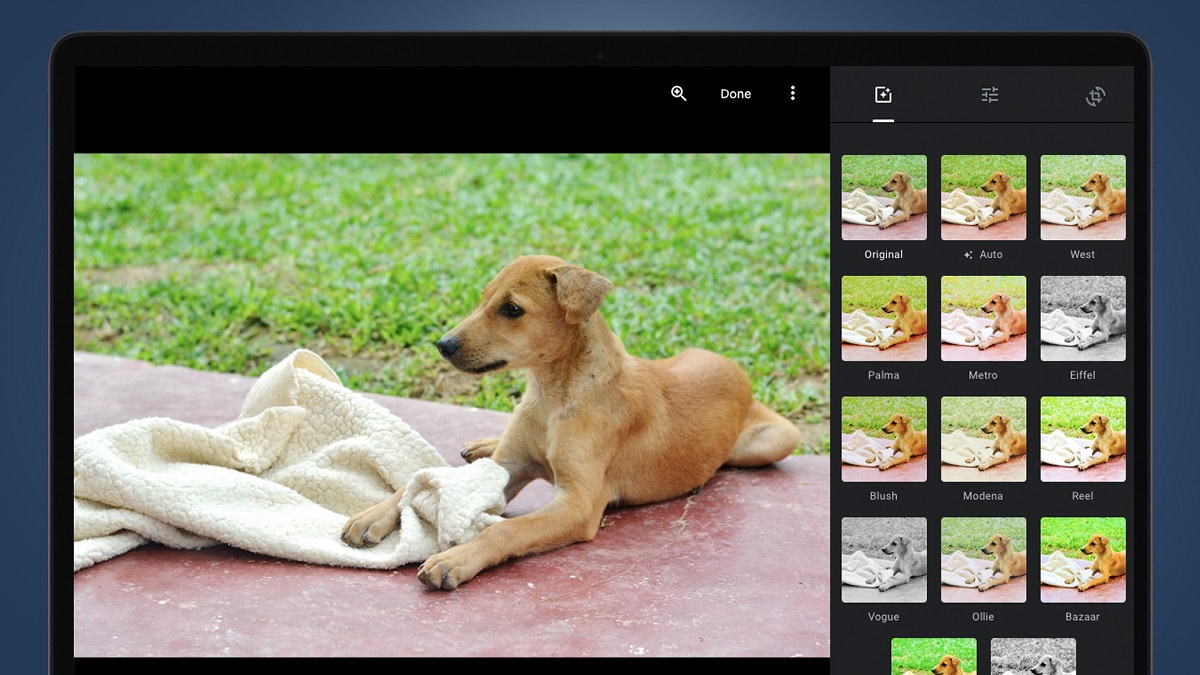
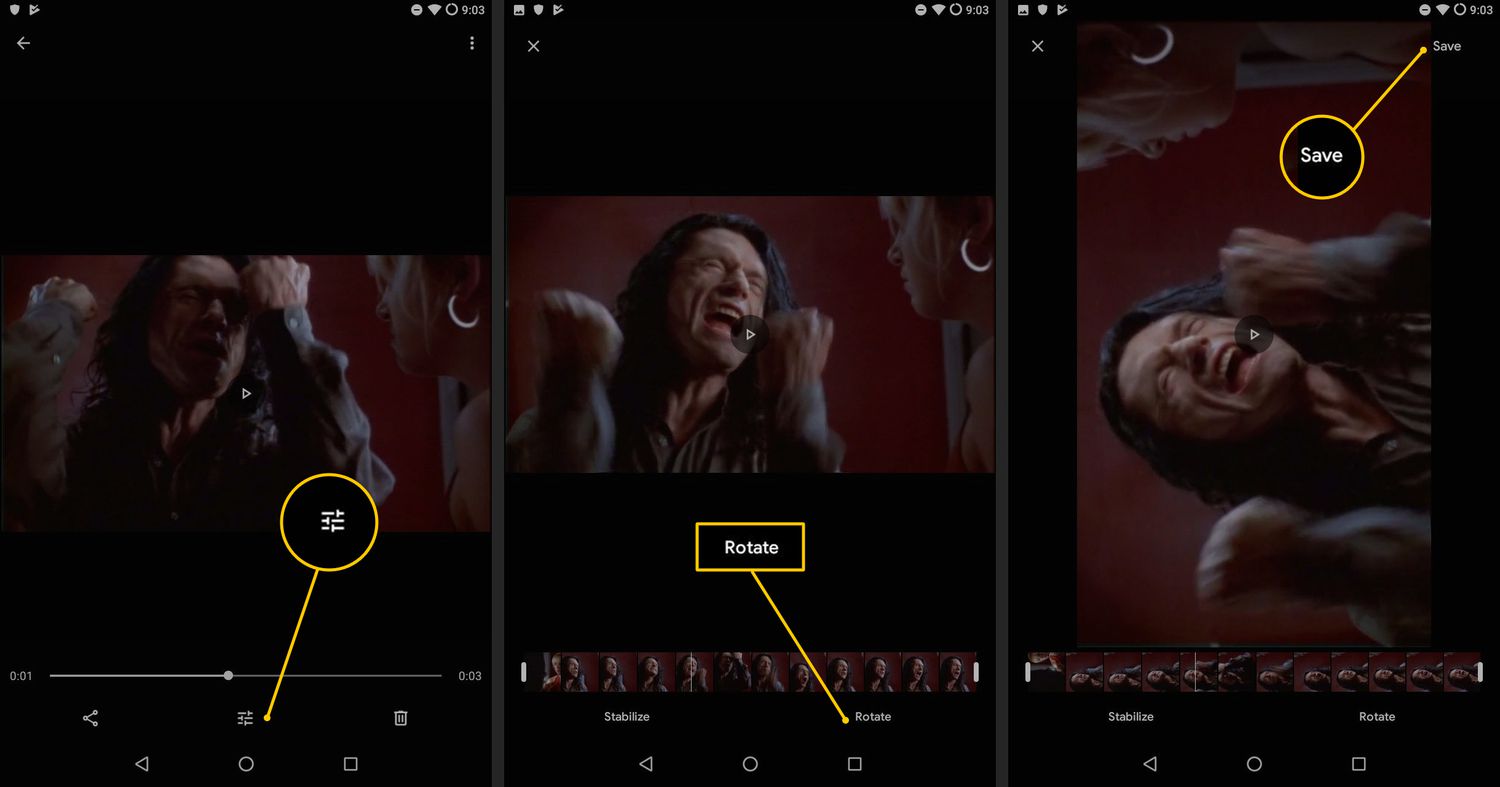
- Google Photos also provides a range of editing and sharing options for your videos. You can trim, rotate, or apply filters to enhance your videos, and easily share them with friends and family.
- To view a video, simply click on it in the web browser or tap on it in the app. The video will open in a player, allowing you to watch it in full screen or control the playback.
By following these steps, you can access and enjoy your uploaded videos in Google Photos. Take advantage of the various features and functionalities provided by Google Photos to fully utilize and personalize your video library.
Conclusion
Uploading videos to Google Photos is a convenient way to store, organize, and access your video collection from any device. With its user-friendly interface and robust features, Google Photos provides a seamless experience for managing and sharing your videos.
In this step-by-step guide, we have walked you through the process of uploading videos to Google Photos. From signing in to your Google Photos account to selecting the videos, choosing the upload size, initiating the upload process, monitoring the progress, and accessing your uploaded videos, each step has been covered to ensure a smooth and successful upload experience.
Remember to consider the upload size options, “Original” and “High quality,” depending on your storage needs and desired video quality. Monitor the upload progress, and be patient as the process may take time, especially for large videos or slower connections. Once uploaded, you can easily access and manage your videos within Google Photos, utilizing the various organizational and sharing features available.
Whether you want to keep your precious family memories, store personal videos, or showcase your creative projects, Google Photos offers a reliable and efficient platform for all your video storage needs. So start uploading your videos to Google Photos and enjoy the convenience and accessibility it provides for your video collection.