Introduction
Welcome to the era of digital photography, where capturing and preserving memories has become easier than ever before. With the advent of smartphones and high-resolution cameras, we are taking more photos than ever. However, the risk of losing those precious moments due to device failures or accidents always looms over us. That’s where Google Photos comes to the rescue.
Google Photos is a cloud-based photo storage and sharing service that allows you to back up and access your photos from anywhere, ensuring that your memories are safe and easily accessible. Whether you’re using a mobile device or a computer, Google Photos provides a hassle-free solution to safeguard and organize your photo collection.
In this article, we will guide you through the process of setting up and using Google Photos to back up all your photos. We will cover how to upload photos from mobile devices as well as from PCs or Macs. Additionally, we’ll explore how to organize and manage your photos on Google Photos, adjust storage settings, and access your photos on any device.
By the end of this guide, you’ll have all the knowledge you need to ensure that your cherished memories are securely backed up and readily available whenever you want to relive them. So, let’s jump right in and get started with Google Photos!
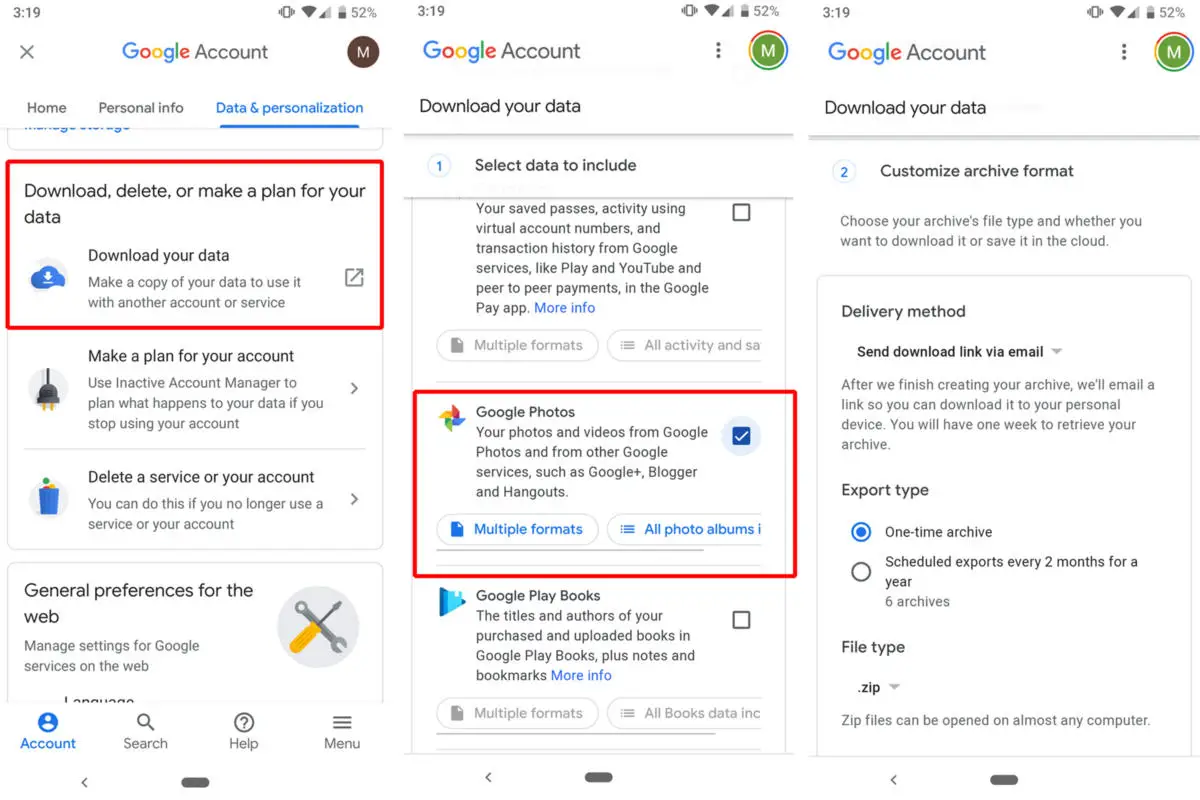
Setting Up Google Photos
Welcome to the exciting world of Google Photos! To start using this amazing service, you’ll need to set up your Google Photos account. Here’s a step-by-step guide to get you started:
- Create a Google Account: If you don’t already have a Google account, head over to the Google Account creation page and sign up for a new account. This account will be your gateway to all of Google’s services, including Google Photos.
- Download the Google Photos App: Once you have a Google account, go to your app store (Google Play Store for Android or App Store for iOS) and search for “Google Photos”. Download and install the app on your mobile device.
- Sign In to the Google Photos App: Open the Google Photos app and sign in using your Google account credentials. Make sure to grant the necessary permissions for the app to access your device’s photos.
- Enable Backup & Sync: After signing in, go to the settings of the Google Photos app and enable the “Backup & Sync” option. This will ensure that all photos and videos captured on your device are automatically backed up to your Google Photos account. You can also choose to back up photos in their original quality or in high quality, which offers unlimited free storage.
- Set Wi-Fi Backup Preferences (Optional): If you’d like to conserve your mobile data, you can specify that the Google Photos app should only back up your photos when connected to Wi-Fi. This is especially useful if you have a limited data plan.
That’s it! You’ve successfully set up Google Photos on your mobile device. Now, let’s move on to the next section to learn how to upload your photos to Google Photos.
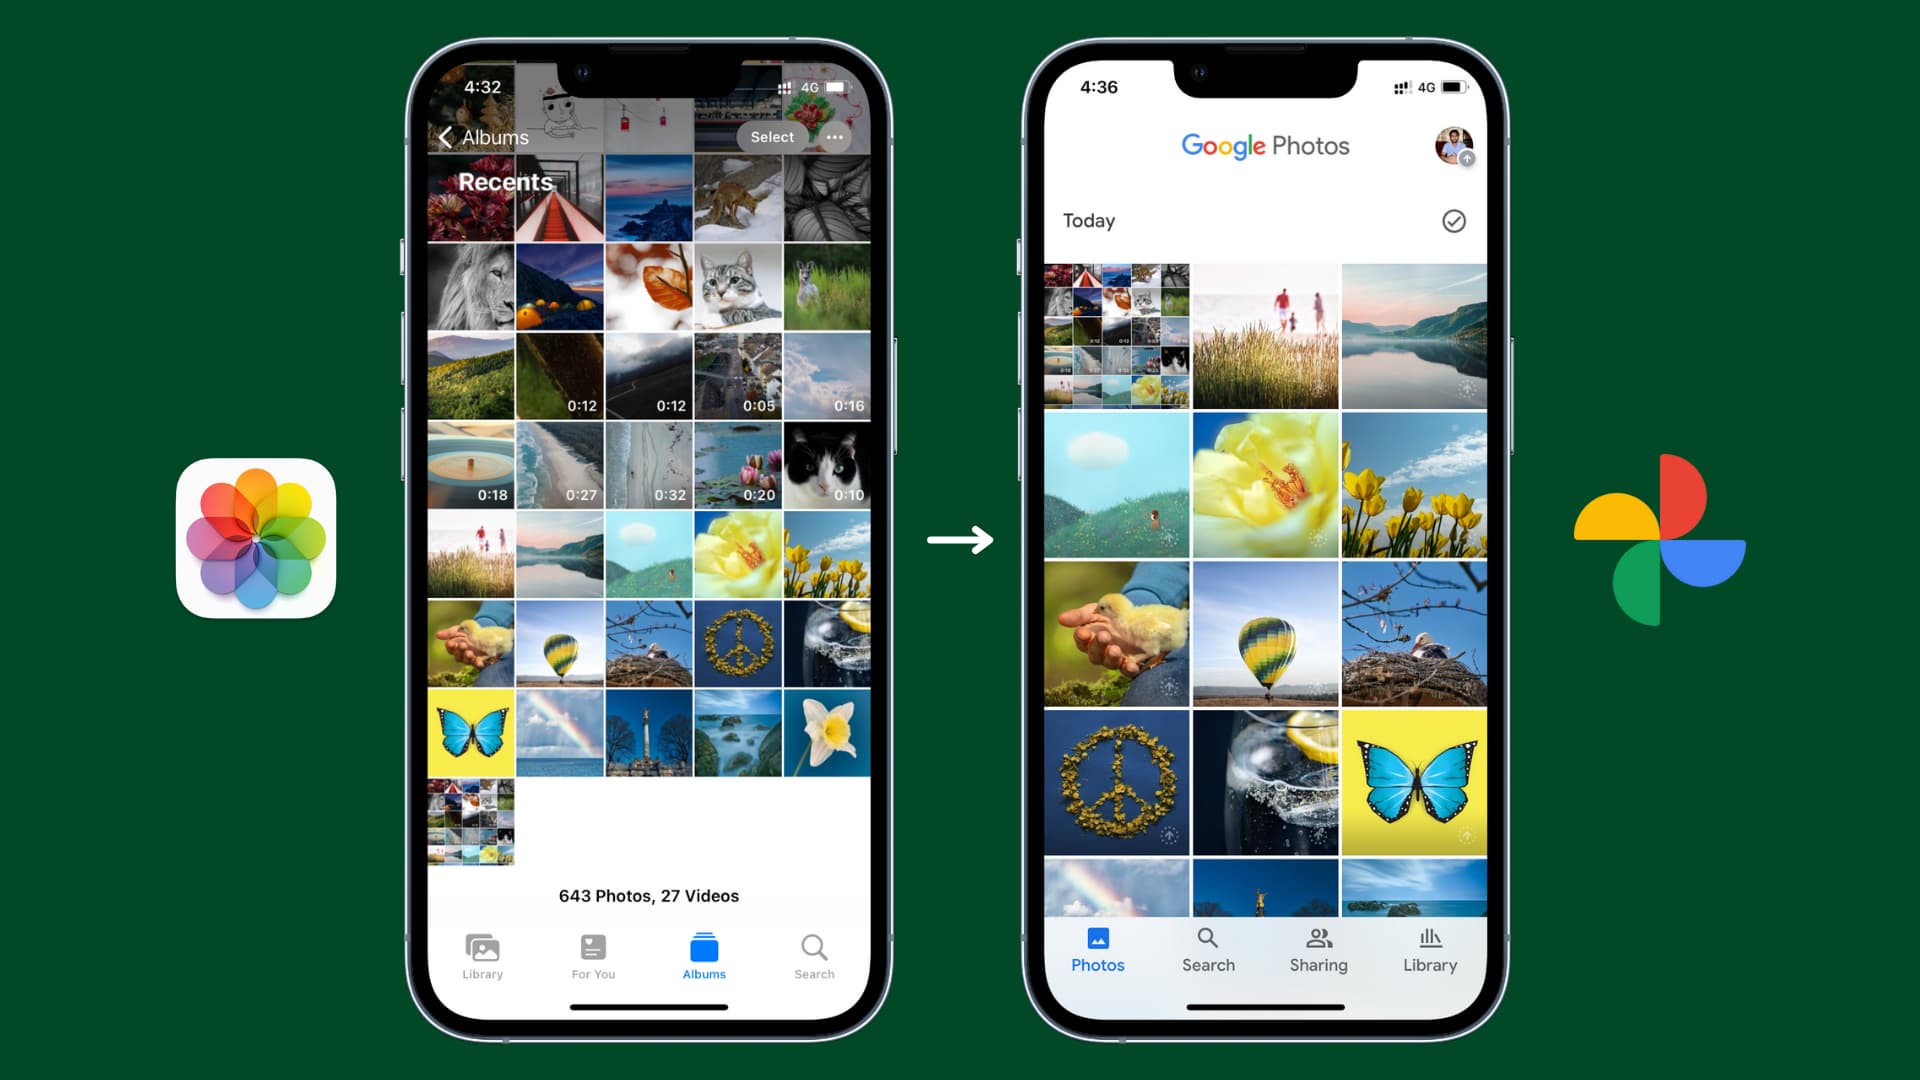
Uploading Photos to Google Photos
Once you have set up Google Photos, it’s time to start uploading your photos so that they are safely stored in the cloud. Here are a few different methods you can use to upload your photos to Google Photos:
- Automatic Backup: If you have enabled the “Backup & Sync” option in the Google Photos app, all the photos and videos captured by your device’s camera will automatically be backed up to your Google Photos account. This ensures that you never have to worry about manually uploading your photos.
- Manual Upload: If you have photos stored on your device’s internal storage or external memory card, you can manually upload them to Google Photos. Open the Google Photos app, tap on the “+” icon, and select “Upload” from the options. You can then choose the photos you want to upload from your device’s gallery or file manager.
- Drag and Drop (Desktop): If you’re using Google Photos on your PC or Mac, you can simply drag and drop your photos from your computer’s file explorer into the Google Photos web interface. This makes it quick and easy to upload multiple photos at once.
- Sync from Desktop (Backup & Sync): Google provides a convenient desktop app called “Backup & Sync” that allows you to sync your local folders with your Google Photos account. This means that any photos added or modified in the synced folders will be automatically uploaded to Google Photos.
Regardless of the method you choose to upload your photos, Google Photos will store them securely in the cloud. You can access your uploaded photos from any device with an internet connection, making it convenient to view and share your memories with others.
Now that you know how to upload your photos to Google Photos, let’s explore how to back up photos from mobile devices and PCs or Macs in the next sections.
Backing Up Photos from Mobile Devices
With the increasing popularity of smartphones, capturing photos on the go has never been easier. Thankfully, Google Photos provides a seamless way to back up your mobile device’s photos and ensure they are safe and accessible. Here’s how you can do it:
- Enable Automatic Backup: Open the Google Photos app on your mobile device and tap on the three-line menu icon in the top left corner. Go to “Settings” and select “Backup & Sync”. Make sure the toggle switch is turned on to automatically back up your photos to your Google Photos account.
- Choose Backup Quality: Google Photos gives you the option to choose between two backup quality options: “High Quality” or “Original”. High Quality offers unlimited free storage for compressed photos and videos, while Original quality backs up your photos in their original file size and may count towards your Google storage quota. Select your preferred option based on your storage needs.
- Manage Backup Folders: By default, Google Photos will back up all the photos and videos on your device. If you only want to back up specific folders or albums, you can customize the backup settings. Go to “Settings”, tap on “Backup & Sync”, and then select “Back up device folders”. From there, you can choose specific folders or albums to include or exclude from the backup process.
- Check Backup Status: To monitor the progress of your photo backup, open the Google Photos app and tap on the cloud icon at the bottom of the screen. This will show you the current status of your backups, including any pending uploads or completed backups.
- Upload Photos Manually: If you want to manually upload specific photos or videos, you can do so by opening the Google Photos app, tapping on the “+” icon, and selecting “Upload” from the options. You can then choose the photos or videos you want to upload from your device’s gallery or file manager.
By following these steps, you can ensure that all the photos and videos on your mobile device are automatically backed up to your Google Photos account. This provides you with the peace of mind knowing that your precious memories are safe even if your device is lost, damaged, or replaced.
Next, we will explore how to back up photos from PCs or Macs to Google Photos.
Backing Up Photos from PC or Mac
If you have a collection of photos stored on your PC or Mac, you can easily back them up to Google Photos for safekeeping and easy access across all your devices. Here’s how you can back up your photos from your computer:
- Install Backup & Sync: On your PC or Mac, visit the Google Photos website and download the Backup & Sync application. Once downloaded, install the application and sign in with your Google account credentials.
- Select Folders to Back Up: During the installation process, you’ll be prompted to choose the folders on your computer that you want to back up to Google Photos. You can select specific folders or choose to back up your entire photo library.
- Configure Upload Settings: After selecting the folders to back up, you can customize the upload settings by clicking on the Backup & Sync icon in the system tray or menu bar. From there, you can choose to upload photos and videos in “High Quality” or “Original” quality, as well as specify whether to upload photos only when connected to Wi-Fi.
- Monitor Backup Progress: To check the status of your photo backup, click on the Backup & Sync icon and select “Photos settings”. This will display the current status of your uploads, including any pending or completed backups.
- Add Photos to Synced Folders: If you have newly added photos on your computer that you want to sync with Google Photos, simply move them into one of the synced folders. The Backup & Sync application will automatically detect these changes and upload the new photos to your Google Photos account.
By utilizing the Backup & Sync application, you can ensure that your entire photo collection on your PC or Mac is securely stored in your Google Photos account. This way, you can access and manage your photos from any device with an internet connection.
Now that you know how to back up your photos from mobile devices and PCs or Macs, let’s move on to the next section to learn how to organize and manage your photos on Google Photos.
Organizing and Managing Photos on Google Photos
Google Photos offers a robust set of features to help you organize and manage your photo collection effortlessly. Here’s how you can make the most of these tools:
- Albums: Create albums in Google Photos to group photos based on specific themes, events, or people. To create an album, simply select the photos you want to include, tap on the “+ Create” button, and choose “Album”. Give your album a name and add a description if desired. You can also share albums with others and collaborate on adding photos.
- Tags and Descriptions: Adding tags or descriptions to your photos can make it easier to search for specific pictures in the future. Simply open a photo, tap on the details icon (i symbol), and add tags or descriptions that are relevant to the image.
- Search and Filtering: Google Photos offers powerful search capabilities, allowing you to find specific photos with ease. Use keywords, such as people’s names or objects, to search for related pictures. You can also filter photos based on date, location, or specific categories like selfies or screenshots.
- Assistant: The Assistant feature in Google Photos provides automatic suggestions for collages, animations, movies, and more. Take advantage of these curated creations to showcase your photos in unique and creative ways.
- Archive: If you want to declutter your main photo feed without deleting any photos, you can archive them. Archived photos are still accessible but are hidden from the main view. To archive a photo, simply open it, tap on the three-dot menu, and select “Archive”.
By utilizing these features, you can keep your photo collection organized and easily navigate through your memories in Google Photos. Whether it’s creating albums for vacations, adding tags to family photos, or using the search function to find specific shots, Google Photos provides the tools you need to effectively manage your digital photo library.
Next, we will explore how to adjust photo storage settings and make the most efficient use of your Google Photos account.
Adjusting Photo Storage Settings
Google Photos offers flexible storage settings, allowing you to manage your photo library’s size and optimize your storage space. Here are some options you can adjust:
- High Quality vs. Original: Google Photos gives you the choice between two storage options when backing up your photos. High Quality compresses your photos and videos to reduce file size, providing unlimited free storage. Original quality retains the original file size and may count towards your allocated Google storage. Consider your storage needs and preferences when selecting the storage option that suits you best.
- Storage Saver: To optimize your Google Photos storage, enable the “Storage Saver” feature. This setting reduces the size of photos and videos on your device that are not backed up, allowing you to free up space without affecting the quality of your backed-up photos.
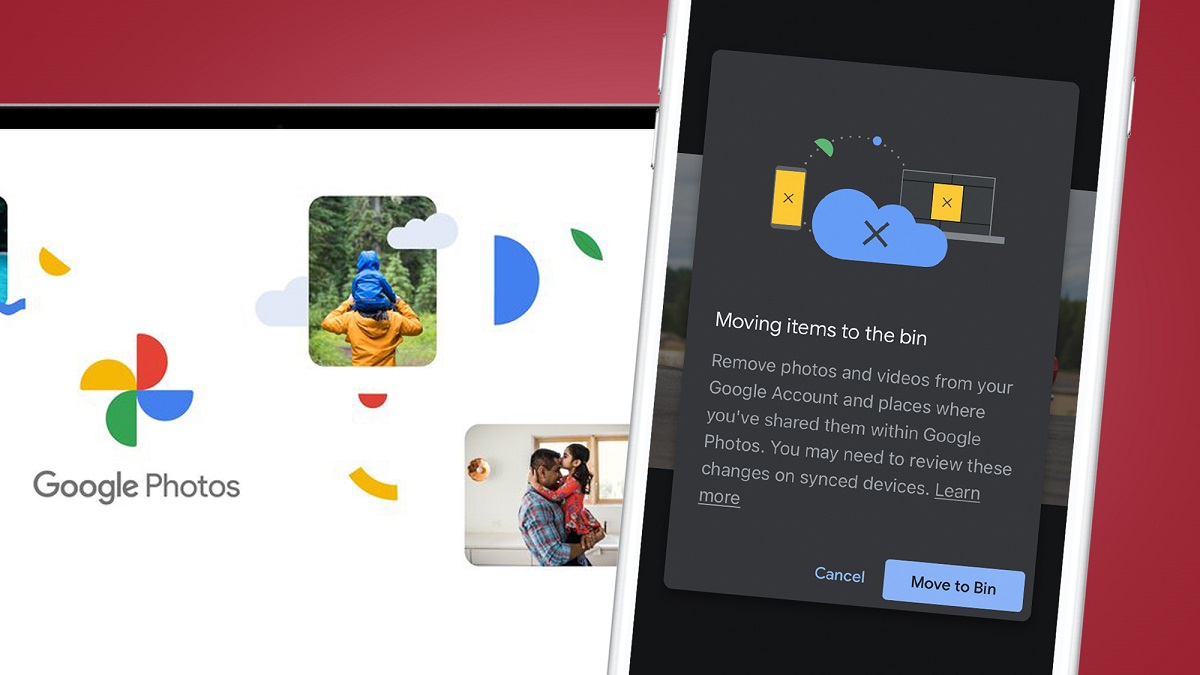
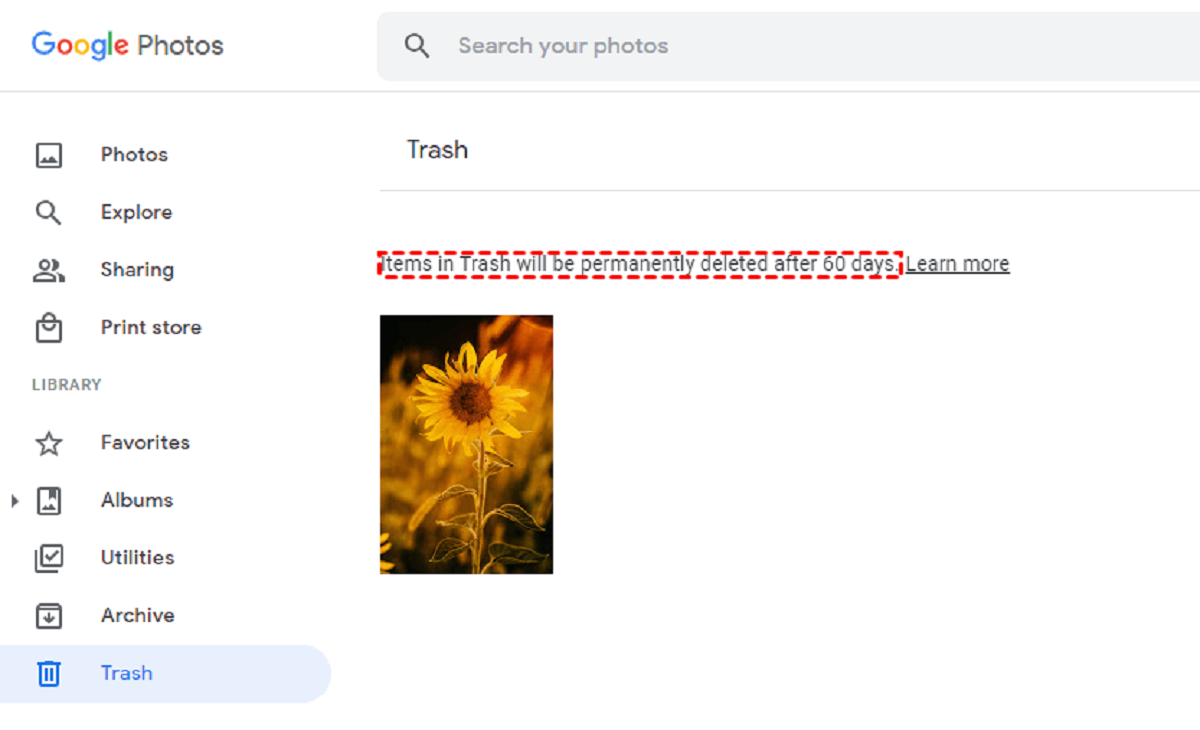
- Clearing Device Storage: If you’re running out of space on your mobile device, you can use the “Free up space” feature in Google Photos. This option will delete photos and videos that have already been backed up to your Google Photos account, ensuring you have sufficient storage on your device for new captures.
- Deletion Policy: In the event that you need to delete photos from your Google Photos account, you can choose between two automatic deletion options. The first option allows for photos to be deleted after they have been backed up for 30 days, giving you time to review and ensure your backups are successful. The second option allows for immediate deletion after backup.
- Storage Management: Keep an eye on your Google storage usage by visiting the Google One website or app. You can see a breakdown of how much storage is being used by Google Photos and other services, upgrade your storage plan if needed, and manage your overall storage settings.
By fine-tuning these storage settings and regularly reviewing your storage usage, you can ensure that you have the optimal balance between storage capacity and the quality of your backed-up photos. Take advantage of the features and options available to maximize your experience with Google Photos.
Now that you know how to adjust your photo storage settings, let’s move on to the next section to learn how to access your photos from anywhere and on any device.
Accessing Your Photos Anywhere
One of the major advantages of using Google Photos is the ability to access your photos from anywhere, whether it’s on your smartphone, tablet, PC, or Mac. Here’s how you can access your photos on any device:
- Mobile Devices: Install the Google Photos app on your iOS or Android device from the respective app store. Sign in with your Google account, and you’ll have all your backed-up photos readily available at your fingertips. The intuitive interface allows you to browse, search, and share your photos effortlessly.
- Web Browser: If you prefer accessing Google Photos from your computer, simply open a web browser and visit photos.google.com. Sign in with your Google account, and you’ll have access to your entire photo library. The web interface provides a familiar and user-friendly experience, allowing you to view, edit, download, and share your photos with ease.
- Shared Albums: Google Photos makes it easy to share your photos with others. You can create shared albums and invite family, friends, or colleagues to collaborate and contribute their own photos. This allows for a seamless sharing experience, ensuring that everyone can access and enjoy the shared memories.
- Google Drive Integration: As part of the Google ecosystem, Google Photos integrates with Google Drive. This means that you can access your photos stored in Google Photos directly from Google Drive, and vice versa. This integration provides an efficient way to manage and access your photos alongside other files and documents stored in Google Drive.
- Offline Viewing: To access your photos even without an internet connection, you can enable “Offline view” in the Google Photos app. This allows you to view a selection of your recently accessed photos without needing an internet connection. Any edits or actions taken while offline will sync with your Google Photos account once you’re back online.
Whether you’re on the go, working on your computer, or sharing memories with others, Google Photos offers versatile options for accessing your photos from anywhere and on any device. Take advantage of these features to relive and share your cherished moments whenever and wherever you are.
Now that you know how to access your photos anywhere, let’s explore some tips to ensure a smooth photo backup process.
Tips for a Smooth Photo Backup Process
Backing up your photos is crucial for preserving your precious memories, and Google Photos makes it easy to do so. To ensure a smooth photo backup process, here are some helpful tips:
- Check Wi-Fi Connection: To avoid excessive data usage, ensure that you are connected to a Wi-Fi network when backing up your photos. This will prevent any unexpected data charges and ensure a faster and more efficient backup process.
- Keep Your Device Charged: It’s important to have sufficient battery life on your device, especially when uploading a large number of photos. Keep your device connected to a power source during the backup process to avoid any interruptions due to low battery.
- Periodically Review and Clean Up: Take the time to review your backed-up photos and remove any duplicates, unwanted shots, or blurry images. This will help keep your Google Photos account organized and optimized for efficient storage.
- Use Albums to Organize: Utilize the album feature in Google Photos to create curated collections of your favorite photos or group them by specific themes or events. This will make it easier to navigate and share your photos with others.
- Enable “Assistant” Notifications: Google Photos’ Assistant feature provides helpful suggestions for edits, creations, and albums. Enable notifications to stay updated with these suggestions and take advantage of the automated features to enhance your photo collection.
- Regularly Sync Your Devices: If you use multiple devices to capture photos, make sure they are all synced with your Google Photos account. This will ensure that every photo is backed up and accessible from any device.
By following these tips, you can ensure a seamless and efficient photo backup process with Google Photos. Take advantage of the features and settings available to customize your backup experience and keep your photo collection safe and organized.
Now that you have these useful tips, you’re well-equipped to make the most of Google Photos and ensure that your cherished memories are backed up and easily accessible.
Conclusion
In this digital age where we capture countless moments through photos, it’s essential to have a reliable backup solution to preserve our memories. Google Photos proves to be an excellent choice for safeguarding and managing your photo collection. By following the steps outlined in this guide, you can easily set up Google Photos, upload photos from both mobile devices and computers, organize your photos, adjust storage settings, and access your photos from anywhere across various devices.
With Google Photos, you no longer have to worry about losing your photos due to device malfunctions or accidental deletions. The automatic backup feature ensures that your photos are securely stored in the cloud, allowing you to view and share them easily whenever you want. The ability to create albums, add tags and descriptions, and use powerful search and filtering options simplifies the organization and management of your photos.
Remember to optimize your storage settings, periodically review and clean up your backups, and take advantage of the features that Google Photos offers for a smooth and hassle-free photo backup process. By following the tips provided in this guide, you can make the most of Google Photos and ensure that your cherished memories are preserved for years to come.
So, get started with Google Photos today and have peace of mind knowing that your photo collection is safe, accessible, and well-organized. Start capturing and reliving your memories without the worry of losing them!