Introduction
In this digital age, photographs hold immense sentimental value. They capture our cherished memories and allow us to relive special moments. Google Photos, with its vast storage capacity and intuitive interface, has become a popular choice for storing and organizing our extensive photo collections. However, there may come a time when you want to move your photos from Google Photos to your device’s gallery for convenience or for offline access. In this article, we will explore three different methods to help you achieve this.
Whether you need to transfer photos from Google Photos to your mobile device or computer, we’ve got you covered. The methods we will discuss are suitable for a variety of platforms, including Android, iOS, and desktop operating systems.
Before we delve into the details, it’s important to note that Google Photos offers a “Backup & Sync” feature that automatically uploads and syncs your device’s gallery photos to the cloud. However, the reverse process – moving photos from Google Photos to your device – requires a few extra steps. But worry not, as we will guide you through each method with easy-to-follow instructions.
So, whether you’re looking to free up storage space on Google Photos or simply want to have your photos readily available on your device, let’s explore these three methods and find the one that best suits your needs.
Method 1: Downloading photos from Google Photos to your device
One straightforward way to move your photos from Google Photos to your device’s gallery is by downloading them directly. This method allows you to select specific photos or entire albums for download, providing you with a local copy of your photos.
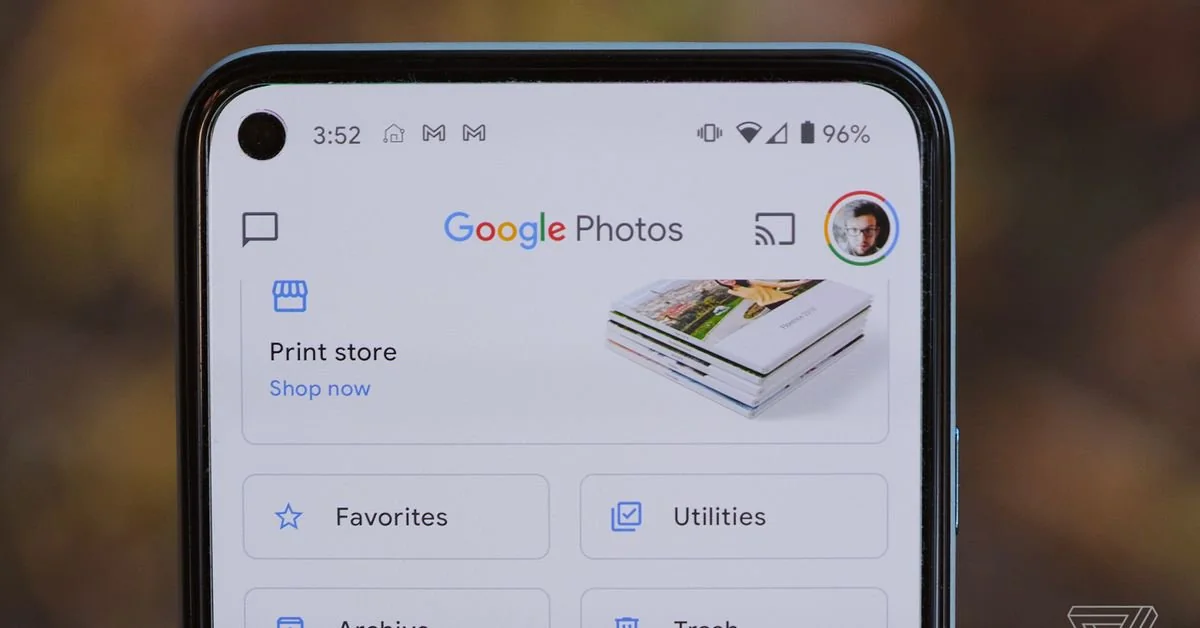
To begin, open the Google Photos app on your device or access it through your web browser. Locate the photo or album you wish to download and open it. If you’re using the app, tap on the three-dot menu icon in the top-right corner of the screen. For web users, click on the three-dot menu icon located at the top-right of the album or photo preview.
In the menu, you will find an option to “Download” the photo or album. Tap on it, and Google Photos will start preparing the files for download. Depending on the size and number of photos, this process may take a few moments.
Once the download is ready, you will be prompted to choose your desired quality for the images. Google Photos provides two options: “High quality” and “Original quality.” “High quality” images offer slightly compressed files, reducing the storage space required, while “Original quality” preserves the photos in their original resolution. Select your preference and proceed.
Now, you have the option to choose where you want to save the downloaded photos. If you’re using an Android device, you can select the device’s internal storage or an external SD card. For iOS users, the photos will be saved in the device’s camera roll by default.
Once you’ve selected the destination, click “Download” or tap on “Save” to initiate the transfer process. Google Photos will begin downloading the selected photos to your device. The length of time will depend on the number and size of the files.
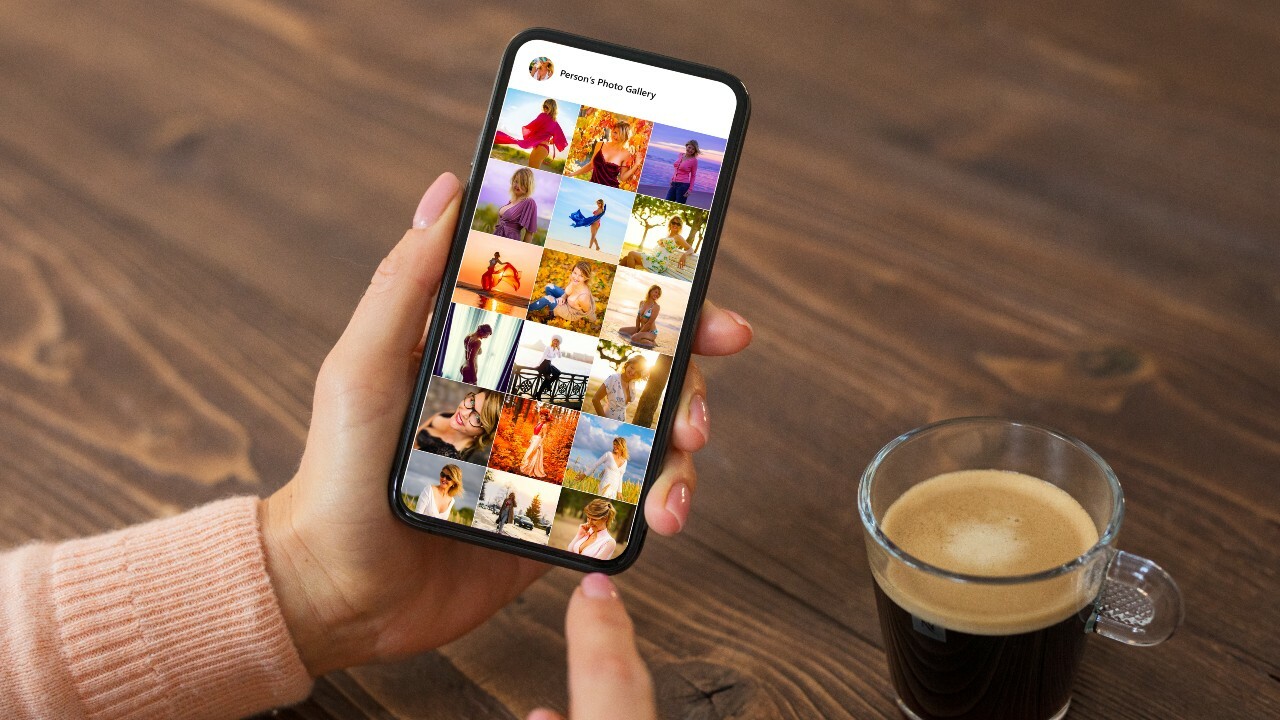
After the download is complete, you can open your device’s gallery app to find the transferred photos. They will now be accessible offline, allowing you to view and share them conveniently, even without an internet connection.
Remember to periodically check for any updates or changes made to your photos in Google Photos. If you want to ensure your device’s gallery stays synced with your Google Photos library, you may need to repeat the download process periodically or consider alternative methods discussed later in this article.
Method 2: Using Google Takeout to export photos from Google Photos
If you have a large number of photos in your Google Photos library and prefer to export them all at once, Google Takeout is a convenient option. Takeout is a service provided by Google that allows users to download a copy of their data from various Google products, including Google Photos.
To start the export process, navigate to the Google Takeout website on your computer’s web browser. Sign in with your Google account if prompted.
On the Google Takeout page, you’ll see a list of Google products and services that you can include in your export. Locate and select “Google Photos” from the list. You can also click on “Select None” and then check the box next to “Google Photos” to solely export your photos.
Once you’ve chosen Google Photos, scroll down to customize the export settings. Here, you can specify the file type, archive size, and delivery method for the exported photos. We recommend leaving the default file type as “zip,” choosing a reasonable archive size (maximum of 50GB), and selecting the delivery method that suits you best – either via a download link sent to your email or directly added to a cloud storage service like Google Drive or Dropbox.
After customizing the settings, click on the “Create export” or “Next” button to initiate the export process. Google Takeout will start preparing your photos for export, which may take some time depending on the size of your library.
Once the export is ready, you will receive an email notification with a link to download the archived photos. Follow the provided link or access the export from your selected cloud storage service to download the zip file containing your photos.
After downloading the zip file, extract its contents to a desired location on your computer. You will now have access to all your Google Photos in their original quality, allowing you to easily transfer them to your device’s gallery.
From here, you can connect your device to your computer and transfer the photos using a USB cable or any other preferred method for file transfer. Copy the extracted photos to your device’s internal storage or to a specific folder within the gallery app.
Once the transfer is complete, you can disconnect your device and open the gallery app. Your Google Photos will now be available in your device’s gallery, ready to be viewed, edited, or shared without an internet connection.
It’s worth noting that if you’re using Google Takeout to export a large number of photos, the process may take some time, and it’s recommended to ensure you have sufficient storage space on your computer and device before proceeding.
Method 3: Syncing Google Photos with your device’s gallery
If you prefer to have your Google Photos synced with your device’s gallery automatically, you can utilize the built-in syncing feature offered by Google Photos. This method ensures that any changes made to your Google Photos library are reflected in your device’s gallery in real-time.
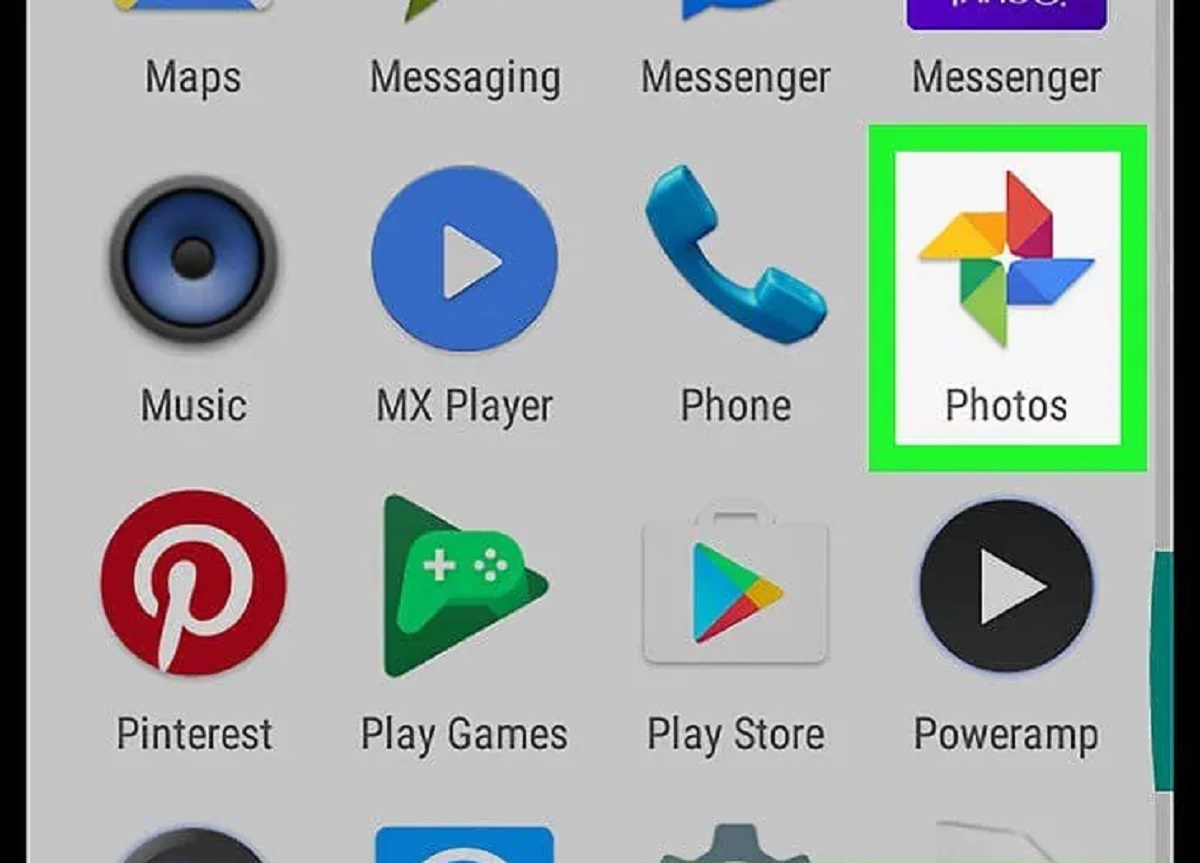
To start the synchronization process, ensure that you have the Google Photos app installed on your device. If not, you can download it from the Google Play Store (for Android) or the App Store (for iOS).
Open the Google Photos app and sign in with your Google account, if required. Once logged in, tap on the three-line menu icon in the top-left corner of the screen to access the app’s settings.
In the settings menu, look for the “Backup & sync” option and tap on it to proceed. You will then see a toggle switch that enables or disables the syncing feature. Make sure the toggle switch is turned on to allow synchronization between Google Photos and your device’s gallery.
Once enabled, Google Photos will automatically back up any new photos taken with your device’s camera and sync them with your Google Photos library. Similarly, any changes made to your Google Photos library, such as adding or deleting photos and organizing them into albums, will be reflected in your device’s gallery as well.
It’s important to note that Google Photos may require a stable internet connection to ensure that the syncing process functions properly. Additionally, you should keep an eye on your device’s storage capacity, as enabling syncing may consume storage space depending on the size of your photo library.
By using the syncing feature, you can have peace of mind knowing that your Google Photos library is always up to date with your device’s gallery. This makes it convenient to access and manage your photos on the go, without the need for additional downloads or transfers.
However, do keep in mind that if you decide to disable the “Backup & sync” feature in the future, any new photos or changes made in Google Photos may not be reflected in your device’s gallery. It’s recommended to periodically check the syncing status and adjust your preferences accordingly.
Conclusion
Moving photos from Google Photos to your device’s gallery can provide you with offline access to your cherished memories and make them readily available for viewing and sharing. In this article, we explored three different methods to help you achieve this: downloading photos directly, using Google Takeout to export photos in bulk, and syncing Google Photos with your device’s gallery.
Downloading photos from Google Photos is a simple method that allows you to choose specific photos or albums for download. This provides you with a local copy of your photos that can be accessed offline. On the other hand, using Google Takeout offers the convenience of exporting all of your Google Photos at once, preserving their original quality. This method is especially useful if you have a large photo library.
Alternatively, you can opt for the syncing feature provided by Google Photos to keep your device’s gallery in sync with your Google Photos library. This ensures that any changes made in Google Photos, such as new additions or deletions, are reflected in your device’s gallery in real-time. This method eliminates the need for manual downloads or exports.
Each method has its own advantages and may suit different preferences and needs. Consider your specific requirements, such as the size of your photo library or the frequency of updates, when choosing the most suitable method for you.
By following the instructions outlined in this article, you can easily move your photos from Google Photos to your device’s gallery. Whether you’re looking to free up storage space, have offline access to your photos, or simply want to keep your memories at your fingertips, these methods will help you accomplish your goal.
Remember to periodically check for updates or changes made in your Google Photos library, especially if you’re using the syncing feature. By staying proactive, you can ensure that your device’s gallery remains up to date with your most recent memories captured in Google Photos.
Now, armed with these methods, you can confidently transfer and enjoy your Google Photos directly from your device’s gallery, allowing you to relive and share your precious moments anytime, anywhere.