Introduction
Syncing your gallery to Google Photos is a convenient way to keep your precious memories safe and easily accessible. By syncing your photos, you can ensure that they are securely backed up to the cloud and easily accessible across all your devices. Whether you’re using an Android or iOS device, this step-by-step guide will walk you through the process of setting up and syncing your gallery to Google Photos.
With Google Photos, you no longer need to worry about losing your photos if your device gets lost, damaged, or stolen. By enabling sync, you can automatically upload your photos to your Google account, allowing you to access them from anywhere with an internet connection. Plus, Google Photos offers a range of additional features, such as smart search options, automatic organization, and easy sharing with friends and family.
Whether you’re an avid photographer or simply want to preserve your special moments, syncing gallery to Google Photos is a smart choice. Let’s dive into the step-by-step process to get started!
Step 1: Setting up Google Photos
Before you can start syncing your gallery to Google Photos, you’ll need to set up an account and install the Google Photos app on your device. Follow these steps to get started:
- Create a Google account: If you don’t have a Google account yet, visit the Google Account creation page and follow the instructions to set one up. Make sure to choose a strong password to keep your account secure.
- Download the Google Photos app: Once you have a Google account, head to the App Store (iOS) or Google Play Store (Android) and search for “Google Photos”. Download and install the app on your device.
- Sign in to Google Photos: Open the Google Photos app and sign in using your Google account credentials. If you’re prompted to allow access to your photos, tap “Allow” to grant permission.
- Enable backup and sync: After signing in, you’ll be asked if you want to enable backup and sync. This feature automatically uploads your photos to Google Photos whenever you’re connected to a Wi-Fi network. Tap “TURN ON” to enable backup and sync.
- Choose upload quality: Next, you’ll be asked to choose the upload quality for your photos. You can either select “High quality” to store unlimited photos with slightly reduced resolution, or “Original quality” to store your photos at their original resolution but this will count towards your Google account storage limit. Choose the option that suits your needs and tap “Continue”.
- Wait for initial sync: Once you’ve completed the setup process, Google Photos will start syncing your photos to the cloud. This may take some time depending on the number of photos you have.
Once the initial sync is complete, you are all set up with Google Photos! Now, let’s move on to the next steps to enable sync on your specific device.
Step 2: Enabling sync on Android
If you’re using an Android device, follow these simple steps to enable sync for your gallery in Google Photos:
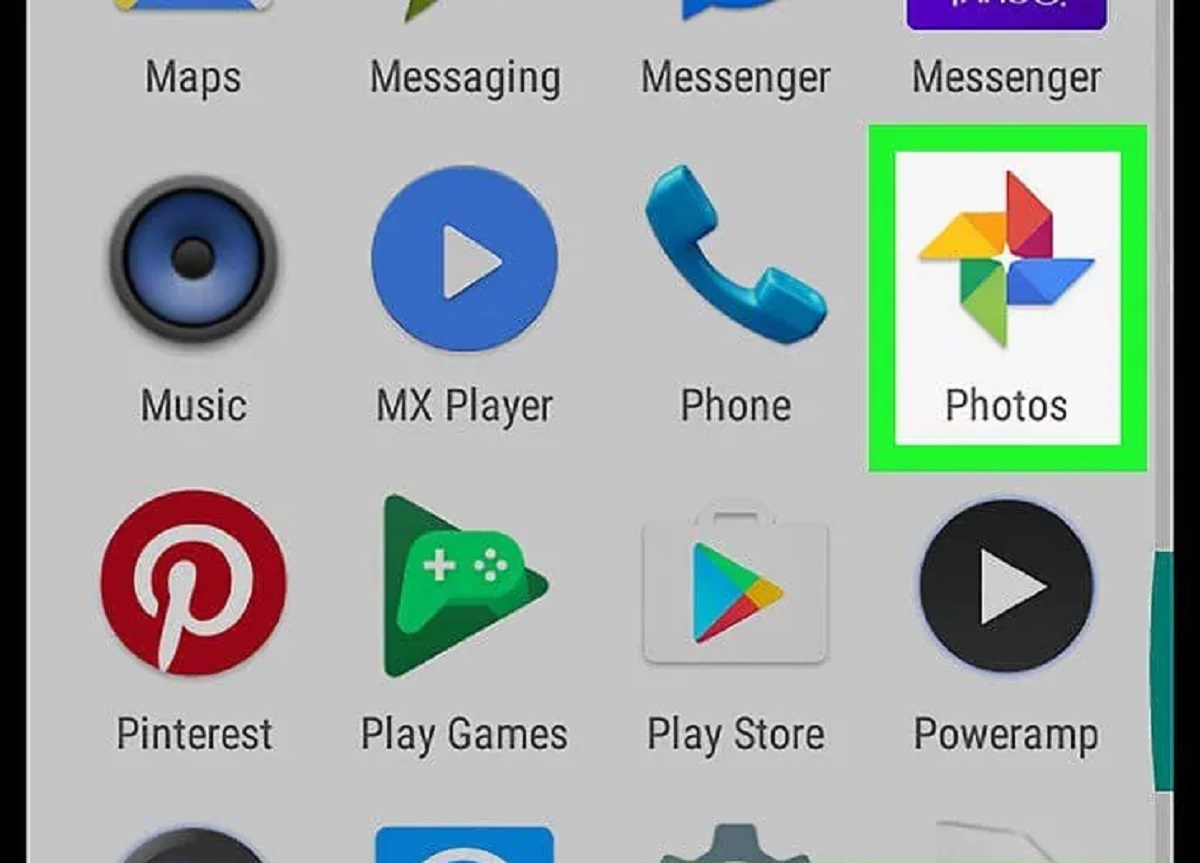
- Open the Google Photos app: Locate the Google Photos app on your Android device and tap on it to open it.
- Access settings: Tap the three horizontal lines in the top-left corner of the app to open the menu and select “Settings” from the list of options.
- Select “Back up & sync”: In the settings menu, tap on “Back up & sync” to access the backup and sync settings.
- Enable sync: In the “Back up & sync” settings, toggle the switch next to “Back up & sync” to enable syncing for your gallery. This will automatically upload new photos and videos to your Google Photos account whenever you’re connected to Wi-Fi.
- Configure backup settings: Below the “Back up & sync” toggle, you can configure additional backup settings such as choosing the upload quality, backing up device folders, and including or excluding specific folders from the backup process. Adjust these settings according to your preferences.
- Wait for syncing to complete: Once you’ve enabled sync, Google Photos will start syncing your gallery to the cloud. Depending on the number of photos and your internet speed, this process may take some time. Keep your device connected to Wi-Fi and wait for the syncing to complete.
That’s it! You’ve successfully enabled sync for your gallery on your Android device. Now, let’s move on to the next step to enable sync on iOS devices.
Step 3: Enabling sync on iOS
If you’re using an iOS device, follow these simple steps to enable sync for your gallery in Google Photos:
- Open the Google Photos app: Locate the Google Photos app on your iOS device and tap on it to open it.
- Access settings: Tap the three horizontal lines in the top-left corner of the app to open the menu.
- Select “Settings”: In the menu, scroll down and tap on “Settings”.
- Enable sync: In the settings menu, tap on “Back up & Sync”. Toggle the switch next to “Back up & Sync” to enable syncing for your gallery. This will automatically upload new photos and videos to your Google Photos account whenever you’re connected to Wi-Fi.
- Configure backup settings: Below the “Back up & Sync” toggle, you can configure additional backup settings such as choosing the upload quality, backing up device folders, and including or excluding specific folders from the backup process. Adjust these settings according to your preferences.
- Wait for syncing to complete: Once you’ve enabled sync, Google Photos will start syncing your gallery to the cloud. Depending on the number of photos and your internet speed, this process may take some time. Keep your device connected to Wi-Fi and wait for the syncing to complete.
Congratulations! You’ve successfully enabled sync for your gallery on your iOS device. Now, let’s move on to the next step to learn how to upload photos to Google Photos.
Step 4: Uploading Photos to Google Photos
Once you have enabled sync for your gallery, uploading photos to Google Photos is a breeze. Follow these steps to upload your photos:
- Open the Google Photos app: Launch the Google Photos app on your device.
- Tap the “+” icon: Look for the “+” icon at the bottom center of the screen and tap on it.
- Select photos: Browse through your gallery and select the photos or videos that you want to upload. You can select multiple items by tapping on them.
- Tap “Upload”: After selecting the desired photos, tap on the “Upload” button. This will begin the upload process.
- Wait for the upload: Depending on the size of the photos and your internet speed, it may take some time for the upload to complete. Make sure you’re connected to a stable Wi-Fi network and be patient while the photos are being uploaded.
- Organize your photos: Once the photos are uploaded, you can organize them into albums, add captions, or apply filters to enhance them. Google Photos provides various tools to help you manage and organize your photo collection.
That’s it! Your photos are now uploaded and synced to your Google Photos account. You can access them from any device with the Google Photos app or through the web interface. Now, let’s move on to the final step to learn how to manage your synced photos.
Step 5: Managing Synced Photos
Once your photos are uploaded and synced to Google Photos, you can easily manage and organize them. Follow these steps to make the most out of your synced photos:
- Browse through your photo library: Open the Google Photos app and navigate to the “Library” tab to view all your synced photos. Scroll through to find the specific photo or album you want to access.
- Search for specific photos: Use the search bar at the top of the app to find specific photos based on people, places, objects, or even text in your photos. Google Photos’ powerful search capabilities make it easy to locate specific memories in your collection.
- Create albums: Group related photos into albums by selecting the photos and tapping on the “Add to album” button. This helps you organize your photos and makes them easier to find and share.
- Apply edits and filters: Google Photos provides a range of editing tools to enhance your photos. Tap on a photo, then select the edit button to adjust brightness, contrast, color, and apply filters to give your photos a unique look.
- Share your photos: Easily share your synced photos with friends and family by tapping on the share button. You can share photos directly with specific contacts or generate a link to share with anyone.
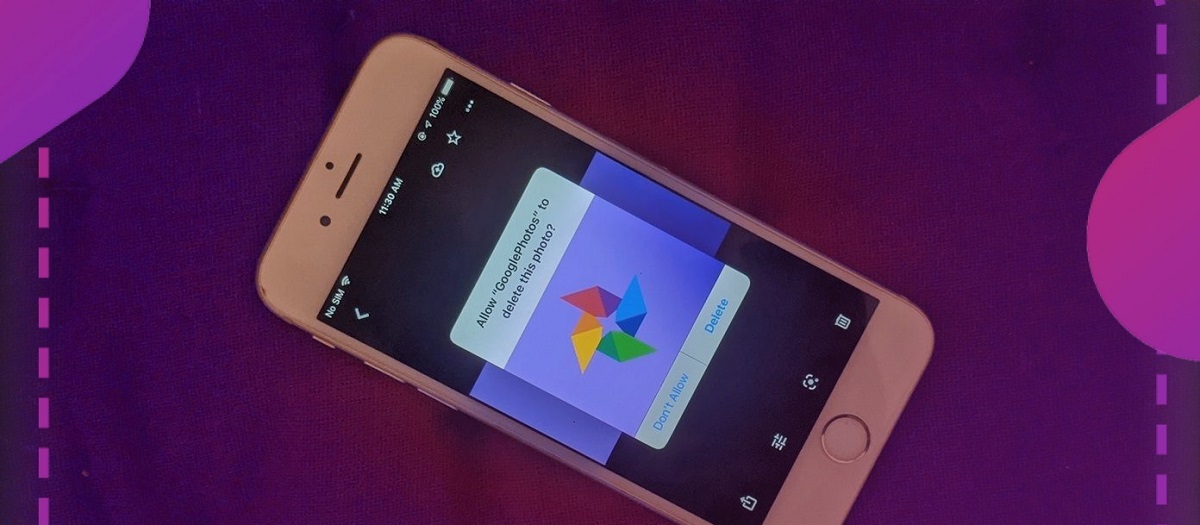
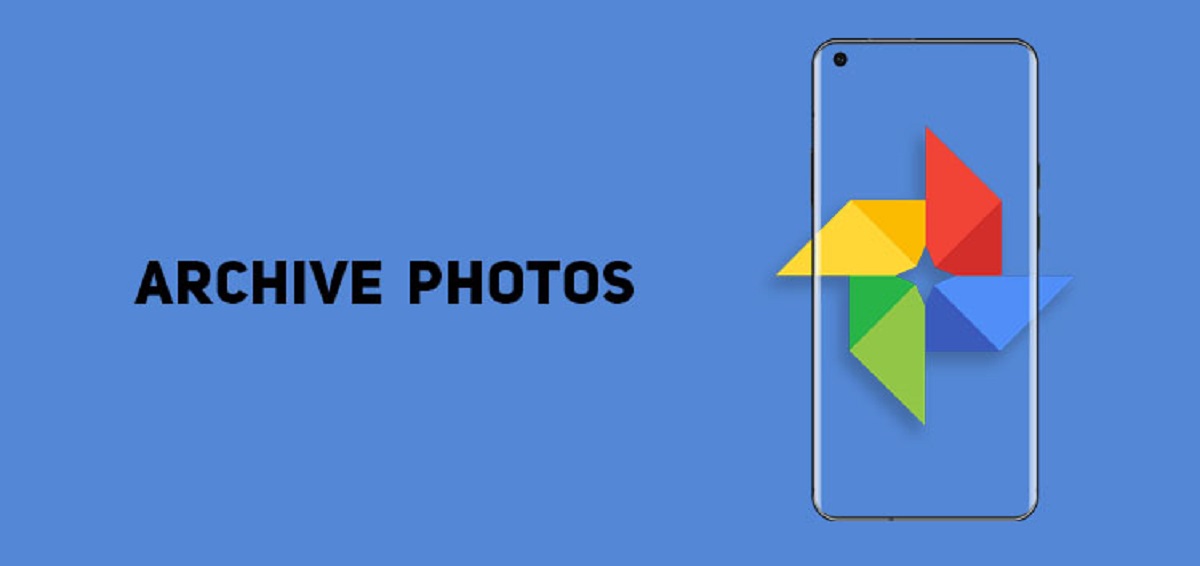
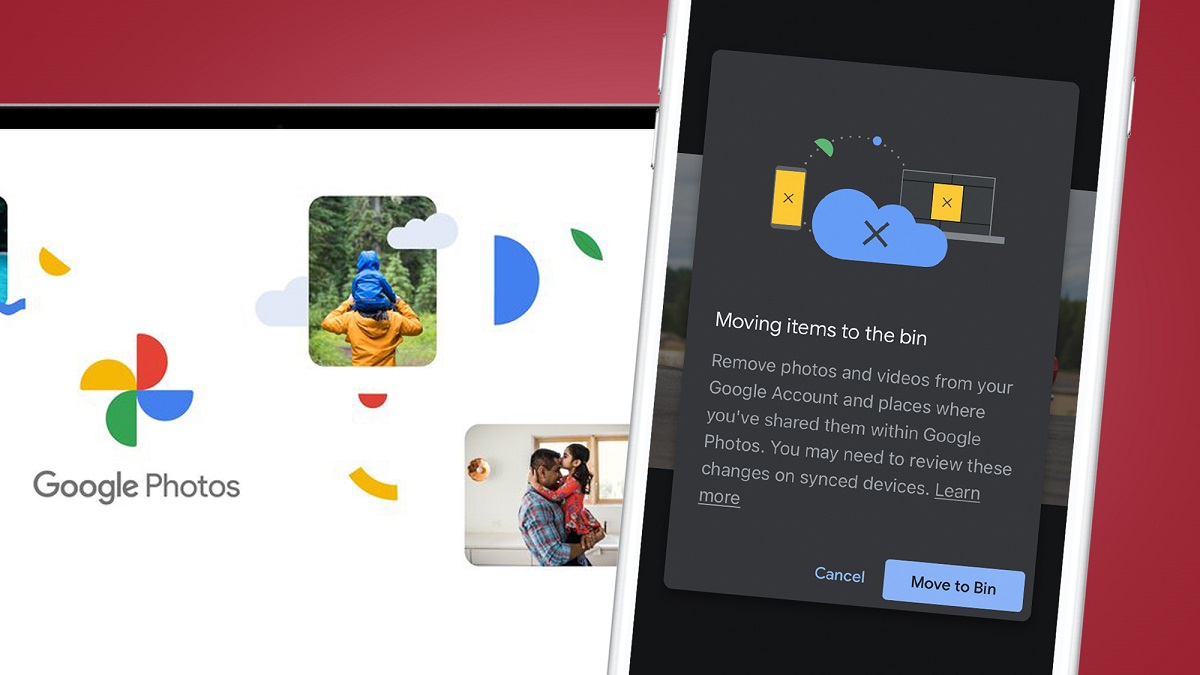
- Delete or archive photos: If you want to free up storage space or organize your photo library, you can delete or archive photos directly from the Google Photos app. Deleted photos will be moved to the “Trash” bin for 30 days before being permanently deleted.
- Access photos on other devices: Your synced photos are available not just on your current device, but also across all devices linked to your Google account. Simply download the Google Photos app on your other devices and sign in to access your entire photo library.
By following these steps, you can easily manage and make the most of your synced photos in Google Photos. It’s a powerful tool for organizing and preserving your memories, ensuring they are easily accessible anytime, anywhere.
Conclusion
Syncing your gallery to Google Photos is a simple yet effective way to keep your photos safe, organized, and accessible across all your devices. With the convenience of automatic backup and sync, you no longer have to worry about losing your precious memories.
In this guide, we covered the step-by-step process of setting up Google Photos, enabling sync on both Android and iOS devices, uploading photos, and managing your synced photo library. By following these steps, you can ensure that your photos are securely stored in the cloud and easily accessible whenever you need them.
Google Photos offers additional features such as smart search options, automatic organization, and easy sharing. Take advantage of these features to easily find and share your favorite photos with friends and family.
Remember to periodically check your storage capacity in Google Photos, as photos synced in “Original quality” count towards your Google account storage limit. Consider upgrading your storage plan if you need more space.
Now that you have mastered the art of syncing your gallery to Google Photos, you can enjoy the peace of mind that comes with knowing your precious memories are safe, secure, and easily accessible. Start syncing your gallery today and embark on a journey of seamless photo management!