Introduction
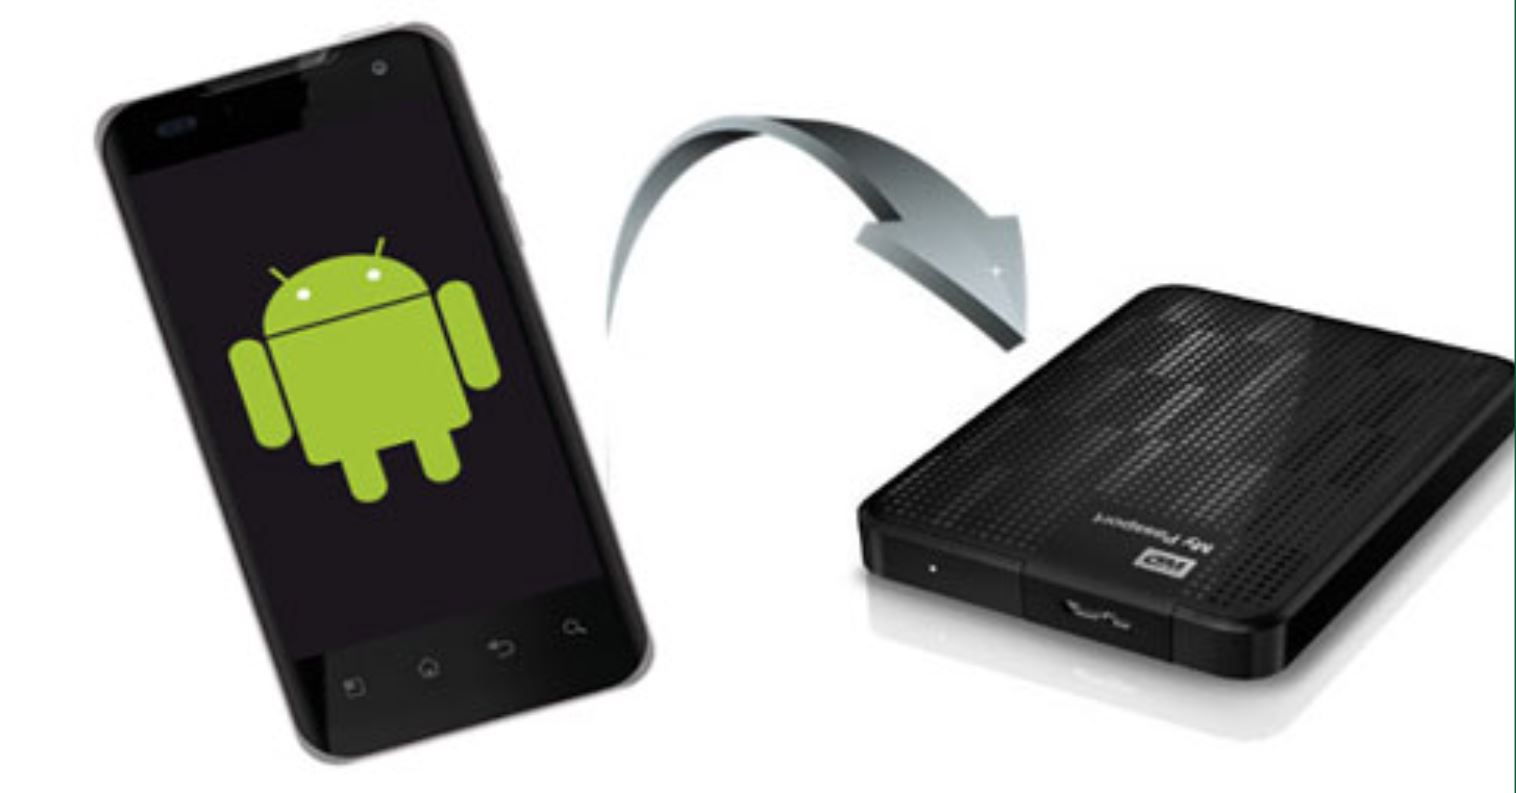
An Android smartphone is a powerful tool that allows us to capture and store cherished memories in the form of photos. Whether it is a beautiful sunset, a special family gathering, or a spontaneous moment with friends, these photos hold great sentimental value. But what happens when you switch to a new Android device and want to transfer your photos from the old one? In this article, we will explore multiple methods to help you comfortably transfer photos from one Android device to another.
Transferring photos may seem like a daunting task, but with the advancement of technology, it has become increasingly convenient. Whether you want to transfer a few photos or a large collection, there are several ways to accomplish this. We will cover various methods, from using Google Photos and file transfer apps to utilizing USB cables, Bluetooth, and even cloud storage services. Each method offers different advantages, allowing you to choose the most suitable option based on your preferences and available resources. So, let’s dive in and explore these different approaches.
Method 1: Using Google Photos
Google Photos is a popular and reliable app that offers a convenient way to transfer photos between Android devices. Here’s how you can use this method:
- First, ensure that both devices are connected to the internet and have Google Photos installed.
- Open Google Photos on your old Android device and sign in with your Google account.
- Tap on the three horizontal lines or the menu icon located at the top left corner of the app.
- Select “Settings” from the menu list.
- In the “Settings” menu, choose “Back up & sync.”
- Toggle the switch to enable “Back up and sync.” This will ensure that your photos are synced to your Google account.
- Allow the photos to be fully uploaded and synced with your Google account.
- Now, open Google Photos on your new Android device and sign in with the same Google account.
- Wait for the app to sync with your Google account and display your photos.
- You should now see all your photos from the previous device on your new Android device.
- If you want to download specific photos to your new device, select the desired photos and tap on the download icon.
Using Google Photos ensures that your photos are automatically backed up and accessible through any device synced to your Google account. It provides a seamless experience and eliminates the need for any physical connections or additional apps. However, it’s important to note that this method requires a stable internet connection and sufficient storage space in your Google account to accommodate your photo library.
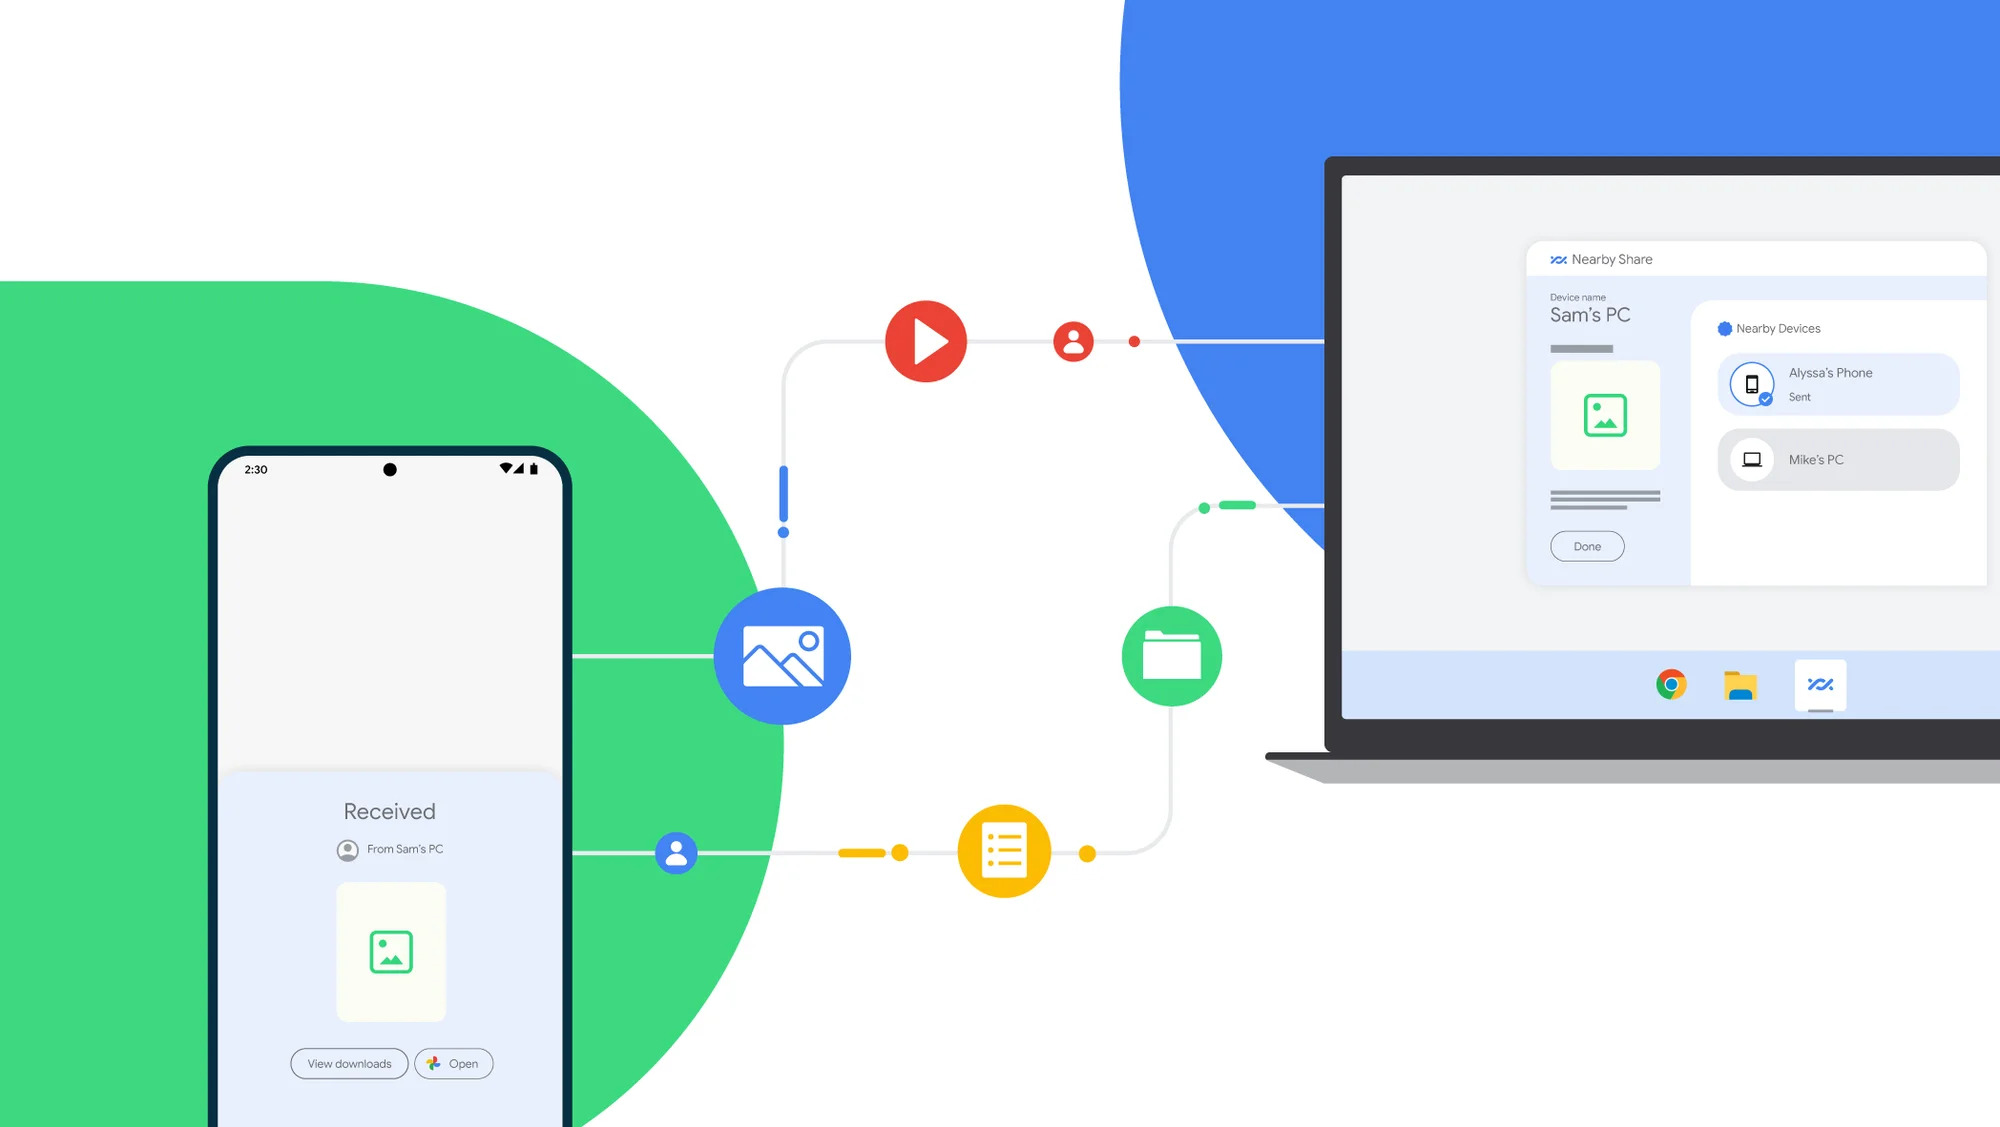
Method 2: Using a File Transfer App
If you prefer a direct and quick transfer of photos without relying on an internet connection, using a file transfer app is an excellent option. There are various file transfer apps available on the Google Play Store, such as ShareMe (Mi Drop), SHAREit, and Xender. Here’s how you can transfer photos using a file transfer app:
- First, install the file transfer app on both the old and new Android devices from the Google Play Store.
- Open the app on both devices.
- On the old device, select the photos you want to transfer. You can usually find the option to select multiple photos by tapping and holding on one photo and then selecting the others.
- Look for the share or send button within the file transfer app and tap on it.
- Select the option to send or share the selected photos.
- On the new device, choose the option to receive or accept the photos.
- Wait for the transfer to complete. The time it takes will depend on the file size and the speed of the connection.
- Once the transfer is finished, you should see the photos on your new Android device.
Using a file transfer app allows you to directly transfer photos between Android devices without the need for any cables or an internet connection. These apps often utilize Wi-Fi Direct technology, which enables faster transfer speeds compared to traditional methods. However, keep in mind that both devices need to have the same file transfer app installed for the process to work smoothly. Additionally, ensure that both devices are in close proximity to establish a stable connection.
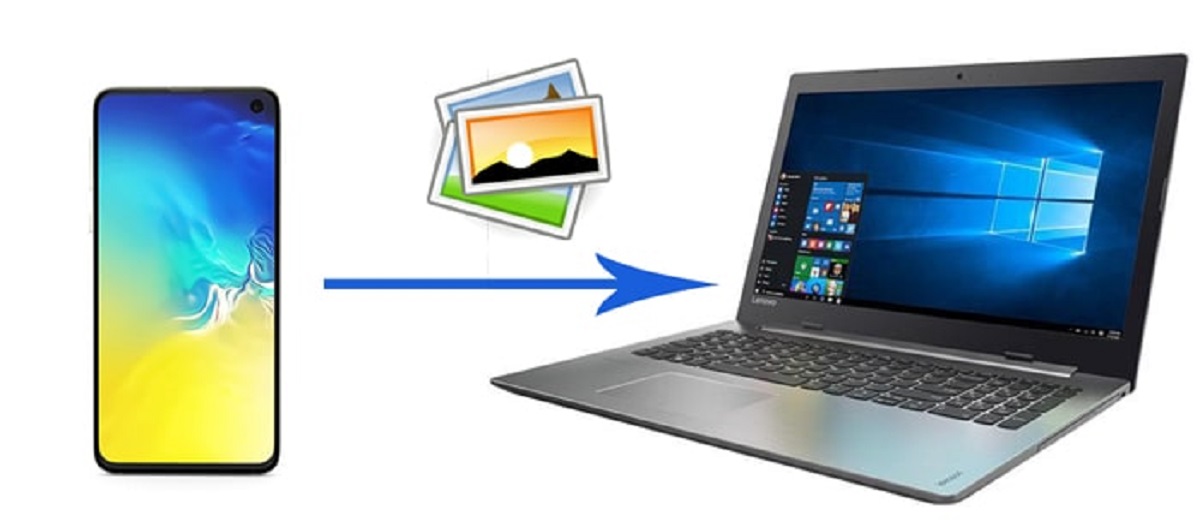
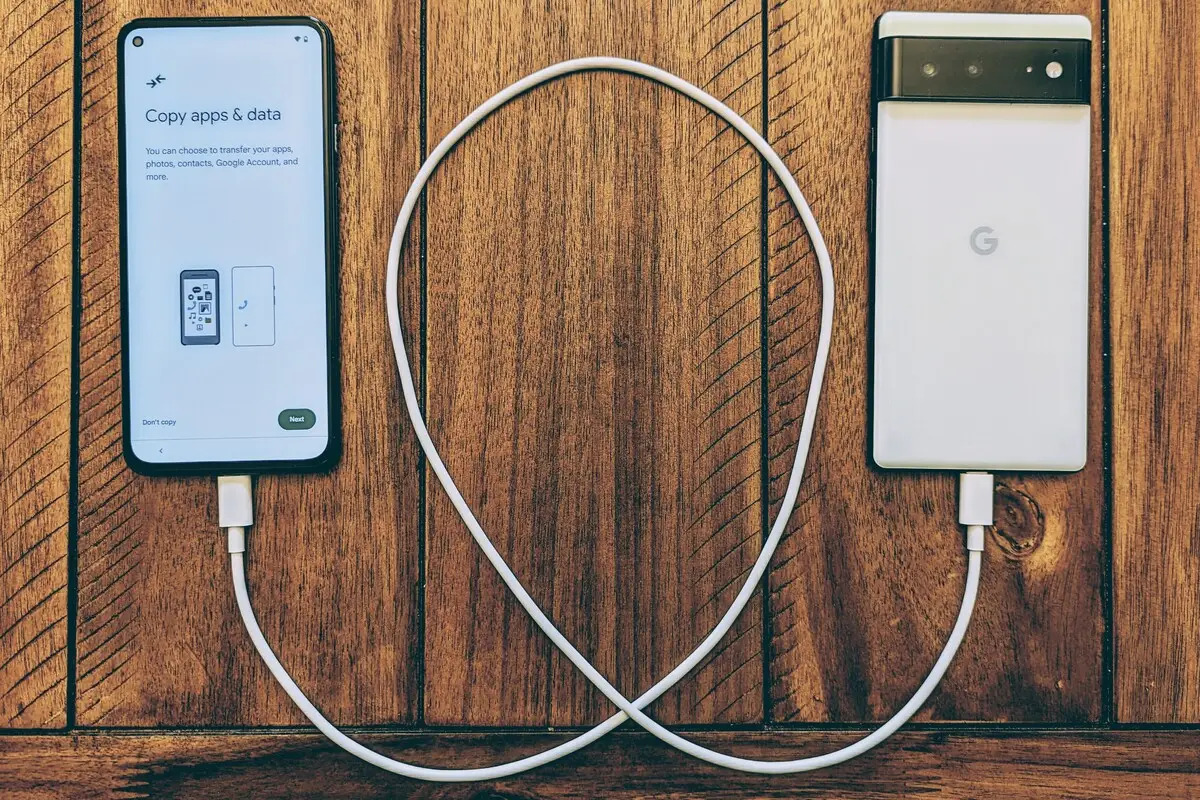
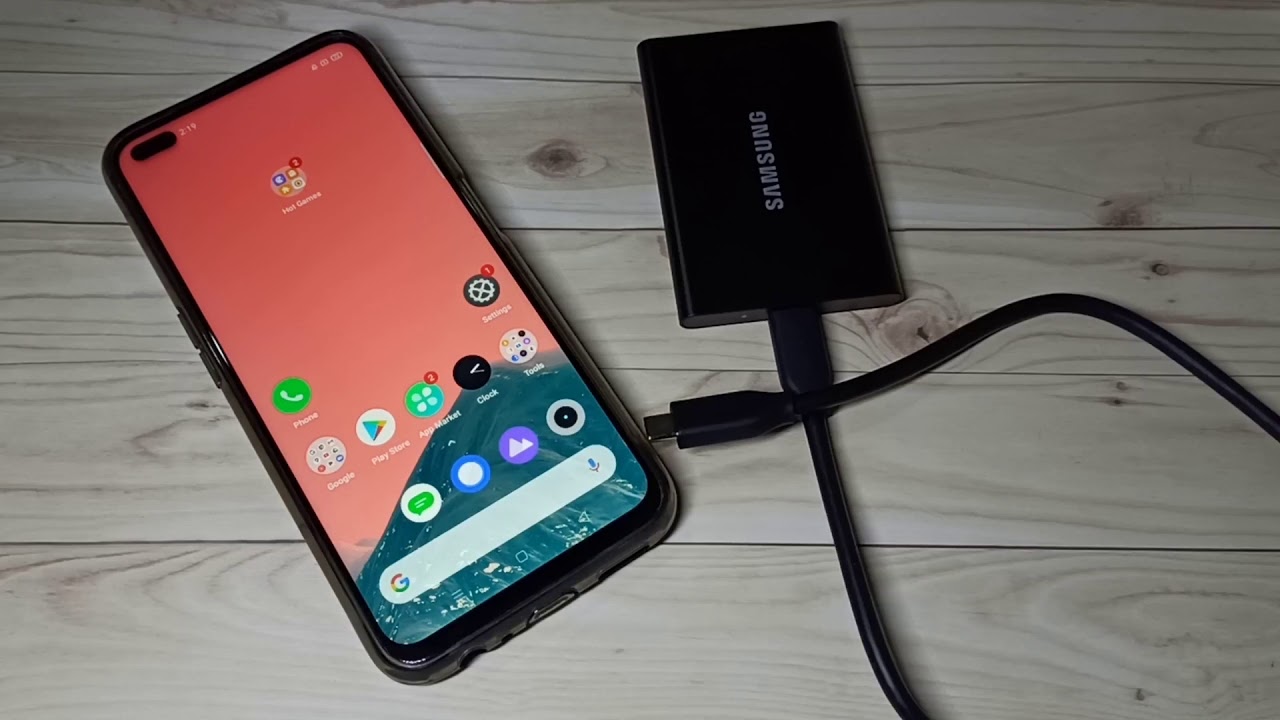
Method 3: Using a USB Cable
If you prefer a more direct and secure method, using a USB cable to transfer photos between your Android devices is a reliable option. This method allows for a fast and stable transfer without relying on an internet connection. Here’s how you can transfer photos using a USB cable:
- Connect your old Android device to your computer using a USB cable.
- Unlock your old Android device and ensure that it is set to “File Transfer” or “MTP (Media Transfer Protocol) mode.” This setting may vary depending on the device model and Android version. If prompted on your device, choose the option that allows file transfer.
- On your computer, open the file explorer or file manager. You should see your connected Android device listed as a removable storage device.
- Navigate to the folder that contains your photos on your old Android device. This may be the “DCIM” folder or a specific photo album folder.
- Select the photos you want to transfer by clicking and dragging the mouse cursor or using keyboard shortcuts (Ctrl or Shift key).
- Copy the selected photos by right-clicking and selecting “Copy” or using the keyboard shortcut (Ctrl + C).
- Disconnect the old Android device from your computer.
- Connect your new Android device to the computer using the same USB cable.
- Unlock your new Android device and set it to “File Transfer” or “MTP mode.”
- Paste the copied photos from your old Android device onto the desired location on your new Android device by right-clicking and selecting “Paste” or using the keyboard shortcut (Ctrl + V).
- Wait for the transfer to complete. The time it takes will depend on the file sizes and transfer speeds.
Using a USB cable provides a direct and secure connection between your old and new Android devices, allowing for a fast and reliable transfer of photos. It eliminates the need for an internet connection or additional apps and ensures the privacy of your data. However, keep in mind that different Android devices may require different USB cables (e.g., Micro USB, USB-C) and drivers. Make sure to use the appropriate cable and check if any drivers need to be installed on your computer for successful connectivity.
Method 4: Using Bluetooth
If you don’t have access to a USB cable or prefer a wireless method, transferring photos from one Android device to another using Bluetooth is a viable option. Bluetooth allows for a convenient and cable-free transfer of files. Here’s how you can transfer photos using Bluetooth:
- On both your old and new Android devices, ensure that Bluetooth is turned on and visible to other devices. You can usually find these settings in the “Bluetooth” or “Connections” section of the device settings.
- On your old Android device, go to the gallery or file manager and select the photos you want to transfer.
- Look for the share or send button within the gallery or file manager app and tap on it.
- Choose the option to share via Bluetooth.
- On your new Android device, navigate to the Bluetooth settings and search for available devices.
- Select your old Android device from the list of available devices.
- Confirm the pairing request on both devices to establish a Bluetooth connection.
- Once the devices are paired, go back to the file transfer process on your old Android device.
- Choose the option to send the selected photos via Bluetooth.
- On your new Android device, accept the incoming photo transfer request.
- Wait for the transfer to complete. The time it takes will depend on the file sizes and Bluetooth transfer speeds.
Using Bluetooth for photo transfer provides a wireless and convenient method, eliminating the need for cables or internet connectivity. However, it is worth noting that transferring large files or a large number of photos via Bluetooth may be slower compared to other methods. Additionally, both devices need to have Bluetooth capabilities and be within a suitable range for a stable connection. Keep in mind that the pairing process and menu options may vary slightly depending on the Android device models and versions.
Method 5: Using a Cloud Storage Service
If you want to effortlessly transfer and access your photos from anywhere, using a cloud storage service is an excellent option. Cloud storage services like Google Drive, Dropbox, and OneDrive offer seamless integration with Android devices, allowing you to easily transfer and sync your photos. Here’s how you can transfer photos using a cloud storage service:
- Make sure you have a cloud storage account set up on both your old and new Android devices. If you don’t have an account, sign up for one with the cloud storage service of your choice and install their corresponding app from the Google Play Store.
- On your old Android device, open the gallery or file manager and select the photos you want to transfer.
- Tap on the share or send button within the gallery or file manager app.
- Choose the option to share via the installed cloud storage app (e.g., Google Drive, Dropbox).
- Follow the prompts to upload the selected photos to your cloud storage account.
- On your new Android device, open the cloud storage app and sign in with the same account you used on your old device.
- Wait for the app to sync with your cloud storage account and display the uploaded photos.
- You should now see the transferred photos on your new Android device.
- If you want to download specific photos to your new device, select the desired photos within the cloud storage app and tap on the download option.
Using a cloud storage service offers the convenience of easily accessing and transferring your photos across multiple devices. It ensures that your photos are securely stored in the cloud and allows for seamless synchronization. However, keep in mind that the transfer speed may vary depending on your internet connection. Additionally, if you have a large number of photos or limited cloud storage space, you may need to upgrade to a paid plan or manage your storage capacity accordingly.
Conclusion
Transferring photos from one Android device to another doesn’t have to be a complicated or time-consuming process. With the various methods available, you can choose the most suitable option based on your preferences, resources, and the size of your photo library.
Using Google Photos allows for easy and automatic syncing of your photos between devices, as long as you have a stable internet connection and sufficient storage in your Google account.
A file transfer app offers a direct and wireless transfer option, ideal for quick transfers without relying on an internet connection. Just make sure both devices have the same file transfer app installed.
If you prefer a more secure and reliable method, using a USB cable allows for a fast and stable transfer of photos. This method eliminates the need for an internet connection, but ensure that you have the appropriate cable and drivers for successful connectivity.
For a wireless transfer, Bluetooth provides a convenient option. However, keep in mind that larger files or a large number of photos may result in slower transfer speeds.
If you want the flexibility to access your photos from anywhere, using a cloud storage service enables seamless syncing and accessibility across multiple devices. Ensure you have a cloud storage account and app installed on both devices.
Choose the method that suits your needs best and follow the step-by-step instructions provided to transfer your photos with ease. So, whether you’re upgrading to a new Android device or want to share photos with friends and family, now you have the knowledge to transfer your photos effortlessly.