Introduction
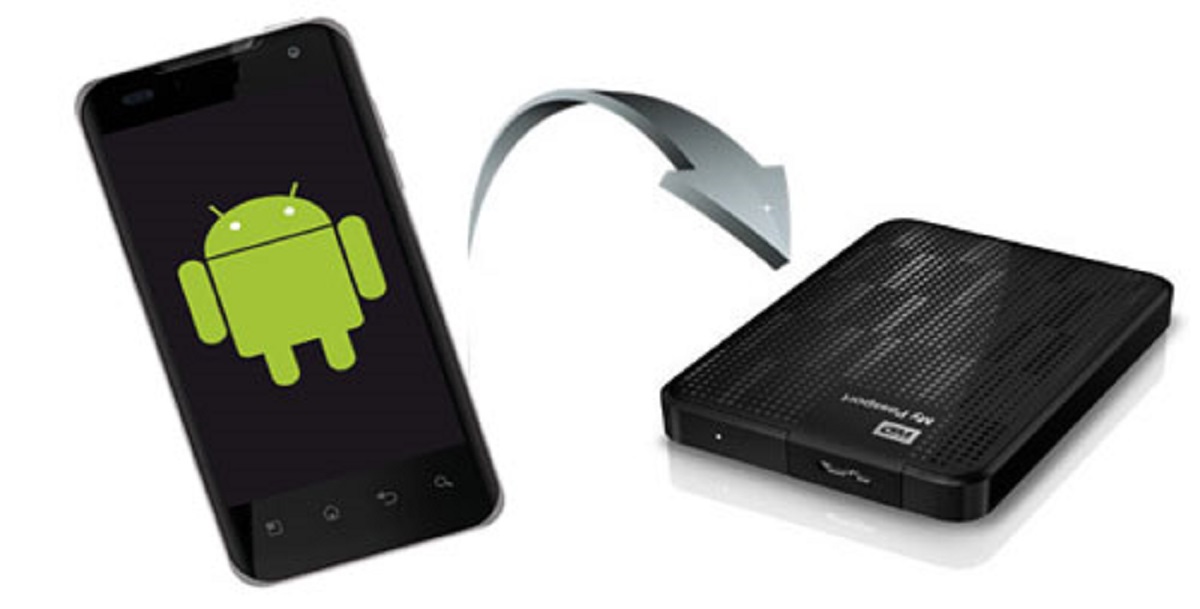
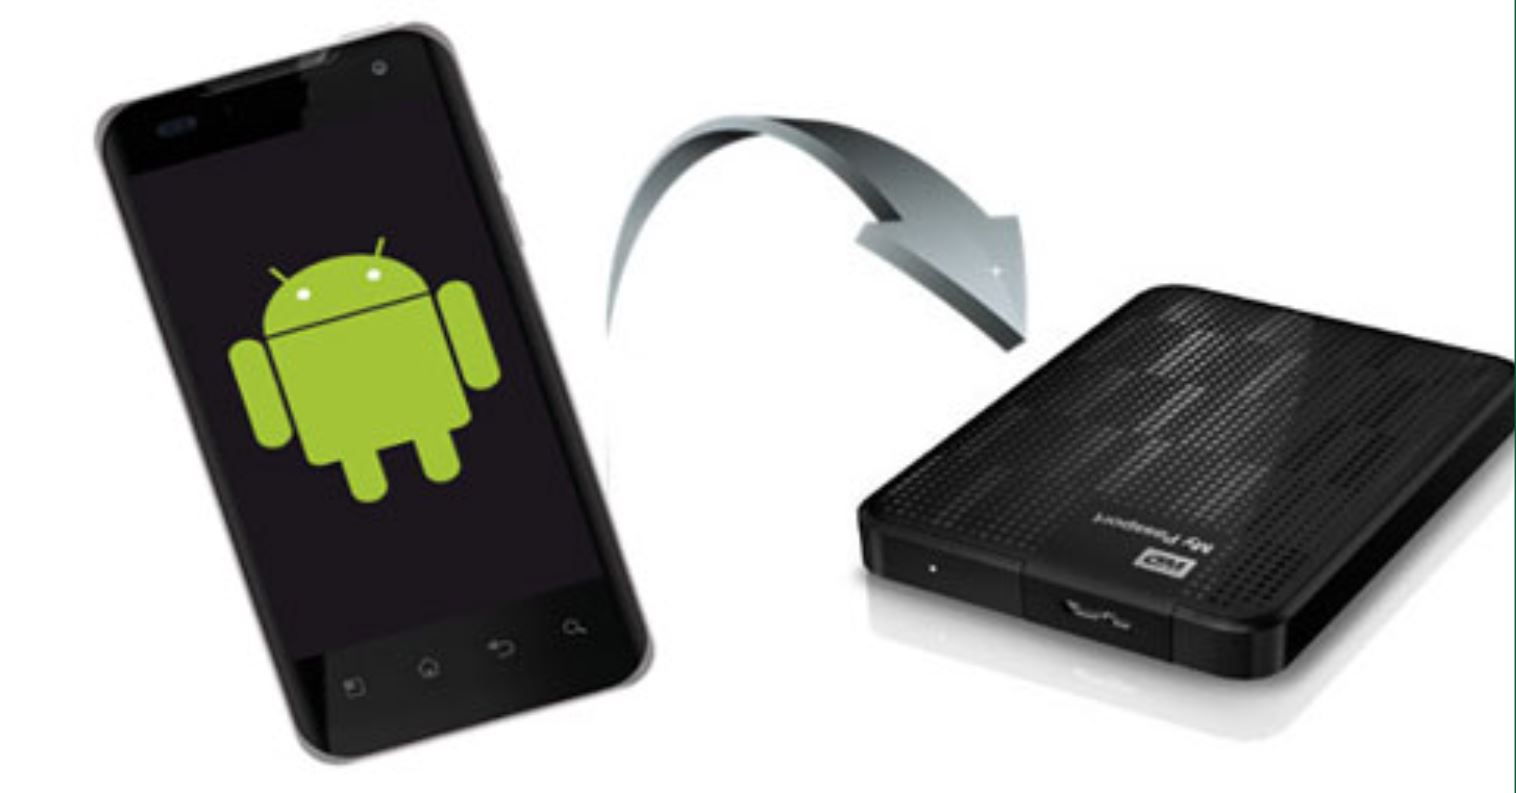
Transferring photos from your Android device to an external hard drive can be a convenient way to free up storage space and safeguard your precious memories. Whether you want to create a backup or simply transfer photos to access them on a different device, this process can be accomplished with a few simple steps.
In this guide, we will walk you through the process of transferring photos from your Android device to an external hard drive. You have two options for transferring photos: using a file manager app directly on your Android device or connecting your device to a computer and transferring the photos through the computer. Both methods are straightforward and can be completed in no time.
Before we begin, it’s important to note that the specific steps may vary slightly depending on the make and model of your Android device. However, the general process remains the same.
So, let’s dive into the steps and discover how you can easily transfer your photos from Android to an external hard drive!
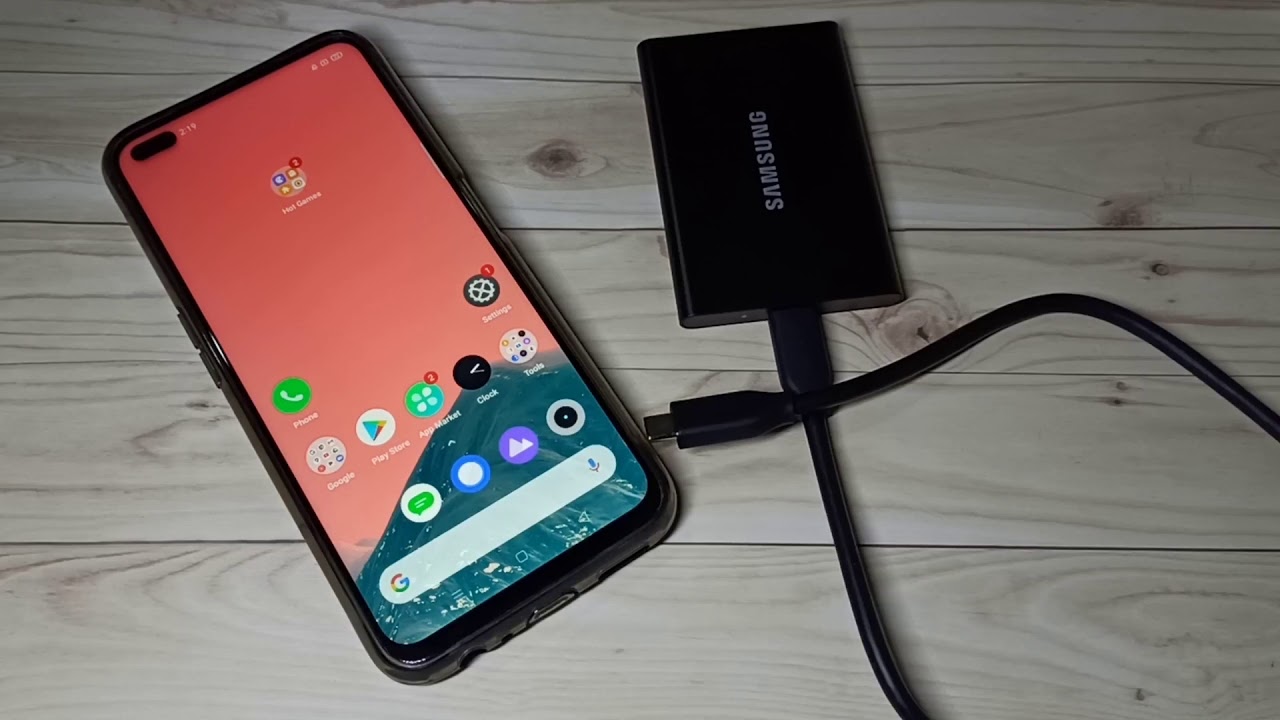
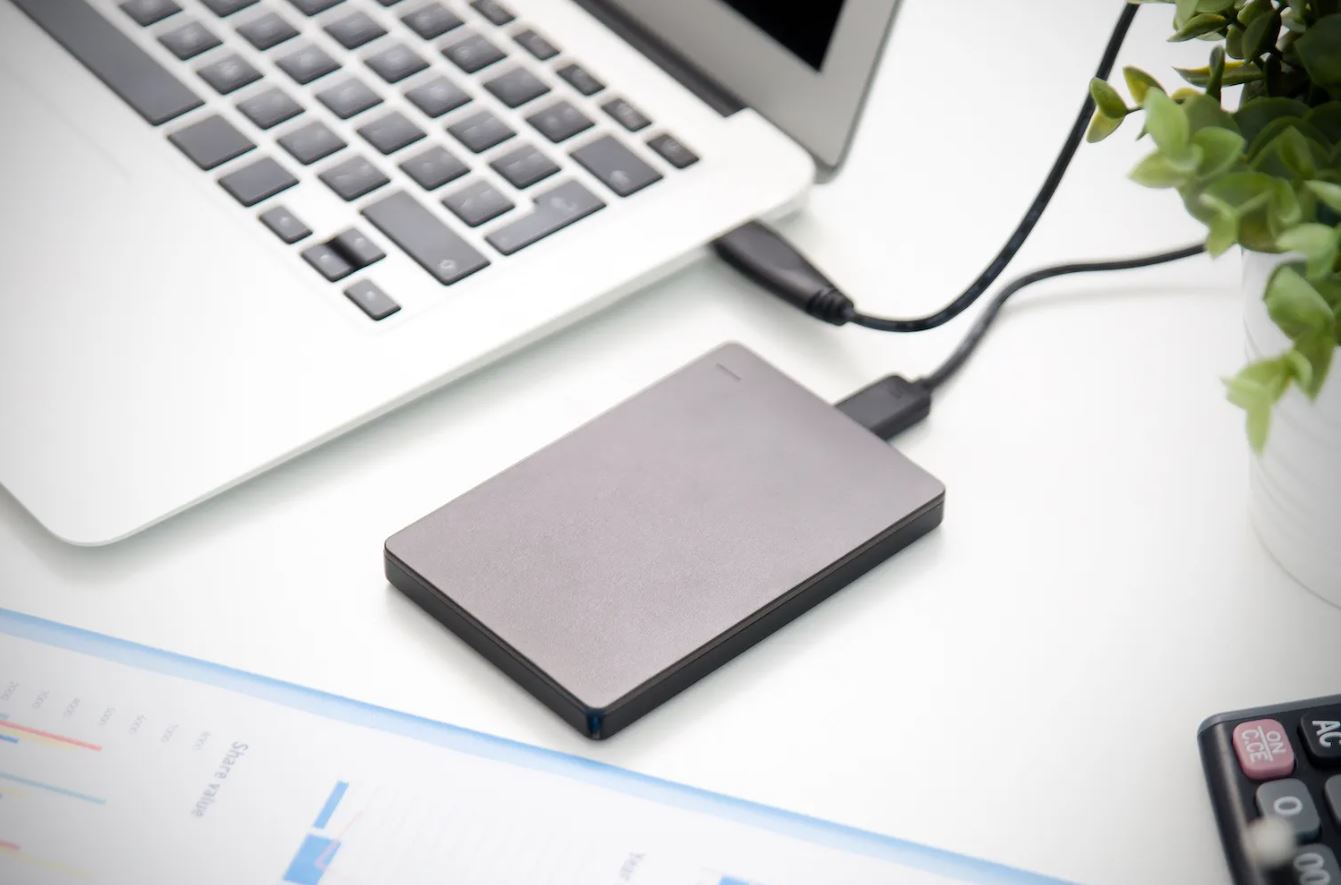
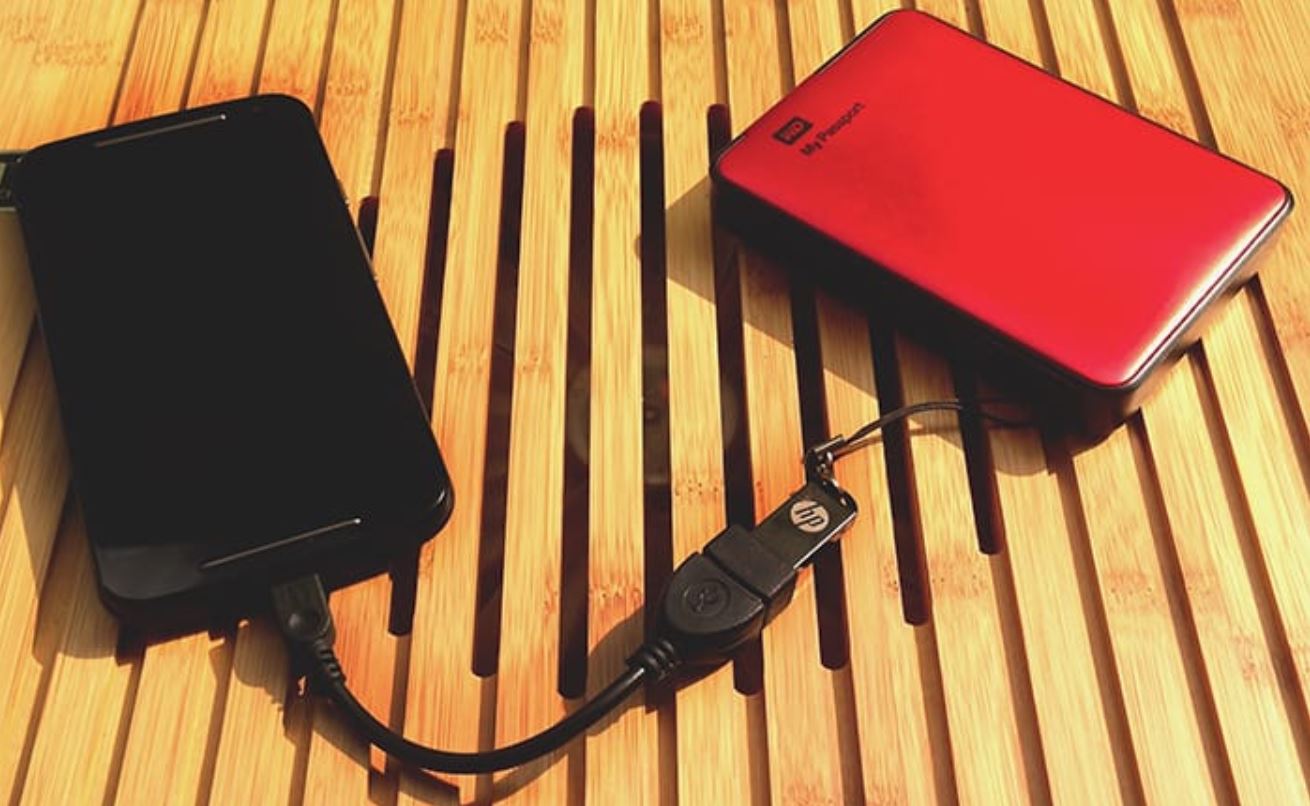
Step 1: Connecting the External Hard Drive
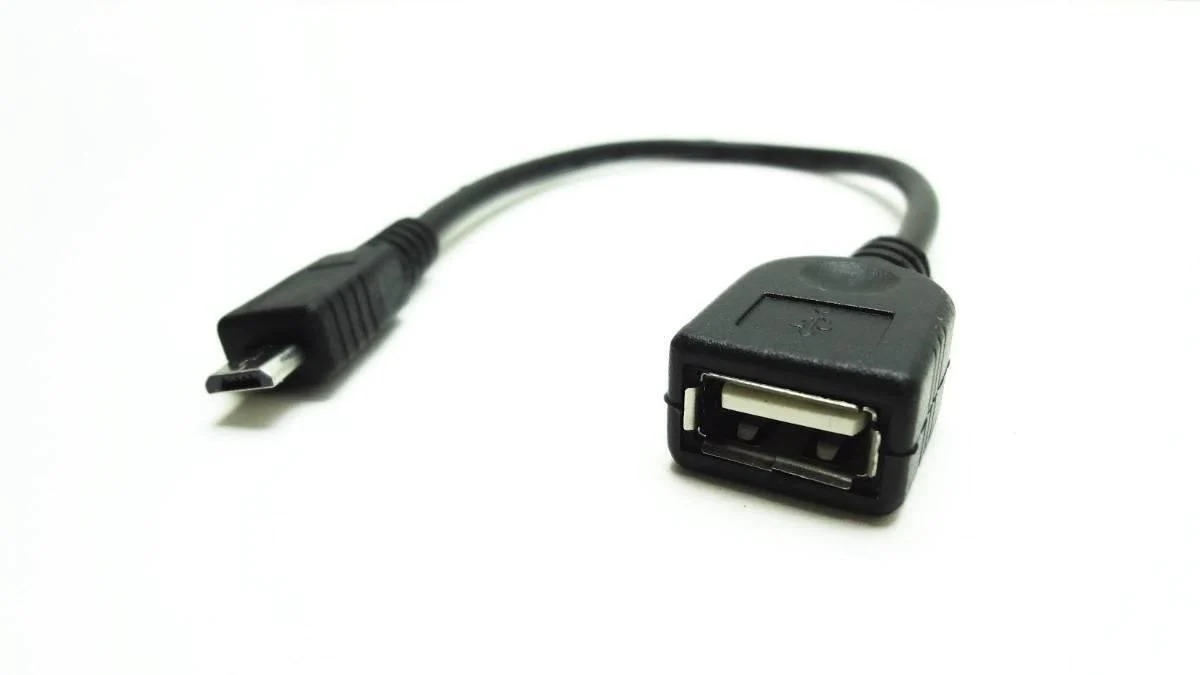
The first step in transferring photos from your Android device to an external hard drive is to connect the hard drive to your device. Most external hard drives connect via a USB cable, so ensure that you have the appropriate cable on hand.
1. Locate the USB port on your external hard drive. This is typically found on the back or side of the device.
2. Connect one end of the USB cable to the USB port on the external hard drive.
3. Plug the other end of the USB cable into the USB port of your Android device. Depending on the device, this may be a Micro USB, USB-C, or Lightning port.
4. Once the cable is connected, your Android device should recognize the external hard drive. You may see a notification indicating that a USB device is connected.
Note: Some external hard drives require a separate power source. If this is the case, ensure that the hard drive is powered on and connected to a power outlet before connecting it to your Android device.
Now that your external hard drive is connected to your Android device, you are ready to proceed with the next steps for transferring your photos.
Step 2: Enabling USB Debugging on Your Android Device
Before you can transfer photos from your Android device to an external hard drive, you need to enable USB debugging. This allows your device to communicate with the computer or file manager app and facilitates the transfer process. Here’s how to enable USB debugging:
1. On your Android device, go to the “Settings” menu. You can access this by swiping down from the top of the screen and tapping on the gear icon.
2. Scroll down and tap on “About phone” or “About device.”
3. Look for the “Build number” or “Software information” option. Tap on it repeatedly (usually around seven times) until a pop-up message appears, indicating that you are now a developer.
4. Go back to the main “Settings” menu and scroll down to find the newly revealed “Developer options.”
5. Tap on “Developer options” and find the “USB debugging” option. Enable it by flipping the switch or ticking the checkbox.
6. If prompted, confirm your action by tapping “OK.”
Once USB debugging is enabled on your Android device, you can proceed with the next steps to transfer your photos to the external hard drive. Now, let’s move on to the next section.
Step 3: Transferring Photos Using a File Manager App
If you prefer to transfer your photos directly from your Android device to the external hard drive without involving a computer, you can use a file manager app. Many Android devices come with a built-in file manager app, but if you don’t have one, you can easily download one from the Google Play Store. Follow these steps to transfer your photos:
1. Open the file manager app on your Android device.
2. Navigate to the folder where your photos are stored. This is usually the “Pictures” or “DCIM” folder.
3. Long press on the first photo you want to transfer. This will select the photo.
4. Continue selecting any additional photos you want to transfer by tapping on them.
5. Once you have selected all the photos you want to transfer, look for an option that allows you to “Copy” or “Move” the files.
6. Tap on the “Copy” or “Move” option and navigate to the external hard drive folder where you want to transfer the photos.
7. Paste the photos into the desired folder on the external hard drive.
8. Wait for the transfer process to complete. The time it takes will depend on the number and size of the photos.
9. Once the transfer is finished, you can safely disconnect the external hard drive from your Android device.
Transferring photos using a file manager app is a convenient way to directly transfer your photos without the need for a computer. However, if you prefer to transfer photos using a computer, proceed to the next section.
Step 4: Transferring Photos Using a Computer
If you prefer to transfer your photos from your Android device to an external hard drive using a computer, you can follow these steps:
1. Connect your Android device to your computer using the USB cable. Make sure to use a cable that is compatible with your device.
2. On your Android device, if prompted, choose the file transfer option. This allows your computer to access the files on your device.
3. On your computer, open a file explorer window. This can be done by clicking on the file explorer icon in the taskbar or by pressing the Windows key and the “E” key simultaneously.
4. In the file explorer window, you should see your Android device listed under “This PC” or “My Computer.”
5. Double click on your Android device to open it and navigate to the folder where your photos are stored. This is usually the “Pictures” or “DCIM” folder.
6. Select the photos you want to transfer by clicking and dragging a box around them or holding down the Ctrl key and clicking on each photo individually.
7. With the photos selected, right-click on one of the selected photos and choose the “Copy” option.
8. Open another file explorer window and navigate to the folder on your external hard drive where you want to transfer the photos.
9. Right-click inside the folder and choose the “Paste” option to transfer the photos from your Android device to the external hard drive.
10. Wait for the transfer process to complete. The time it takes will depend on the number and size of the photos.
11. Once the transfer is finished, safely disconnect your Android device and the external hard drive from your computer.
Transferring photos using a computer provides a reliable and efficient way to transfer large amounts of photos at once. Now that you have successfully transferred your photos, you can safely eject the external hard drive.
Step 5: Safely Ejecting the External Hard Drive
After successfully transferring your photos from your Android device to the external hard drive, it is important to safely eject the external hard drive before disconnecting it from your device. This ensures that all data is properly written and prevents potential data corruption. Follow these steps to safely eject the external hard drive:
1. On your Android device or computer, locate the icon representing the external hard drive. It may appear on the desktop or in the file explorer window.
2. Right-click on the external hard drive icon.
3. From the context menu, select the option to safely eject or safely remove the external hard drive. The exact wording may vary depending on your operating system.
4. Wait for a notification or confirmation message that it is safe to disconnect the external hard drive.
5. Once you receive the confirmation, you can safely unplug the USB cable connecting the external hard drive to your Android device or computer.
By properly ejecting the external hard drive, you minimize the risk of data loss or corruption. It is a crucial step in ensuring the integrity and accessibility of your transferred photos.
With the external hard drive safely ejected, you have successfully completed the process of transferring your photos from your Android device. You can now enjoy the additional storage space and peace of mind knowing that your photos are safely stored on an external device.
Conclusion
Transferring photos from your Android device to an external hard drive is a practical and secure way to free up storage space and ensure the safety of your precious memories. Whether you choose to use a file manager app directly on your Android device or transfer photos through a computer, the process can be easily accomplished by following a few simple steps.
In this guide, we have outlined the steps involved in transferring photos from your Android device to an external hard drive. We began by connecting the external hard drive to your device and enabling USB debugging, which allows for seamless communication between your device and the external hard drive. We then explored two methods for transferring the photos – using a file manager app directly on your Android device or connecting your device to a computer.
If you prefer a direct transfer without involving a computer, using a file manager app on your Android device provides a convenient option. On the other hand, transferring photos through a computer allows for efficient management and organization of larger quantities of photos.
Regardless of the method you choose, it is crucial to ensure the safe ejection of the external hard drive before disconnecting it from your Android device or computer. This step minimizes the risk of data loss or corruption and ensures the integrity of your transferred photos.
By following the steps outlined in this guide, you can easily transfer your photos from your Android device to an external hard drive. Whether you want to create a backup, free up space, or access your photos on other devices, this process allows for seamless and secure photo transfer.
Now that you have the knowledge and steps at your disposal, you can confidently transfer your photos and enjoy the benefits of an organized and clutter-free Android device.