Introduction
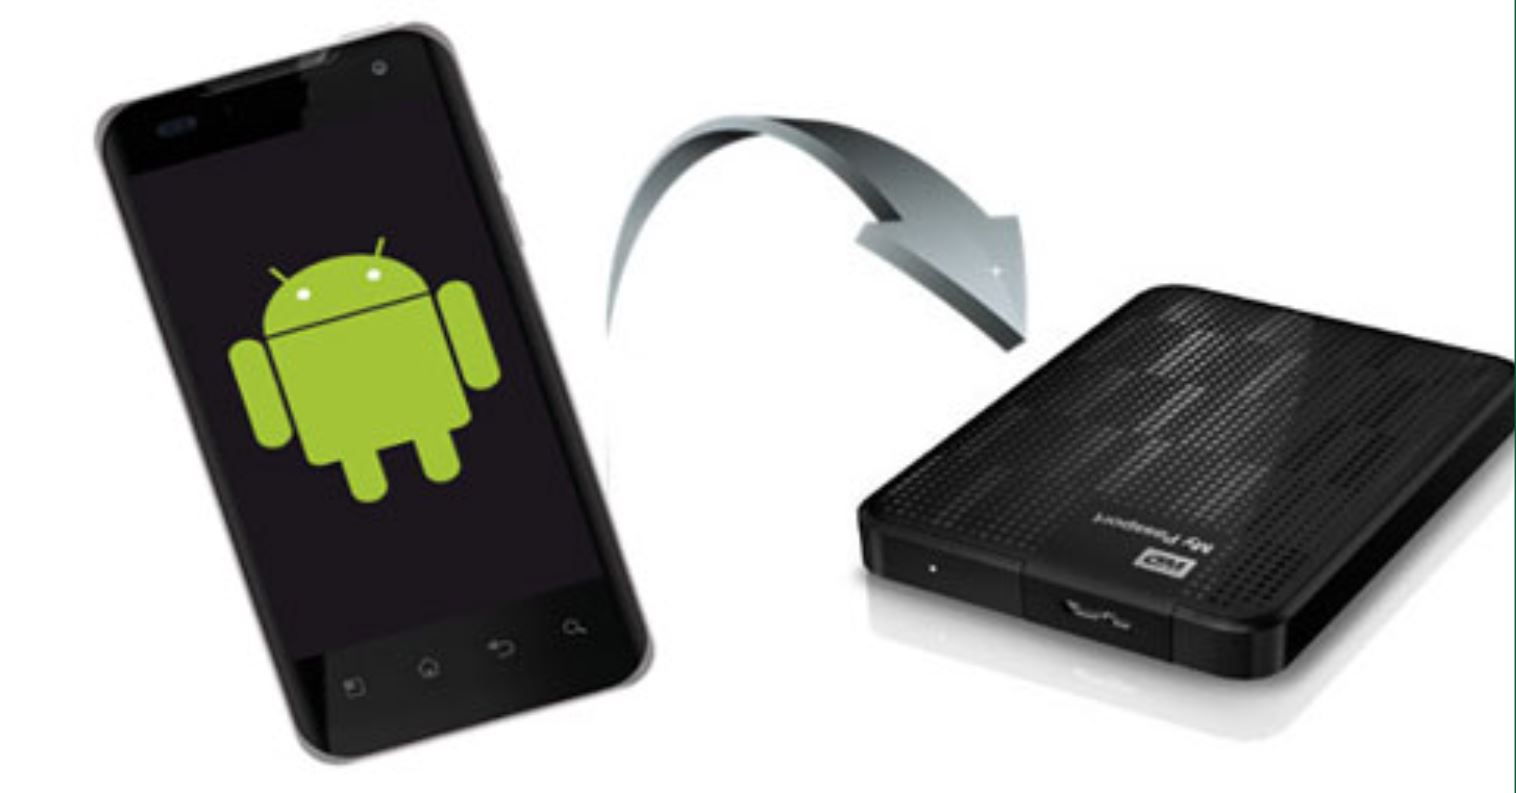
Transferring files from an Android device to an external hard drive can be a useful and convenient way to free up space on your phone or tablet. Whether you need to backup important documents, save precious photos and videos, or transfer large files, having the ability to connect your Android device to an external hard drive is a game-changer.
In this guide, we will walk you through the steps to transfer files from your Android device to an external hard drive. By following these simple steps, you’ll be able to easily move your files and ensure that they are safely stored for future use. Whether you’re a tech-savvy user or just getting started with your Android device, this guide will provide you with the knowledge and confidence to perform the file transfer seamlessly.
Before diving into the steps, it’s important to note that the process of transferring files from an Android device to an external hard drive may vary slightly depending on the make and model of your device. However, the general steps outlined in this guide should work for most Android devices, regardless of the brand or operating system version.
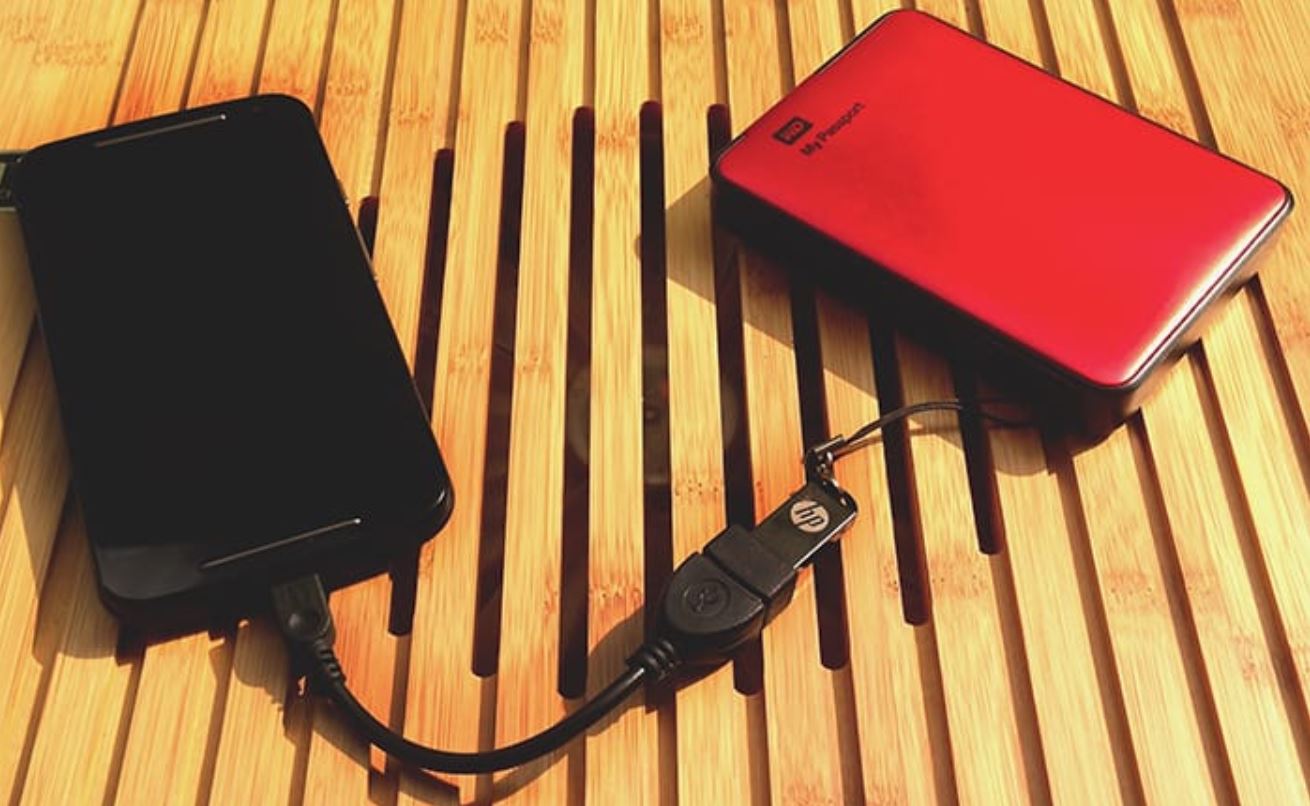
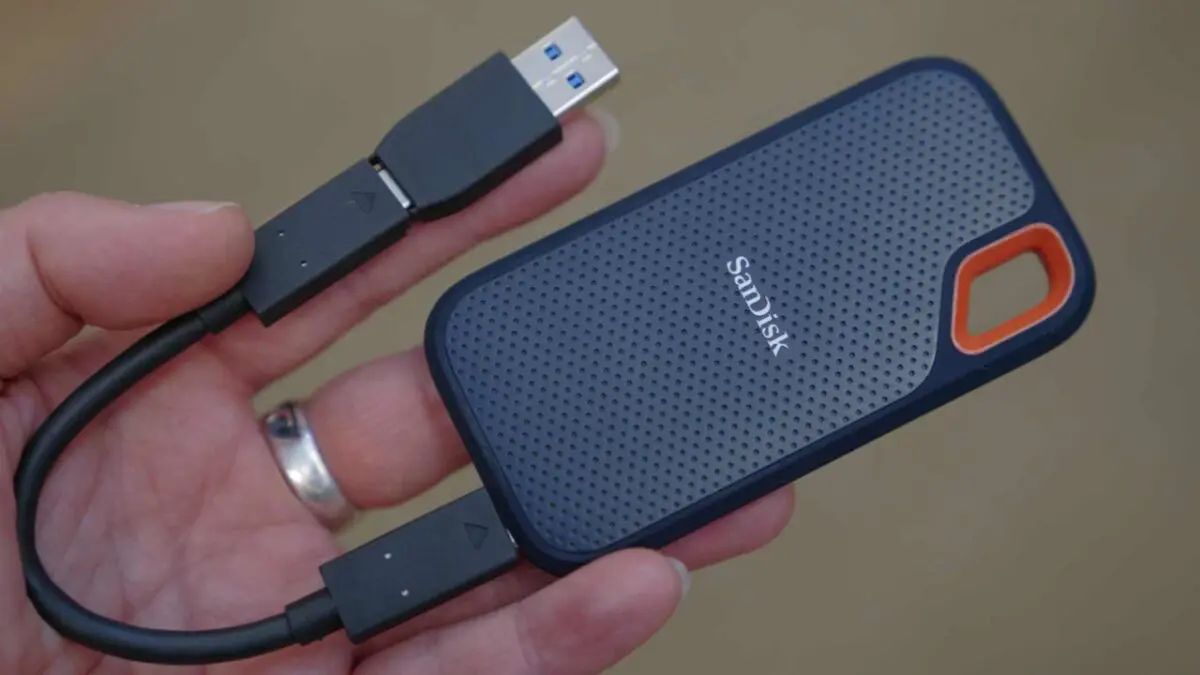
In order to successfully transfer files, you’ll need a few essential tools. Firstly, you’ll need an external hard drive with sufficient storage capacity to accommodate your files. Secondly, you’ll need a USB OTG (On-The-Go) adapter or cable to connect the external hard drive to your Android device. Finally, you’ll need a file manager app from the Google Play Store, which will allow you to access and manage your files.
Transferring files from your Android device to an external hard drive not only helps you free up space, but also provides an extra layer of backup and protection for your important data. By following the steps outlined in this guide, you’ll be able to easily and effortlessly transfer files, ensuring that you have ample storage space on your device and peace of mind knowing that your files are safely backed up.
Step 1: Connect the external hard drive to your Android device
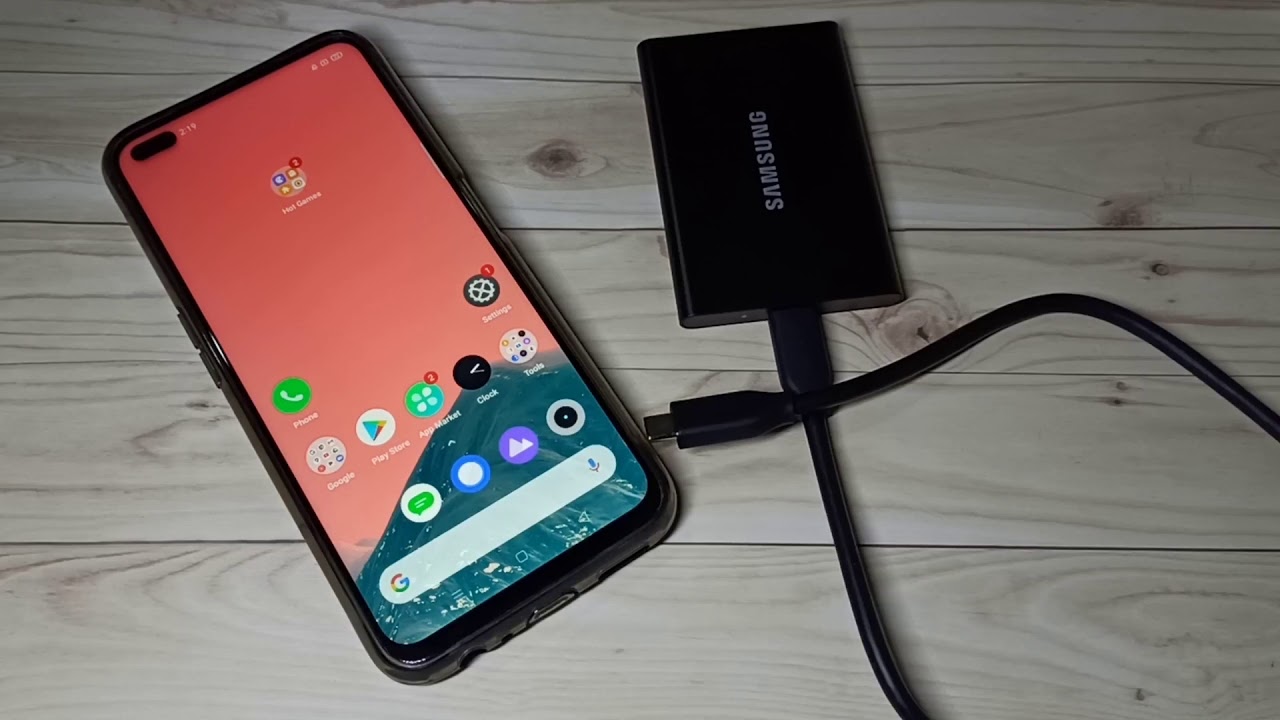
The first step in transferring files from your Android device to an external hard drive is to establish a physical connection between the two devices. To do this, you’ll need a USB OTG (On-The-Go) adapter or cable, which allows you to connect USB devices like external hard drives to your Android device.
Start by ensuring that your external hard drive is powered on and functioning properly. Then, take the USB OTG adapter or cable and plug it into the micro USB or USB-C port on your Android device. The other end of the adapter or cable should have a standard USB port.
Next, connect the USB end of the adapter or cable to the USB port on your external hard drive. Make sure the connection is secure. Once the external hard drive is connected to your Android device, you should see a notification indicating that a USB device has been detected. Your Android device may also prompt you with options for how you’d like to use the connected USB device.
It’s important to note that not all Android devices support USB OTG functionality. Before attempting to connect your external hard drive, check the specifications and compatibility of your Android device. In some cases, you may need to enable USB OTG support in the settings of your device or use a specific adapter recommended by the manufacturer.
Connecting the external hard drive to your Android device opens up a whole new world of possibilities for managing and transferring files. With the physical connection established, you’re now ready to move on to the next step and enable USB debugging mode on your Android device.
Step 2: Enable USB debugging mode on your Android device
To successfully transfer files from your Android device to an external hard drive, you’ll need to enable USB debugging mode on your device. USB debugging mode allows your Android device to communicate with your computer or external device via USB connection.
Enabling USB debugging mode may vary slightly depending on the Android version and device manufacturer. Here’s a general guide on how to enable USB debugging mode:
- Go to the Settings app on your Android device.
- Scroll down and find the “About phone” or “About device” section.
- Look for the “Build number” or “Software information” option. Tap on it seven times to unlock the developer options.
- Go back to the main Settings menu and you’ll find a new option called “Developer options”. Tap on it.
- In the Developer options menu, toggle the switch next to “USB debugging” to enable it. You may be prompted to confirm your action.
Once USB debugging mode is enabled, your Android device is ready to establish a connection with your external hard drive and facilitate the transfer of files.
It’s worth noting that enabling USB debugging mode gives your device more access and control over software and hardware components. Therefore, it’s important to exercise caution when enabling this mode and only enable it when necessary. Remember to disable USB debugging mode once you’ve completed the file transfer to ensure the security of your device.
With USB debugging mode enabled, you’re now ready to move on to the next step and download a file manager app from the Google Play Store.
Step 3: Download a file manager app from the Google Play Store
In order to navigate and manage your files on both your Android device and the external hard drive, you’ll need a reliable file manager app. The Google Play Store offers a wide range of file manager apps that provide easy access and control over your files.
Open the Google Play Store on your Android device and search for “file manager”. You’ll find various options to choose from, each with its own set of features and interface. Look for a highly rated file manager app that suits your needs and has positive user reviews.
Some popular file manager apps include “ES File Explorer”, “Solid Explorer File Manager”, and “Astro File Manager”. These apps provide a user-friendly interface and a comprehensive suite of features to help you effortlessly manage your files.
Once you’ve found a file manager app that you’d like to use, tap the “Install” or “Get” button to download and install the app on your Android device. The installation process may take a few moments, depending on the size of the app and the speed of your internet connection.
After the app is successfully installed, you’ll find its icon in your app drawer or on your home screen. Simply tap on the app icon to launch the file manager.
With the file manager app installed and ready to use, you can now proceed to the next step and start transferring files from your Android device to the external hard drive.
Having a reliable file manager app not only simplifies the file transfer process but also gives you better control over organizing and managing your files. With the ability to browse through folders, search for specific files, and perform operations like copying and moving, a file manager app is an essential tool for efficient file management on your Android device.
Step 4: Open the file manager app and locate the files you want to transfer
Now that you have downloaded and installed a file manager app on your Android device, it’s time to open the app and locate the files you wish to transfer to the external hard drive.
Locate the file manager app icon on your home screen or in your app drawer and tap on it to launch the application. Once the app is open, you will be presented with a user interface that allows you to navigate through the files and folders on your device.
The interface of the file manager app may vary depending on the app you have chosen, but most file manager apps provide a similar set of functions. Look for a file explorer or folder icon, usually located at the top or along the bottom of the app’s interface. Tap on this icon to open the file explorer view.
In the file explorer view, you will see a list of files and folders on your Android device. You can navigate through different directories by tapping on the folders or using the back button within the app. Depending on the structure of your files, you may need to navigate to different folders to find the specific files you want to transfer.
Once you have located the files you wish to transfer, you can tap and hold on a file to bring up a context menu with various options. Look for the “Copy” or “Move” option in the menu, and tap on it to select it. This will allow you to transfer the selected file to another location.
After selecting the “Copy” or “Move” option, you will be prompted to choose the destination folder where you want to transfer the files. Tap on the folder or directory on the external hard drive where you want to save the files. Alternatively, you can create a new folder by tapping on the “New Folder” option and giving it a name.
Once you have selected the destination folder, tap on the “Paste” or “Move Here” button to start the file transfer process. The file manager app will then copy or move the selected files from your Android device to the external hard drive.
By opening the file manager app and navigating to the desired files, you have now completed the essential step of finding the files you want to transfer. In the next step, we will cover how to copy those files to the external hard drive to ensure a secure backup and free up space on your Android device.
Step 5: Copy the files to the external hard drive
Now that you have located the files you want to transfer using the file manager app, it’s time to copy them to the external hard drive. Follow these steps to ensure a successful file transfer:
- Within the file manager app, select the files you want to transfer by tapping and holding on each file or by using the select option provided in the app.
- Once the files are selected, look for the “Copy” or “Copy to” option in the app’s menu. Tap on it to initiate the copying process.
- A new window will appear, allowing you to choose the destination folder on your external hard drive. Navigate to the desired folder by tapping on it.
- If the selected folder doesn’t exist on the external hard drive, you can create a new folder by tapping on the “New Folder” option and giving it a name.
- Tap on the “Paste” or “Copy Here” button to start the copying process. The file manager app will begin transferring the selected files from your Android device to the external hard drive.
- Depending on the size of the files and the speed of the external hard drive, the copying process may take some time. It’s advisable to ensure that your Android device has sufficient battery power or is connected to a power source during the transfer.
- Once the copying process is complete, you can navigate to the destination folder on your external hard drive to verify that the files have been successfully transferred.
By copying the selected files to the external hard drive, you have effectively created a backup of your important data and freed up space on your Android device. It’s recommended to periodically perform this file transfer process to ensure that your files are safely stored and to maintain optimal performance on your Android device.
Now that the files have been successfully copied to the external hard drive, you’re ready to safely eject the external hard drive from your Android device. This will ensure that the files are securely transferred and prevent any potential data loss or corruption.
Step 6: Safely eject the external hard drive from your Android device
After successfully copying the files from your Android device to the external hard drive, it’s important to properly eject or disconnect the external hard drive to ensure the integrity of the transferred files and prevent any potential data loss or corruption. Follow these steps to safely eject the external hard drive from your Android device:
- Go to the settings of your Android device and look for the “Storage” or “Device” section.
- In the storage settings, you should see the external hard drive listed as a storage option. Tap on it to open the external hard drive settings.
- Look for the option to “Eject” or “Disconnect” the external hard drive. Tap on this option to initiate the ejection process.
- A confirmation prompt may appear to ensure that you want to safely eject the external hard drive. Confirm your action by tapping on “OK” or a similar option.
- Once the external hard drive is safely ejected, you will receive a notification confirming that it is safe to physically disconnect the device from your Android device.
- Carefully unplug the USB OTG adapter or cable from your Android device and remove the external hard drive.
Safely ejecting the external hard drive is crucial to prevent any potential data loss or damage to the files that were transferred. Abruptly disconnecting the external hard drive without following the proper ejection process can result in corrupted or inaccessible files.
Once the external hard drive is safely removed from your Android device, you can use it on other devices or keep it as a secure backup storage for your files. Remember to store the external hard drive in a safe and dry place to protect it from physical damage or data loss.
Congratulations! You have successfully completed the process of transferring files from your Android device to an external hard drive. By following these steps, you can confidently manage your files, free up space on your Android device, and ensure the safety of your important data.
Transferring files to an external hard drive is a valuable practice to secure your files, create backups, and enhance the overall performance of your Android device. Make it a regular habit to organize and transfer your files to maintain a clutter-free and efficient device.
Conclusion
Transferring files from your Android device to an external hard drive is a straightforward process that can help you free up space, create backups, and ensure the safety of your important data. By following the steps outlined in this guide, you can easily and securely transfer your files, regardless of the make and model of your Android device.
In this guide, we covered the essential steps to transfer files from an Android device to an external hard drive. We started by connecting the external hard drive to the Android device using a USB OTG adapter or cable. Then, we enabled USB debugging mode on the Android device to establish a proper connection. Next, we downloaded and installed a file manager app from the Google Play Store to navigate and manage the files.
We then opened the file manager app and located the files we wanted to transfer. Using the app’s interface, we selected the files, copied them, and chose the destination folder on the external hard drive. After the copying process was complete, we safely ejected the external hard drive from the Android device to ensure the integrity of the transferred files.
By following these steps, you can effectively create backups of your important data, free up space on your Android device, and have the peace of mind knowing that your files are safely stored on an external hard drive.
It’s important to note that while the steps provided in this guide are generally applicable to most Android devices, there may be slight variations depending on your device’s make, model, and operating system version. It’s always a good idea to consult the user manual or manufacturer’s website for specific instructions related to your particular device.
In conclusion, transferring files from your Android device to an external hard drive is a simple and effective way to manage your files, optimize device performance, and safeguard your valuable data. By keeping your files organized and regularly transferring them to an external hard drive, you can maximize the storage capacity of your Android device and ensure that your files are secure and easily accessible when you need them.