Introduction
Welcome to the world of Android! With its countless apps, games, and multimedia options, your Android phone has become an indispensable part of your life. But have you ever stopped to think about what would happen if you lost all your precious data – contacts, photos, videos, and important documents – due to a phone malfunction or accidental damage? That’s where backing up your Android phone becomes crucial.
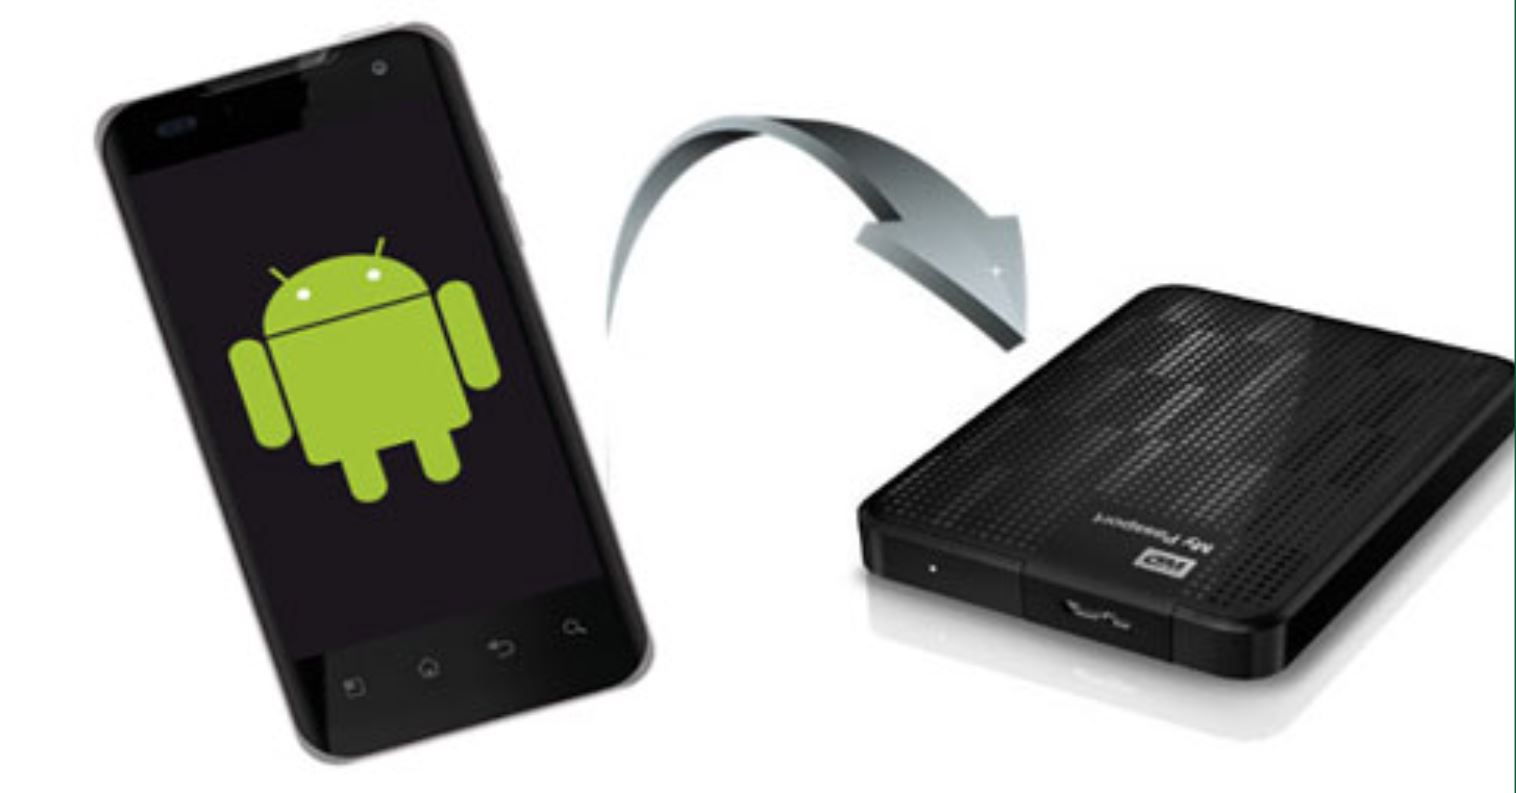
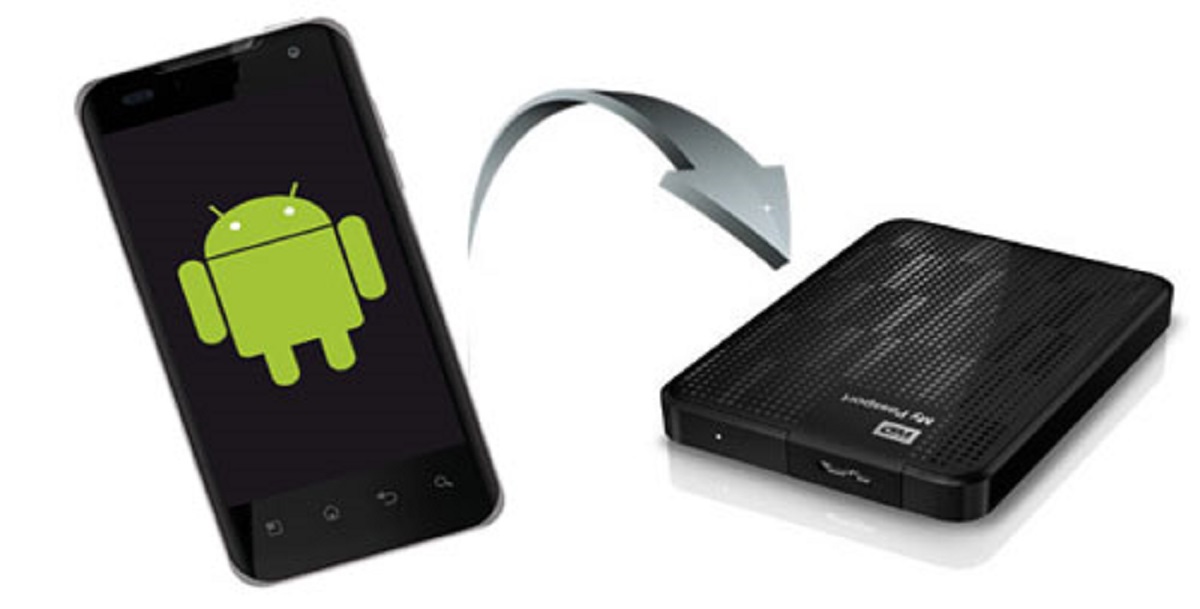
Backing up your Android phone is like creating a secure digital safety net. It ensures that even if something goes wrong with your device, your important data remains safe and sound. The best part is that you can easily store this backup on an external hard drive, offering you even greater peace of mind.
In this comprehensive guide, we will walk you through the process of backing up your Android phone to an external hard drive. Whether you’re a tech enthusiast or a novice user, we’ve got you covered. So, grab your external hard drive and let’s get started!
Why Should You Back Up Your Android Phone?
Backing up your Android phone is not just a precautionary measure; it’s an essential practice that can save you from a lot of headaches and heartaches. Here are some compelling reasons why you should back up your Android phone:
- Protection against data loss: Your Android phone holds a treasure trove of data, including contacts, messages, photos, videos, and important documents. By backing up your phone, you ensure that even if your device gets damaged, lost, or stolen, you don’t lose valuable memories and information.
- Seamless device transition: Upgrading to a new Android device can be an exciting experience, but transferring all your data from the old device to the new one can be a hassle. By having a backup of your Android phone, you can easily migrate all your data to the new device, saving you time and effort.
- Peace of mind: We rely on our phones for various aspects of our lives, from communication to entertainment to productivity. Knowing that your data is securely backed up provides peace of mind, knowing that you can restore and access your information whenever necessary.
- Protection against software issues: While Android devices are generally stable, there is always a chance of software glitches or bugs causing data corruption or loss. Having a backup allows you to restore your phone to a previous state without losing any important information.
- Easy recovery from accidental deletion: We’ve all been there – accidentally deleting that precious photo or important file. By regularly backing up your Android phone, you can easily recover accidentally deleted data without the fear of losing it forever.
Now that you understand the importance of backing up your Android phone, let’s move on to the next section to learn what you’ll need to complete the backup process.
What You’ll Need
Before you start the process of backing up your Android phone to an external hard drive, it’s important to gather the necessary tools. Here’s what you’ll need:
- An Android phone: Of course, you’ll need an Android phone that you want to back up.
- An external hard drive: Look for an external hard drive with enough storage capacity to accommodate the data from your Android phone. Make sure the drive is compatible with your computer.
- A USB cable: You’ll need a USB cable to connect your Android phone to your computer.
- A computer with enough free storage space: Your computer will serve as an intermediate storage space for the backup. Make sure it has enough free storage to accommodate the data from your Android phone.
- Android File Transfer software: This software allows you to transfer files between your Android phone and computer. It is available for both Windows and Mac operating systems, so make sure you download the appropriate version for your computer.
- USB Debugging enabled on your Android phone: USB Debugging is a developer option that allows your phone to establish a secure connection with your computer for file transfer. Don’t worry; we’ll guide you on how to enable USB Debugging in the upcoming steps.
Now that you have everything you need, you’re ready to begin the process of backing up your Android phone to an external hard drive. Let’s dive into the step-by-step instructions on how to do it.
Step 1: Prepare Your External Hard Drive
Before you can start the backup process, you’ll need to prepare your external hard drive. Follow these steps:
- Connect your external hard drive to your computer using the provided USB cable. Ensure that the drive is properly connected and recognized by your computer.
- If the external hard drive has any existing data, make sure to back it up or transfer it to another storage device. This is important to ensure that your external hard drive has enough space for the backup of your Android phone.
- Create a new folder on your external hard drive that will serve as the destination for your backup files. You can name this folder anything you prefer, such as “Android Backup” or “Phone Backup”.
- Double-check that the newly created folder on your external hard drive is empty and ready to receive the backup files from your Android phone.
Once you’ve successfully completed these steps, you are now ready to proceed to the next step, which involves connecting your Android phone to your computer.
Step 2: Connect Your Android Phone to Your Computer
Now that your external hard drive is prepared, it’s time to connect your Android phone to your computer. Follow these steps:
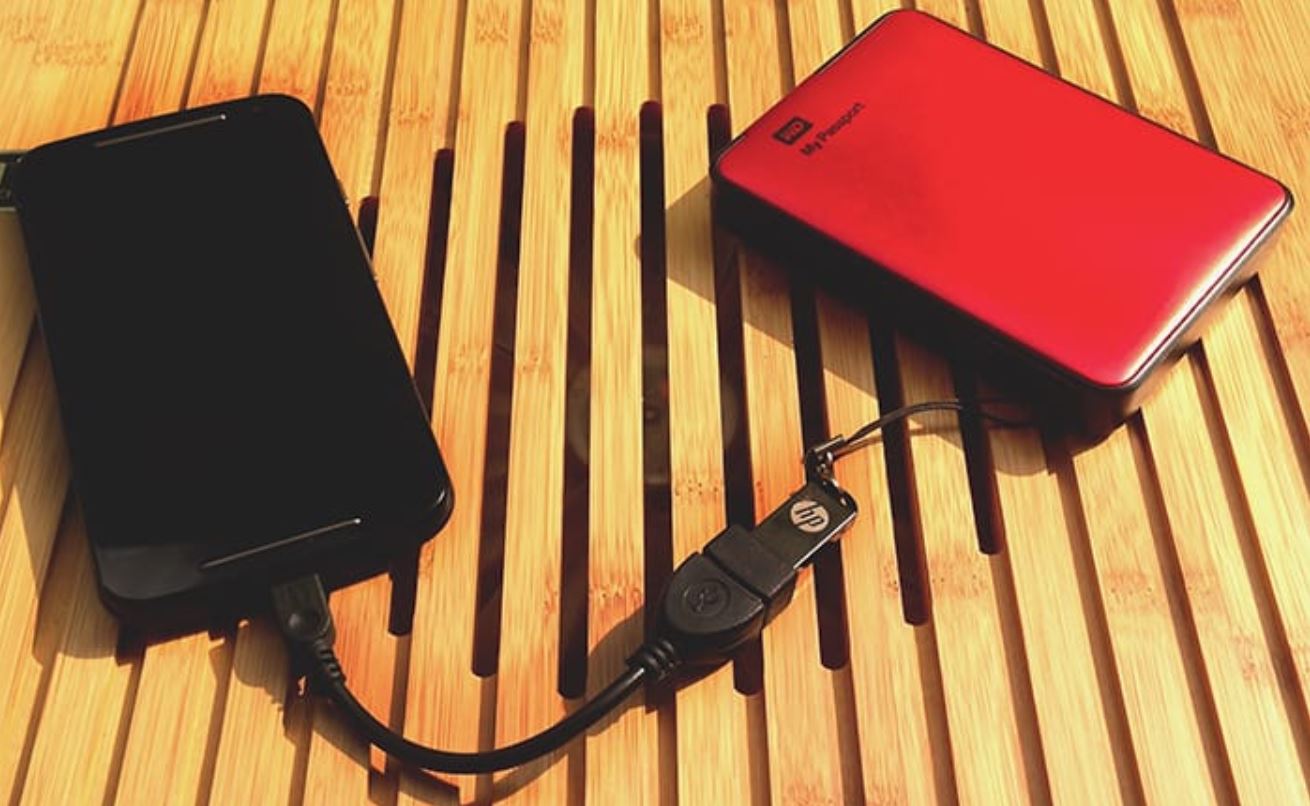
- Locate the charging port on your Android phone and connect one end of the USB cable to it.
- Connect the other end of the USB cable to an available USB port on your computer.
- Ensure that both ends of the USB cable are securely connected.
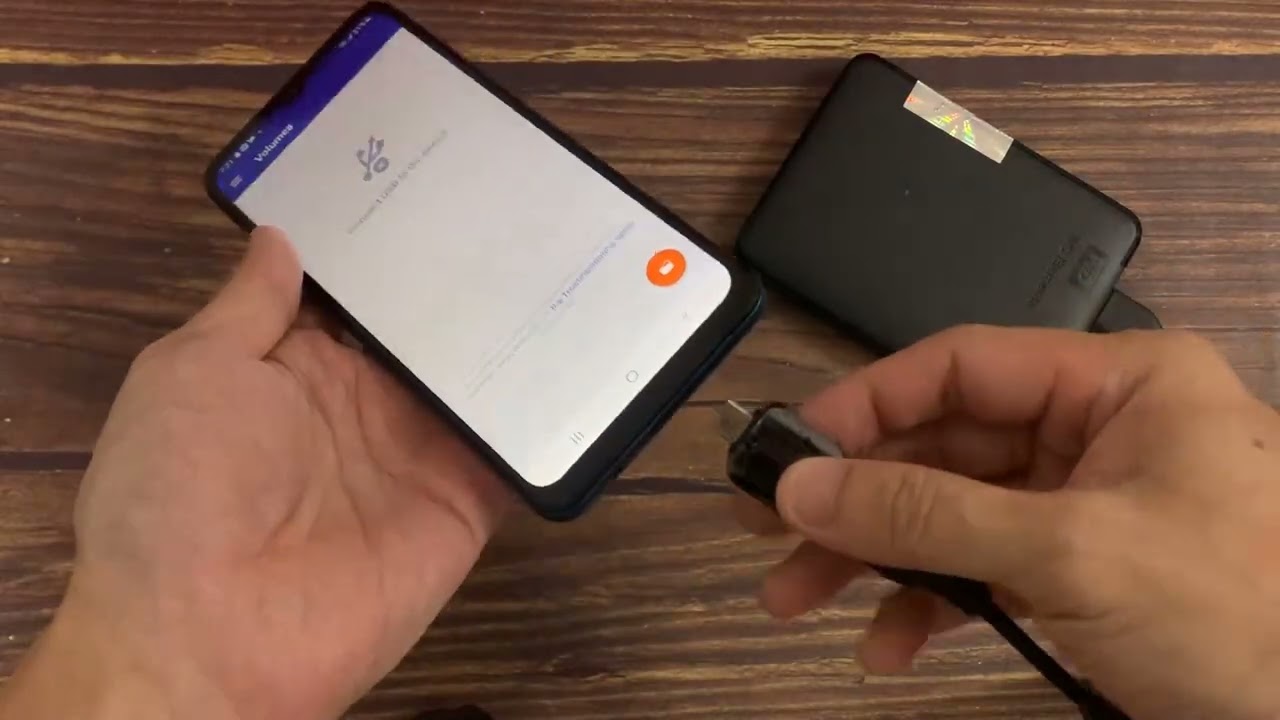
- Once connected, your Android phone should prompt you to choose a USB connection method. Select “File Transfer” or “Transfer files” to enable file transfer between your phone and computer.
- Wait for your computer to recognize and detect your Android phone. This may take a few seconds or minutes depending on your computer’s speed.
- Once your Android phone is successfully connected, you may see a notification on your phone’s screen indicating a successful USB connection.
- Now, your Android phone is connected to your computer, and you are ready to proceed to the next step, which involves enabling USB Debugging on your Android phone.
With your Android phone successfully connected to your computer, you are now one step closer to backing up your valuable data. In the next step, we will guide you on how to enable USB Debugging on your Android phone.
Step 3: Enable USB Debugging on Your Android Phone
In order to establish a secure connection between your Android phone and computer, you need to enable USB Debugging. Follow these steps to enable USB Debugging on your Android phone:
- On your Android phone, go to the “Settings” app. You can usually find this app in your app drawer or by swiping down from the top of the screen and tapping the gear icon.
- Scroll down and tap on the “About phone” or “About device” option. It may be located under a “System” or “Software” section.
- Look for the “Build number” or “Software information” entry and tap on it multiple times quickly. Keep tapping until you see a message indicating that you have become a developer.
- Now, go back to the main settings menu and you should see a new “Developer options” or “Developer settings” menu. Tap on it to open the developer options.
- Scroll down in the developer options menu and locate the “USB debugging” toggle. Tap on it to enable USB Debugging.
- A warning message may appear explaining the potential risks of enabling USB Debugging. Read the message and tap “OK” or “Allow” to confirm that you want to enable USB Debugging.
- You have now successfully enabled USB Debugging on your Android phone. It’s time to move on to the next step and install Android File Transfer on your computer.
Enabling USB Debugging on your Android phone allows for a secure and reliable file transfer between your phone and computer. With this step completed, you are now ready to install Android File Transfer in the next step and continue with the backup process.
Step 4: Install Android File Transfer on Your Computer
In order to facilitate the transfer of files between your Android phone and computer, you’ll need to install the Android File Transfer software on your computer. Follow these steps to install Android File Transfer:
- Open your preferred web browser and navigate to the official Android File Transfer website.
- Download the Android File Transfer software for your specific operating system (Windows or Mac) by clicking on the corresponding download link.
- After the download is complete, locate the installer file in your computer’s downloads folder or the designated folder where your downloads are saved.
- Double-click on the installer file to initiate the installation process.
- Follow the on-screen prompts and instructions to complete the installation of Android File Transfer. This may involve agreeing to the terms and conditions, choosing an installation location, and waiting for the software to be installed.
- Once the installation is complete, launch the Android File Transfer software on your computer.
- Connect your Android phone to your computer using the USB cable, ensuring that USB Debugging is still enabled on your phone.
- Once connected, Android File Transfer should automatically detect your Android phone and display a window showing the contents of your phone’s storage.
- Congratulations! You have successfully installed Android File Transfer on your computer. You are now ready to proceed to the next step and transfer your Android phone data to your computer.
With Android File Transfer installed and ready to use, you now have the necessary software to facilitate the seamless transfer of files between your Android phone and computer. In the next step, we will guide you on how to transfer your Android phone data to your computer.
Step 5: Transfer Your Android Phone Data to Your Computer
Now that you have Android File Transfer installed on your computer and your Android phone connected, it’s time to transfer your phone’s data to your computer. Follow these steps to transfer your Android phone data:
- On your computer, open the Android File Transfer software.
- In the Android File Transfer window, you will see the contents of your Android phone’s storage, including folders for photos, videos, documents, and more.
- Navigate through the folders and locate the files and folders that you want to back up. You can select individual files by clicking on them, or you can select multiple files by holding down the Ctrl (Windows) or Command (Mac) key while clicking on the files.
- Once you have selected the desired files and folders, drag and drop them from the Android File Transfer window to a location on your computer where you want to store the backup. This can be a specific folder on your computer’s hard drive or directly onto your desktop.
- Wait for the files to be transferred from your Android phone to your computer. The time it takes will depend on the size of the files being transferred and the speed of your USB connection.
- Once the transfer is complete, you will have successfully backed up your Android phone data to your computer.
- It is recommended to double-check the transferred files on your computer to ensure that they are intact and accessible. You can open the files using their respective applications or media players on your computer.
Congratulations! You have successfully transferred your Android phone data to your computer using Android File Transfer. In the next step, we will guide you on how to copy your Android phone data to the external hard drive for added backup.
Step 6: Copy Your Android Phone Data to the External Hard Drive
Now that you have successfully transferred your Android phone data to your computer, it’s time to make an additional backup by copying the data to your external hard drive. Follow these steps to copy your Android phone data to the external hard drive:
- Locate the folder on your computer where you saved the backup of your Android phone data. This is the folder that contains the files you transferred using Android File Transfer.
- Connect your external hard drive to your computer using the provided USB cable.
- Open a new File Explorer or Finder window on your computer and navigate to the location where your external hard drive is detected.
- In another window, navigate to the folder that contains the backup of your Android phone data.
- Select all the files and folders in the backup folder by pressing Ctrl+A (Windows) or Command+A (Mac), or by dragging a selection box around them.
- Drag and drop the selected files and folders from the backup folder window to the window of your external hard drive. Alternatively, you can right-click the selected files and choose “Copy”, then navigate to the external hard drive window and right-click again to choose “Paste”.
- Wait for the files to be copied from your computer to the external hard drive. The time it takes will depend on the size of the files being copied and the speed of your USB connection.
- Once the copying process is complete, you will have successfully backed up your Android phone data to the external hard drive.
- Double-check the copied files on your external hard drive to ensure that they are intact and accessible. You can open the files on the external hard drive using their respective applications or media players on your computer.
By copying your Android phone data to the external hard drive, you now have an additional backup of your files in a separate storage device. This provides an extra layer of security and ensures the safety of your valuable data. In the next step, we will guide you on how to safely eject your Android phone and external hard drive from your computer.
Step 7: Safely Eject Your Android Phone and External Hard Drive
After successfully backing up your Android phone data to both your computer and the external hard drive, it’s essential to safely eject both devices to avoid any potential data loss or corruption. Follow these steps to safely eject your Android phone and external hard drive:
- On your computer, locate the system tray or menu bar (usually located in the bottom-right corner on Windows or top-right corner on Mac).
- Find the “Safely Remove Hardware” or “Eject” icon, which typically looks like a USB connector or a hard drive.
- Click on the “Safely Remove Hardware” or “Eject” icon to display a list of connected devices.
- Select your Android phone from the list of devices and wait for the computer to confirm that it is safe to disconnect the phone. You may see a notification or message indicating that the phone has been safely ejected.
- Next, select your external hard drive from the list of devices and wait for the computer to confirm that it is safe to disconnect the drive. Again, you may see a notification or message indicating the successful ejection of the hard drive.
- Once you receive confirmation that both your Android phone and external hard drive are safe to disconnect, you can safely unplug the USB cable from your computer and remove the phone and external hard drive.
- Remember to handle the devices carefully and avoid sudden movements or impacts that could potentially damage the connected devices.
- You have now safely ejected your Android phone and external hard drive from your computer, ensuring that your data is protected and the devices are ready for future use.
By following this step, you have completed the entire process of backing up your Android phone to an external hard drive. You can now rest assured knowing that your valuable data is securely backed up and easily accessible whenever you need it.
Conclusion
Congratulations on successfully backing up your Android phone to an external hard drive! By following the step-by-step guide in this article, you have taken important measures to protect your valuable data from loss or accidental deletion. Here’s a recap of what you’ve accomplished:
First, you learned why it is essential to back up your Android phone, including protecting against data loss, enabling seamless device transitions, and providing peace of mind. Then, you gathered the necessary tools, including an Android phone, an external hard drive, a USB cable, a computer with sufficient storage space, and the Android File Transfer software.
You followed the steps to prepare your external hard drive, connect your Android phone to your computer, enable USB Debugging on your phone, and install the Android File Transfer software. You then transferred your Android phone data to your computer using Android File Transfer and made an additional backup by copying the data to the external hard drive. Finally, you safely ejected both your Android phone and external hard drive from your computer.
By completing these steps, you have successfully created two backups of your Android phone data – one on your computer and one on the external hard drive. This ensures that your data remains safe even in the event of device loss or damage.
Remember to periodically update your backups as you add new data or make changes to your Android phone. Regularly backing up your phone will help you maintain the most recent version of your data and save you time and effort in the future.
We hope this guide has been helpful in guiding you through the process of backing up your Android phone to an external hard drive. By taking proactive steps to protect your data, you can confidently use your Android phone knowing that your important information is secure. Now, go ahead and explore your Android phone without any worries!