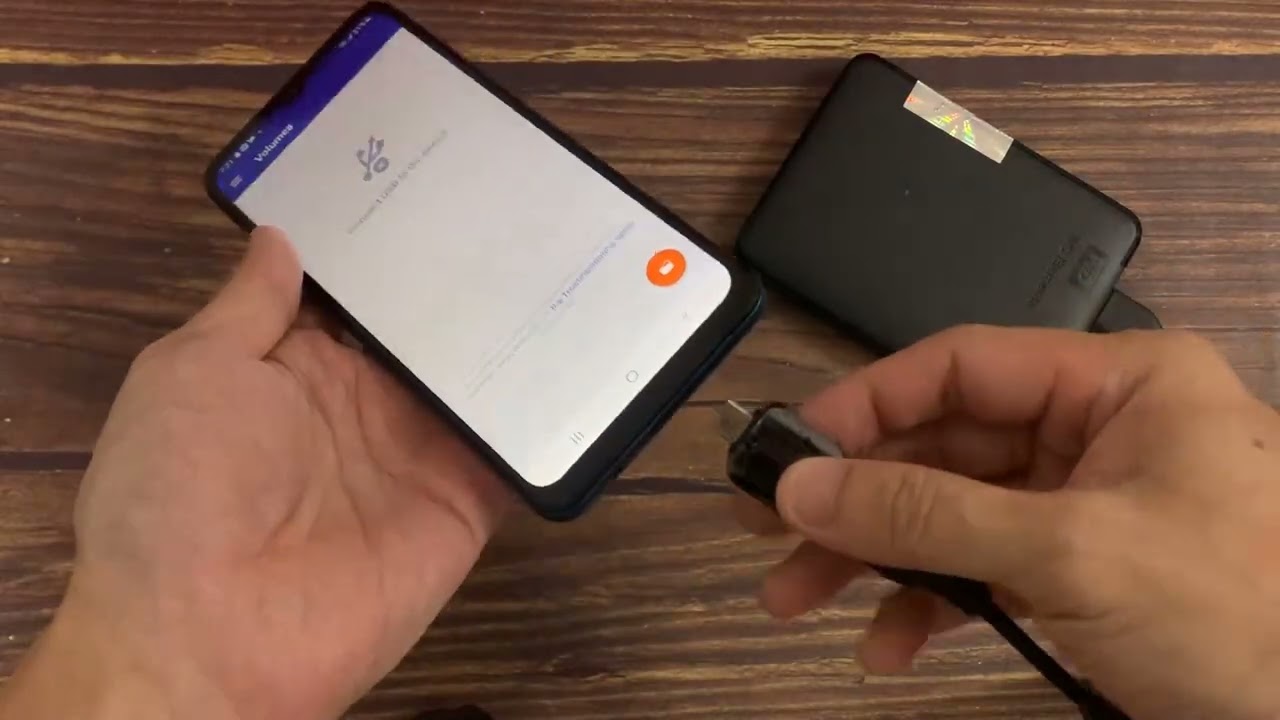
To use a portable SSD on Android, you need a phone with USB On-The-Go (OTG) support and the correct cable, either a USB-C to USB-C or a USB-C to USB-A OTG adapter. Once connected, your Android device will recognize the SSD as external storage, allowing you to transfer files, back up photos, or even record video directly to the drive. This guide covers everything from the essential hardware to safely ejecting the drive, so you can confidently manage large files on the go.
What you need to use a portable SSD on Android
Before connecting your portable SSD to your Android phone, verify that your device meets the essential hardware and software prerequisites. Most modern Android phones support USB On-The-Go (OTG) functionality, which allows them to act as a host for USB devices like portable SSDs.
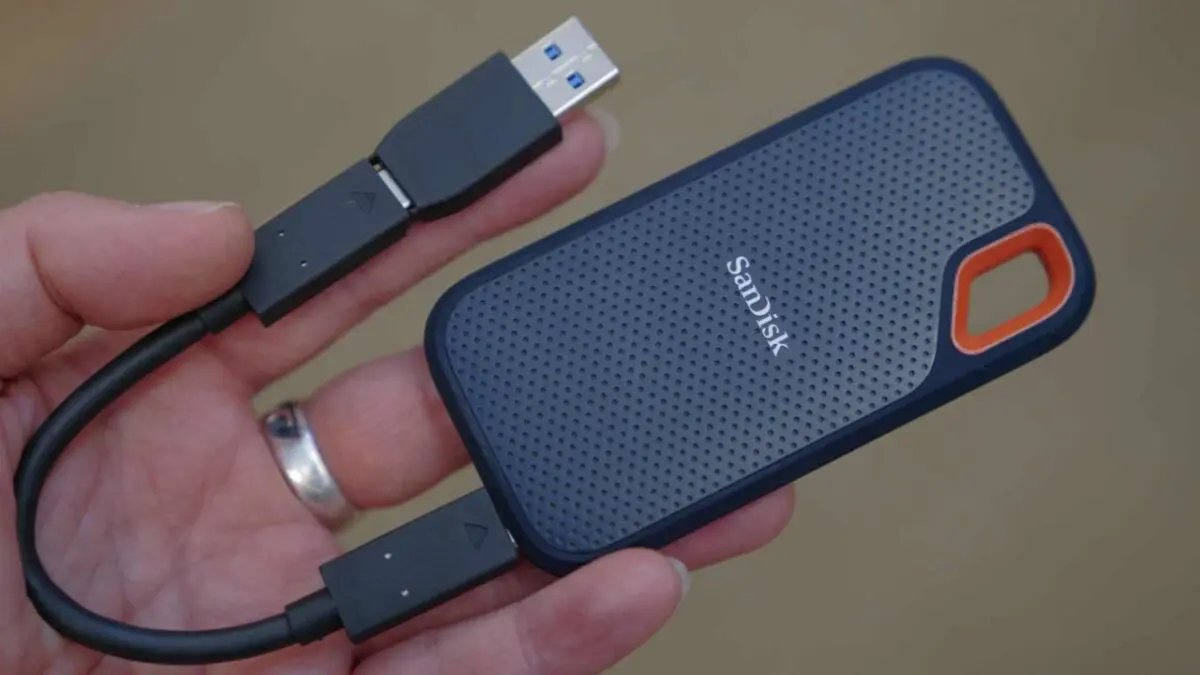
The critical piece of hardware is the cable. For phones with a USB-C port, you'll need a USB-C to USB-C cable that supports data transfer (not just charging). If your portable SSD uses a USB-A connector, or your phone has a Micro-USB port, you'll need a USB-C/Micro-USB to USB-A OTG adapter. Ensure the cable or adapter is rated for USB 3.0 or higher to achieve fast transfer speeds.
On the software side, your Android phone must run at least Android 5.1 (Lollipop) for most portable SSDs to work. For example, Samsung Portable SSDs like the T7 series are compatible with Android Lollipop (version 5.1) or higher. If you're using a third-party SSD, check the manufacturer's documentation for specific Android version requirements.
How to connect your portable SSD to an Android phone
Connecting your portable SSD to your Android phone is a straightforward process. Follow these steps to get started:
- Plug in the cable: Connect one end of the cable to the portable SSD and the other end to your Android phone's USB port. If you're using an OTG adapter, attach it to the phone first, then connect the SSD to the adapter.
- Look for the notification: Once connected, your phone will typically display a notification in the notification shade. This notification may say "USB device connected" or "USB for file transfer." Tap on it to proceed.
- Tap 'File Transfer' or 'Mount Storage': Depending on your device, you may need to select "File Transfer" (to browse files) or "Mount Storage" (to make the SSD available as external storage). This action initializes the drive and makes it accessible via your file manager app.
If the notification doesn't appear, try reconnecting the cable or checking your phone's USB settings in the Developer Options. Once the SSD is mounted, you'll see it listed in your file manager under "External storage" or a similar section.
Enabling OTG storage on specific Android devices
Some Android devices, particularly from manufacturers like OnePlus, Oppo, and Vivo, may not automatically recognize an external SSD. These brands often require users to manually enable the USB OTG setting before the drive will work. Here's the verified troubleshooting step:
- Open Settings on your Android phone.
- Navigate to System > Advanced > OTG Storage.
- Toggle the switch to On to enable OTG functionality.
After enabling this setting, reconnect your portable SSD. The phone should now detect the drive, and you can proceed with file transfers. This manual toggle is a common requirement for these specific manufacturers, so if your device is from OnePlus, Oppo, or Vivo, check this setting first before troubleshooting other issues.
How to transfer and manage files on your SSD
Once your portable SSD is connected and mounted, you can manage files using your phone's built-in file manager app, such as Files by Google or My Files. Here's how to transfer and organize data between your phone's internal storage and the portable SSD:
- Open the file manager: Launch the pre-installed file manager app on your Android phone. If you don't have one, download "Files by Google" from the Play Store.
- Navigate to the SSD: In the file manager, look for the external storage section. Tap on the portable SSD's name to view its contents.
- Copy or move files: Browse through your phone's internal storage to find files you want to transfer. Long-press a file or folder to select it, then tap the copy or move icon in the toolbar. Navigate to the destination folder on the SSD and paste the files there.
- Organize and delete: You can create new folders on the SSD, rename files, or delete unwanted items directly from the file manager. Use the search function to quickly locate specific files by name or extension.
For large media files, the high-speed transfer capabilities of the portable SSD will ensure quick and efficient data movement. Regularly backing up your phone's photos and videos to the SSD is a great way to free up internal storage without losing important memories.
How to record video directly to the portable SSD
Recording video directly to a portable SSD is a popular feature for content creators, but it's important to know that this capability is not native to most Android phones. Unlike the iPhone's native ProRes support, Android devices typically require third-party apps to record video directly to external storage. Verified apps like Blackmagic Camera or Motion Cam Pro allow you to set the portable SSD as the recording destination.
To use this feature, download the app from the Play Store, connect your portable SSD, and navigate to the app's settings to select the external storage as the save location. This is particularly useful for shooting high-resolution video without filling up your phone's internal storage. However, keep in mind that not all Android devices support this feature due to hardware or software limitations. Check your phone's specifications and the app's compatibility before relying on it for critical recording sessions.
How to safely eject your portable SSD
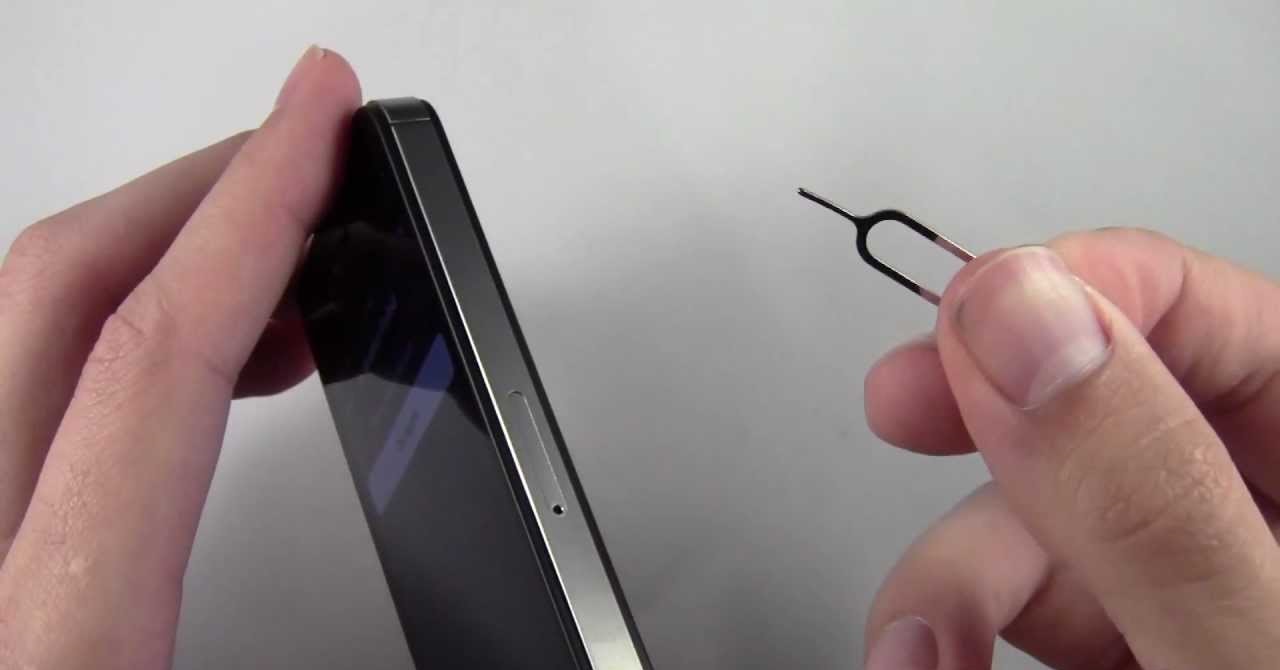
Safely ejecting your portable SSD is the most critical step to prevent data corruption and ensure the longevity of the drive. Never unplug the SSD while files are being transferred or accessed. Here's how to do it correctly:
- Close all file manager apps: Ensure no apps are actively reading or writing data to the SSD.
- Use the notification shade: Swipe down from the top of your screen to open the notification shade. Look for the USB connection notification and tap it.
- Select 'Safely Remove' or 'Eject':
- Alternatively, use the file manager: Open your file manager app, find the SSD under external storage, and tap the eject icon next to it. Wait for the notification confirming it's safe to disconnect.
By following this practice every time, you protect your data from corruption and avoid potential damage to the SSD's file system. This simple step ensures your portable SSD remains reliable for years of use with your Android phone.
\nRelated reading: How To Use SanDisk Extreme Portable SSD With iPhone, How To Use A Portable SSD Drive, and How To Use Samsung Portable SSD T7.