Introduction
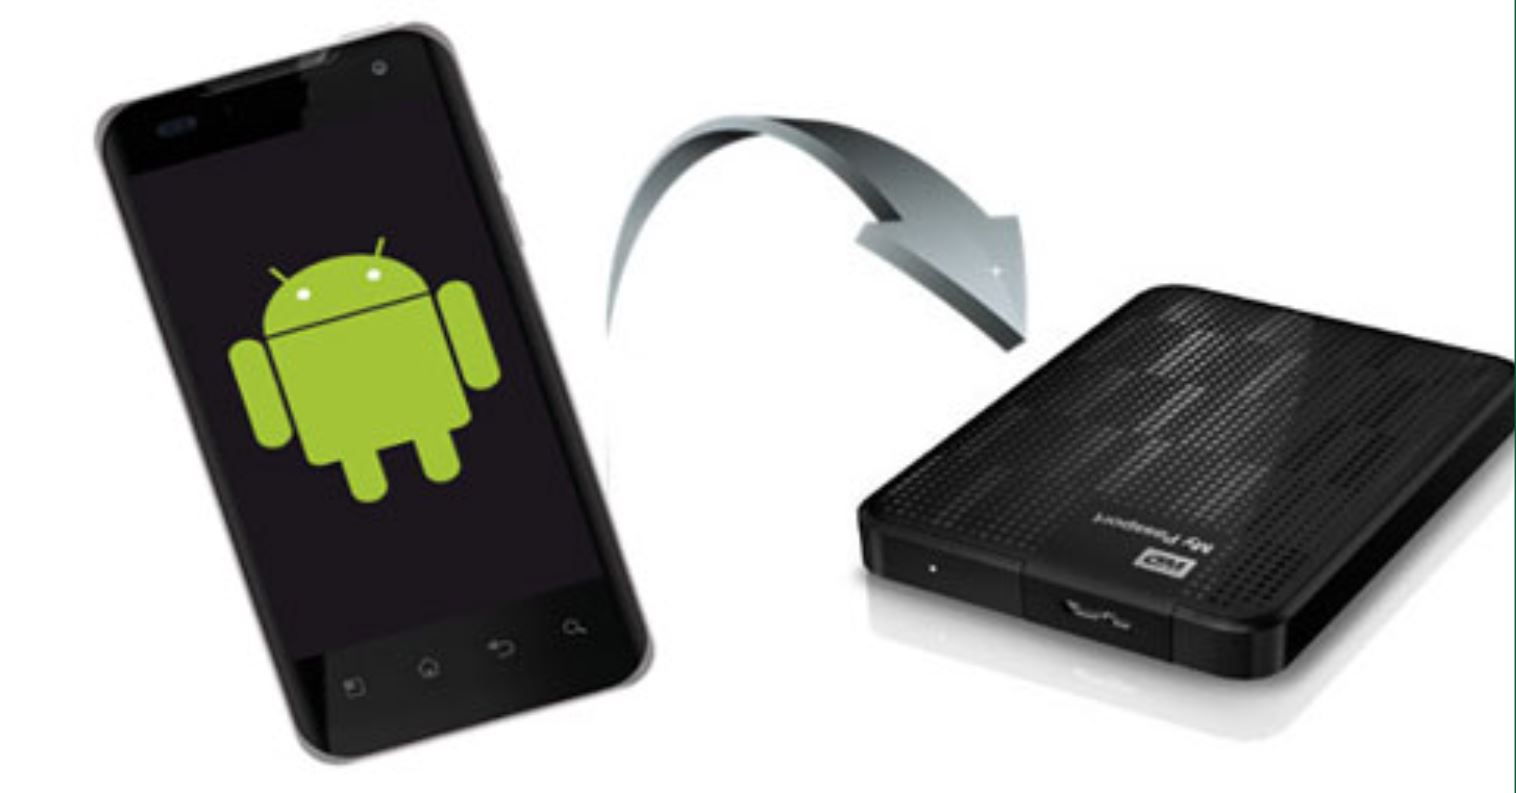
Transferring data from your Android device to an external hard drive can be a useful way to back up important files, create additional storage space, or simply have a portable way to carry your data. Whether you want to transfer photos, videos, documents, or any other type of data, the process is straightforward and can be completed in just a few steps.
In this article, we will guide you through the process of transferring data from your Android device to an external hard drive. We will cover the necessary steps, from connecting your external hard drive to enabling USB debugging on your Android device, to transferring the data using a file manager app. By following these steps, you’ll be able to securely transfer your data and ensure that it is safely backed up or accessible whenever you need it.
Before we begin, it’s important to note that the specific steps and options may vary depending on the Android device you are using, as well as the file manager app you choose. However, the general process remains the same, and we will provide the necessary guidance to help you successfully transfer your data to an external hard drive.
Now, let’s dive into the step-by-step process of transferring data from your Android device to an external hard drive.
Step 1: Connecting your external hard drive to your Android device
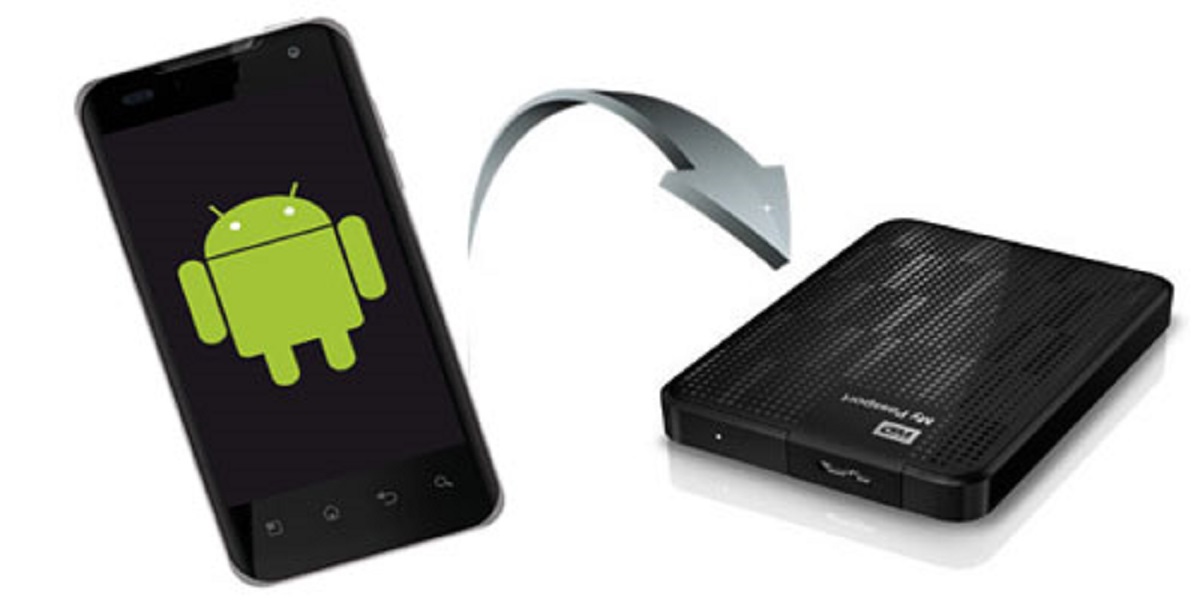
The first step in transferring data from your Android device to an external hard drive is to connect the hard drive to your device. The method you use to connect will depend on the type of external hard drive you have.
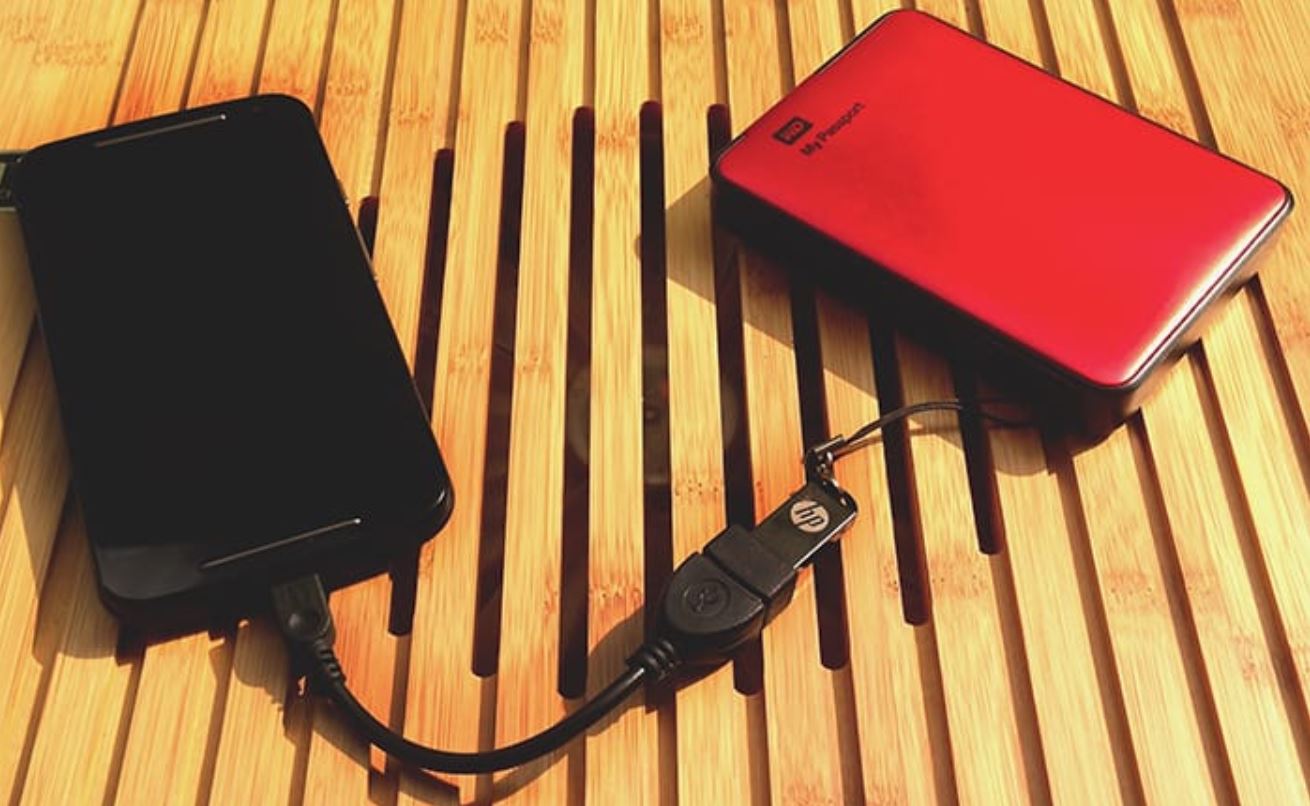
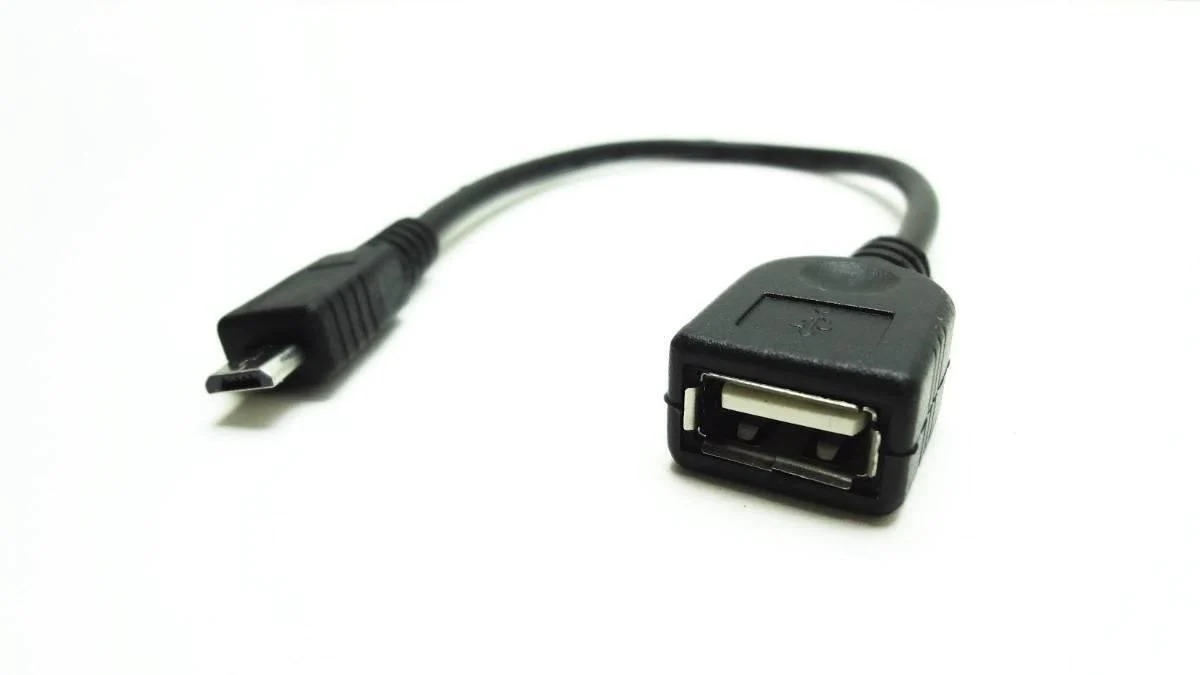
If you have a traditional external hard drive that uses USB, you can connect it to your Android device using an OTG (On-The-Go) adapter. An OTG adapter is a small cable that has a USB port on one end and a micro USB or USB-C connector on the other end. Simply plug the USB end of the OTG adapter into your external hard drive and the micro USB or USB-C connector into your Android device.
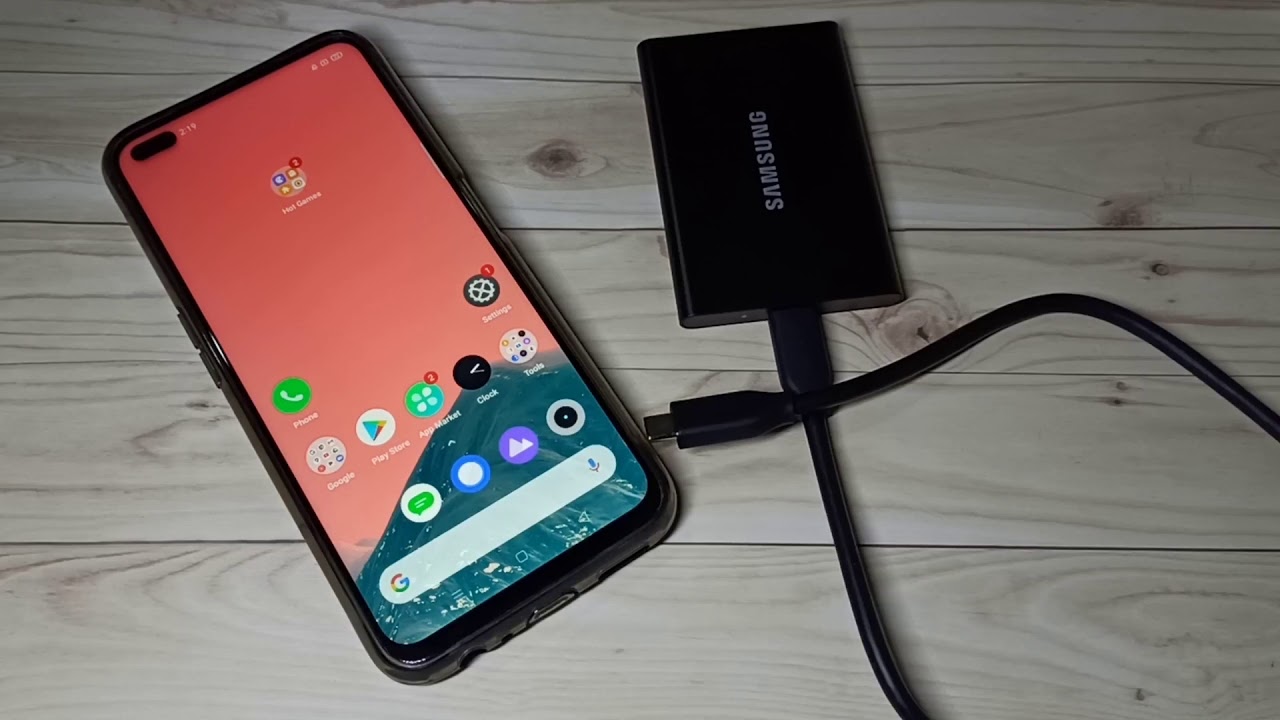
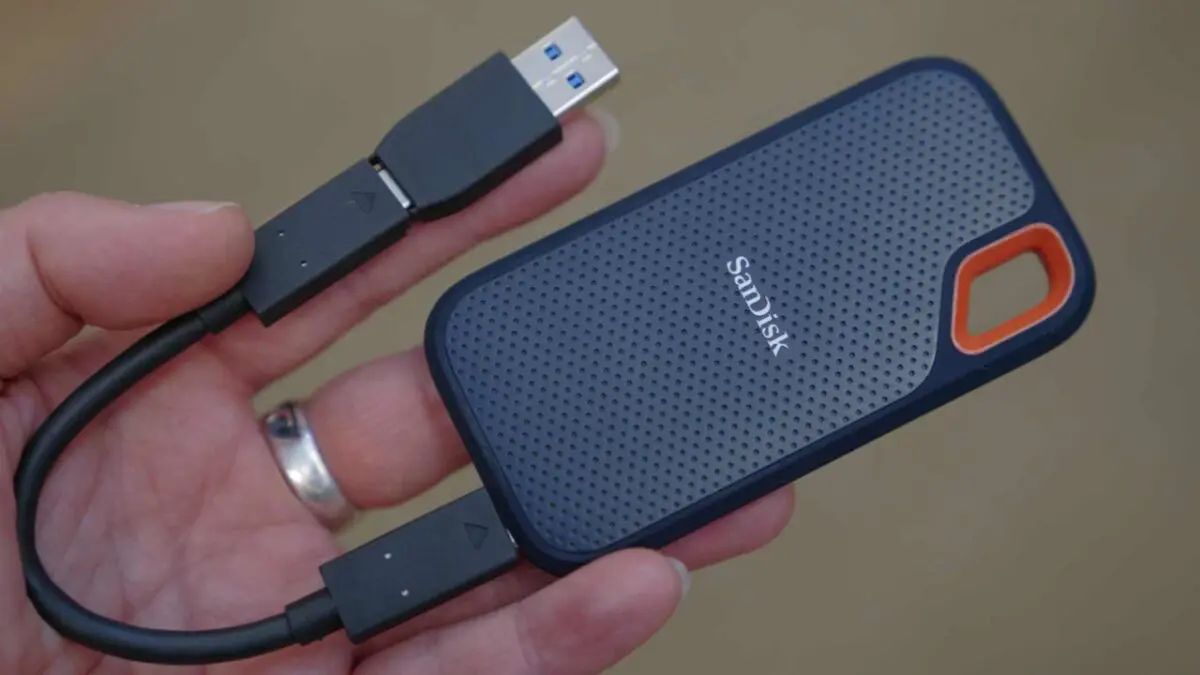
For those using a portable solid-state drive (SSD) or a USB-C external hard drive, you can directly connect it to your Android device using a USB-C to USB-C cable. Most modern Android devices have a USB-C port, which makes it convenient to connect these types of external hard drives without the need for an adapter.
Once you have connected your external hard drive to your Android device, you may need to wait for a moment while your Android device recognizes the connection. After the connection is established, a notification may appear on your device’s screen indicating that the external storage is connected. Now you are ready to move on to the next step.
Step 2: Enabling USB debugging on your Android device
In order to facilitate data transfer between your Android device and the external hard drive, it is necessary to enable USB debugging on your Android device. USB debugging allows your device to communicate with the computer or external storage devices and enables advanced functions like data transfer.
Enabling USB debugging may vary slightly depending on your Android device and its operating system. However, the general steps are as follows:
- First, go to the Settings on your Android device.
- Scroll down and locate the “About phone” or “About device” option, and tap on it.
- Look for the “Build number” or “Software information” option, which may be located at the bottom of the list.
- Repeatedly tap on the “Build number” option until you see a message indicating that you have enabled developer options.
- Now, go back to the main Settings page and you should see a new option called “Developer options.”
- Tap on “Developer options,” then scroll down to find the “USB debugging” option.
- Toggle the switch next to “USB debugging” to enable it.
Once USB debugging is enabled on your Android device, you will be able to establish a connection between your device and the external hard drive for data transfer purposes.
It is important to note that enabling USB debugging grants certain permissions and privileges to your device, so it’s recommended to only enable it when necessary and disable it when you are done with the data transfer process.
Now that USB debugging is enabled on your Android device, you can proceed to the next step of installing a file manager app on your device.
Step 3: Installing a file manager app on your Android device
In order to transfer data from your Android device to an external hard drive, you will need a file manager app that supports external storage access. While some Android devices come with a pre-installed file manager app, it may not have the necessary functionality for accessing and managing external storage.
To overcome this limitation, you can install a file manager app from the Google Play Store that provides robust features for handling file transfers. Here’s how to install a file manager app on your Android device:
- Open the Google Play Store app on your Android device.
- Tap on the search bar and enter “file manager”.
- Several file manager apps will appear in the search results. Look for a well-rated and popular app that meets your requirements.
- Select the file manager app you prefer and tap on the “Install” button.
- The app will begin downloading and installing on your device.
- Once the installation is complete, you can open the file manager app from your app drawer or home screen.
After installing the file manager app, it is essential to grant it the necessary permissions to access your device’s storage and external devices. When you launch the app for the first time, it may ask for permission to access storage. Make sure to grant these permissions to ensure a seamless data transfer process.
Now that you have a file manager app installed on your Android device, you are ready to move on to the next step of transferring data from your device to the external hard drive.
Step 4: Transferring data from your Android device to your external hard drive using the file manager app
Now that you have connected your external hard drive, enabled USB debugging, and installed a file manager app on your Android device, you can start transferring data to your external hard drive. The file manager app will allow you to easily navigate through your device’s internal storage, select the files or folders you want to transfer, and move them to the external hard drive.
Follow these steps to transfer data from your Android device to your external hard drive:
- Open the file manager app on your Android device that you installed in the previous step.
- Navigate to the location where your desired files or folders are stored on your device.
- Long-press on the file or folder that you want to transfer.
- Select the option to “Copy” or “Cut” the selected file or folder.
- Navigate to the external hard drive location within the file manager app.
- Long-press on an empty area within the external hard drive location and select the option to “Paste” the copied or cut file or folder.
- The file manager app will start transferring the selected data from your Android device to the external hard drive.
- Once the transfer is complete, you can verify the files or folders on your external hard drive to ensure they have been successfully transferred.
It’s important to note that the transfer speed may vary depending on the size of the files and the performance of your Android device and external hard drive. Larger files may take longer to transfer, so it’s advisable to be patient during the process.
Repeat these steps for each file or folder you want to transfer to your external hard drive. You can transfer multiple files or folders at a time by selecting them all before initiating the copy or cut process.
Once all the desired data has been transferred, you can proceed to safely disconnect your external hard drive from your Android device.
Step 5: Safely disconnecting your external hard drive from your Android device
After successfully transferring your desired data from your Android device to your external hard drive, it is important to safely disconnect the hard drive from your device. This ensures that no data is lost or corrupted during the disconnection process.
Here’s how you can safely disconnect your external hard drive from your Android device:
- Ensure that all data transfers between your Android device and the external hard drive are complete.
- Go to the file manager app on your Android device.
- Navigate to the external hard drive location within the app.
- Long-press on an empty area within the external hard drive location.
- Look for an option or icon that represents “Eject,” “Unmount,” or “Disconnect.”
- Tap on the “Eject,” “Unmount,” or “Disconnect” option or icon.
- Wait for the file manager app to complete the disconnection process. You may receive a notification indicating that the external storage has been safely disconnected.
- Once the disconnection process is complete, you can physically disconnect the external hard drive from your Android device.
It is crucial to ensure that the disconnection process is completed before physically removing the external hard drive from your Android device. This helps prevent potential data loss or damage to both your device and the external storage.
Once you have safely disconnected your external hard drive, you can now use it on other devices or keep it securely stored until you need to access your transferred data.
With the completion of this step, you have successfully transferred data from your Android device to your external hard drive and safely disconnected the two devices.
Remember to properly store your external hard drive in a safe and dry place to protect your valuable data from any potential damage or loss.
Congratulations! You are now able to transfer data from your Android device to an external hard drive with ease.
Conclusion
Transferring data from your Android device to an external hard drive can provide you with a convenient way to back up your important files, create additional storage space, or have a portable way to carry your data. By following the steps outlined in this article, you can easily and securely transfer your data from your Android device to an external hard drive.
We started by connecting the external hard drive to your Android device using an appropriate cable or adapter. Then, we enabled USB debugging on your Android device to establish a strong connection between your device and the external hard drive. After that, we guided you through installing a file manager app on your Android device, which allowed you to efficiently manage and transfer your data.
Finally, we discussed the process of transferring data from your Android device to the external hard drive using the file manager app. By following these steps, you can selectively choose the files or folders you want to transfer and safely move them to the external storage.
Once the data transfer is complete, we emphasized the importance of safely disconnecting the external hard drive. This helps prevent any data loss or corruption during the disconnection process.
Now that you are familiar with the process of transferring data from your Android device to an external hard drive, you can confidently back up your files, create more storage space, or have your data readily available wherever you go.
Remember to take good care of your external hard drive and keep it in a safe place to protect your valuable data. Regularly backing up your data to an external hard drive is a wise practice to ensure the safety and accessibility of your files.
We hope this article has been helpful in guiding you through the process of transferring data from your Android device to an external hard drive. Enjoy the benefits of having your data securely stored and easily accessible whenever you need it!