Introduction
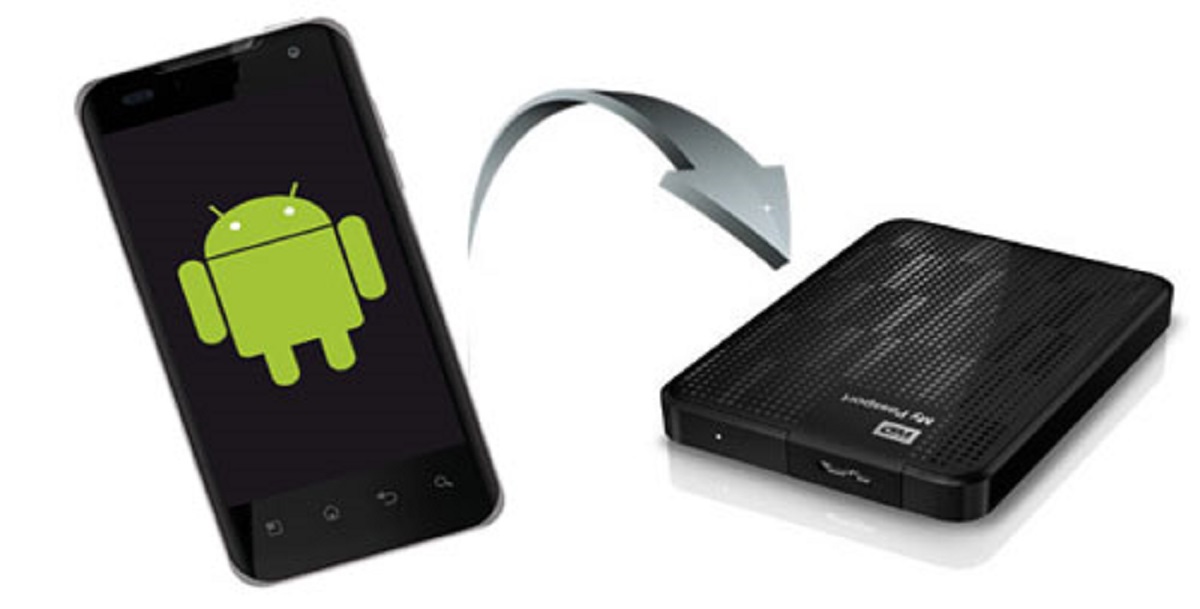
Welcome to this guide on how to move pictures from your Android device to an external hard drive. As smartphones continue to improve their camera capabilities, capturing high-resolution photos has become easier than ever. However, this also means that our photo libraries are growing, taking up valuable space on our devices.
If you find yourself running out of storage and don’t want to lose those precious memories, transferring your pictures to an external hard drive is an excellent solution. Not only does it free up space on your Android device, but it also ensures your photos are safe and easily accessible in case of accidents, device failure, or the need to switch to a new device.
In this guide, we will walk you through the steps needed to complete this process. Whether you have a vast collection of photos or just a handful, we will show you how to make this transfer quickly and hassle-free.
Before we begin, it’s essential to note that the exact steps may vary slightly depending on the make and model of your Android device and the external hard drive you are using. However, the general process remains the same.
So, let’s dive in and learn how to move pictures from your Android device to an external hard drive!
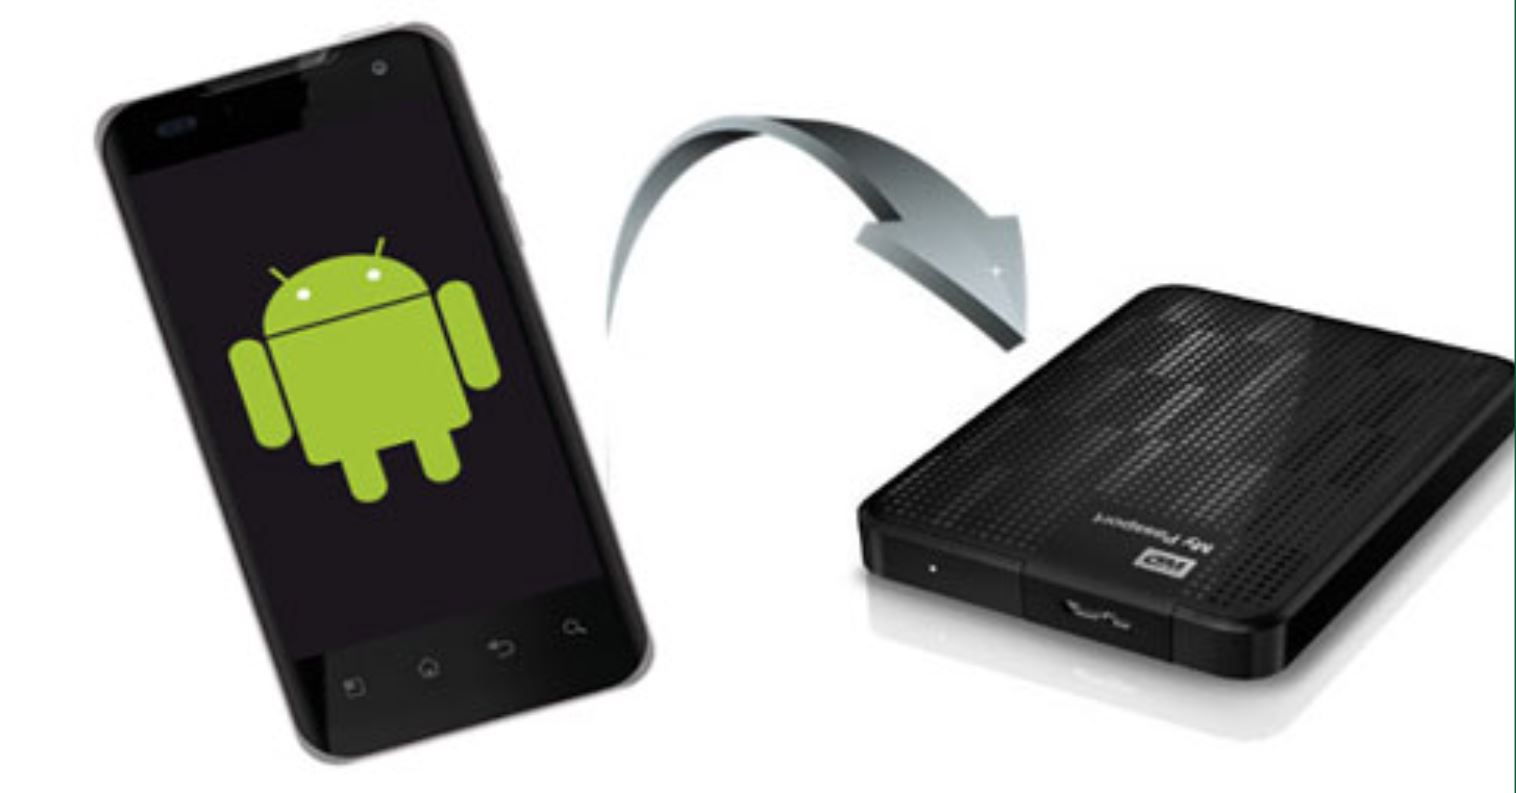
Step 1: Connect the External Hard Drive to your Android Device
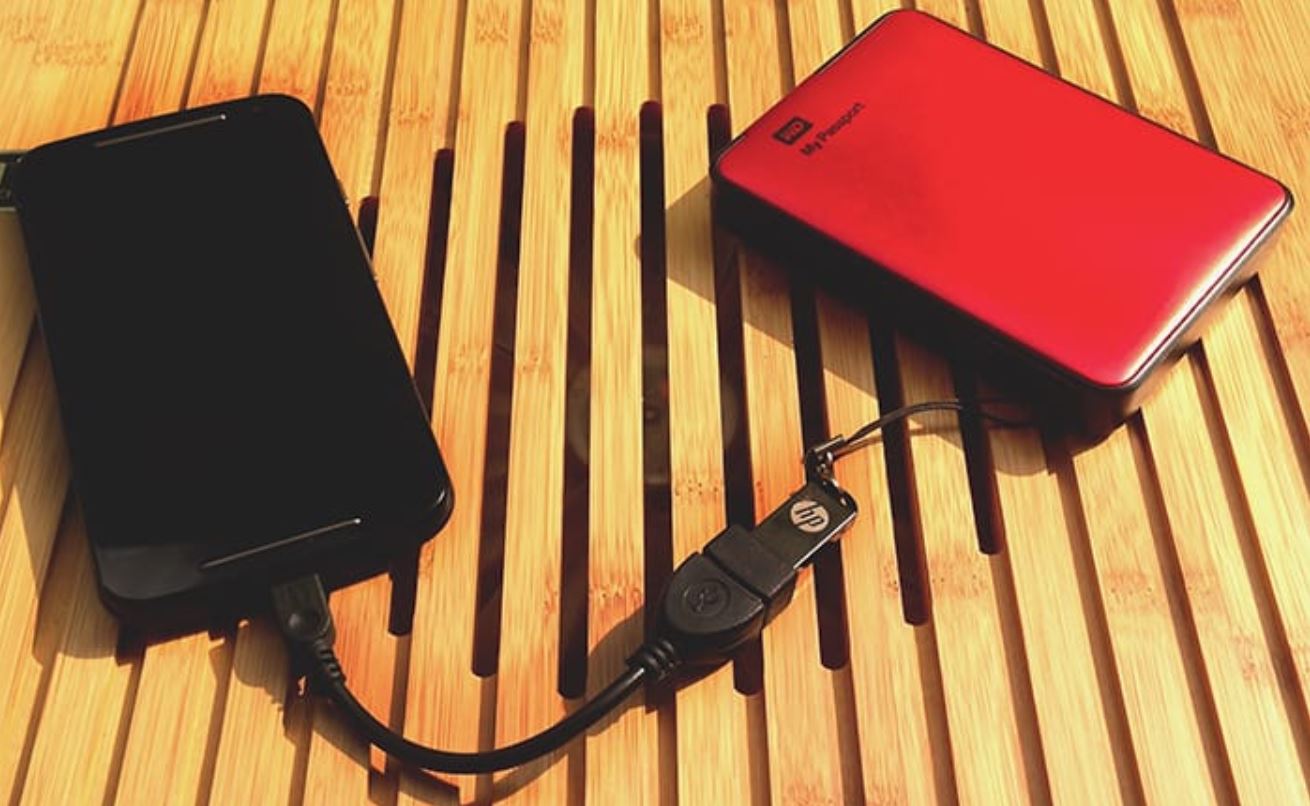
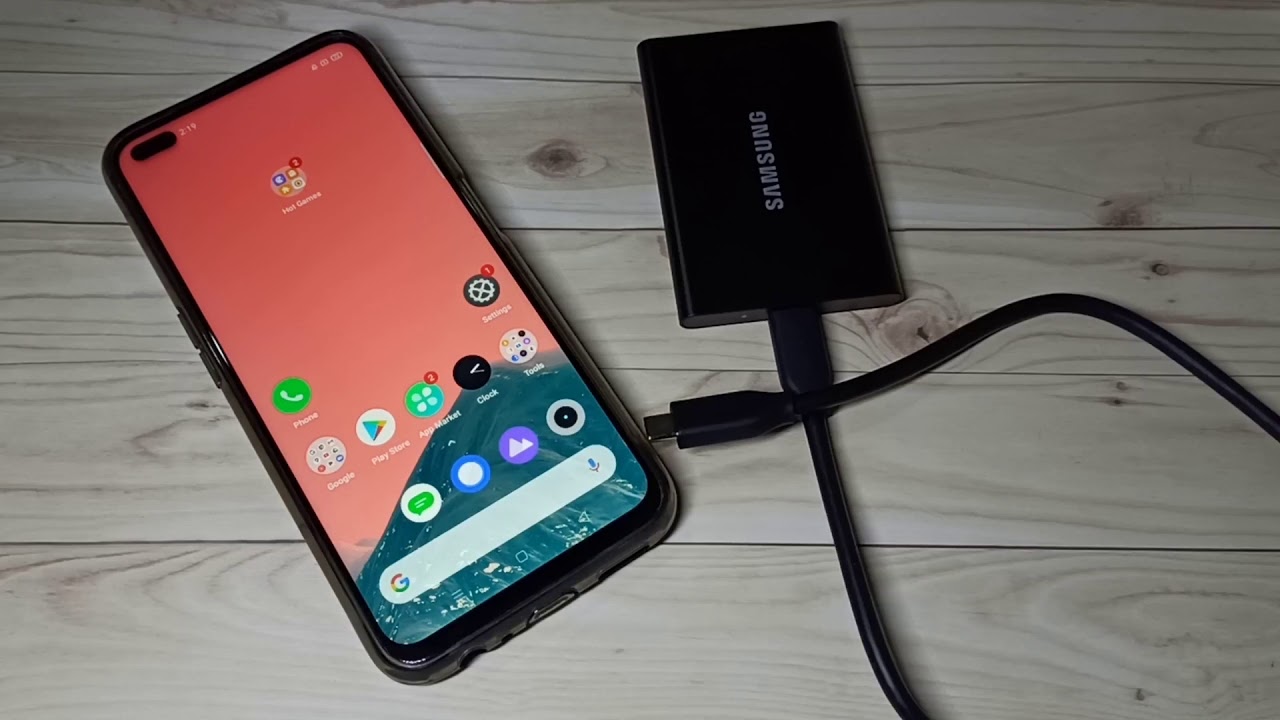
The first step in moving pictures from your Android device to an external hard drive is to establish a physical connection between the two. Depending on the type of external hard drive you have, this can be done in several ways.
If your external hard drive comes with a USB port, you can directly connect it to your Android device using a USB cable. Ensure that the USB cable is compatible with both your external hard drive and Android device. Connect one end of the cable to the USB port on your external hard drive and the other end to the USB port on your Android device.
On the other hand, if your external hard drive supports wireless connectivity, you can connect it to your Android device using Wi-Fi or Bluetooth. Refer to the user manual of your external hard drive for instructions on how to establish a wireless connection. Once connected, make sure that both your Android device and external hard drive are on the same network for seamless communication.
It is worth mentioning that some external hard drives may require additional power to function correctly. In such cases, make sure to connect the power source to your external hard drive before connecting it to your Android device.
Once you have successfully connected your external hard drive to your Android device, it should be recognized as an external storage device. You can verify this by going to the settings on your Android device and navigating to the storage section. You should see the external hard drive listed as an available storage option.
With the physical connection established, you are now ready to proceed to the next step and locate the pictures on your Android device that you want to transfer to the external hard drive.
Step 2: Use a File Manager App to Locate the Pictures
Now that your external hard drive is connected to your Android device, it’s time to locate the pictures you want to transfer. To do this, you will need to use a file manager app that allows you to navigate through the files and folders on your device.
Android devices typically come with a built-in file manager app, but if you don’t have one or prefer a more feature-rich option, you can download a file manager app from the Google Play Store. Popular file manager apps include Solid Explorer, ES File Explorer, and Astro File Manager.
Once you have a file manager app installed on your device, open the app to begin the process of locating your pictures. The file manager app will display a list of folders and directories on your device’s internal storage and any external storage devices that are connected.
Navigate through the folders until you find the location where your pictures are stored. This could be the default Pictures folder, a specific album folder, or any other custom folder where you have stored your photos.
When you locate the folder containing your pictures, tap on it to view its contents. You should see a list of image files displayed on your screen. Take a moment to review the pictures and ensure that you have selected the correct ones for transfer.
If you want to transfer multiple pictures at once, you can use the multi-select feature of the file manager app. This allows you to select multiple files simultaneously by tapping and holding on one file and then tapping on the others you want to select.
Once you have selected the pictures you want to transfer, proceed to the next step to copy them to the external hard drive.
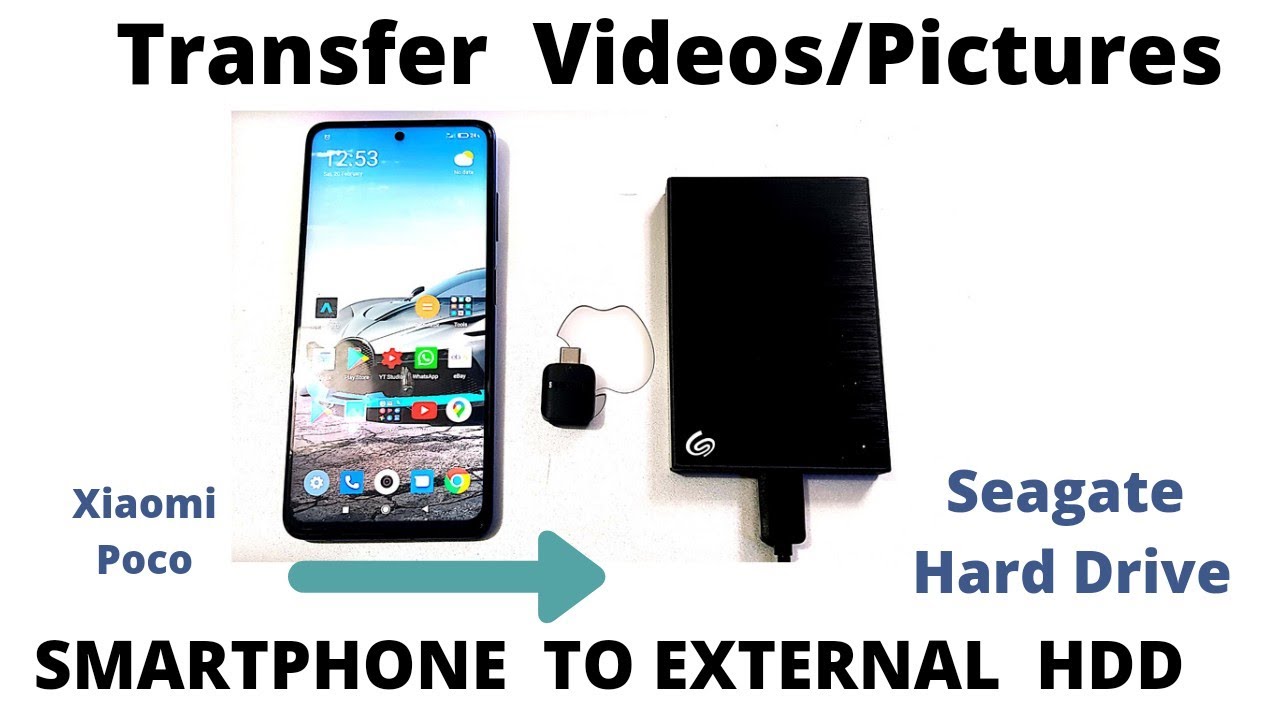
Step 3: Copy the Pictures to the External Hard Drive
Now that you have located the pictures you want to transfer using the file manager app, it’s time to copy them to the external hard drive. This step ensures that the selected photos are safely transferred and stored on the external storage device.
In the file manager app, navigate to the external hard drive folder or directory where you want to save the pictures. If the folder doesn’t exist, you can create a new one by tapping on the “New Folder” or “Create” option within the app.
Once you have selected the destination folder on the external hard drive, you can initiate the copying process. Look for the copy or move options within the file manager app, which are usually represented by icons or labeled text.
Depending on the file manager app you’re using, the process of copying the pictures may vary slightly. In most cases, it involves selecting the pictures you want to copy and choosing the copy or move option, followed by selecting the destination folder on the external hard drive.
Tap on the copy or move option, and the file manager app will begin transferring the selected pictures to the external hard drive. The duration of the transfer will depend on the number and size of the pictures you’re copying.
During the copying process, make sure not to interrupt the transfer or disconnect the external hard drive. Doing so could result in data loss or corruption of the transferred files.
Once the copying process is complete, you can safely disconnect the external hard drive from your Android device, knowing that your pictures are now stored on the external storage device and no longer taking up space on your device’s internal storage.
With the pictures successfully copied to the external hard drive, you can now enjoy the freed-up space on your Android device and easily access your photos whenever you need them by connecting the external hard drive.
Step 4: Safely Eject the External Hard Drive
After successfully transferring your pictures from your Android device to the external hard drive, it is crucial to safely eject the external hard drive before disconnecting it. This ensures that all data is written properly and reduces the risk of data corruption or loss.
To safely eject the external hard drive from your Android device, follow these steps:
1. Locate the “eject” or “safely remove” icon or option within your device’s settings or file manager app. This icon typically resembles a USB drive with a checkmark or an upward arrow.
2. Tap on the “eject” or “safely remove” icon or option. This action notifies your Android device that you are done using the external hard drive and want to disconnect it.
3. Wait for a confirmation message or notification that indicates it is safe to remove the external hard drive. Depending on your device and file manager app, this message may vary, but it usually mentions that the device can be safely removed.
4. Once you see the confirmation message, gently disconnect the external hard drive from your Android device. Make sure to remove it properly without applying excessive force that could potentially damage the USB port or the external hard drive itself.
By following these steps and safely ejecting the external hard drive, you ensure the integrity of your transferred pictures and minimize the risk of any data corruption.
It’s also a good practice to power off or disconnect the external hard drive from its power source after safely ejecting it from your Android device. This helps prevent any accidental data loss or damage to the external hard drive.
Now that you have successfully transferred your pictures to the external hard drive and safely ejected it, you can disconnect and store the external hard drive in a secure location. Your pictures are now readily available whenever you need them, and your Android device has regained valuable storage space.
Conclusion
Transferring pictures from your Android device to an external hard drive is a simple yet effective way to free up space on your device and ensure the safety of your precious memories. By following the four steps outlined in this guide, you can easily and securely move your pictures to external storage.
Remember, before you begin, make sure that you have a physical connection between your Android device and the external hard drive. This connection can be established using a USB cable or through wireless connectivity depending on the capabilities of your devices.
Next, use a file manager app to locate and select the pictures you want to transfer. Take your time to review and double-check your selections to ensure that you have chosen the right photos.
Once you have selected the pictures, copy them to the designated folder on the external hard drive. Be patient during the copying process, especially if you are transferring large files or multiple photos.
Finally, remember to safely eject the external hard drive from your Android device before disconnecting it. This step is crucial to prevent data loss or corruption and ensure the integrity of your transferred pictures.
By following these steps, you can confidently transfer your pictures from your Android device to an external hard drive, freeing up space and ensuring the security of your cherished memories.
Now that you have learned how to move your pictures to an external hard drive, you can enjoy a clutter-free Android device without sacrificing the preservation of your valuable photo collection.
So go ahead, grab your external hard drive, and start decluttering your Android device while protecting your cherished memories!