Introduction
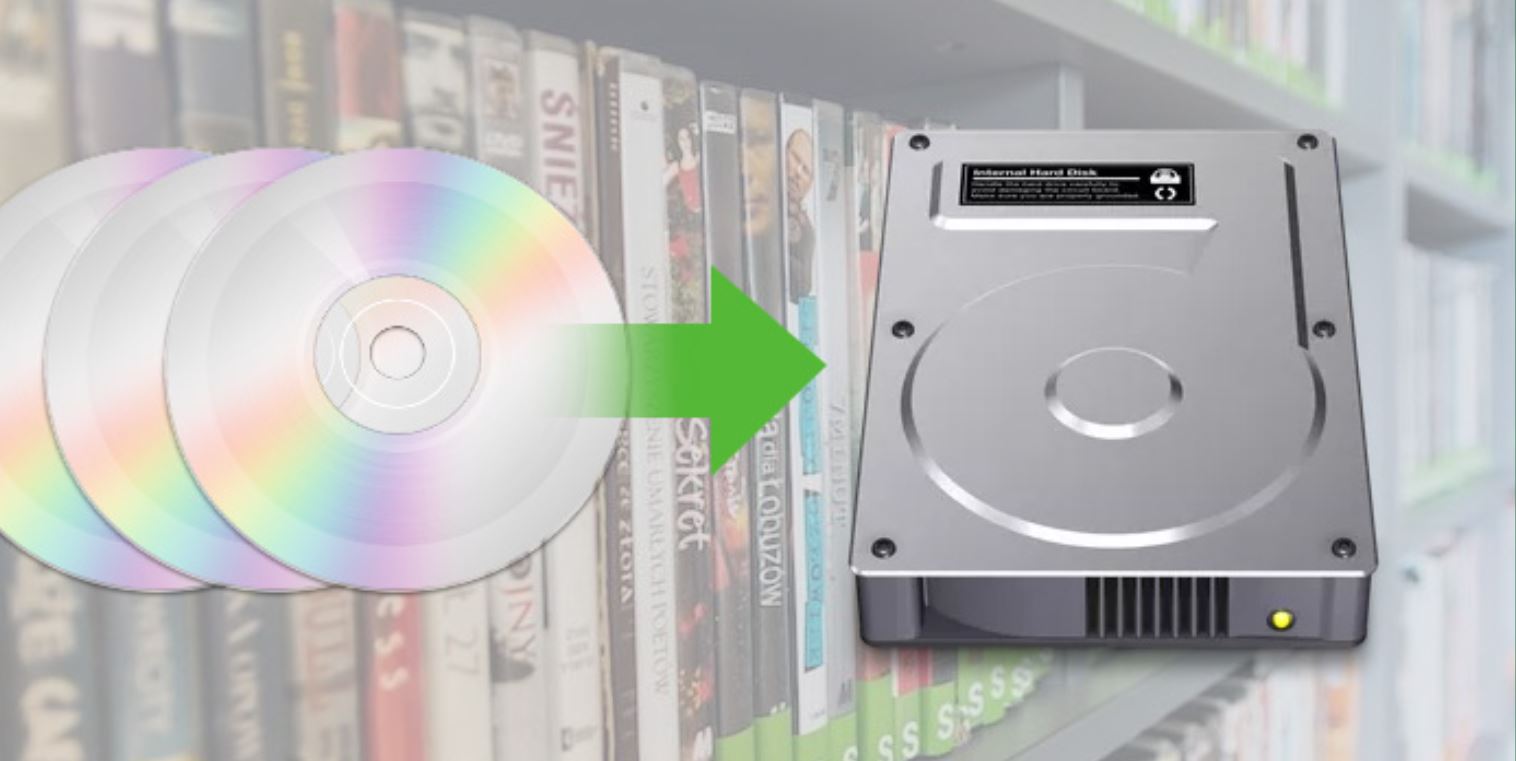
Welcome to this comprehensive guide on how to copy DVDs onto an external hard drive. With the ever-increasing popularity of digital media, having your DVD collection easily accessible on an external hard drive can be incredibly convenient. Whether you want to free up physical space or create a portable library of your favorite movies and TV shows, this step-by-step tutorial will help you achieve just that.
Copying DVDs onto an external hard drive allows you to access your movies and TV series anytime, anywhere, without the need for a DVD player or carrying around stacks of discs. It also provides a backup for your collection, protecting it from potential damages or loss.
While it may sound like a complex task, copying DVDs onto an external hard drive is actually quite straightforward. All it requires is the right software, a compatible external hard drive, and a few easy-to-follow steps.
Throughout this guide, we will walk you through the entire process, from selecting the appropriate external hard drive to verifying the successful copy. By the end, you’ll be able to enjoy your DVDs in a new, digital format with just a few clicks.
Before we dive into the details, it’s essential to note that the methods described in this guide are intended for personal use only. Copying DVDs for commercial distribution or any other unauthorized purposes may infringe copyright laws. Be sure to respect the intellectual property of others and use this knowledge responsibly.
Now, let’s get started and unlock the possibilities of bringing your DVD collection into the digital age!
Understanding DVD Copying
Before you embark on the process of copying DVDs onto an external hard drive, it’s important to have a basic understanding of how DVD copying works. DVDs are optical discs that store audio, video, and data in a digital format. They typically consist of multiple layers, each containing specific information related to the content.
There are two primary methods of DVD copying: duplication and ripping. DVD duplication involves creating an exact replica of the original disc, including all menus, extras, and special features. This method is commonly used for backup purposes or to create multiple copies of a disc.
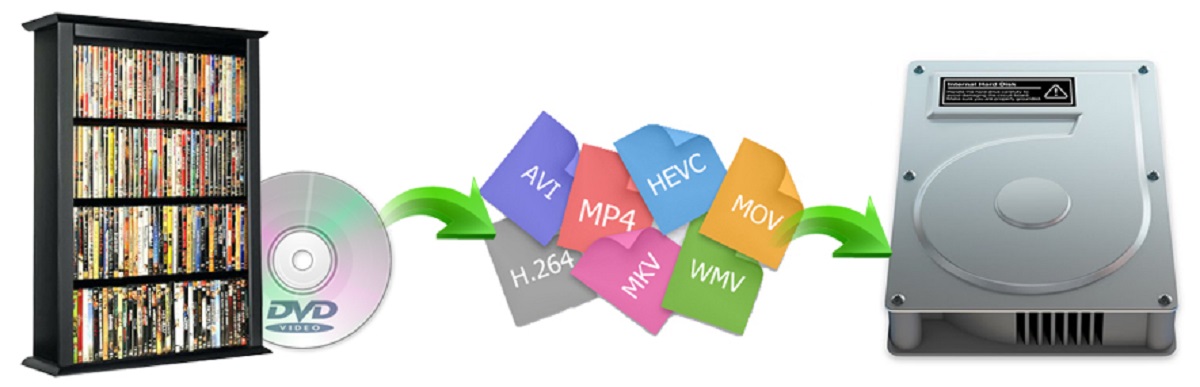
On the other hand, DVD ripping is the process of extracting the audio and video files from the DVD and converting them into a digital format. This allows you to preserve the content in a more accessible and portable form, such as on an external hard drive. DVD ripping also allows you to customize the output, such as selecting specific audio tracks or subtitles.
It’s important to note that the process of DVD ripping can be considered a grey area in terms of copyright laws. While making backup copies of DVDs that you own for personal use is generally accepted, distributing or sharing these copies without authorization is illegal.
Additionally, some DVDs may be protected with a copy protection mechanism, such as Content Scramble System (CSS) or Digital Rights Management (DRM). These protections are intended to prevent unauthorized copying and distribution of the content. However, there are software programs available that can bypass these protections, allowing you to make copies of protected DVDs.
Now that you have a basic understanding of DVD copying, it’s time to move on to the next step: selecting an external hard drive that is suitable for storing your copied DVDs.
Choosing an External Hard Drive
When it comes to copying DVDs onto an external hard drive, selecting the right external hard drive is crucial. You’ll want to choose a drive that offers ample storage capacity, reliable performance, and compatibility with your computer or playback devices.
Here are a few key factors to consider when choosing an external hard drive:
- Storage Capacity: Determine how much storage space you’ll need to accommodate your DVD collection. Consider the total size of the DVDs you plan to copy and any future additions you may make. It’s recommended to choose an external hard drive with a capacity of at least 1TB (terabyte) for a substantial DVD collection.
- Transfer Speed: Look for an external hard drive that offers fast transfer speeds, preferably using USB 3.0 or higher. This will help streamline the process of copying DVDs onto the drive, saving you time and ensuring smooth playback of the content.
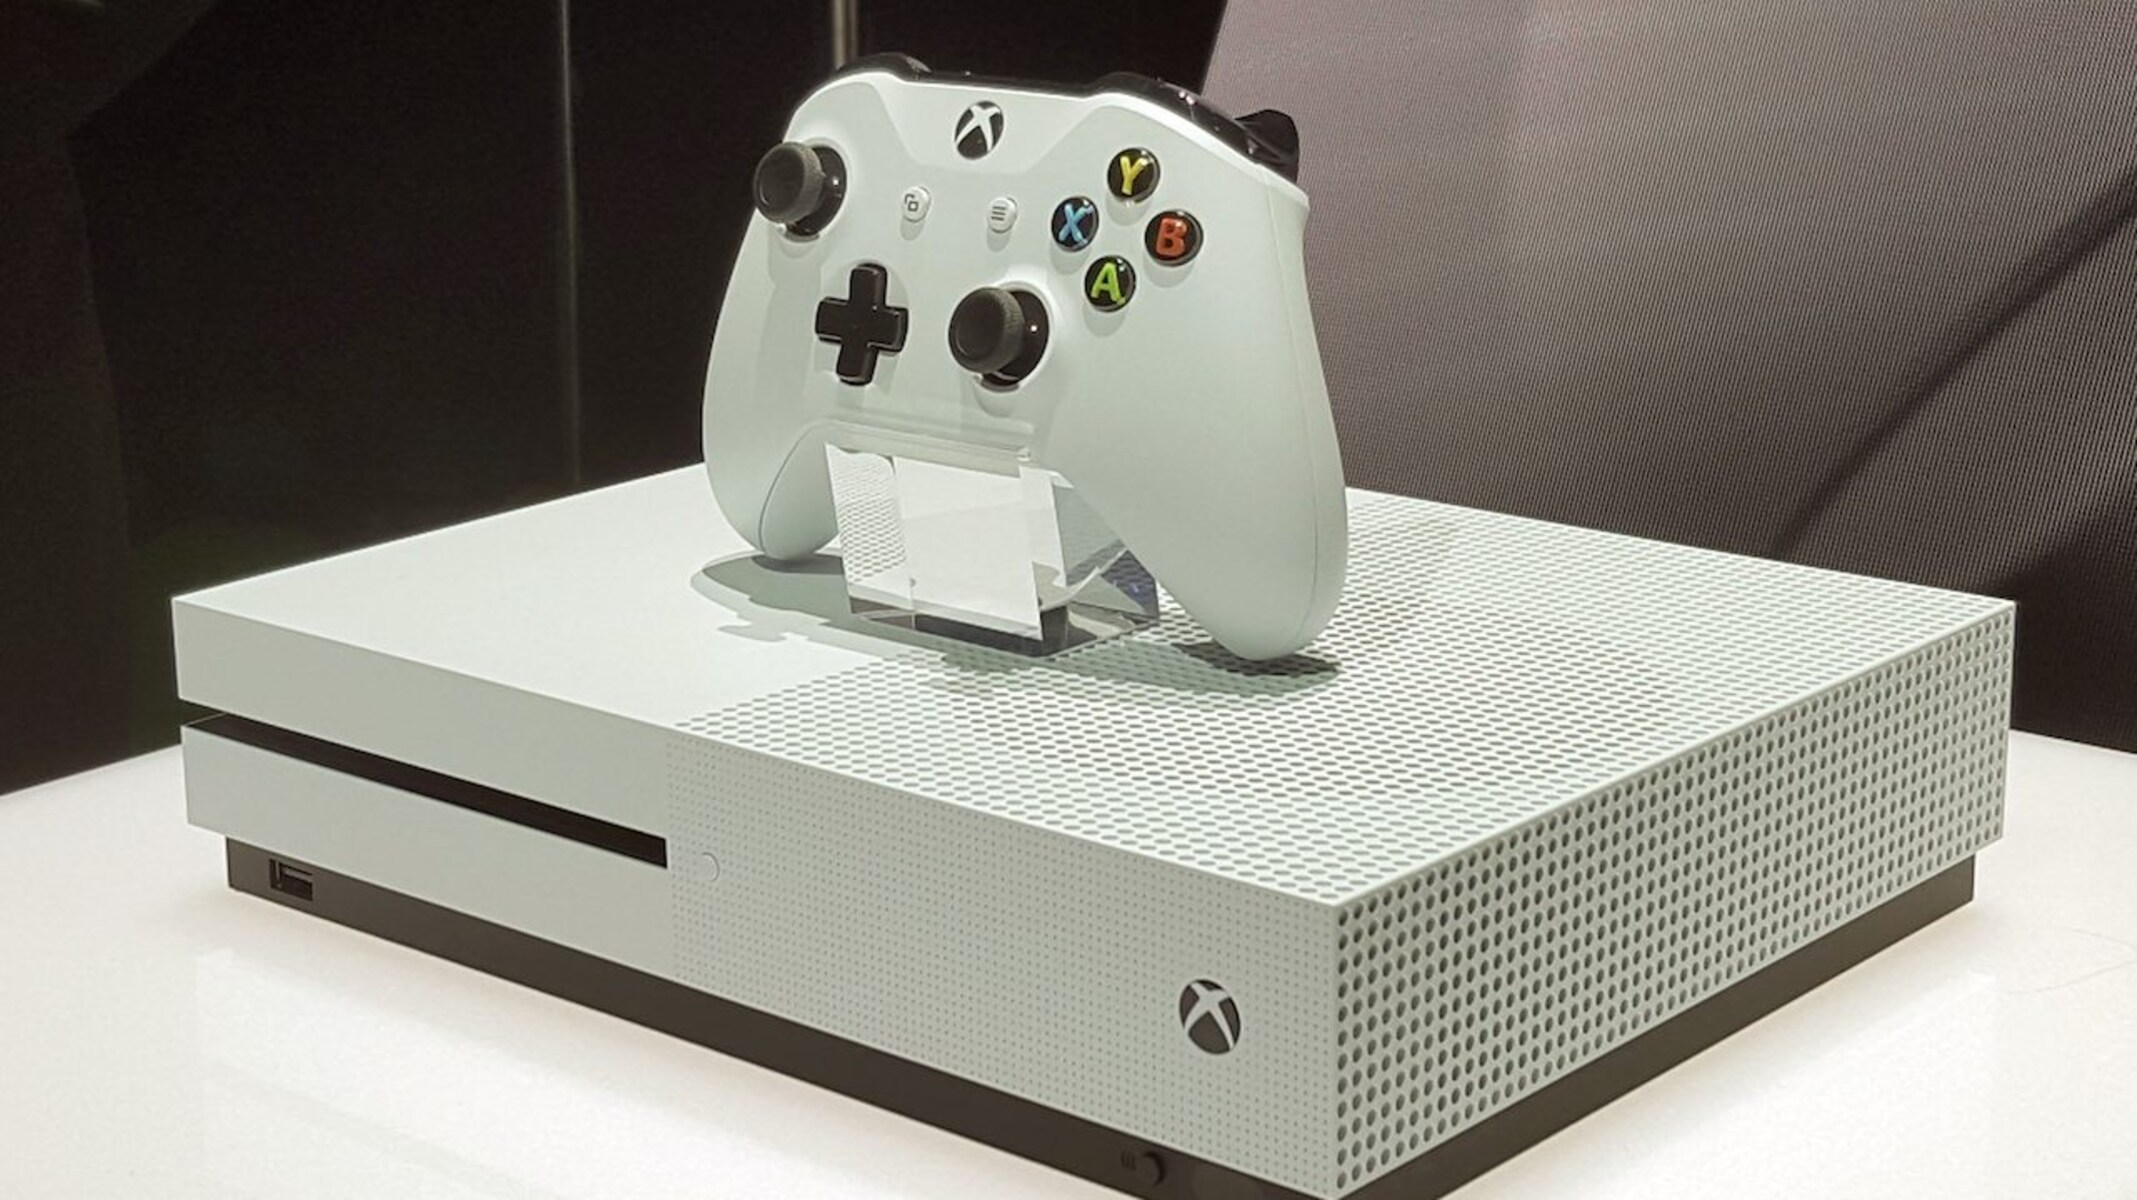
- Compatibility: Ensure that the external hard drive is compatible with your computer’s operating system, whether it’s Windows, macOS, or Linux. Additionally, check if the drive is compatible with your playback devices, such as smart TVs, media players, or gaming consoles.
- Reliability and Durability: Opt for a reputable brand known for producing reliable and durable external hard drives. Look for features like shock resistance and built-in protection against data loss to safeguard your precious DVD collection.
- Portability: If you plan on using the external hard drive for on-the-go playback, consider a compact and lightweight option that is easy to carry in your bag or pocket.
Keep in mind your budget when selecting an external hard drive. Prices can vary depending on the brand, capacity, and additional features. It’s worth investing in a high-quality drive that meets your requirements, as it will ensure reliable performance and longevity.
Now that you have a better understanding of the factors to consider, you’re ready to move on to the next step: installing the software required for DVD copying.
Installing the Required Software
In order to successfully copy DVDs onto an external hard drive, you’ll need to install the necessary software on your computer. This software will enable you to rip the DVD content and convert it into a digital format that can be stored on the external hard drive.
There are several software options available for DVD ripping, each with its own features and capabilities. Here are a few popular choices:
- Handbrake: Handbrake is a free and open-source software that allows you to rip DVDs and convert them into various digital formats. It offers a user-friendly interface and supports customization options like choosing specific audio and subtitle tracks.
- MakeMKV: MakeMKV is another popular choice for DVD ripping. It can quickly and easily convert DVDs into MKV files, which retain the original video and audio quality. MakeMKV is free to use during the beta period, but a registration key is required for continued usage.
- DVDFab: DVDFab is a comprehensive software suite that includes DVD ripping capabilities. It offers advanced features such as removing copy protections, converting DVDs to various formats, and creating customized copies. DVDFab is available as a trial version with limited functionality, and a paid version unlocks all features.
When installing the software, follow the instructions provided by the developers. Typically, you’ll need to download the software from their official website and run the installation file. Make sure to read and accept the terms and conditions, customize the installation settings if needed, and wait for the software to be installed on your computer.
It’s important to note that some software may require additional components or codecs to be installed for optimal functionality. These components can usually be downloaded and installed during the software installation process, or they may be available as separate downloads on the developer’s website.
Once the software is installed, you’re ready to connect the external hard drive to your computer and begin the DVD copying process. The next section will guide you through the steps of connecting the external hard drive correctly.
Connecting the External Hard Drive
Now that you have installed the required software for DVD copying, it’s time to connect the external hard drive to your computer. This step is crucial as it allows you to transfer the copied DVD content onto the external hard drive for storage and playback.
Follow these steps to connect the external hard drive:
- Check the cable and ports: Ensure you have the necessary cable to connect the external hard drive to your computer. Most external hard drives use USB cables, so make sure to have a compatible USB cable. Additionally, check the available USB ports on your computer and make sure they are functional.
- Power on the external hard drive: Plug in the external hard drive to a power source, if required. Some external hard drives may draw power from the computer itself, while others require a separate power source. Refer to the manufacturer’s instructions for specific details.
- Connect the cable: Connect one end of the USB cable to your computer’s USB port and the other end to the external hard drive. Make sure the connection is secure and snug.
- Wait for the computer to recognize the external hard drive: Once connected, your computer should detect the external hard drive and install any necessary drivers automatically. Depending on your computer’s settings, you may also need to manually initialize and format the drive. Follow any on-screen prompts or instructions provided by your operating system.
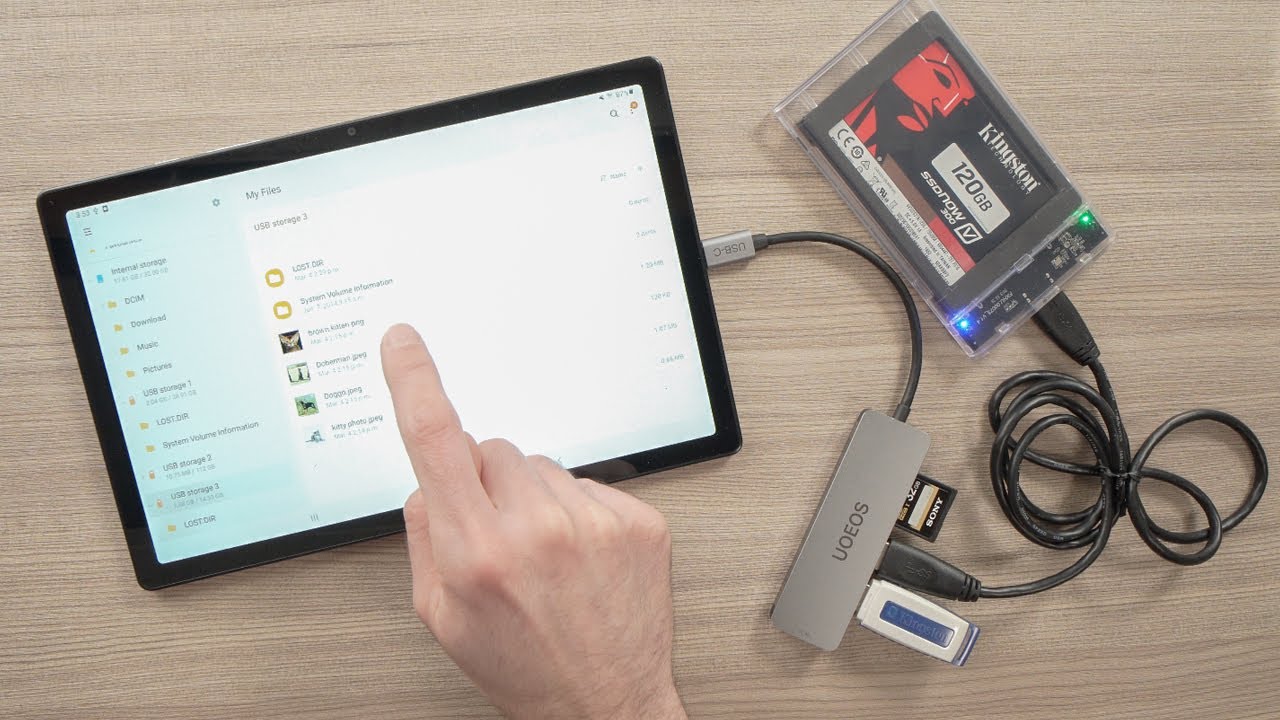
- Verify the connection: Open the file explorer or finder on your computer and check if the external hard drive is visible. It should appear as a new drive or volume. You can double-check by accessing the properties or settings of the external hard drive.
Once the external hard drive is successfully connected to your computer, you’re now ready to prepare the DVD for copying. In the next section, we will guide you through the necessary steps to get the DVD ready for the copying process.
Preparing the DVD for Copying
Before you can start copying the DVD onto the external hard drive, it’s important to properly prepare the DVD. This involves ensuring that the DVD is clean, removing any dust or smudges, and selecting the appropriate copying options based on your preferences.
Here are the essential steps to prepare the DVD for copying:
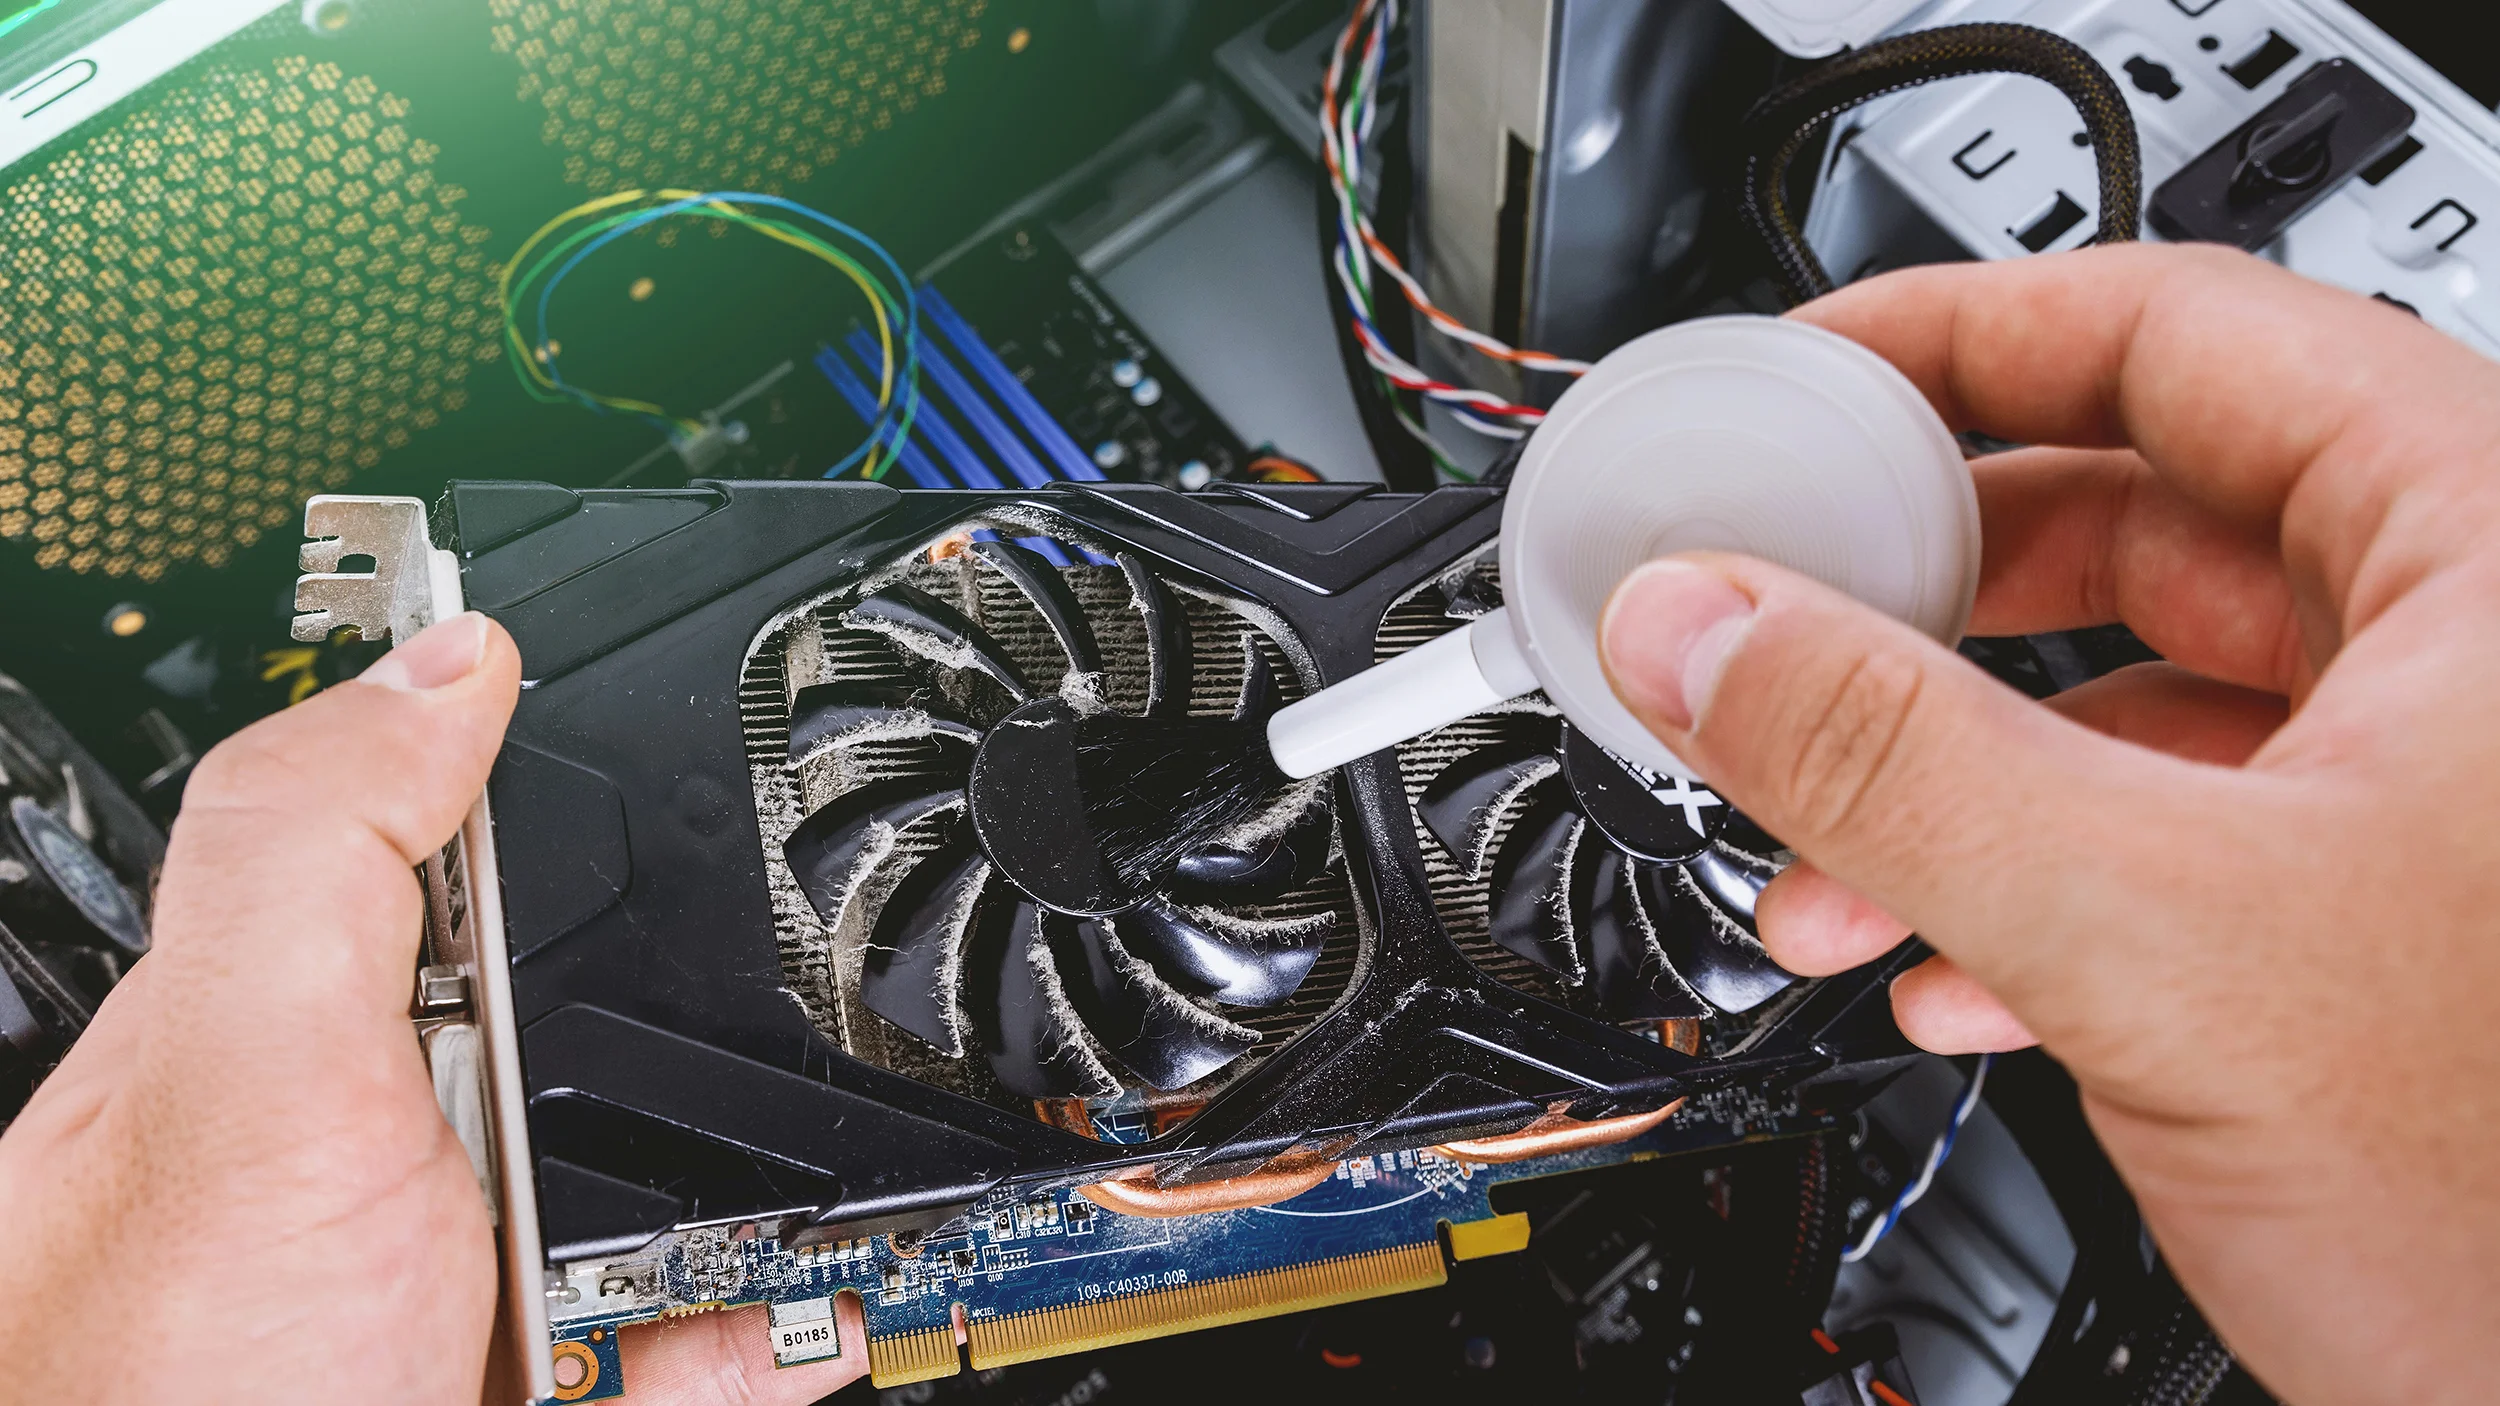
- Clean the DVD: Inspect the surface of the DVD for any dirt, smudges, or fingerprints. These imperfections can affect the copying process and result in errors. Gently wipe the surface of the DVD using a soft, lint-free cloth to remove any debris.
- Launch the DVD ripping software: Open the DVD ripping software that you installed earlier. The software should automatically recognize the inserted DVD in your computer’s DVD drive.
- Choose the desired ripping options: Depending on the software you’re using, you will have different options for the ripping process. Consider selecting the desired audio and subtitle tracks, adjusting the aspect ratio, or specifying the output format. Take your time to explore the available options and customize the settings according to your preferences.
- Select the output destination: Most DVD ripping software will prompt you to select the output destination for the copied DVD content. Choose the connected external hard drive as the location where the ripped files will be stored. Double-check that you have enough free space on the external hard drive to accommodate the DVD’s content.
- Start the ripping process: Once you’ve made all the necessary selections and configurations, initiate the DVD ripping process. The software will begin extracting the audio and video files from the DVD and converting them into the chosen format. The duration of the ripping process will depend on the size of the DVD’s content and the speed of your computer.
During the ripping process, it’s important to ensure that your computer remains powered on and uninterrupted. Closing the DVD ripping software or shutting down your computer prematurely can result in incomplete or corrupted copies of the DVD.
Once the ripping process is complete, you can proceed to the next section to learn how to copy the DVD content onto the external hard drive.
Copying the DVD onto the External Hard Drive
With the DVD prepared and the ripping process completed, it’s time to copy the extracted DVD content onto the external hard drive. This step will allow you to transfer the digital files from your computer to the external hard drive for convenient storage and playback.
To copy the DVD onto the external hard drive, follow these steps:
- Open the file explorer or finder: Launch the file explorer or finder on your computer. This will allow you to navigate through your computer’s files and folders.
- Locate the ripped DVD content: Locate the folder or directory where the DVD ripping software saved the extracted audio and video files. Typically, this will be the output destination you specified during the ripping process.
- Select and copy the DVD content: Select all the files associated with the ripped DVD content. You can do this by either individually selecting the files or using the Ctrl (Windows) or Command (Mac) key to select multiple files at once. Once selected, right-click on the files and select the “Copy” option.
- Navigate to the external hard drive: In the file explorer or finder, navigate to the external hard drive where you want to store the copied DVD content. This should be the drive that you connected earlier.
- Paste the copied DVD content: Right-click inside the external hard drive folder and select the “Paste” option to copy the extracted DVD files from your computer onto the external hard drive. The copying process may take some time, depending on the size of the DVD and the transfer speed of your external hard drive.
Once the copying process is complete, you should see all the DVD files and folders appear in the external hard drive directory. Congratulations! You have successfully copied the DVD content onto the external hard drive.
It’s important to note that the copied DVD files may be in a specific digital format, such as MKV or MP4, depending on the options you chose during the ripping process. Ensure that your playback devices support the chosen format or consider converting the files to a compatible format if needed.
In the next section, we will cover the important step of verifying the successful copy of the DVD content onto the external hard drive.
Verifying the Copy
After copying the DVD content onto the external hard drive, it’s crucial to verify the successful transfer to ensure that all files and folders are intact and playable. Verifying the copy will give you confidence that you can access and enjoy your DVD collection from the external hard drive without any issues.
To verify the copy of the DVD onto the external hard drive, follow these steps:
- Eject the DVD and disconnect the external hard drive: Safely remove the DVD from your computer’s DVD drive and disconnect the external hard drive from your computer to ensure that they are not in use during the verification process.
- Reconnect the external hard drive: Plug in the external hard drive back into your computer’s USB port. Wait for the computer to recognize and mount the drive.
- Navigate to the external hard drive: Open the file explorer or finder and navigate to the external hard drive where you copied the DVD content.
- Browse the copied DVD content: Explore the files and folders on the external hard drive to ensure that all the copied DVD content is present. Check that the file names, file sizes, and folder structure match those of the original DVD.
- Test playback: Select a movie or video file from the copied DVD content and attempt to play it using a media player of your choice. Make sure that the video and audio play smoothly and that all subtitles, menus, and extras are accessible. Test different files to ensure the playback consistency.
If any files or folders appear to be missing or if you encounter playback issues, it could indicate that there were errors during the copying process. In such cases, you may need to repeat the copying process or troubleshoot any potential issues with the DVD ripping software.
It’s also a good idea to compare the copied DVD content on the external hard drive with the original DVD to confirm that the copy is faithful and accurate.
Once you have verified the successful copy of the DVD content, you can safely eject the external hard drive and be confident that your movies and TV shows are ready to be enjoyed from the convenience of the external hard drive.
Safely Ejecting the External Hard Drive
When you have finished copying and verifying the DVD content on the external hard drive, it’s important to properly eject the device from your computer. Safely ejecting the external hard drive will prevent any potential data loss or corruption and ensure the longevity of the drive.
To safely eject the external hard drive, follow these steps:
- Make sure all file transfers are complete: Before ejecting the external hard drive, ensure that all file transfers or operations involving the drive are complete. This includes copying or deleting files, as well as any ongoing backup or synchronization processes.
- Save and close any open files: If you have any files or folders from the external hard drive open on your computer, save and close them before ejecting the drive. This will prevent any potential data loss or corruption.
- Locate the eject icon or option: On your computer, find the eject icon or option associated with the external hard drive. This can usually be found in the system tray or menu bar, or by right-clicking the drive’s icon in the file explorer or finder.
- Initiate the eject process: Click on the eject icon or select the eject option for the external hard drive. Your operating system will then prepare the drive for safe removal.
- Wait for the confirmation: After initiating the eject process, wait for the operating system to confirm that it is safe to remove the external hard drive. This may appear as a notification or dialogue box that indicates the drive can now be safely disconnected.
- Physically disconnect the external hard drive: Once you receive the confirmation that it is safe to do so, carefully remove the USB cable or disconnect the power source, if applicable, to physically disconnect the external hard drive from your computer.
It’s important to note that abruptly disconnecting the external hard drive while data is being transferred or accessed can lead to data loss or potential damage to the drive. Always follow the proper procedure to safely eject the device.
By safely ejecting the external hard drive, you have successfully completed the entire process of copying DVDs onto an external hard drive. Your DVD collection is now conveniently stored on the external hard drive, ready for easy access and enjoyment without the need for physical discs.
Conclusion
Congratulations! You have now successfully learned how to copy DVDs onto an external hard drive. By following the step-by-step instructions in this guide, you have unlocked the convenience and versatility of having your DVD collection in a digital format.
Copying DVDs onto an external hard drive offers numerous benefits, including freeing up physical space, creating a portable movie library, and providing a backup for your precious collection. With the right software, a compatible external hard drive, and a few simple steps, you can enjoy your favorite movies and TV shows anytime, anywhere, without the need for a DVD player or carrying around stacks of discs.
Remember to always respect copyright laws and use the knowledge gained in this guide responsibly. Copying DVDs for personal use is generally acceptable, but distributing or sharing the copied content without authorization is illegal.
We covered the essential aspects of DVD copying, including understanding the different methods of copying and ripping DVDs, selecting a suitable external hard drive, installing the necessary software, connecting the external hard drive to your computer, preparing the DVD for copying, copying the DVD content onto the external hard drive, verifying the successful copy, and safely ejecting the external hard drive.
Now, you can enjoy the convenience and accessibility of your DVD collection without the clutter of physical discs. The copied DVD content on the external hard drive allows you to easily access your movies and TV series, whether on your computer, media player, smart TV, or gaming console.
Feel free to explore additional features offered by your chosen DVD ripping software, such as customizing audio and subtitle tracks, adjusting video quality settings, or converting the files into different formats to suit your specific needs.
Thank you for following this comprehensive guide on how to copy DVDs onto an external hard drive. Enjoy your digital movie library and the convenience it brings!