Introduction
Welcome to our guide on how to put a password on an external hard drive on Mac. With the increasing importance of data security, protecting the information stored on your external hard drive has become a necessity. Fortunately, Mac offers a built-in solution that allows you to encrypt your external hard drive and set a password to ensure that only authorized individuals can access the data.
By encrypting your external hard drive, you can safeguard sensitive documents, personal files, or any other confidential information you may have. Whether you want to protect your work-related files or keep your personal data safe from prying eyes, setting a password is an effective way to ensure that your data remains secure.
In this guide, we will walk you through the step-by-step process of setting up a password on your external hard drive using the Disk Utility feature on Mac. Disk Utility is a powerful tool that allows you to manage and format your storage devices, including encrypting them for added security.
It’s important to note that once you enable encryption on your external hard drive, the data on it becomes inaccessible without the correct password. Therefore, make sure to choose a password that is strong and secure, but also something that you can remember easily.
Now, let’s dive into the detailed steps to put a password on your external hard drive on Mac and ensure the safety of your valuable data.
Step 1: Connect the external hard drive to your Mac
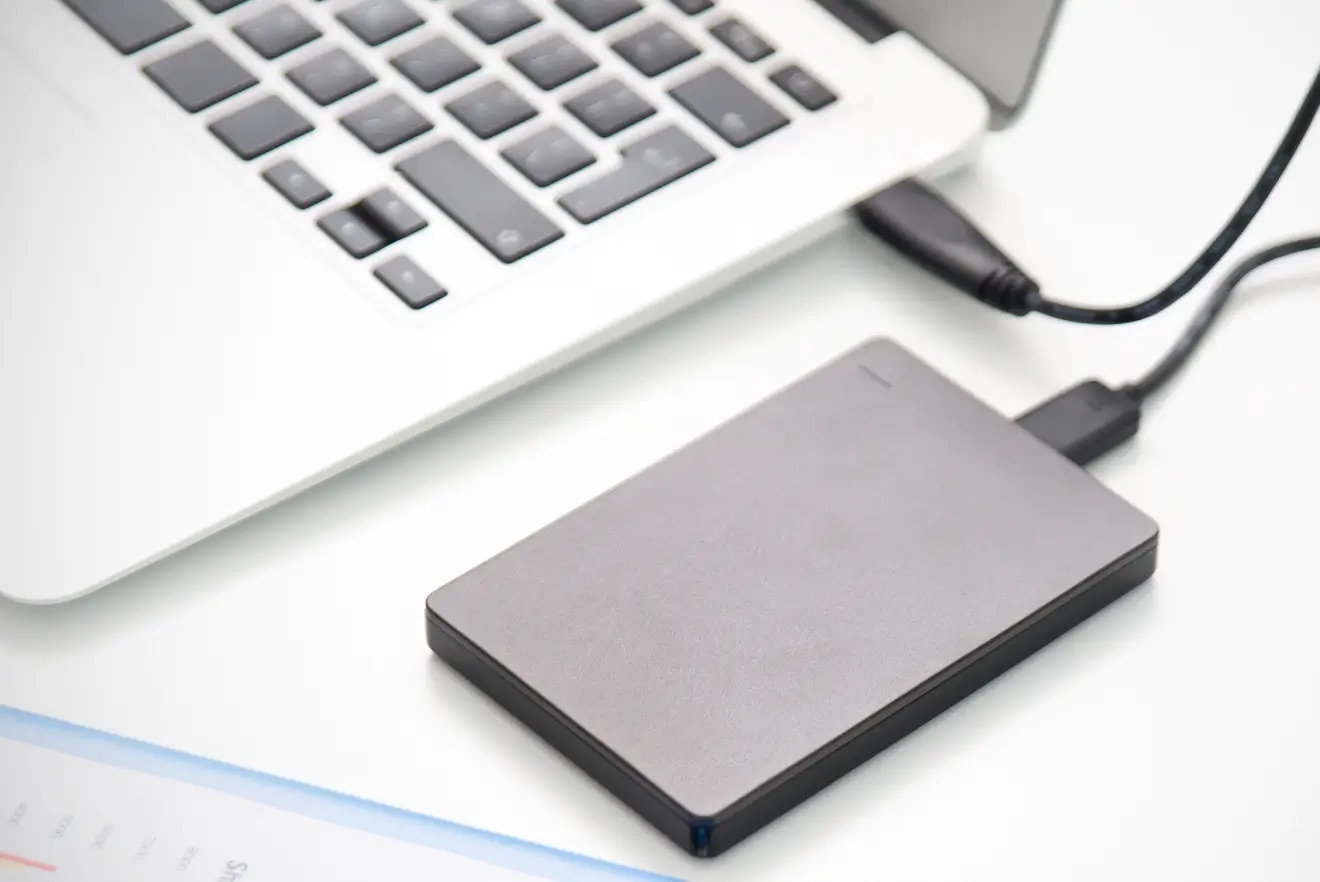
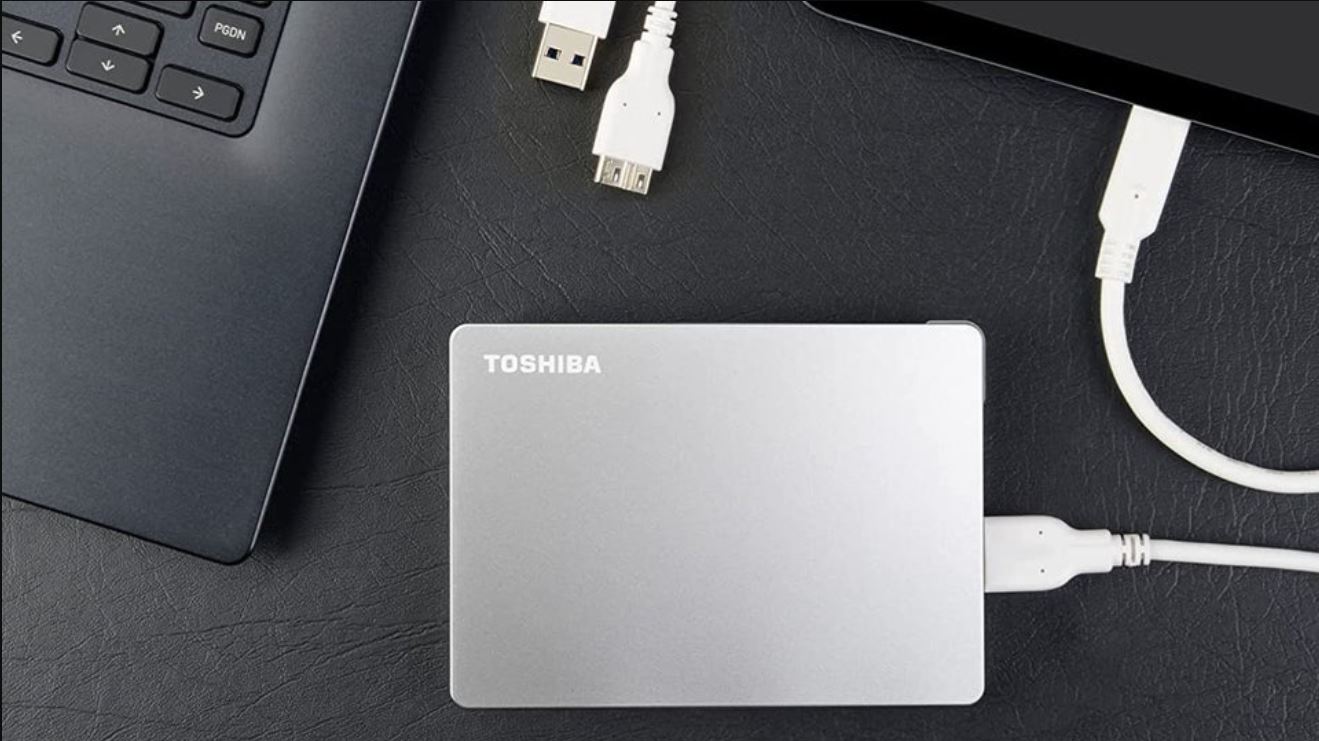
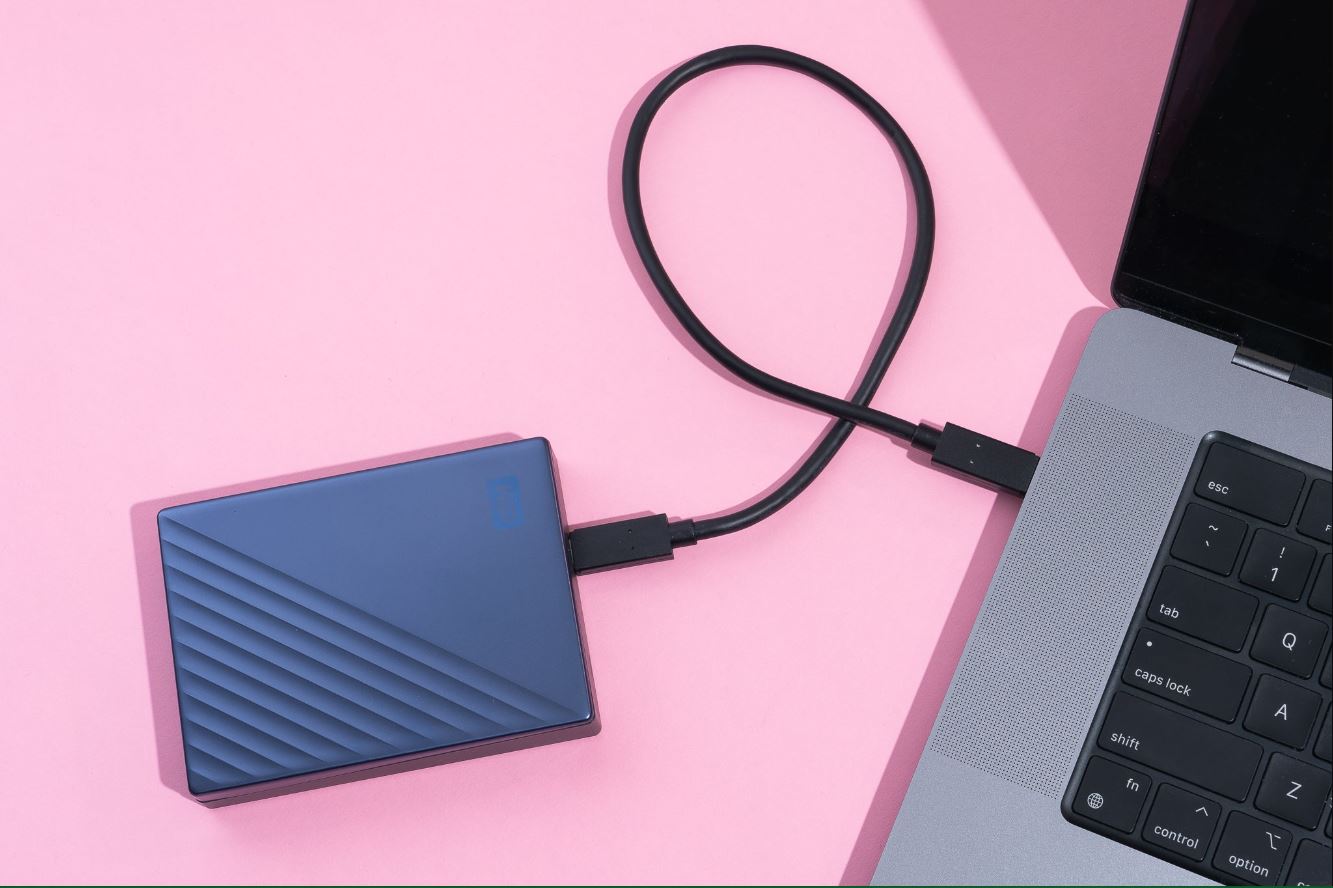
The first step in setting up a password on your external hard drive on Mac is to connect the device to your computer. Locate the USB or Thunderbolt port on your Mac and plug in the external hard drive.
Make sure the connection is secure and the device is recognized by your Mac. You can check this by looking for the external hard drive icon on your desktop or by accessing it through Finder.
If your external hard drive requires a power source, such as an AC adapter, ensure that it is plugged in and powered on.
Connecting the external hard drive to your Mac will allow you to access and configure the device using the built-in Disk Utility software, which is essential for the encryption and password setup process.
Once the external hard drive is successfully connected to your Mac, you can proceed to the next step and start securing your data.
Step 2: Open Disk Utility on your Mac
Now that you have connected the external hard drive to your Mac, it’s time to open Disk Utility, which is a built-in application that allows you to manage and format storage devices on your computer.
To open Disk Utility, follow these steps:
- Click on the “Finder” icon located in the dock at the bottom of your screen. This will open a new Finder window.
- From the menu at the top of the screen, click on “Go” and then select “Utilities” from the drop-down menu.
- In the Utilities folder, you will find the Disk Utility application. Double-click on it to launch the program.
Alternatively, you can use the Spotlight search by clicking on the magnifying glass icon in the top right corner of your screen and typing in “Disk Utility”. Then, click on the Disk Utility application in the search results to open it.
Once Disk Utility is open, you will see a list of all the connected storage devices, including your external hard drive. The devices will be listed on the left-hand side of the Disk Utility window.
Now that you have successfully opened Disk Utility on your Mac, you are ready to proceed with the next steps to set up a password on your external hard drive.
Step 3: Select the external hard drive from the sidebar
After opening Disk Utility on your Mac, you will need to select the external hard drive from the sidebar in order to access its settings and configuration options.
Follow these steps to select the external hard drive:
- In the Disk Utility window, locate the sidebar on the left-hand side. This sidebar displays all the connected storage devices and volumes on your Mac.
- Scroll through the list in the sidebar and look for the name or icon that represents your external hard drive. It is usually labeled with the brand or model name of the device.
- Once you have located the external hard drive, click on its name or icon in the sidebar to select it. This will highlight the device and display its details and settings in the main area of the Disk Utility window.
By selecting the external hard drive, you have now designated it as the active device in Disk Utility. This allows you to perform actions and configurations specific to the selected device.
Now that you have successfully selected the external hard drive in Disk Utility, you can proceed to the next step to prepare the device for password setup and encryption.
Step 4: Click on the “Erase” tab
With the external hard drive selected in Disk Utility, you are now ready to access the necessary options to set up a password. The next step is to click on the “Erase” tab, which will allow you to format the device and prepare it for encryption.
Follow these steps to access the “Erase” tab:
- In the toolbar of the Disk Utility window, you will find a row of tabs. Click on the tab labeled “Erase”.
By clicking on the “Erase” tab, you will see a panel with various options related to formatting and erasing the external hard drive. This is where you can configure the essential settings for password protection.
It’s important to note that the term “erase” here refers to the process of formatting the device, not actual data deletion. Formatting is necessary to set up encryption and apply the password to the external hard drive.
Once you have successfully accessed the “Erase” tab in Disk Utility, you are ready to proceed to the next step and select a suitable format for your external hard drive.
Step 5: Choose a format for your external hard drive
When setting up a password on your external hard drive on Mac, you will need to choose a format for the device. The format determines how the data will be organized and stored on the hard drive, as well as the compatibility with different operating systems.
Here are the steps to choose a format for your external hard drive:
- In the “Erase” tab of Disk Utility, you will see a dropdown menu labeled “Format”. Click on this dropdown menu.
- A list of available format options will appear. Choose the format that best suits your needs and preferences.
Mac offers several format options, including:
- Mac OS Extended (Journaled): This format is compatible with Mac computers and provides journaling, which helps protect against data loss.
- APFS (Apple File System): This is the newer file system format designed specifically for macOS High Sierra and later versions. It offers improved performance and security features.
- ExFAT: This format is compatible with both Mac and Windows systems, allowing for cross-platform usage. It doesn’t support additional macOS features and may have limitations on file size.
Consider your specific requirements and the compatibility of the format when making your selection. If you plan to use the external hard drive primarily with your Mac, choosing either Mac OS Extended or APFS is recommended for optimal performance and compatibility.
Once you have chosen the format for your external hard drive, you are ready to proceed to the next step and name the device.
Step 6: Name your external hard drive
After selecting the format for your external hard drive, the next step is to give it a name. Naming your external hard drive helps you easily identify and differentiate it from other storage devices on your Mac.
Here’s how you can name your external hard drive:
- In the “Erase” tab of Disk Utility, you will find a field labeled “Name”. Click on this field.
- Enter a unique and descriptive name for your external hard drive.
You can use any combination of letters, numbers, and symbols for the name, but it is recommended to use a clear and identifiable name that reflects the purpose or contents of the external hard drive. For example, you could use a name like “Work Projects”, “Personal Data”, or “Backup Drive”.
By giving your external hard drive a meaningful name, you can easily locate and access it when needed. It also adds a personal touch to your device, making it more personalized and organized.
Once you have named your external hard drive, you are now ready to proceed to the next step and enable the encryption feature to set up a password.
Step 7: Enable the “Encrypt” option
To ensure the security and protection of your data on the external hard drive, you will need to enable the encryption feature. Enabling encryption will encrypt all the data stored on the device, making it inaccessible without the correct password.
Here’s how you can enable the “Encrypt” option:
- In the “Erase” tab of Disk Utility, make sure the external hard drive is selected.
- Check the box next to the option “Encrypt”.
By enabling the “Encrypt” option, you are instructing Disk Utility to encrypt the entire contents of the external hard drive, including existing data and future files. It is important to note that the encryption process may take some time to complete, depending on the size of the drive and the amount of data stored on it.
Enabling encryption adds an additional layer of security to your external hard drive, making it virtually impossible for anyone to access the data without the encryption password.
Once you have successfully enabled encryption, you are now ready to proceed to the next step and set a password for your external hard drive.
Step 8: Set a password for your external hard drive
Setting a strong and secure password for your external hard drive is crucial to ensure the security and privacy of your data. A password will be required to access and unlock the encrypted contents of the device.
Follow these steps to set a password for your external hard drive:
- In the “Erase” tab of Disk Utility, ensure that the external hard drive is selected and the encryption option is enabled.
- Click on the “Security Options” button below the format and name fields.
- A new window will appear, allowing you to configure the security options for your external hard drive.
- In the “Erase Drive” section, click on the dropdown menu next to the option “Erase securely”. Select the desired level of security.
- Next, enter your desired password in the “Encrypt Password” field. Make sure to choose a strong password that includes a combination of uppercase and lowercase letters, numbers, and symbols.
- Re-enter the password in the “Verify” field to confirm it.
It’s crucial to choose a strong and secure password that is difficult for others to guess. Avoid using common words, personal information, or easily predictable patterns. Instead, opt for a combination of random characters that you can remember or store securely.
Once you have set a strong password for your external hard drive, you are ready to proceed to the next step and choose a password hint (optional).
Step 9: Choose a password hint (optional)
Choosing a password hint for your external hard drive is an optional step but can be helpful if you are worried about forgetting your password. A password hint is a clue that can assist you in recalling your password without explicitly revealing it.
Here’s how you can choose a password hint for your external hard drive:
- In the “Erase” tab of Disk Utility, ensure that the external hard drive is selected and the encryption option is enabled.
- Click on the “Security Options” button below the format and name fields.
- A new window will appear, allowing you to configure the security options for your external hard drive.
- In the “Erase Drive” section, you will see an optional field labeled “Password Hint”. Enter a brief hint that will help you remember your password.
When choosing a password hint, be mindful of selecting something that is subtle and not easily guessed by others. The purpose of a hint is to jog your memory without revealing the actual password to anyone else.
It’s important to note that the password hint should be something that only you can understand and relate to. Avoid using obvious hints or directly referencing the password itself.
Once you have chosen a password hint (or decided to skip this step), you are now ready for the final step – initiating the encryption process.
Step 10: Click on the “Erase” button to start the encryption process
Now that you have completed all the necessary steps to set up a password for your external hard drive on Mac, it’s time to initiate the encryption process.
Follow these steps to begin the encryption process:
- Ensure that all the desired settings, including the format, name, encryption option, and password hint (if applicable), are properly configured in the “Erase” tab of Disk Utility.
- Double-check that you have selected the correct external hard drive and that you have backed up any important data stored on the drive.
- Once you are confident in your settings and actions, click on the “Erase” button in the lower-right corner of the Disk Utility window.
Clicking on the “Erase” button will initiate the encryption process, which may take some time depending on the size of your external hard drive and the amount of data it contains.
During the encryption process, your Mac will create an encrypted container on the external hard drive and rewrite all the existing data with encrypted versions. This ensures that only individuals with the correct password can access and decrypt the data.
Do not interrupt the encryption process or disconnect the external hard drive while it is in progress, as this can lead to data corruption or incomplete encryption.
Once the encryption process is complete, your external hard drive will be protected by a password, and the data on it will be secure.
Congratulations! You have successfully set up a password on your external hard drive on Mac and encrypted its contents to safeguard your valuable data.
Conclusion
Securing your data is of paramount importance, and setting up a password on your external hard drive is an effective way to protect your valuable information. With the built-in Disk Utility on your Mac, you can easily encrypt your external hard drive and ensure that only authorized individuals can access your data.
In this guide, we have explored the step-by-step process of how to put a password on an external hard drive on Mac. From connecting the device to your Mac and opening Disk Utility, to selecting the hard drive and choosing a format, we have covered each crucial step in detail.
We have also discussed the importance of setting a strong password and optionally choosing a password hint to help you remember it. Remember to choose a password that combines a mix of letters, numbers, and symbols to enhance its security.
Once you have completed the necessary steps and set up a password, don’t forget to initiate the encryption process by clicking on the “Erase” button in Disk Utility. This will ensure that your data remains protected from unauthorized access.
Now you have successfully set up a password on your external hard drive on Mac, and your valuable data is safeguarded against unauthorized access.
Remember to keep your password secure and in a place where you can easily access it when needed. Avoid sharing your password with anyone and regularly update it to maintain optimal security.
We hope this guide has been helpful to you in securing your external hard drive on Mac. By taking these steps, you can have peace of mind knowing that your data is protected from prying eyes and unauthorized access.