Introduction
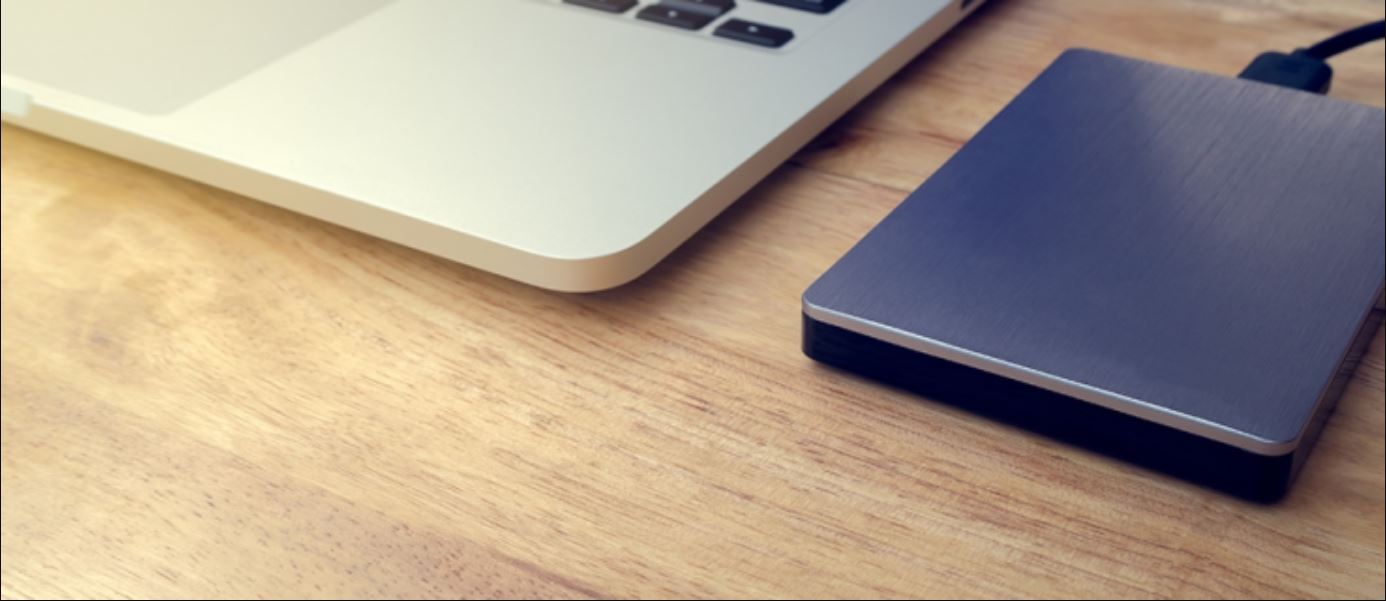
Having the ability to make an external hard drive bootable can be a game-changer in various scenarios. Whether you want to install a new operating system, recover data from a non-responsive computer, or create a portable workspace, a bootable external hard drive provides the flexibility and convenience you need.
A bootable external hard drive is essentially a portable storage device that contains all the necessary files and software to start up a computer. By connecting it to a computer and initiating a boot sequence, you can bypass the internal hard drive and launch your system directly from the external drive.
This is especially useful when your computer’s internal hard drive is malfunctioning or you need to access a specific operating system without altering the data on your computer. It is also a useful tool for IT professionals and system administrators who need to troubleshoot and repair operating systems on multiple computers.
To make an external hard drive bootable, you will need a few essential tools and follow a step-by-step process. In this guide, we will walk you through the necessary requirements and provide a detailed tutorial on how to make an external hard drive bootable.
Why would you want to make an external hard drive bootable?
There are several compelling reasons why you might want to make an external hard drive bootable. Here are some of the key benefits:
1. System Recovery: If your computer’s internal hard drive fails or becomes corrupted, a bootable external hard drive can be a lifesaver. It allows you to boot up your computer from the external drive and access your files, applications, and operating system. This is particularly valuable when you need to retrieve important data or perform system diagnostics and repairs.
2. Portable Operating System: A bootable external hard drive enables you to carry your operating system with you wherever you go. This is beneficial for individuals who frequently work on different computers or need to access their customized operating environment on the go. Whether you’re a student, freelancer, or digital nomad, having a portable operating system can streamline your workflow and ensure consistency across devices.
3. Troubleshooting and Testing: IT professionals and system administrators often encounter situations where they need to troubleshoot and repair various computer systems. By creating a bootable external hard drive with diagnostic and repair tools, they can efficiently identify and resolve issues without the need to boot into the computer’s internal hard drive. This saves time and avoids potential complications that may arise from altering the internal system setup.
4. Installing a New Operating System: When you want to install a new operating system on a computer, a bootable external hard drive can simplify the process. By creating a bootable drive with the desired operating system installation files, you can easily initiate the installation process without the need for a physical installation disc. This is especially useful for devices without an optical drive or when you want to install multiple operating systems on the same computer.
5. Enhanced Security: Booting from an external hard drive can provide enhanced security since your sensitive data is not stored on the computer’s internal hard drive. This reduces the risk of data breaches, malware infections, and unauthorized access. Additionally, you can implement encryption and other security measures on the external drive to protect your data further.
Making an external hard drive bootable opens up a world of possibilities, whether you’re seeking data recovery, portability, troubleshooting capabilities, easy operating system installations, or enhanced security. In the following sections, we will guide you through the process of creating a bootable external hard drive step-by-step.
What do you need to make an external hard drive bootable?
Before you can make an external hard drive bootable, you will need a few essential tools and resources. Here’s a list of what you’ll need:
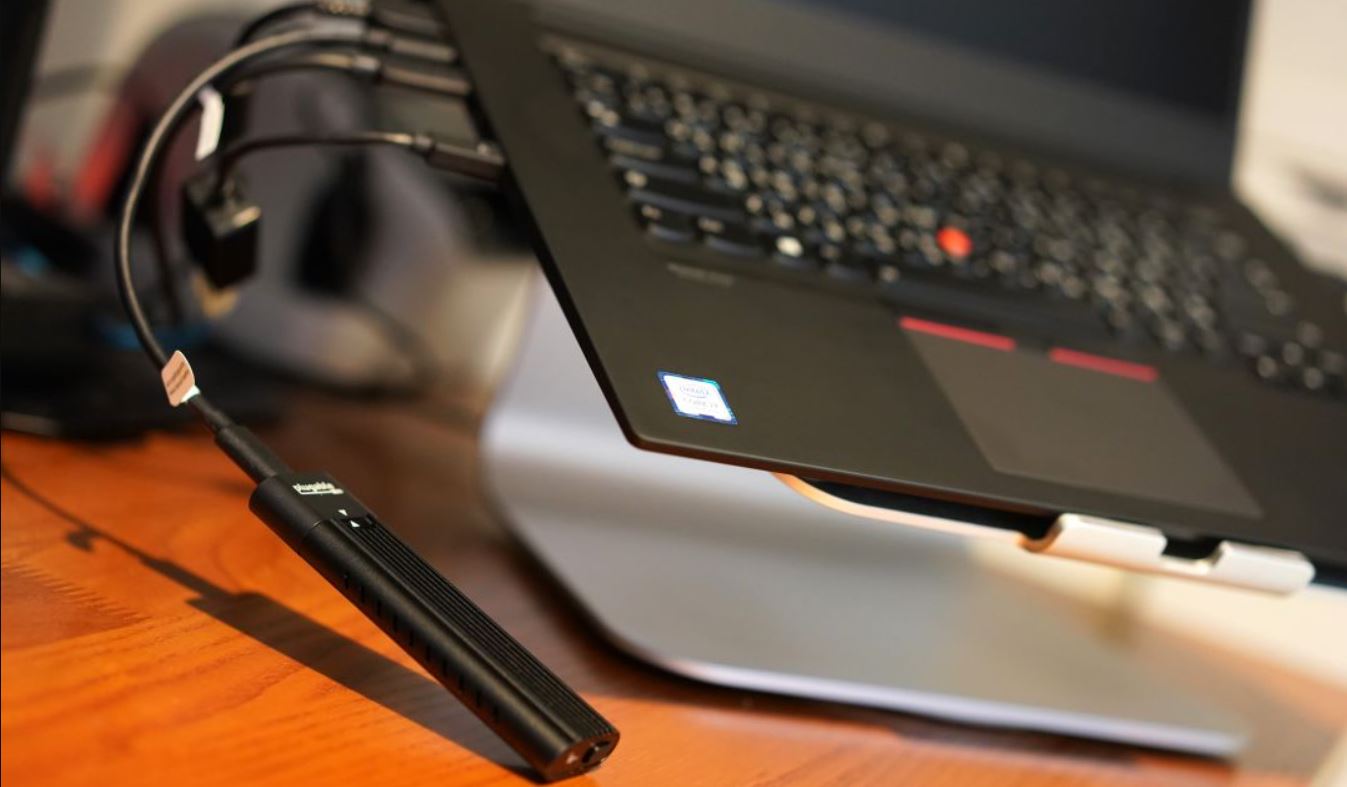
1. External Hard Drive: Of course, you’ll need an external hard drive with sufficient storage capacity to accommodate the operating system or files you want to boot from. Make sure the drive is in good working condition and has enough free space.
2. Operating System or Bootable ISO: You will need the installation files or image of the operating system you want to boot from on your external hard drive. This could be a Windows, macOS, Linux, or any other compatible operating system image. Alternatively, you can create a bootable ISO file using software like Rufus or UNetbootin.
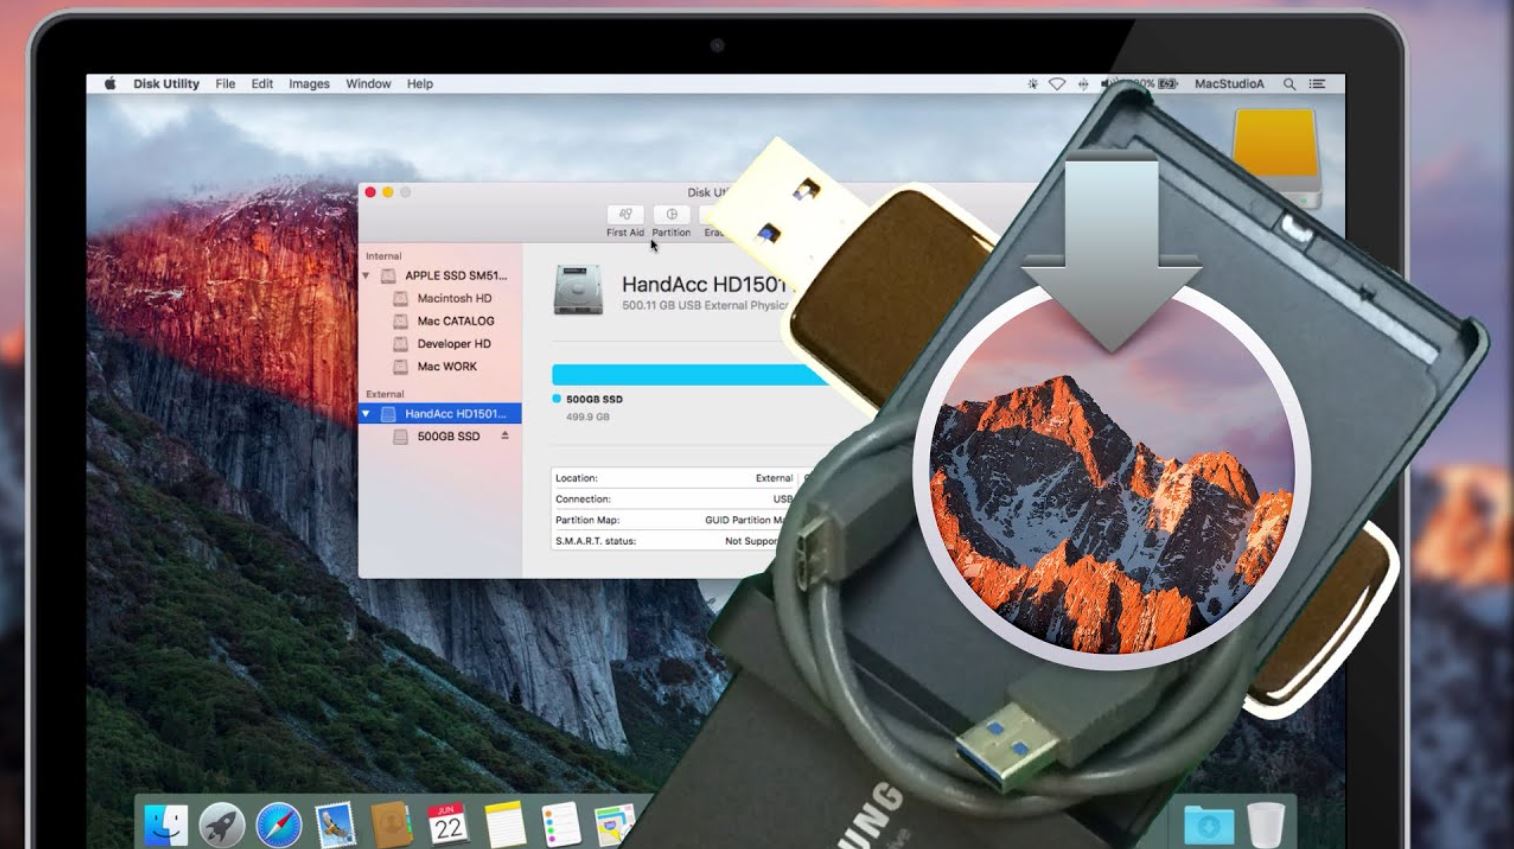
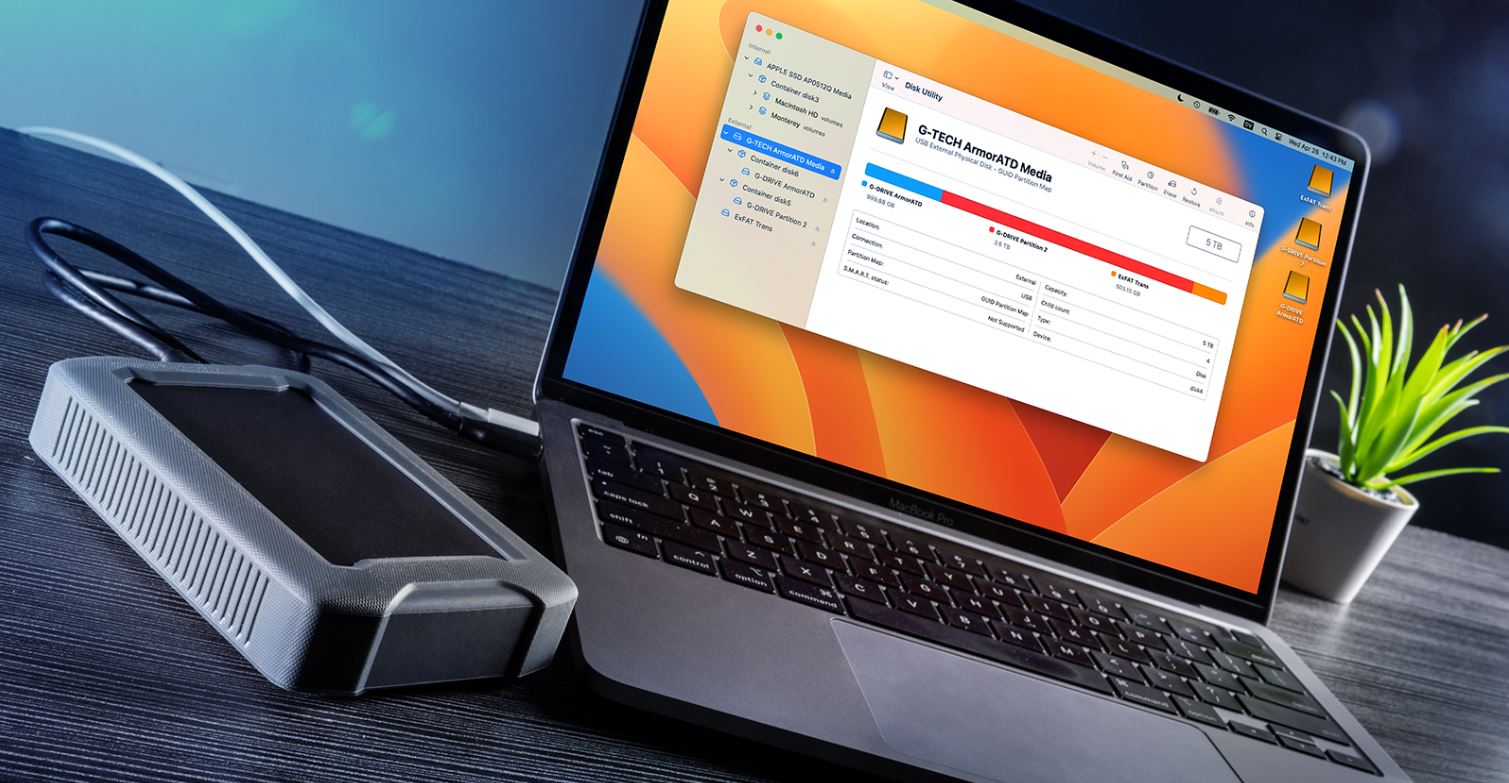
3. Bootable Media Creator: To prepare your external hard drive for booting, you will need a bootable media creator tool. The specific tool you use will depend on the operating system you want to install or boot from. For Windows, you can use the Windows USB/DVD Download Tool or Rufus. Linux users can utilize tools like UNetbootin or Etcher. MacOS users can use the Disk Utility tool or third-party applications like BalenaEtcher.
4. Computer with Internet Access: You’ll need a computer with an internet connection to download the necessary installation files or operating system images. Additionally, having internet access will allow you to search for specific instructions or troubleshooting guides tailored to your operating system and bootable media creator tool.
5. Administrator Privileges: To create a bootable external hard drive, you will need administrative privileges on your computer. This ensures that you have the necessary permissions to modify system settings, install software, and create bootable media.
6. Patience and Attention to Detail: Making an external hard drive bootable requires careful attention to the instructions provided by the bootable media creator tool. While the process itself is not overly complex, it’s essential to follow each step accurately to avoid errors or potential data loss.
By gathering these tools and resources, you will be well-equipped to proceed with creating a bootable external hard drive. In the next section, we will guide you through the step-by-step process of making your external hard drive bootable.
Step-by-step guide to making an external hard drive bootable
Now that you have all the necessary tools and resources, it’s time to create a bootable external hard drive. Follow these step-by-step instructions to make your external hard drive bootable:
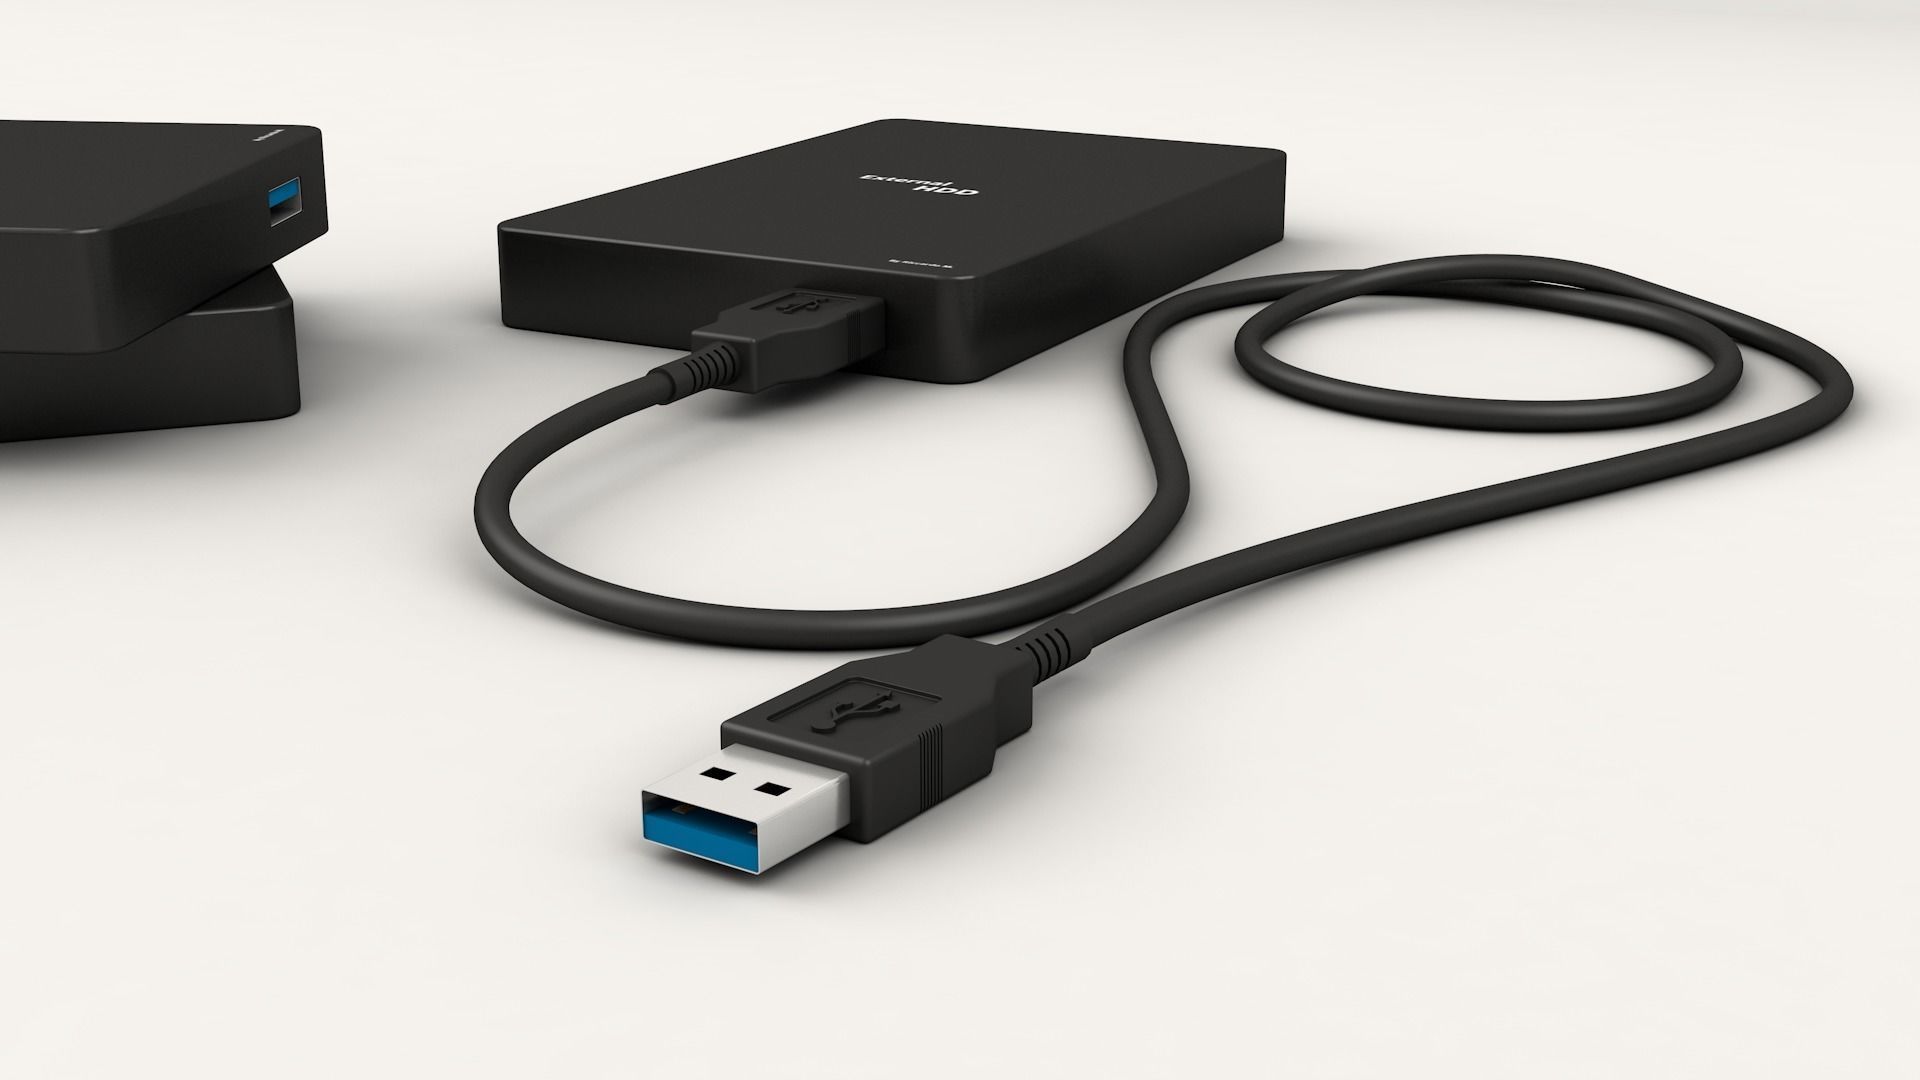
Step 1: Connect your external hard drive to your computer using a USB cable. Ensure that the drive is recognized by your computer and appears as a removable storage device.
Step 2: Download the bootable media creator tool that corresponds to the operating system you want to install or boot from. For Windows, you can download the Windows USB/DVD Download Tool or Rufus. Linux users can use tools like UNetbootin or Etcher, and MacOS users can utilize the Disk Utility tool or third-party applications like BalenaEtcher.
Step 3: Install the bootable media creator tool on your computer, following the provided instructions. Ensure that you grant the tool necessary administrative privileges during installation.
Step 4: Once installed, launch the bootable media creator tool. Select your external hard drive as the destination device when prompted, ensuring that you choose the correct drive to avoid accidental data loss.
Step 5: Depending on the tool you’re using, you will have different options for selecting the source of the bootable files. Specify the location of your operating system installation files or select the bootable ISO image that you want to use.
Step 6: Configure any additional settings or options provided by the bootable media creator tool. This may include choosing the file system, partition scheme, or other customization options. It’s recommended to leave these settings at their default values unless you have specific requirements.
Step 7: Double-check that all the settings are correct before proceeding. Creating a bootable external hard drive will erase all existing data on the device, so ensure that you have backed up any important files.
Step 8: Start the process of creating the bootable external hard drive by clicking the appropriate button or initiating the process as directed by the bootable media creator tool. This may take several minutes, depending on the size of the operating system files and the speed of your computer.
Step 9: Once the process is complete, you will receive a notification indicating that the bootable external hard drive has been successfully created. Safely eject the external hard drive from your computer.
Congratulations! You have now created a bootable external hard drive. You can use this drive to boot up your computer, install a new operating system, recover data, or perform troubleshooting tasks. Remember to keep the bootable external hard drive in a safe place, as it can be a valuable tool in various situations.
Troubleshooting common issues
While creating a bootable external hard drive is a relatively straightforward process, you may encounter some common issues along the way. Here are a few troubleshooting tips to help you overcome these challenges:
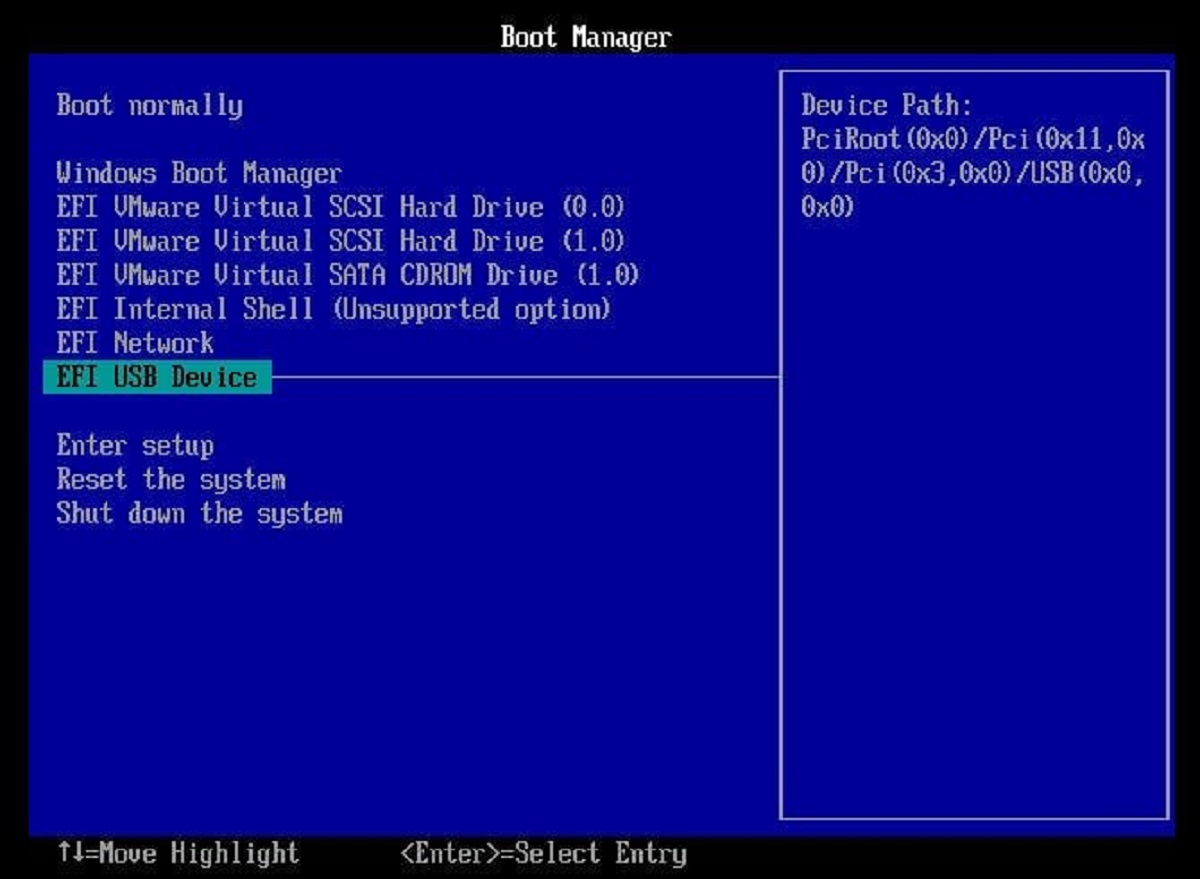
1. Incorrect Boot Order: If you’re having trouble booting from your external hard drive, ensure that your computer’s BIOS or UEFI settings are configured to prioritize USB booting. Access the boot settings menu by restarting your computer and pressing the appropriate key (usually F2, F10, or Del) during the startup process. Locate the boot order settings and make sure that the external hard drive is listed as the primary boot device.
2. Compatibility Issues: Confirm that the operating system or bootable ISO you’re using is compatible with your computer’s hardware and architecture. For instance, if you’re trying to install a 64-bit operating system, ensure that your computer supports 64-bit architecture. Additionally, verify that the specific bootable media creator tool you’re using is compatible with your operating system.
3. Corrupted Files or Image: If you encounter errors during the bootable external hard drive creation process, it’s possible that your operating system installation files or bootable ISO image are corrupted. Download a fresh copy of the files from a reliable source and try again.
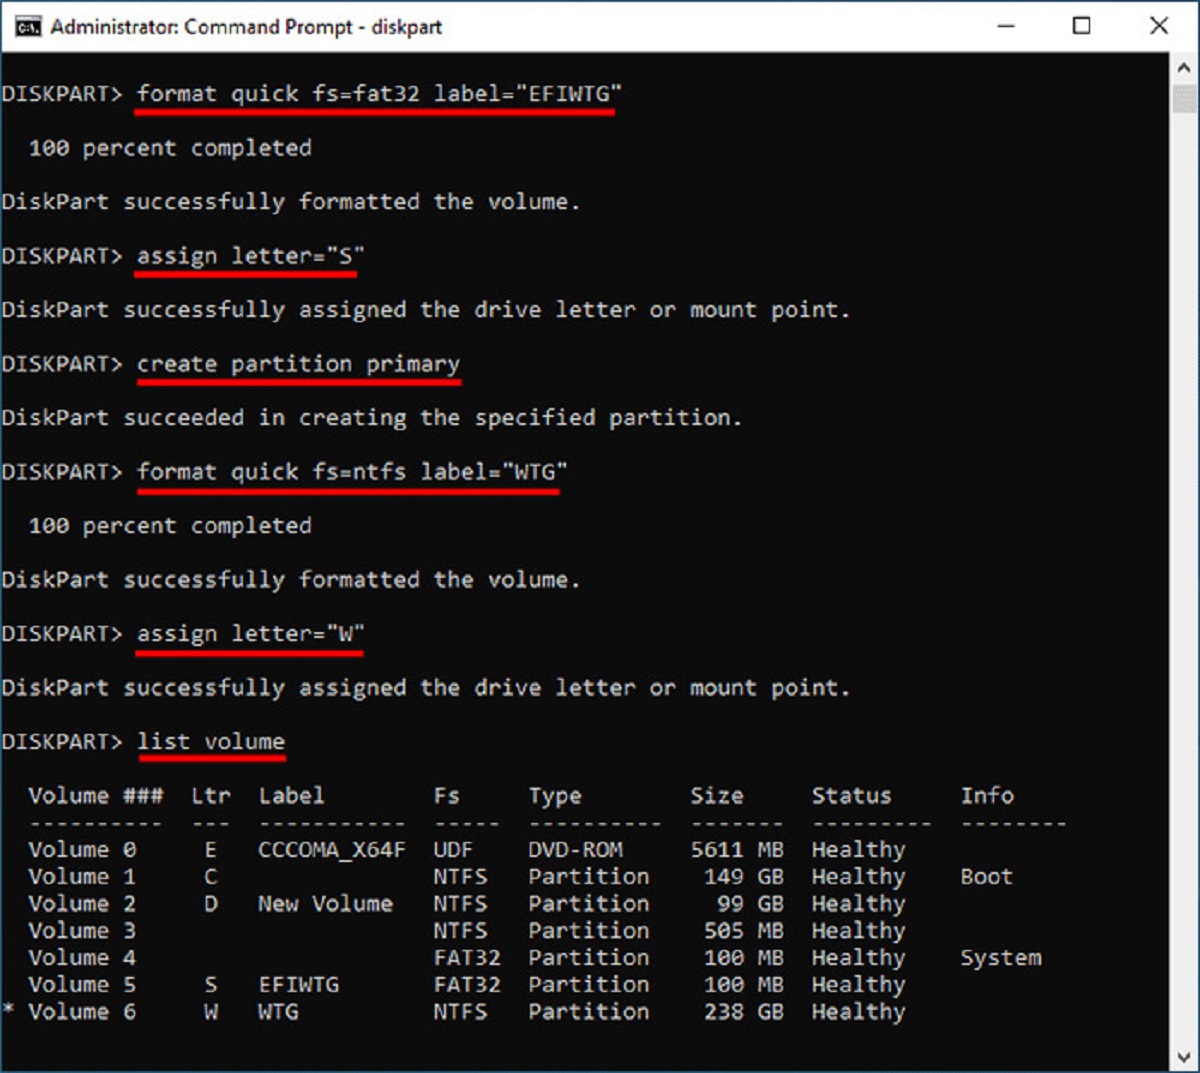
4. Formatting and Partitioning Errors: Make sure that you format and partition your external hard drive correctly before creating the bootable drive. Use the appropriate file system (usually NTFS for Windows and ExFAT or FAT32 for cross-platform compatibility) and ensure that the partition is set as active. This can usually be done using the disk management tools provided by your operating system.
5. Insufficient Storage Space: If you’re unable to copy all the necessary files onto your external hard drive, check if you have enough free space on the device. Delete any unnecessary files or consider using a larger capacity external hard drive.
6. Hardware Issues: If you’re experiencing consistent issues with booting from your external hard drive, such as unrecognized drive or errors during the boot process, check the USB cable and ports for any signs of damage. Try using a different USB cable or port to rule out any hardware issues.
7. Update Bootable Media Creator Tool: Ensure that you’re using the latest version of the bootable media creator tool. Outdated software may have compatibility issues with newer operating systems or hardware.
If you’re unable to resolve the problem using the troubleshooting tips above or encounter a specific error message, consult the documentation or support resources provided by the bootable media creator tool or the operating system you’re trying to install. Online forums and community support can also be valuable resources for troubleshooting specific issues related to making an external hard drive bootable.
Remember, patience and thoroughness are key when troubleshooting. Take the time to carefully follow instructions and double-check your settings to increase the chances of a successful bootable external hard drive creation.
Conclusion
Creating a bootable external hard drive can provide a range of benefits, from system recovery and portable operating systems to troubleshooting and testing capabilities. By following the step-by-step guide outlined in this article and considering the troubleshooting tips provided, you can successfully make an external hard drive bootable.
Remember to ensure that you have all the necessary tools and resources, including an external hard drive with sufficient storage, the operating system or bootable ISO, a bootable media creator tool, a computer with internet access, and administrative privileges. By gathering these components, you will be well-prepared to embark on the process.
Throughout the process, be patient and meticulous, paying close attention to key details and steps. This will help you avoid potential issues and ensure a smooth bootable external hard drive creation.
In the event of encountering common issues, such as incorrect boot order, compatibility problems, corrupted files or images, formatting errors, insufficient disk space, hardware issues, or outdated software, remember to consult the troubleshooting tips provided in this article. Additionally, utilize documentation, support resources, and online forums for further guidance and assistance.
By successfully creating a bootable external hard drive, you gain the flexibility, convenience, and security that it provides. Whether you’re recovering data, installing a new operating system, or troubleshooting multiple computers, having a bootable external hard drive can be a valuable asset.
With the knowledge and information presented in this article, you are now equipped to embark on your journey towards creating a bootable external hard drive. Enjoy the benefits and possibilities that come with this useful tool in your tech arsenal.