Introduction
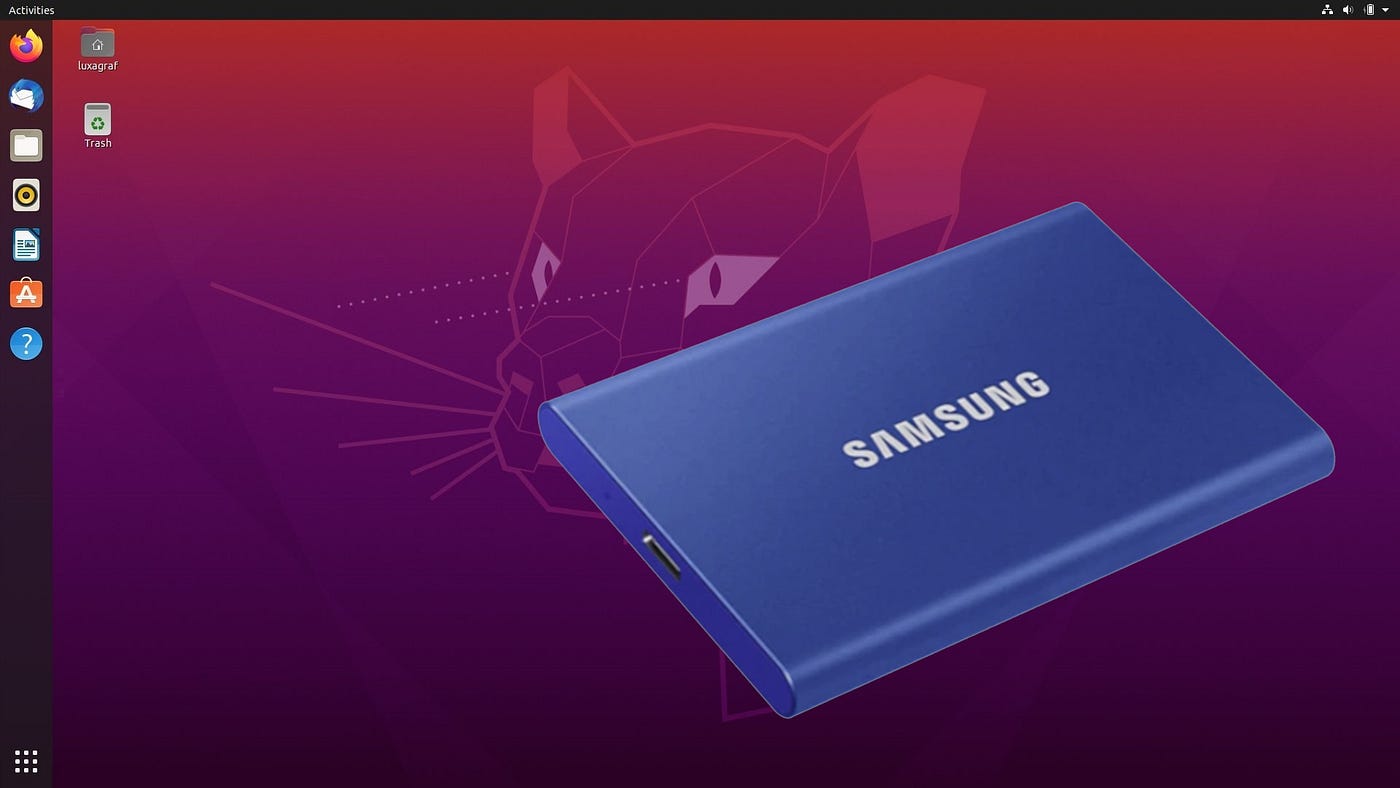
Running Ubuntu on an external hard drive can offer the flexibility of having a portable and customizable operating system. Whether you want to use it for testing purposes, accessing your files from different computers, or simply exploring the world of Linux without altering your existing system, running Ubuntu on an external hard drive can be a great solution. In this guide, we will walk you through the steps to install and run Ubuntu on an external hard drive.
Before we dive into the process, it’s important to note that running Ubuntu from an external hard drive requires some technical knowledge and may involve potential risks. It’s recommended to backup your important data and proceed with caution. Additionally, this guide assumes that you have basic knowledge of Ubuntu and a working computer that allows USB booting.
In order to successfully run Ubuntu on an external hard drive, we need to accomplish several steps. Firstly, we’ll need to partition the external hard drive to create a separate space for Ubuntu. Next, we’ll create a bootable USB drive containing the Ubuntu installation files. Then, we’ll proceed with the installation of Ubuntu onto the external hard drive. Finally, we’ll configure the boot order to ensure that the computer boots from the external drive when needed.
It’s worth mentioning that the performance of Ubuntu running from an external hard drive may be slightly slower compared to running it from an internal drive. This is mainly due to the limitations of the USB interface. However, with modern USB 3.0 or Thunderbolt connections, the performance impact can be minimized.
Now that we have an overview of what’s involved, let’s move on to the prerequisites needed to run Ubuntu on an external hard drive.
Prerequisites
Before proceeding with the installation of Ubuntu on an external hard drive, there are a few things you’ll need to have:
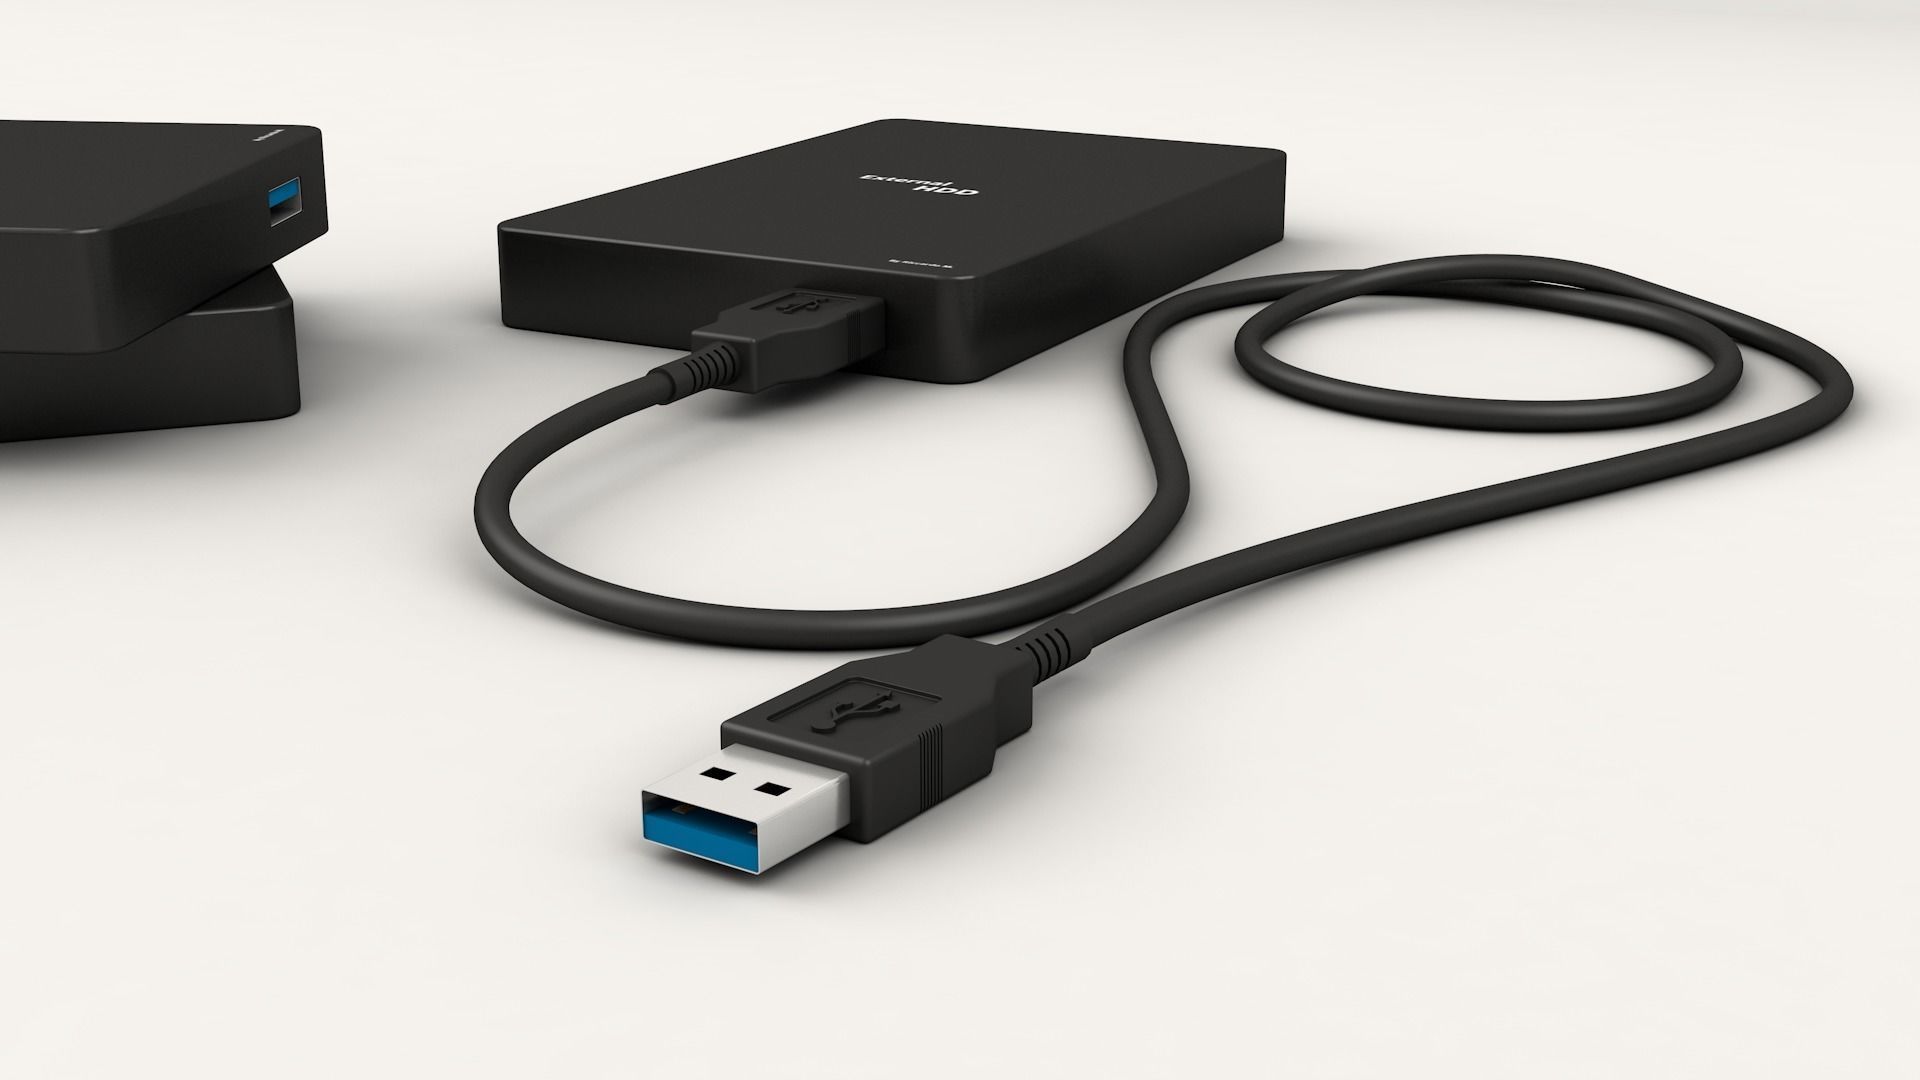
- An external hard drive: Make sure you have a compatible external hard drive with sufficient storage capacity to install Ubuntu. It’s recommended to have at least 50GB of free space for a comfortable Ubuntu installation.
- A computer with USB boot support: Ensure that the computer you’ll be using to run Ubuntu has the ability to boot from a USB drive. Most modern computers support this feature, but it’s always a good idea to check your computer’s documentation or the manufacturer’s website to confirm.
- A Ubuntu ISO file: Download the latest version of Ubuntu from the official website (https://ubuntu.com/download). Choose the appropriate version based on your computer’s architecture (32-bit or 64-bit).
- A USB drive: You’ll need a USB drive with a capacity of at least 4GB to create a bootable USB for the Ubuntu installation. Keep in mind that the USB drive will be formatted during this process, so ensure that you’ve backed up any important data stored on it.
- A working internet connection: In order to download the necessary installation files and updates during the Ubuntu installation, you’ll need a stable and reliable internet connection.
- Basic knowledge of Ubuntu: It will be helpful to have some familiarity with Ubuntu, including basic navigation and system settings. This will allow you to make the most out of your Ubuntu installation and troubleshoot any issues that may arise.
By having these prerequisites in place, you’ll be well-prepared to proceed with the installation and running of Ubuntu on your external hard drive. In the next section, we’ll walk you through the process of partitioning the external hard drive.
Step 1: Partition the External Hard Drive
Before we can install Ubuntu on the external hard drive, we need to prepare it by creating a separate partition. Follow the steps below to partition your external hard drive:
- Connect your external hard drive to your computer using a USB cable.
- Open Disk Management on Windows or Disk Utility on macOS.
- On Windows: Right-click on the Start menu and select “Disk Management” from the context menu. Alternatively, you can press Windows key + X and choose “Disk Management.”
- On macOS: Go to “Applications” > “Utilities” > “Disk Utility.”
- In the Disk Management or Disk Utility window, you will see a list of available drives. Locate your external hard drive and select it.
- Ensure that the drive does not contain any important data that you need to preserve. Partitioning will erase all existing data on the drive.
- Right-click on the unallocated space of the external hard drive and select “New Simple Volume” on Windows, or click on the “+” button and choose “Partition” on macOS.
- Follow the on-screen instructions to set the desired size for the partition and allocate it as a primary partition.
- Format the partition using the NTFS file system on Windows or Mac OS Extended (Journaled) on macOS.
- Once the partition is created and formatted, you are ready to proceed to the next step.
Partitioning the external hard drive ensures that Ubuntu will have its own dedicated space to be installed on. By separating it from the rest of the drive, you can keep your data separate and easily remove or modify the Ubuntu installation if needed in the future.
With the external hard drive partitioned, we can now move on to creating a bootable USB drive with the Ubuntu installation files. This will allow us to proceed with the installation process.
Step 2: Create a Bootable USB
In order to install Ubuntu on the external hard drive, we need to create a bootable USB drive containing the Ubuntu installation files. Follow the steps below to create a bootable USB:
- Insert the USB drive into a USB port on your computer.
- Download and install a tool for creating a bootable USB drive, such as Rufus for Windows or Etcher for macOS.
- Run the tool and select the Ubuntu ISO file that you downloaded in the prerequisites section.
- Choose the USB drive you inserted as the target device for creating the bootable USB.
- Make sure that the tool is set to create a bootable USB drive.
- Click on the “Start” or “Create” button to begin the process of creating the bootable USB.
- Wait for the tool to format the USB drive and copy the Ubuntu installation files to it. This may take a few minutes.
- Once the process is complete, you will have a bootable USB drive with Ubuntu ready for installation.
The bootable USB drive will allow us to boot into the Ubuntu installer and proceed with the installation on the external hard drive. With the bootable USB drive ready, we can now move on to installing Ubuntu onto the external hard drive.
Note: Creating a bootable USB drive may vary slightly depending on the tool you are using. Make sure to follow the instructions specific to the tool you have chosen.
Step 3: Install Ubuntu onto the External Hard Drive
Now that you have a bootable USB drive with the Ubuntu installation files, you can proceed with installing Ubuntu onto the external hard drive. Follow the steps below to complete the installation:
- Make sure your computer is powered off and the external hard drive is connected.
- Insert the bootable USB drive into a USB port on your computer.
- Power on the computer and press the key to access the boot menu. This key varies depending on your computer’s manufacturer, but it is often F12 or Esc. Consult your computer’s documentation to find the correct key.
- In the boot menu, select the bootable USB drive as the device to boot from.
- The Ubuntu installer will load. Select your preferred language and click on the “Install Ubuntu” button.
- Choose the installation options that best suit your needs, such as the keyboard layout, installation type, and additional software.
- When prompted to select the installation location, choose the partition you created on the external hard drive in Step 1.
- Follow the on-screen instructions to complete the installation process.
- During the installation, you will be prompted to create a username and password for your Ubuntu account. Provide the necessary information and proceed.
- Wait for the installation to finish. This may take some time depending on your computer’s speed and the size of the installation.
- Once the installation is complete, you will be prompted to restart your computer. Remove the bootable USB drive before restarting.
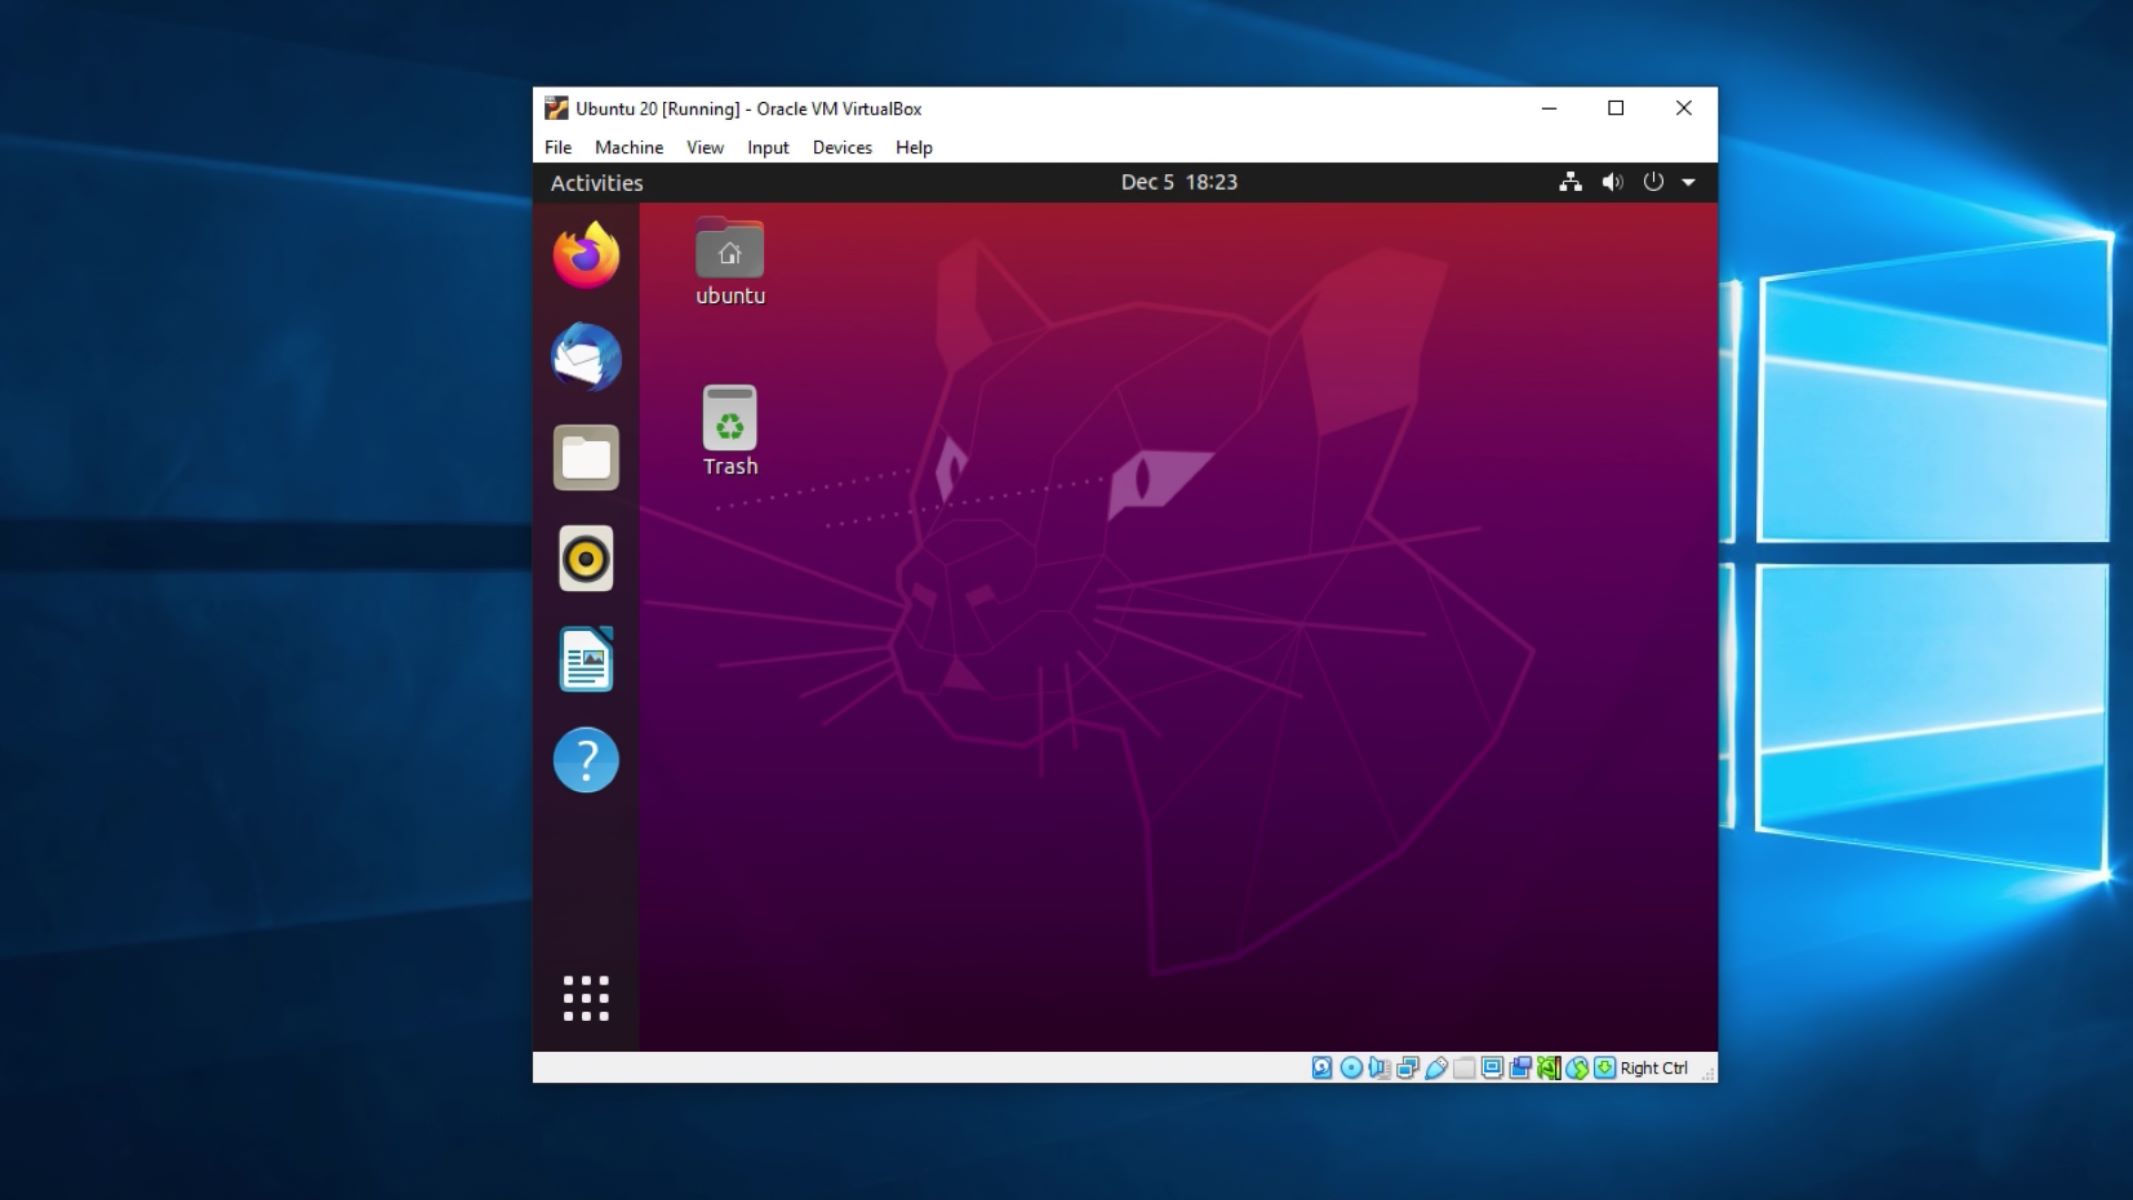
After restarting, your computer will boot into Ubuntu from the external hard drive. You can now enjoy the full functionality of Ubuntu on any computer where you connect your external hard drive.
Congratulations! You have successfully installed Ubuntu onto your external hard drive. In the next step, we will configure the boot order to ensure that your computer boots from the external hard drive when needed.
Step 4: Configure the Boot Order
Configuring the boot order is an important step to ensure that your computer recognizes the external hard drive as the preferred boot device when starting up. Follow the steps below to configure the boot order:
- Restart your computer if it is not already powered off.
- Enter the BIOS or UEFI settings of your computer. The key to access these settings varies depending on your computer’s manufacturer, but it is often Delete, F2, or F10. Consult your computer’s documentation for the correct key.
- Navigate to the “Boot” or “Boot Order” section in the BIOS or UEFI settings.
- Move the external hard drive to the top of the boot order list. This ensures that the computer tries to boot from the external hard drive before any other devices.
- Save the changes and exit the BIOS or UEFI settings. This usually involves pressing F10 or selecting an option to save and exit.
- Restart your computer to apply the changes.
By configuring the boot order, you are telling your computer to prioritize booting from the external hard drive when it starts up. This ensures that Ubuntu on the external hard drive is automatically booted into without the need to manually select the device each time.
Note that the exact steps to configure the boot order may vary depending on your computer’s manufacturer and BIOS or UEFI version. Make sure to carefully follow the instructions provided in your computer’s documentation or on-screen prompts.
With the boot order configured, you can now proceed to the final step and boot Ubuntu from the external hard drive.
Step 5: Boot Ubuntu from External Hard Drive
Now that you have installed Ubuntu on your external hard drive and configured the boot order, you can easily boot into Ubuntu whenever you want. Follow the steps below to boot Ubuntu from the external hard drive:
- Ensure that your computer is powered off.
- Connect the external hard drive to your computer via the appropriate cable.
- Power on your computer.
- Your computer should automatically detect and boot from the external hard drive.
- If your computer does not boot from the external hard drive automatically, restart your computer and enter the boot menu.
- In the boot menu, select the external hard drive as the device to boot from.
- Your computer will now boot into Ubuntu from the external hard drive.
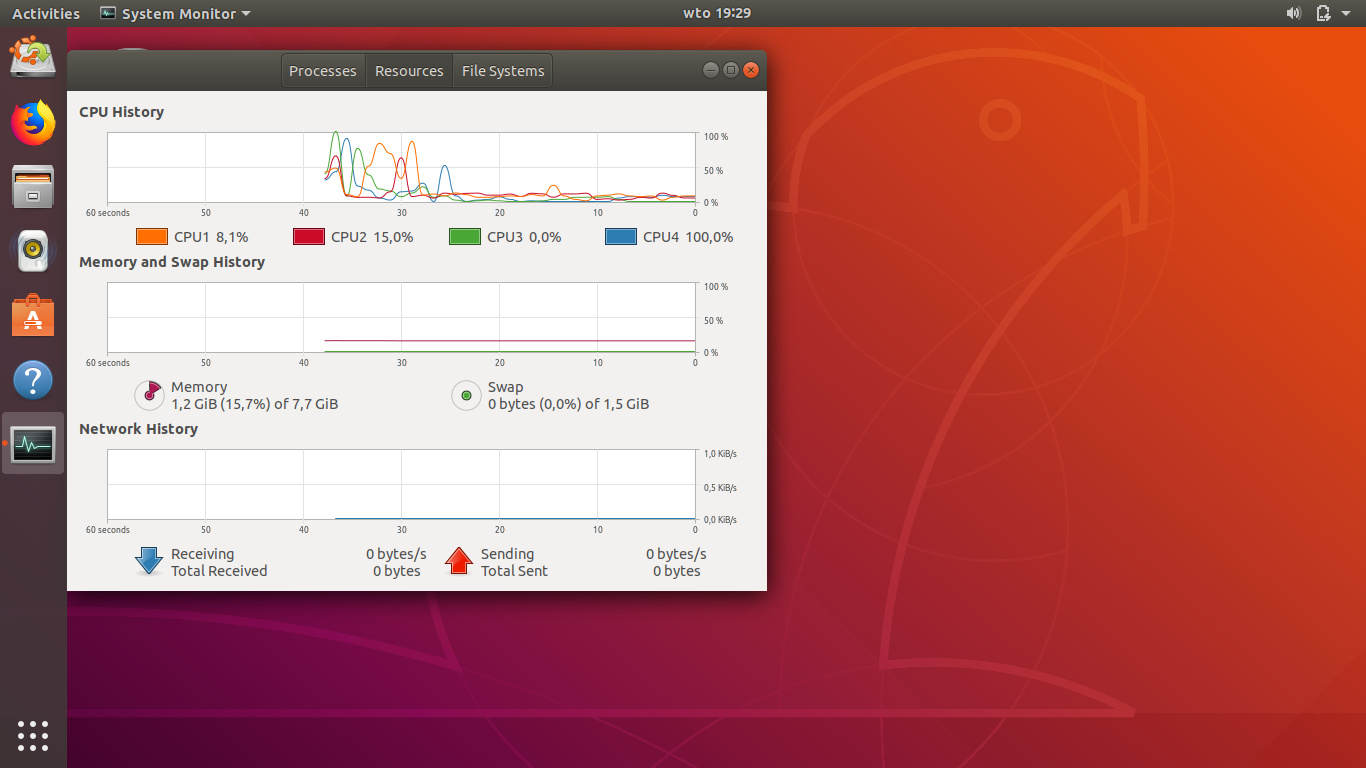
Once Ubuntu is booted, you can enjoy all the features and functionalities of the operating system. You can access your files, install applications, customize your desktop, and explore the vast Ubuntu ecosystem.
Remember that when using Ubuntu from the external hard drive, any changes you make to the system or any files you create or modify will be saved on the external hard drive rather than the computer’s internal storage. This allows you to maintain a portable and independent Ubuntu environment.
If you encounter any issues or need to troubleshoot your Ubuntu installation, refer to the Ubuntu documentation or online forums for assistance. There is a wealth of information and resources available from the Ubuntu community to help you resolve any problems you may come across.
With Ubuntu successfully running from your external hard drive, you are now ready to experience the power and flexibility of this popular Linux distribution on any computer you connect your external hard drive to.
Conclusion
Running Ubuntu on an external hard drive provides the flexibility of using a portable and customizable operating system. Throughout this guide, we have covered the necessary steps to install and run Ubuntu on an external hard drive. By partitioning the external hard drive, creating a bootable USB, installing Ubuntu onto the external hard drive, configuring the boot order, and booting into Ubuntu from the external hard drive, you can enjoy the full functionality of Ubuntu on any computer that supports USB booting.
It’s important to note that running Ubuntu from an external hard drive may result in slightly slower performance compared to running it from an internal drive. However, with modern USB 3.0 or Thunderbolt connections, the impact on performance can be minimized.
Remember to back up your important data before proceeding with the installation and exercise caution throughout the process. It’s also beneficial to have a basic understanding of Ubuntu and its system settings to maximize your experience and troubleshoot any potential issues.
By following the steps outlined in this guide, you can leverage the power of Ubuntu while maintaining the portability and convenience of an external hard drive. Whether you are testing software, accessing your files on various computers, or simply exploring the world of Linux, running Ubuntu on an external hard drive offers a convenient solution.
With Ubuntu installed on your external hard drive, you can take your customized operating system with you wherever you go. Enjoy the freedom of Ubuntu on any compatible computer, without making permanent changes to your system. Take advantage of the vast array of applications, customization options, and the supportive Ubuntu community.
Now that you have successfully installed and configured Ubuntu on your external hard drive, it’s time to start exploring, learning, and enjoying the world of Ubuntu!