Introduction
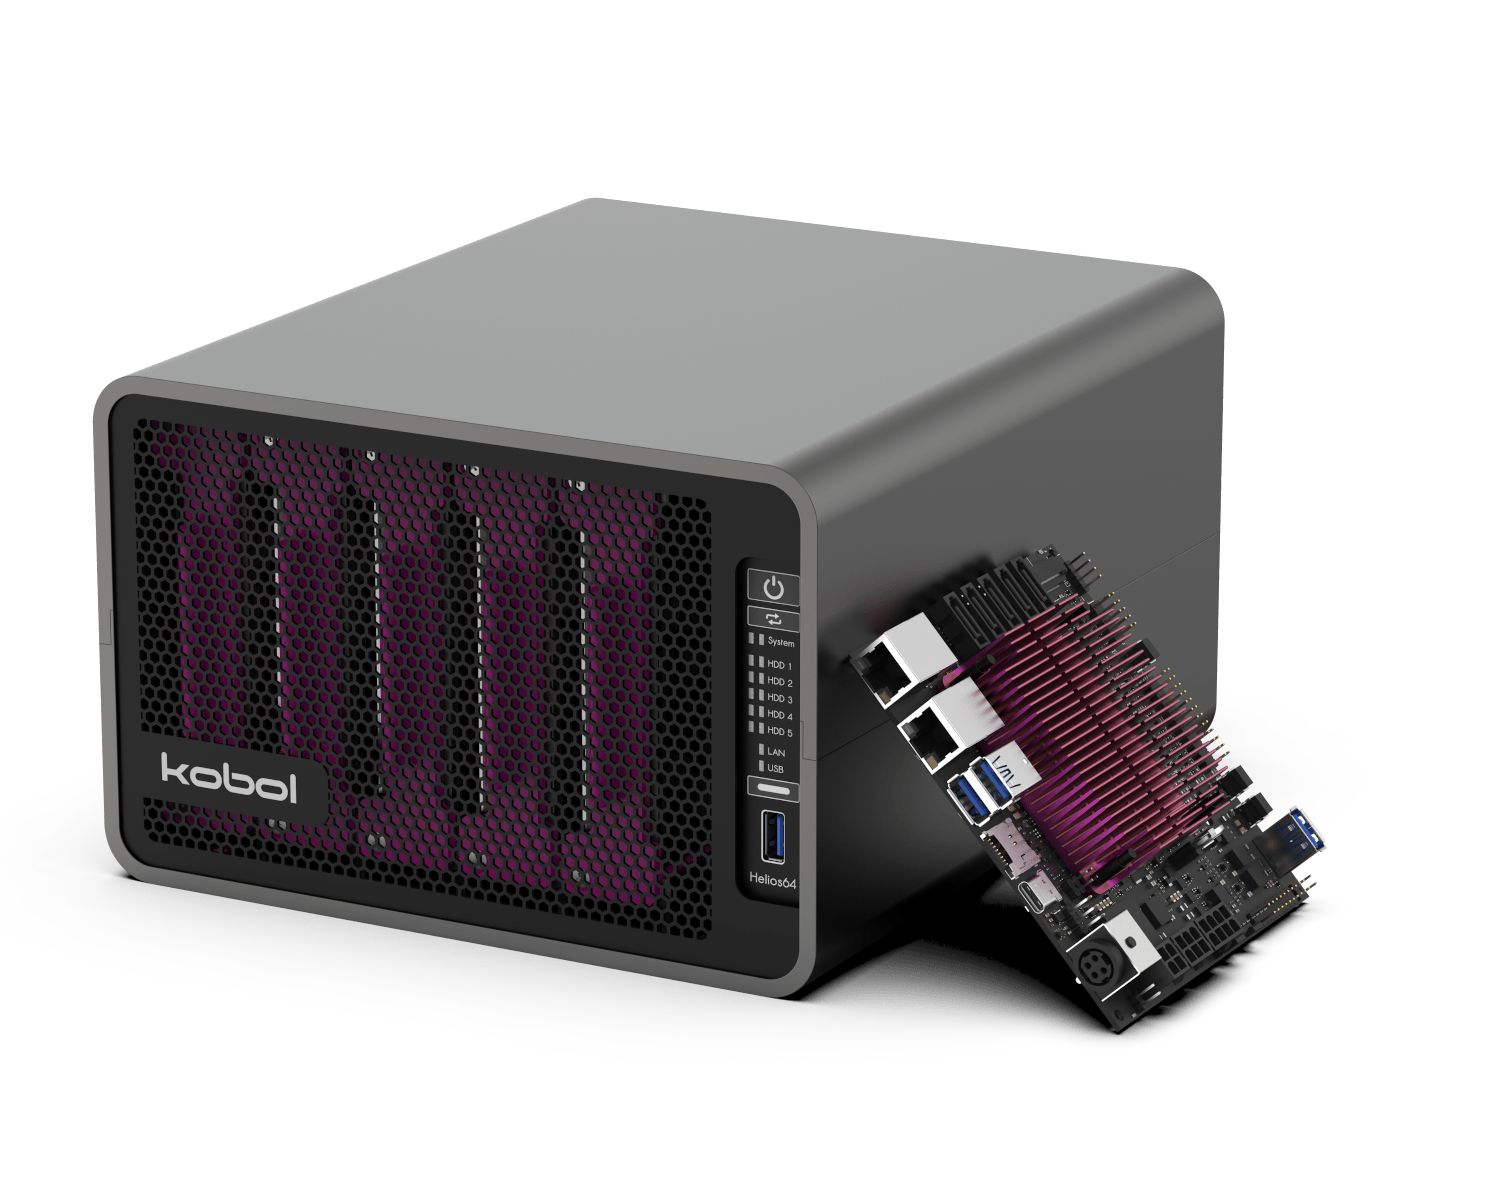
Network Attached Storage (NAS) provides a convenient and efficient means of storing and sharing files across a network. Ubuntu, a popular open-source operating system, offers robust capabilities for setting up NAS, making it an ideal choice for individuals and businesses seeking cost-effective solutions.
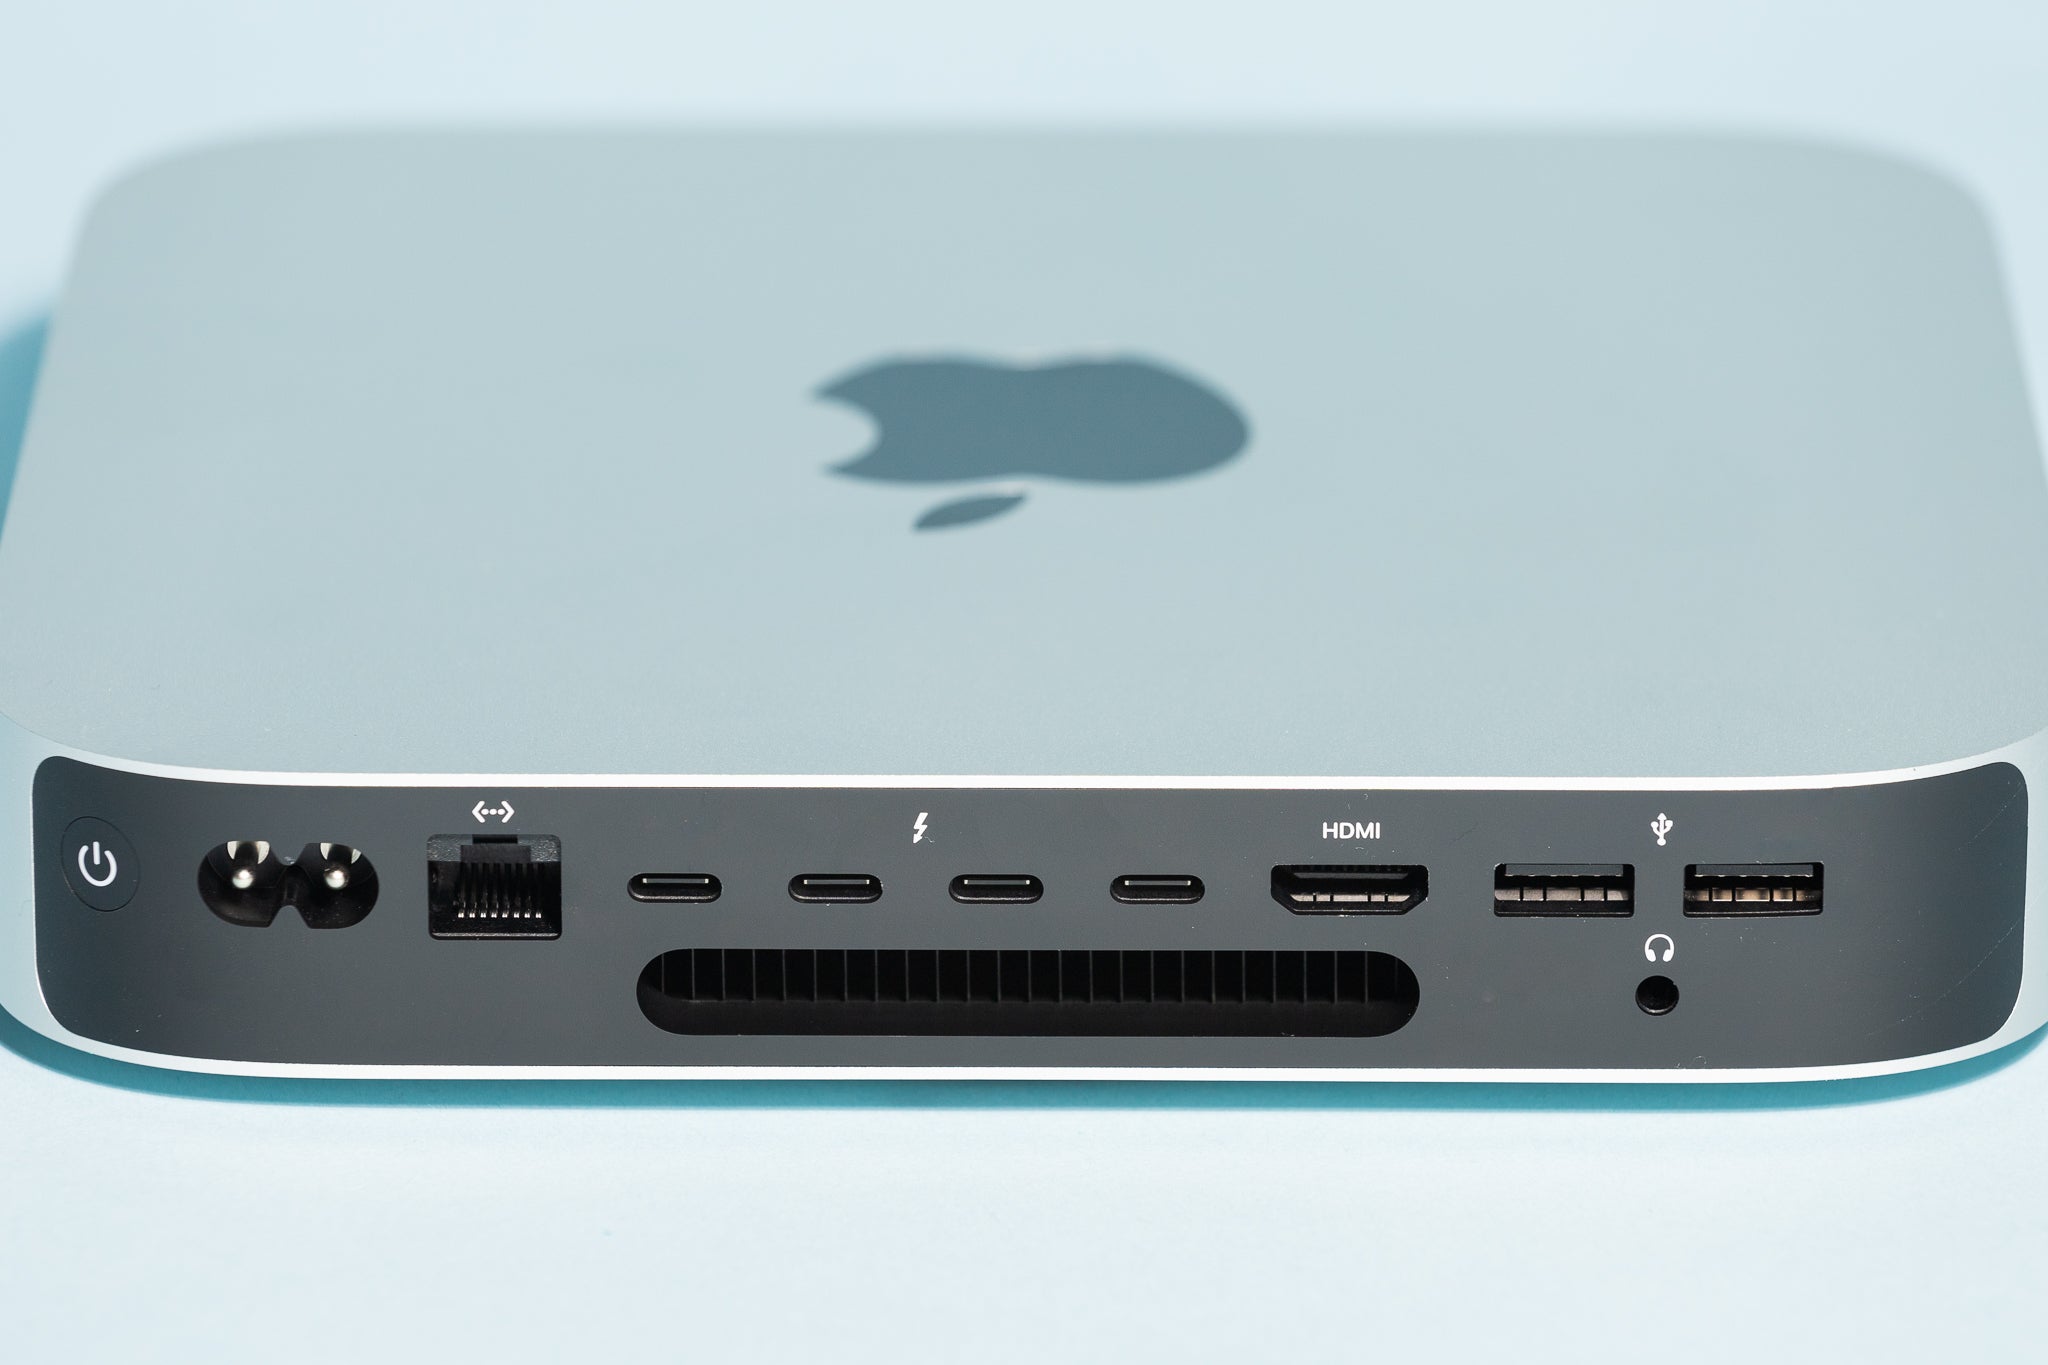
Ubuntu's flexibility and compatibility with a wide range of hardware make it a versatile platform for creating a NAS setup tailored to specific requirements. By leveraging Ubuntu as a NAS, users can centralize data storage, streamline file access, and enhance collaboration among multiple users within a network environment.
In this guide, we will explore the process of using Ubuntu as Network Attached Storage, from the initial setup to the management of shared resources. By following the steps outlined in this tutorial, you can harness the power of Ubuntu to establish a reliable and scalable NAS infrastructure.
Throughout this guide, we will delve into the essential steps for configuring Ubuntu as a NAS, including the setup of Samba for file sharing, user account management, and the seamless integration of network shares on client devices. Additionally, we will discuss methods for monitoring and managing the NAS system, ensuring optimal performance and security.
Whether you are a home user looking to consolidate media files or a small business seeking to streamline data access and collaboration, Ubuntu's NAS capabilities offer a cost-effective and customizable solution. By harnessing the power of Ubuntu for NAS, you can elevate your network's storage infrastructure while maintaining control and flexibility over your data.
Join us as we embark on this journey to unleash the full potential of Ubuntu as Network Attached Storage, empowering you to optimize file management and sharing within your network environment.
Setting Up Ubuntu for Network Attached Storage
Before transforming Ubuntu into a Network Attached Storage (NAS) system, it is essential to prepare the environment and configure the necessary components to ensure seamless file sharing and data accessibility across the network. The initial setup involves installing Ubuntu Server, configuring network settings, and preparing the storage devices for NAS deployment.
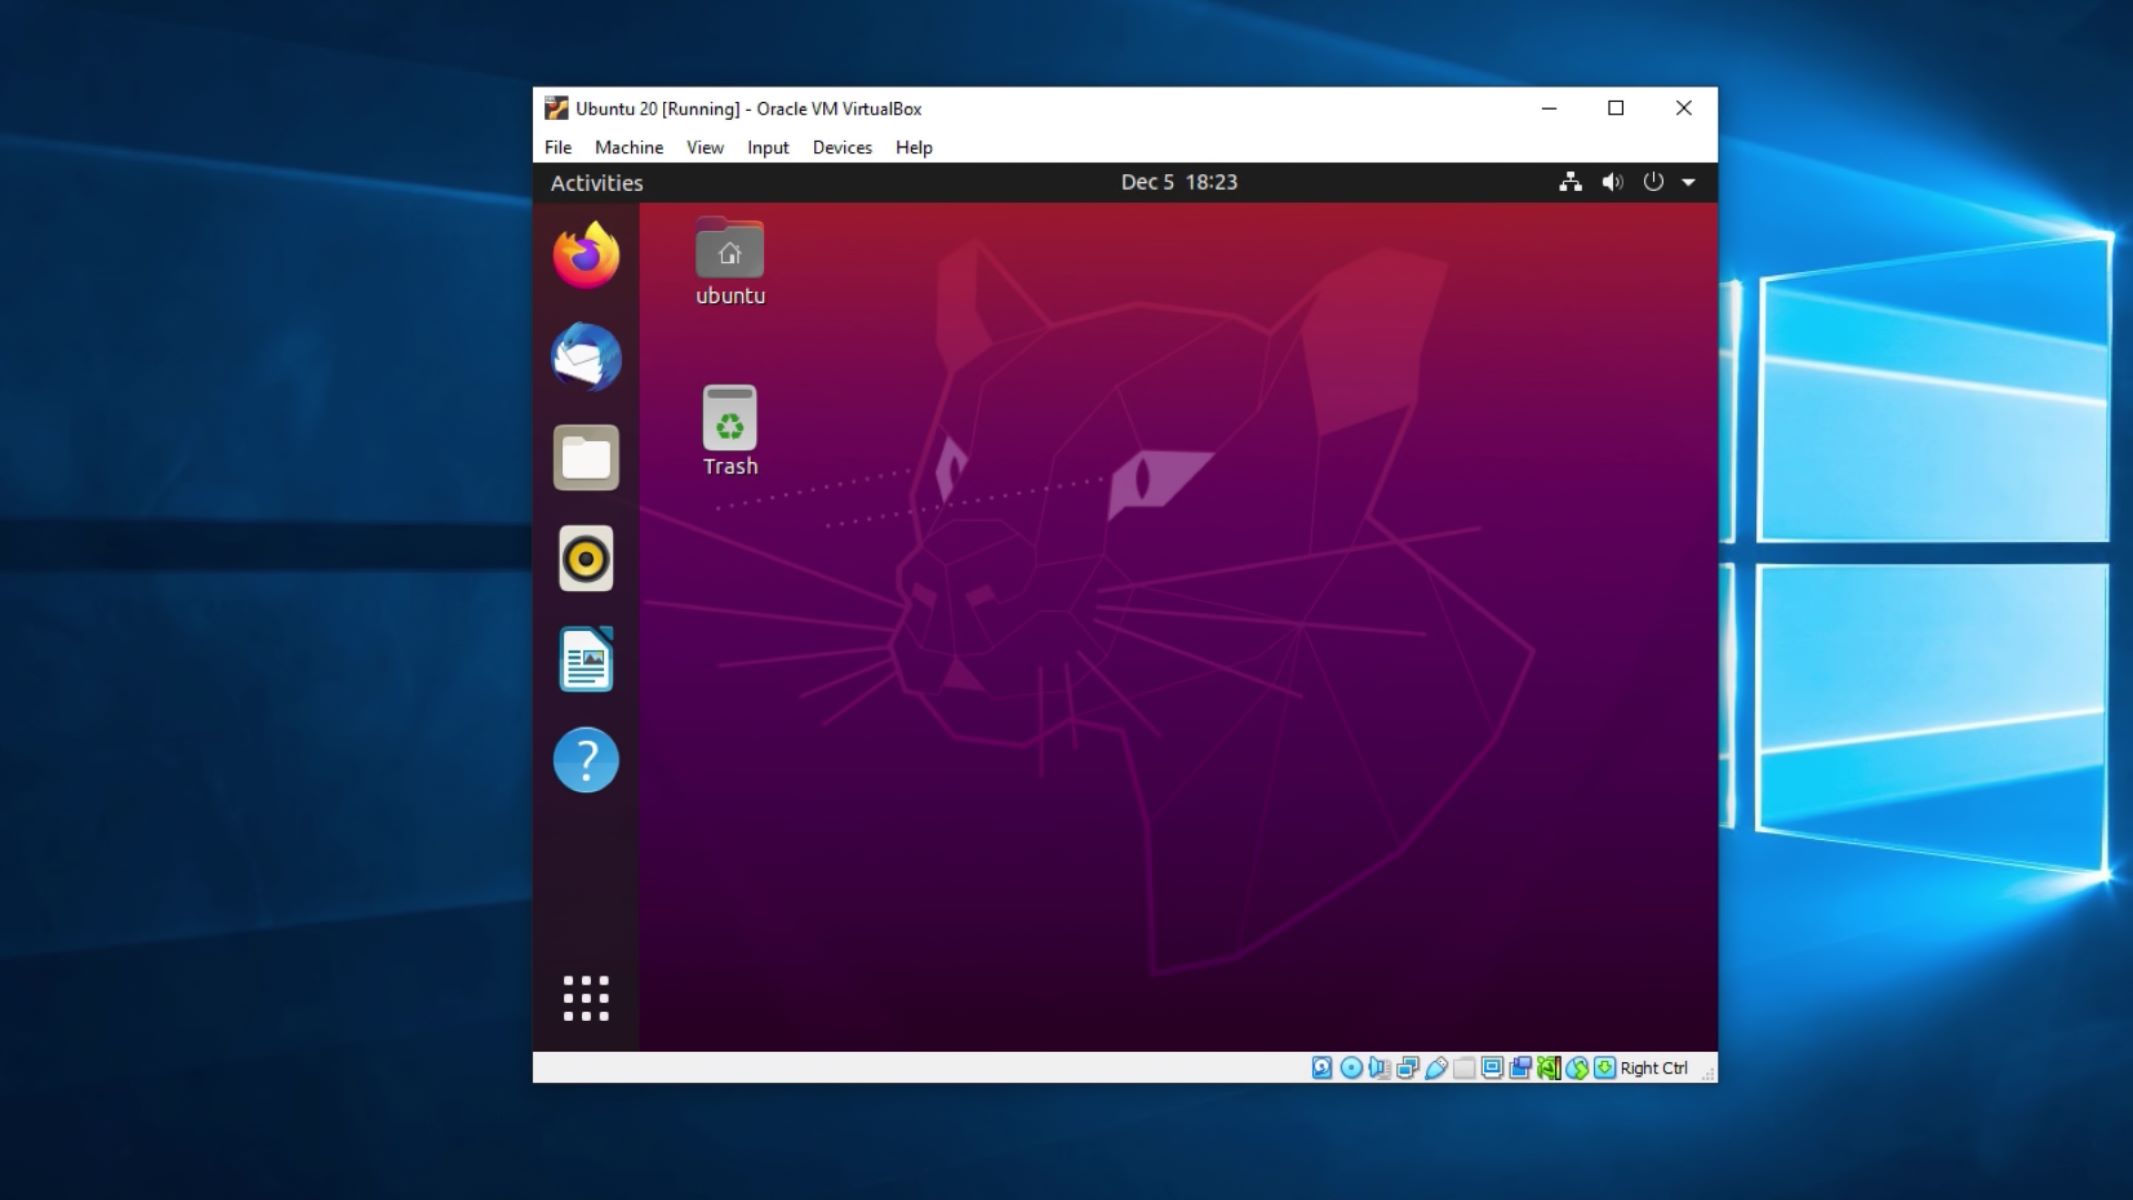
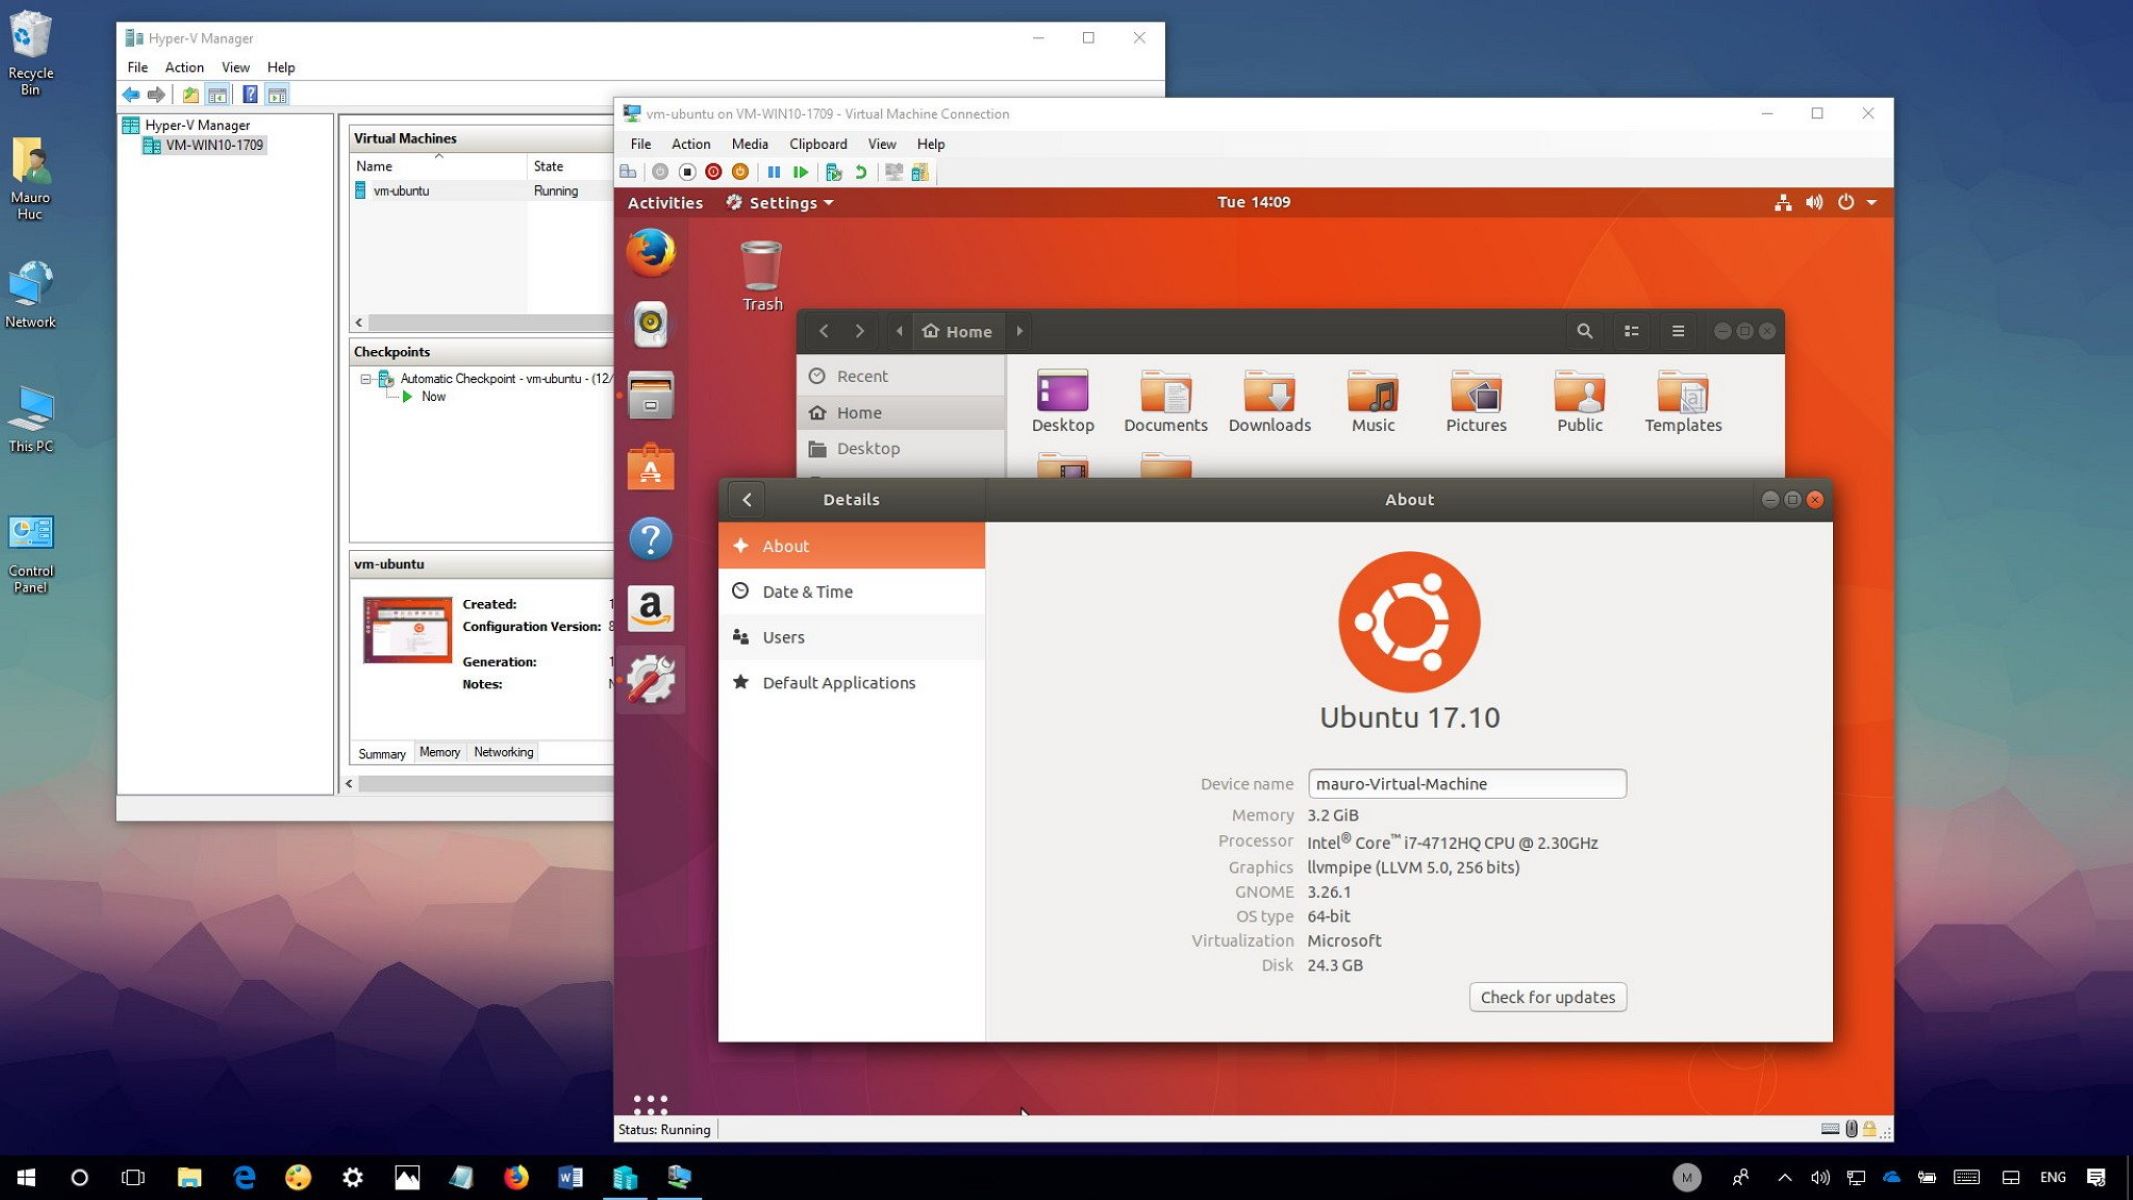
To begin, install Ubuntu Server on a dedicated machine or a virtualized environment, ensuring that the system meets the minimum hardware requirements for optimal performance. Once the installation is complete, configure the network settings, including IP address allocation and network interface setup, to enable communication within the network.
Next, identify the storage devices that will be utilized for NAS deployment and ensure that they are properly connected to the Ubuntu server. Whether using internal hard drives, external storage devices, or network-attached storage appliances, it is crucial to verify the connectivity and accessibility of the storage media before proceeding with the NAS setup.
Upon confirming the availability of storage resources, proceed to configure the storage devices using Ubuntu’s disk management tools, such as fdisk or parted, to create partitions and file systems. This step involves careful planning to allocate storage space for the NAS system, taking into account factors such as data redundancy, performance requirements, and future scalability.
Once the storage devices are partitioned and formatted, it is advisable to implement a robust file system, such as ext4 or ZFS, to ensure data integrity and resilience. Additionally, consider enabling features such as disk encryption or RAID (Redundant Array of Independent Disks) to enhance data security and fault tolerance within the NAS environment.
By meticulously setting up Ubuntu for Network Attached Storage, you lay the foundation for a reliable and efficient file storage and sharing infrastructure. The careful consideration of hardware, network configuration, and storage preparation sets the stage for the subsequent steps in configuring Ubuntu as a NAS, ultimately empowering users to harness the full potential of their network resources.
Configuring Samba for File Sharing
One of the key components in leveraging Ubuntu as Network Attached Storage (NAS) is the implementation of Samba, a powerful open-source software suite that facilitates seamless file and print sharing across diverse operating systems. By configuring Samba on Ubuntu, users can establish a unified file sharing environment, enabling Windows, macOS, and Linux systems to access and collaborate on shared resources within the network.
To begin the process of setting up Samba for file sharing, install the Samba package on the Ubuntu server using the package manager, such as apt. Once installed, proceed to configure the Samba settings by editing the smb.conf file, which serves as the central configuration file for Samba.
Within the smb.conf file, define the shared directories, set access permissions, and specify the authentication mechanisms for user access. Additionally, configure the workgroup or domain settings to align with the network environment, ensuring seamless integration with existing network resources.
After configuring the basic settings, create user accounts within Samba using the smbpasswd command to establish credentials for accessing the shared directories. It is crucial to define user permissions and access control to maintain data security and privacy within the NAS environment.
Furthermore, consider implementing advanced features of Samba, such as access control lists (ACLs) and share-level security, to fine-tune the file sharing capabilities and enforce granular control over user access and privileges. By leveraging these features, administrators can tailor the file sharing environment to meet specific security and compliance requirements.
Once the Samba configuration is complete, restart the Samba service to apply the changes and initiate the file sharing capabilities. Verify the functionality of the shared directories by accessing them from client devices within the network, ensuring that users can seamlessly read, write, and manage files within the NAS environment.
By meticulously configuring Samba for file sharing on Ubuntu, users can establish a robust and interoperable file sharing infrastructure, fostering collaboration and data accessibility across diverse platforms within the network. The seamless integration of Samba with Ubuntu’s NAS capabilities empowers users to create a unified and efficient file sharing environment, transcending the limitations of individual operating systems and enhancing productivity within the network.
Creating User Accounts and Permissions
Central to the effective management of a Network Attached Storage (NAS) system is the establishment of user accounts and permissions, enabling fine-grained control over file access and data security within the network environment. In the context of Ubuntu as NAS, the creation and management of user accounts play a pivotal role in governing access to shared resources and maintaining the integrity of the NAS infrastructure.
To begin, create user accounts on the Ubuntu server, ensuring that each user is assigned a unique username and password for authentication. By leveraging Ubuntu’s user management tools, such as adduser or useradd, administrators can systematically create user accounts and define their respective home directories within the NAS environment.
Subsequently, associate the user accounts with Samba by synchronizing the user credentials using the smbpasswd command, ensuring that users can seamlessly access the shared directories through the Samba protocol. This synchronization facilitates a unified authentication mechanism, enabling users to utilize their Ubuntu credentials for accessing the NAS resources via Samba.
Following the creation of user accounts, it is imperative to configure permissions for the shared directories, dictating the level of access and control that each user or user group possesses within the NAS environment. Utilize Ubuntu’s file system permissions and Samba’s share-level permissions to define read, write, and execute privileges, as well as ownership attributes for the shared files and directories.
Consider implementing access control lists (ACLs) to enforce granular permissions, allowing administrators to specify detailed access rights for individual users or groups within the shared directories. This level of granularity empowers administrators to tailor the access control mechanisms to align with specific data security and compliance requirements.
Furthermore, establish user groups within Ubuntu and Samba to streamline the assignment of permissions and access privileges, simplifying the management of user accounts and ensuring consistent access control across multiple shared resources. By categorizing users into groups, administrators can efficiently administer permissions at a group level, reducing the complexity of individual user permissions management.
By adeptly creating user accounts and delineating precise permissions within the NAS environment, administrators can foster a secure and organized file sharing ecosystem, empowering users to collaborate and access shared resources while upholding data integrity and confidentiality. The meticulous management of user accounts and permissions within Ubuntu’s NAS framework forms the cornerstone of a robust and compliant file sharing infrastructure, elevating the network’s data management capabilities.
Mounting Network Shares on Client Devices
Once the Network Attached Storage (NAS) infrastructure is established using Ubuntu, the next crucial step involves enabling client devices to access and utilize the shared resources seamlessly. Mounting network shares on client devices facilitates convenient access to the centralized storage, empowering users to leverage the NAS environment for data storage, retrieval, and collaboration.
On client devices running various operating systems, such as Windows, macOS, or Linux, the process of mounting network shares involves configuring the respective file system to establish a connection to the shared directories hosted on the Ubuntu NAS server. This enables users to access the shared files and directories as if they were stored locally on their devices.
In a Windows environment, users can mount network shares from the Ubuntu NAS server by mapping network drives using the “Map Network Drive” feature in Windows Explorer. By specifying the UNC (Universal Naming Convention) path to the shared directory, users can seamlessly access the NAS resources and interact with the files and folders as if they were stored on their local drives.
Similarly, on macOS devices, users can mount network shares from the Ubuntu NAS server by utilizing the “Connect to Server” feature in the Finder application. By entering the SMB (Server Message Block) or AFP (Apple Filing Protocol) URL of the shared directory, users can establish a connection to the NAS resources and access them within the Finder interface.
For Linux-based client devices, users can mount network shares from the Ubuntu NAS server by leveraging the mount command or by configuring the /etc/fstab file to automatically mount the network shares during system startup. By specifying the server’s IP address or hostname, along with the shared directory path, users can seamlessly access the NAS resources within the Linux file system.
By enabling client devices to mount network shares from the Ubuntu NAS server, administrators empower users to harness the full potential of the centralized storage infrastructure, fostering seamless data access and collaboration across diverse platforms. The ability to mount network shares seamlessly on client devices enhances productivity and data accessibility, transcending the limitations of local storage and facilitating a unified file sharing experience within the network environment.
Monitoring and Managing Network Attached Storage with Ubuntu
Effective monitoring and management of a Network Attached Storage (NAS) system are essential to ensure optimal performance, data integrity, and resource utilization within the network environment. With Ubuntu as the foundation for NAS, administrators can leverage a suite of tools and practices to monitor and manage the NAS infrastructure, empowering them to proactively address potential issues and optimize the storage ecosystem.
Ubuntu offers a range of built-in and third-party tools for monitoring the NAS environment, providing insights into resource usage, storage capacity, network throughput, and system health. Utilize tools such as htop and iotop to monitor system resource utilization, enabling administrators to identify potential bottlenecks and optimize system performance.
Furthermore, implement network monitoring tools, such as iftop and ntopng, to gain visibility into network traffic patterns, bandwidth usage, and connectivity status within the NAS environment. These tools enable administrators to identify network-related issues and optimize data transfer efficiency across the network.
For storage monitoring, consider deploying tools like smartmontools to assess the health and performance of storage devices, facilitating proactive maintenance and early detection of potential hardware failures. Additionally, implement file system monitoring utilities to track file access patterns, storage usage trends, and data integrity within the NAS environment.
When it comes to managing the NAS infrastructure, Ubuntu provides robust administrative capabilities for maintaining user accounts, configuring shared resources, and enforcing data security within the network. Leverage Ubuntu’s user management tools to add, modify, or remove user accounts, ensuring that access privileges are aligned with organizational policies and requirements.
Regularly review and update the Samba configuration to accommodate changes in the network environment, user access requirements, and shared resource allocations. By staying abreast of the evolving needs of the network, administrators can adapt the NAS configuration to optimize file sharing capabilities and enhance user experience.
Implement backup and disaster recovery strategies to safeguard critical data within the NAS environment, leveraging Ubuntu’s backup utilities and third-party solutions to create redundant copies of essential files and directories. Regularly test the backup and recovery processes to validate their effectiveness and reliability in mitigating data loss scenarios.
By diligently monitoring and managing the NAS environment with Ubuntu, administrators can uphold the performance, reliability, and security of the storage infrastructure, fostering a resilient and efficient file sharing ecosystem within the network. The proactive approach to monitoring and management empowers administrators to address potential issues proactively, optimize resource utilization, and ensure the seamless operation of the NAS infrastructure.
Conclusion
Ubuntu’s robust capabilities for Network Attached Storage (NAS) empower users to create a centralized and efficient file sharing ecosystem within their network environment. By harnessing Ubuntu’s versatile features and open-source ethos, individuals and organizations can establish a cost-effective and customizable NAS infrastructure tailored to their specific storage and collaboration needs.
Throughout this guide, we have explored the essential steps for leveraging Ubuntu as NAS, from the initial setup and configuration to the seamless integration of shared resources on client devices. By meticulously preparing the Ubuntu server, configuring Samba for file sharing, creating user accounts, and enabling network shares on client devices, users can establish a unified and accessible storage environment that transcends the limitations of individual operating systems.
Furthermore, the emphasis on monitoring and managing the NAS infrastructure with Ubuntu underscores the proactive approach to maintaining optimal performance, data integrity, and resource utilization within the network. By leveraging monitoring tools and administrative practices, administrators can uphold the reliability and security of the NAS environment, ensuring seamless data access and collaboration for all users.
As users continue to harness Ubuntu’s NAS capabilities, it is imperative to stay abreast of evolving storage requirements, security best practices, and technological advancements to adapt the NAS infrastructure to meet the dynamic needs of the network environment. Regular evaluations of the NAS setup, proactive maintenance, and adherence to data management best practices are essential to sustaining a resilient and efficient file sharing ecosystem.
In conclusion, Ubuntu serves as a versatile and dependable platform for Network Attached Storage, offering a wealth of tools, features, and administrative capabilities to create and maintain a robust file sharing infrastructure. By following the guidelines outlined in this guide and embracing the flexibility of Ubuntu, users can elevate their network’s storage capabilities, streamline data access, and foster collaborative workflows within their organization or home network.


