Introduction
Welcome to this guide on how to install Linux Ubuntu on a Solid State Drive (SSD). As the popularity of SSDs continues to grow, more and more users are switching from traditional hard drives to SSDs for their improved performance and reliability. Linux Ubuntu, a widely used and highly regarded operating system, is a perfect match for the speed and efficiency offered by SSDs.
In this article, we will walk you through the step-by-step process of installing Linux Ubuntu on an SSD. Whether you are a seasoned Linux user or someone who is new to the open-source world, this guide will provide you with all the information you need to successfully set up Ubuntu on your SSD.
Before we dive into the installation process, let’s take a moment to understand why installing Linux Ubuntu on an SSD can greatly enhance your computing experience. SSDs utilize flash memory technology, which provides several advantages over traditional hard drives. They offer faster data access speeds, shorter boot times, and improved overall system responsiveness. These benefits make SSDs an ideal choice for running an operating system like Linux Ubuntu, which relies on efficient data read and write operations.
Installing Linux Ubuntu on an SSD also allows you to take full advantage of the system’s performance capabilities. The combination of Ubuntu’s lightweight design and the fast read/write speeds of an SSD results in a seamless user experience, ensuring that your applications and processes run smoothly without any bottlenecks.
In order to successfully install Linux Ubuntu on an SSD, there are a few preparatory steps that need to be taken. These include backing up your data, creating a bootable USB drive, and configuring the boot order of your system. Throughout this guide, we will explain each step in detail and provide you with easy-to-follow instructions.
So, if you’re ready to embark on this Linux Ubuntu installation journey, let’s get started by preparing your system and acquiring the necessary tools. By the end of this guide, you’ll have a fully functional Linux Ubuntu installation on your SSD, ready for you to explore and enjoy the world of open-source computing.
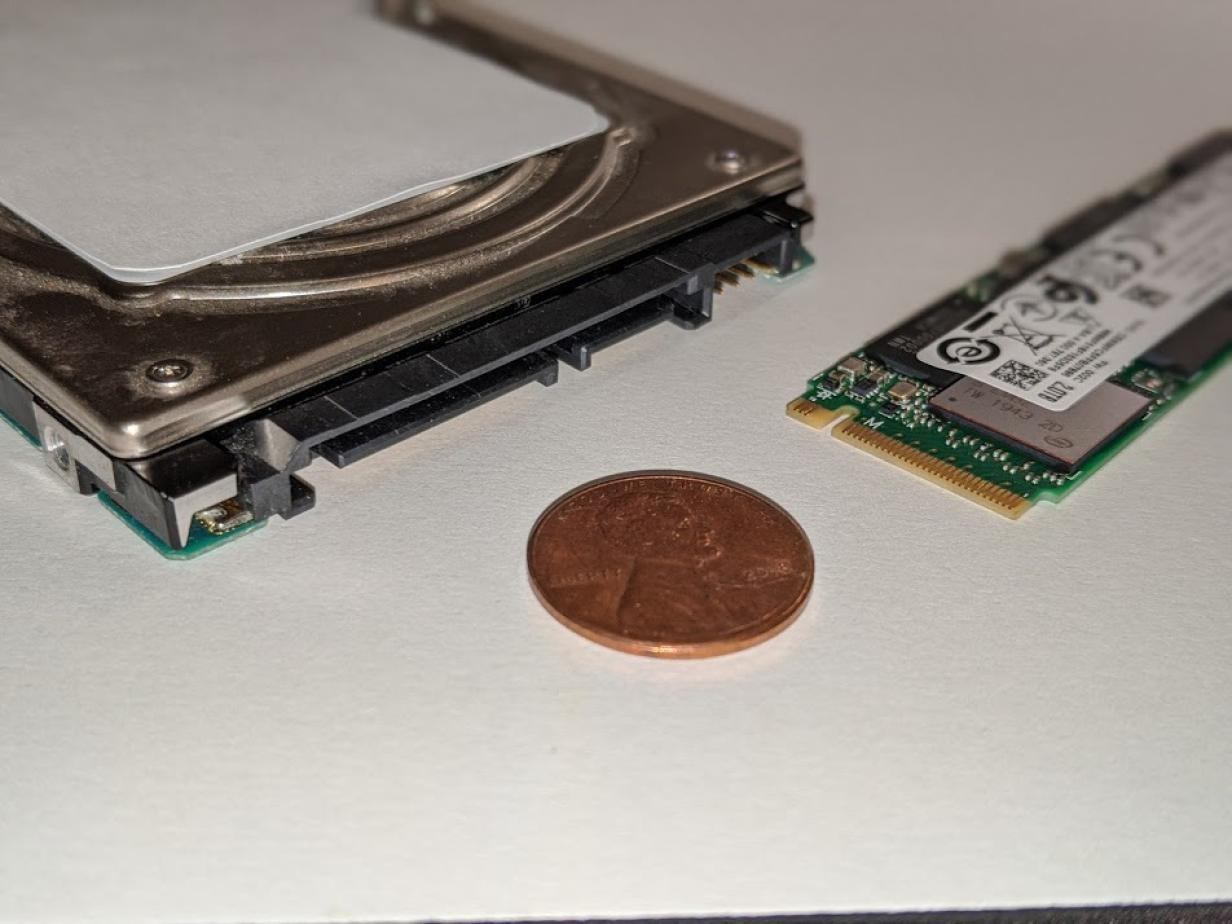
Overview of Solid State Drives (SSDs)
Before we delve into the installation process of Linux Ubuntu on an SSD, let’s take a closer look at what a Solid State Drive (SSD) is and the advantages it offers over traditional hard drives.
An SSD is a type of storage device that uses flash memory technology, unlike traditional hard drives that rely on spinning disks and magnetic platters. This fundamental difference in technology brings about several significant advantages when it comes to performance and reliability.
One of the most notable benefits of SSDs is their speed. They offer faster data access times, lower latency, and quicker boot speeds compared to traditional hard drives. This means that your operating system, applications, and files will load and respond much faster on an SSD, leading to a more responsive and efficient computing experience.
SSDs also excel in terms of durability and shock resistance. Since they don’t have any moving parts like hard drives, they are less susceptible to physical damage caused by drops or vibrations. This makes them ideal for portable devices like laptops, where durability is crucial.
In addition to speed and durability, SSDs are more energy-efficient compared to traditional hard drives. They consume less power while providing equivalent or better performance. This not only results in longer battery life for laptops but also reduces the overall energy consumption of your system.
Another advantage of SSDs is the absence of noise caused by spinning disks. Traditional hard drives generate audible noise due to the mechanical components involved in their operation. SSDs, on the other hand, are completely silent since they do not have any moving parts. This makes them ideal for environments where noise reduction is important, such as recording studios or quiet workspaces.
As prices continue to decrease, the storage capacities of SSDs are also increasing, allowing users to store more data than ever before. While SSDs used to be considered a luxury due to their higher cost per gigabyte compared to hard drives, they have now become more affordable and accessible for a wide range of users.
In summary, Solid State Drives offer numerous benefits over traditional hard drives. They provide faster speeds, improved durability, increased energy efficiency, and silent operation. These advantages make SSDs an excellent choice for a wide range of applications, including running operating systems like Linux Ubuntu.
With a better understanding of SSD technology and its benefits, let’s move on to the next section where we will discuss why installing Linux Ubuntu on an SSD is a great decision.
Why Install Linux Ubuntu on an SSD?
Linux Ubuntu is a powerful and versatile operating system that is highly compatible with solid state drives (SSDs). Installing Ubuntu on an SSD brings about numerous advantages that enhance your overall computing experience. In this section, we will explore the reasons why installing Linux Ubuntu on an SSD is a great decision.
1. Improved Performance: SSDs offer significantly faster data read and write speeds compared to traditional hard drives. When you install Linux Ubuntu on an SSD, you can expect faster boot times, reduced application loading times, and snappier overall system performance. This ensures a smoother and more responsive computing experience, allowing you to complete tasks quickly and efficiently.
2. Enhanced Reliability: SSDs have no moving mechanical parts, unlike traditional hard drives that use spinning disks. This makes them more resistant to physical damage and less prone to failure due to mechanical issues. By installing Linux Ubuntu on an SSD, you can enjoy a more reliable system that is less susceptible to data loss and corruption.
3. Longer Lifespan: SSDs typically have a longer lifespan compared to traditional hard drives. With no mechanical components to wear out, SSDs can endure a higher number of read and write operations over their lifetime. This means that you can expect your Linux Ubuntu installation on an SSD to remain fast and reliable for a longer period of time.
4. Energy Efficiency: SSDs consume less power compared to traditional hard drives, resulting in improved energy efficiency. This is especially advantageous for laptop users, as installing Linux Ubuntu on an SSD can significantly extend battery life. Additionally, the reduced power consumption contributes to a greener computing environment.
5. Noise Reduction: SSDs operate silently since they do not have any moving parts. This eliminates the noise generated by spinning disks in traditional hard drives. By installing Linux Ubuntu on an SSD, you can enjoy a quieter computing environment, which is particularly beneficial for those who work in noise-sensitive spaces or simply prefer a quieter computing experience.
6. Optimized for Linux: Ubuntu is a Linux-based operating system, and Linux is known for its efficient use of system resources. When combined with the fast read and write speeds of an SSD, Ubuntu can fully leverage the capabilities of the hardware, resulting in optimal performance and responsiveness.
In essence, installing Linux Ubuntu on an SSD delivers a significant boost in performance, reliability, and efficiency. The improved speed, enhanced reliability, longer lifespan, energy efficiency, noise reduction, and optimized performance make it a compelling choice for users seeking to maximize the potential of their systems.
With the clear benefits of installing Linux Ubuntu on an SSD outlined, let’s move on to the next section, where we will discuss the steps to prepare for the installation process.
Preparing for the Installation
Before diving into the installation process of Linux Ubuntu on your Solid State Drive (SSD), it is important to take a few preparatory steps to ensure a smooth and successful installation. This section will guide you through the necessary preparations to make your Ubuntu installation on an SSD a seamless experience.
1. Back up Your Data: It is crucial to back up all your important data before proceeding with the installation. This includes documents, photos, videos, and any other files you want to preserve. While the installation process itself shouldn’t result in data loss, it’s always better to be safe than sorry. Store your backup files on an external drive, cloud storage, or another reliable location.
2. Verify System Requirements: Ensure that your computer meets the minimum requirements for installing Linux Ubuntu. Check the Ubuntu website or documentation for the specific requirements, such as minimum CPU, RAM, and disk space. It’s important to have adequate resources to run Ubuntu smoothly on your system.
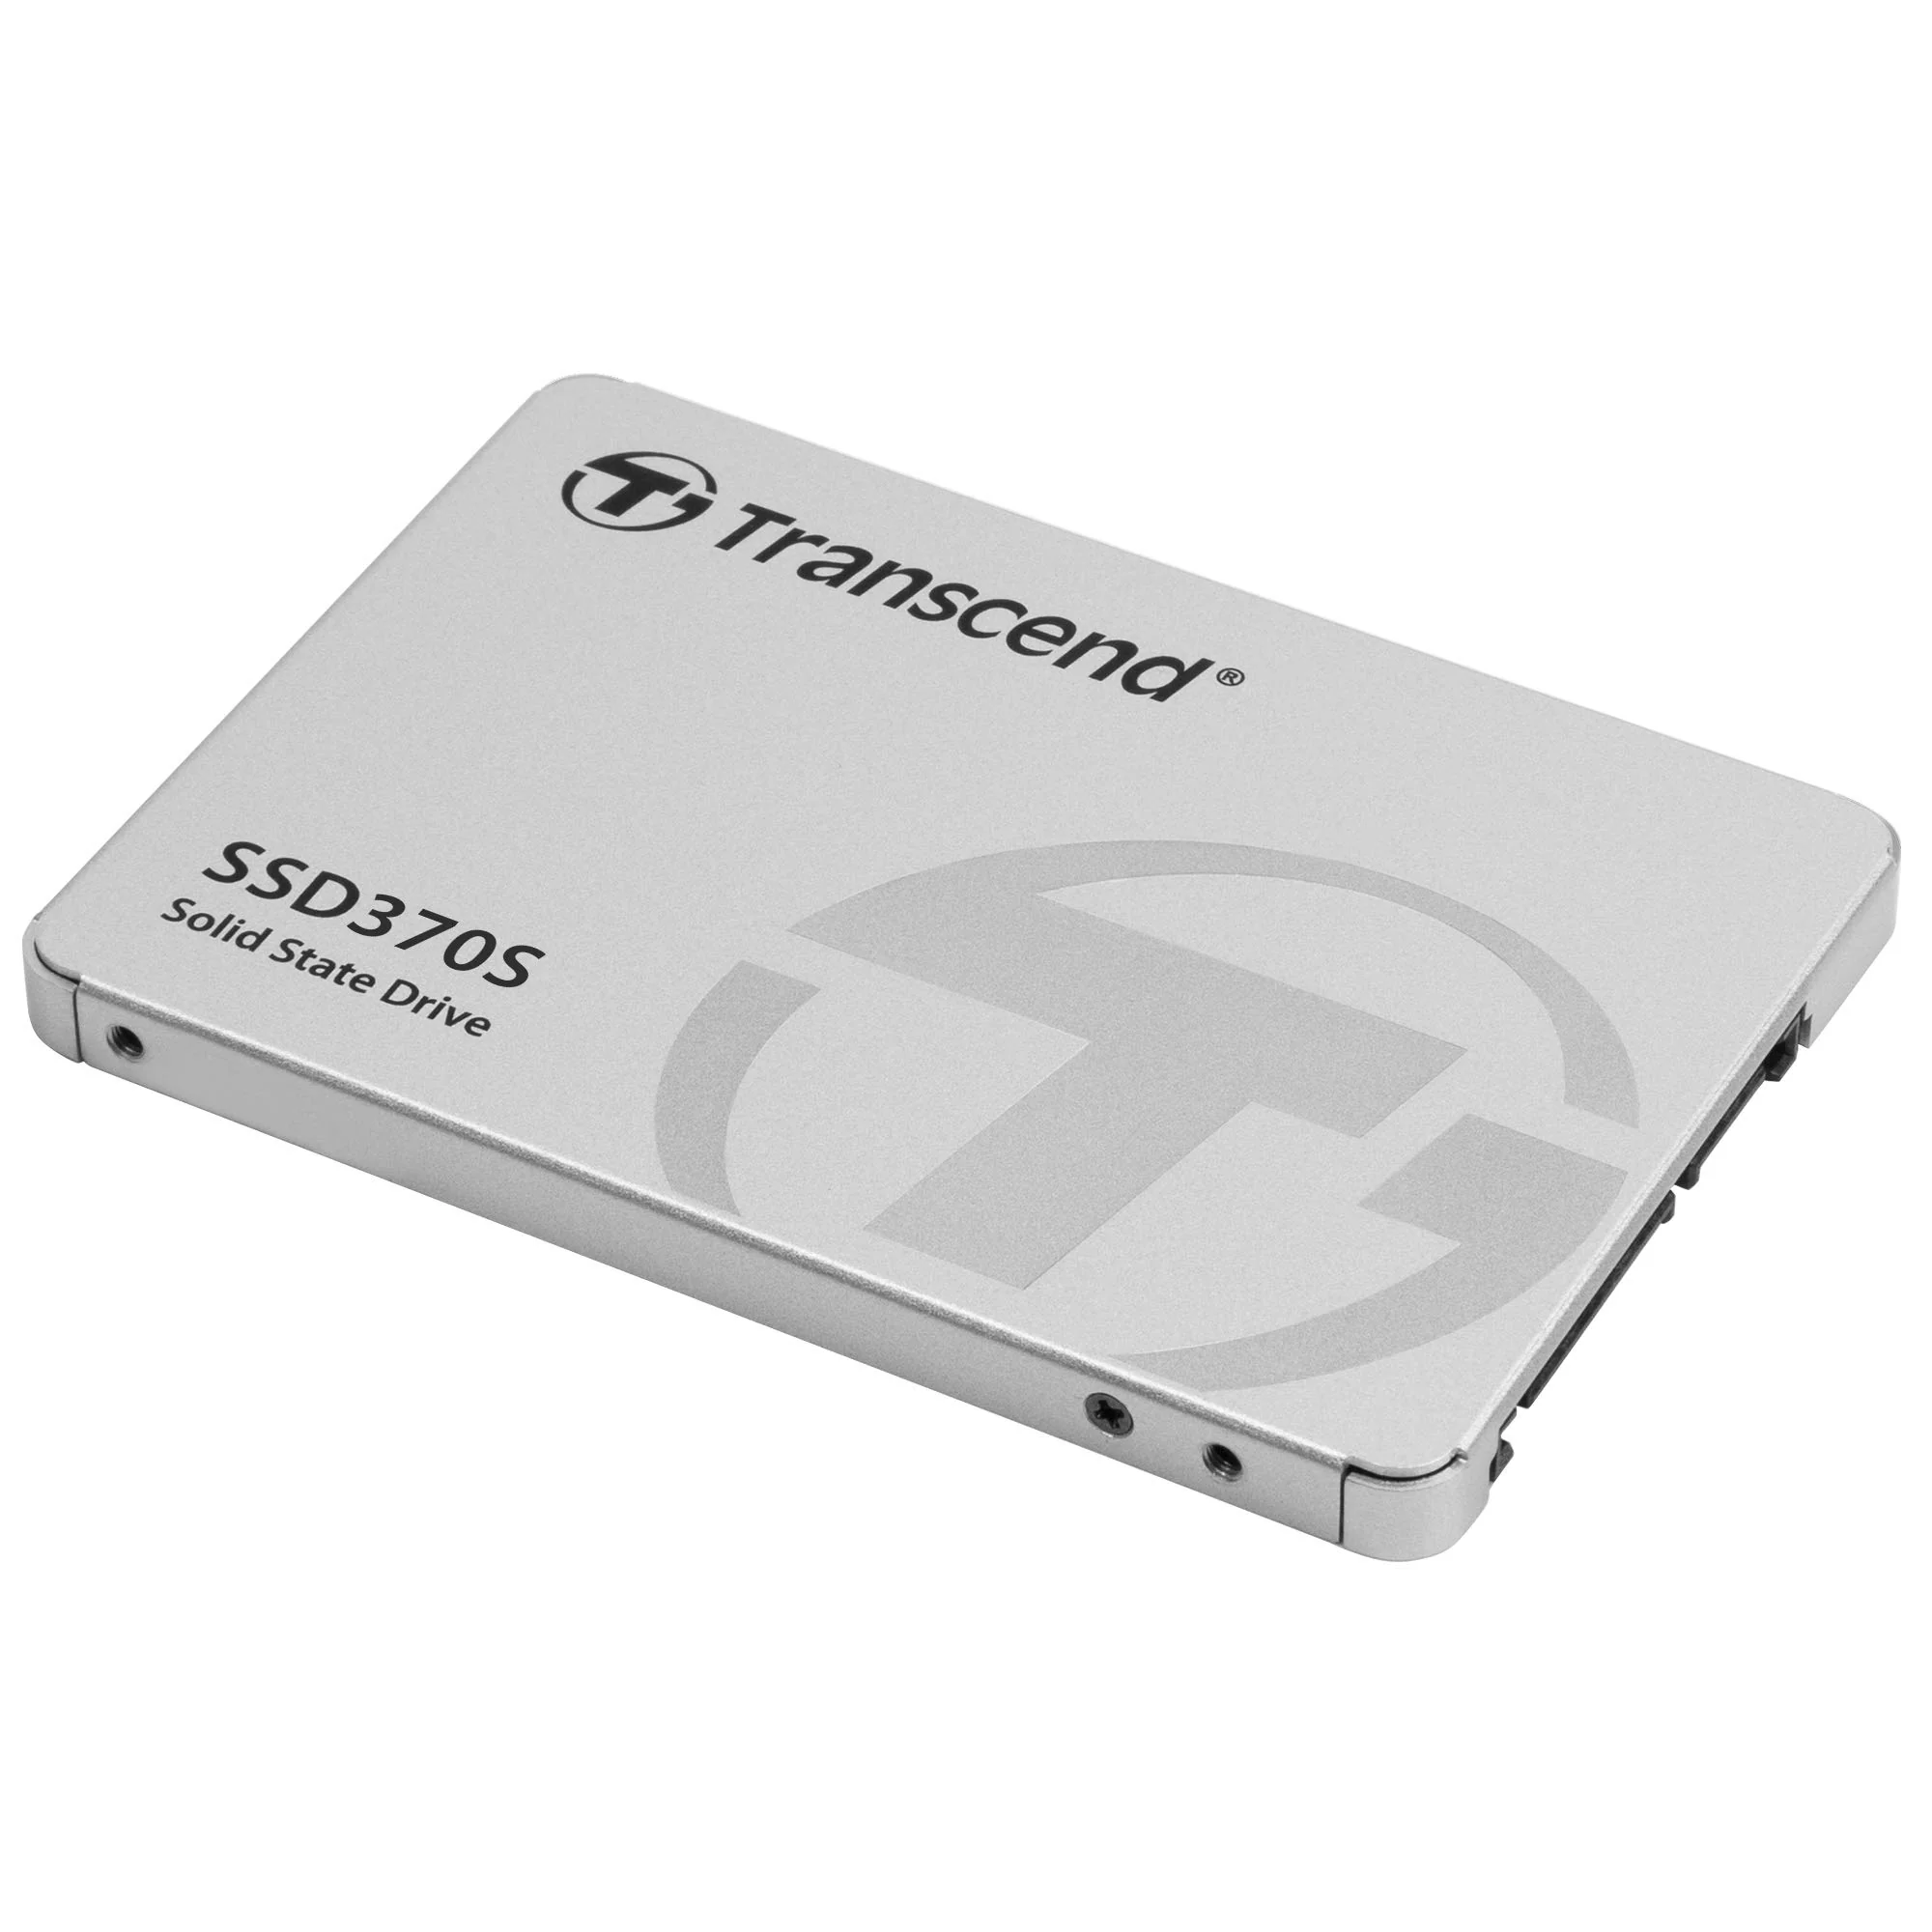
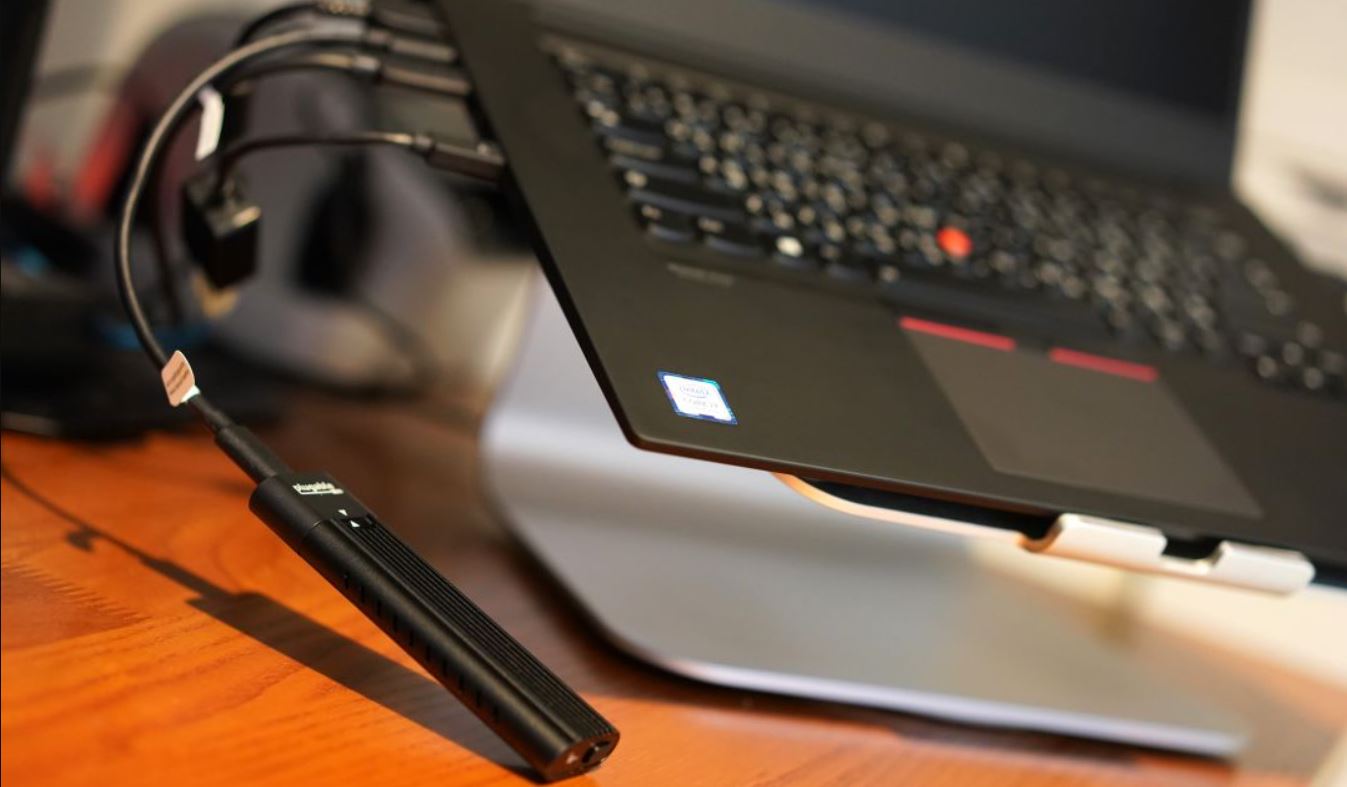
3. Choose the Right SSD: If you haven’t purchased an SSD yet, make sure to choose a reliable and compatible one. Consider factors such as storage capacity, speed, and reliability. Research different SSD models and choose one that fits your needs and budget. Opting for a reputable brand will also ensure better performance and longevity.
4. Update BIOS and Firmware: Check for any available updates for your computer’s BIOS (Basic Input/Output System) and SSD firmware. Keeping these components up to date can improve compatibility, performance, and stability during the installation process. Visit the manufacturer’s website for instructions on how to update your BIOS and SSD firmware.
5. Clear Unnecessary Files: Before installing Ubuntu on your SSD, it’s a good idea to clean up your existing operating system. Remove any temporary files, old applications, or unnecessary data to free up disk space and ensure a smoother installation process. This will also help optimize the disk usage on your SSD after the installation.
6. Disable Secure Boot: Secure Boot is a security feature that helps protect your system from unauthorized operating systems. However, it can sometimes cause compatibility issues when installing Ubuntu. In your computer’s BIOS settings, disable Secure Boot before initiating the installation process. Refer to the user manual or manufacturer’s website for specific instructions on how to disable Secure Boot on your system.
By following these preparatory steps, you will be well-equipped to proceed with the installation of Linux Ubuntu on your SSD. Taking the time to back up your data, verify system requirements, choose the right SSD, update BIOS and firmware, clear unnecessary files, and disable Secure Boot will ensure a smooth installation and set the stage for a successful and enjoyable Ubuntu experience on your SSD.
Now that you’re ready, let’s move on to the next section where we will guide you through creating a bootable USB drive for installing Linux Ubuntu.
Backing up Data
Prior to installing Linux Ubuntu on your Solid State Drive (SSD), it is crucial to perform a thorough backup of your data to ensure its safety. While the installation process should not cause data loss, unforeseen issues can arise, making a backup an essential precautionary step. In this section, we will discuss the importance of backing up your data and provide guidance on how to do it effectively.
1. Data Loss Prevention: Backing up your data is essential to prevent potential loss or corruption during the installation process. Even with careful execution, unforeseen technical issues or user errors can occur. By having a backup, you can restore your important files and documents in case of any unfortunate events.
2. Identify Critical Data: Determine which files and folders are critical and need to be backed up. This typically includes personal documents, photos, videos, music, and any other irreplaceable data. Ensure that you have identified all the relevant directories and files to include in your backup.
3. Choose a Backup Method: There are various backup methods and tools available to suit different needs. Some options include manual backups to an external hard drive or cloud storage, using backup software, or creating disk images. Choose a method that is convenient for you and fits the size and complexity of your data.
4. External Drive Backup: One common backup method is to copy your important files to an external hard drive or USB flash drive. Connect the external drive to your computer and manually copy the files and folders. Ensure that you have enough storage space on your external drive for all the data you want to back up.
5. Cloud Storage Backup: Cloud storage services offer a secure and convenient method of backing up your data. Popular options include Dropbox, Google Drive, or Microsoft OneDrive. Upload your important files to the cloud storage service of your choice, ensuring that you have enough storage capacity for all your data.
6. Backup Software: Backup software provides automated and scheduled backups, making the process more efficient and convenient. Research and select a reliable backup software that suits your needs. Set up a backup schedule and configure the software to include the directories and files you want to back up.
Regardless of the method you choose, always double-check to ensure that the backup is successful and that all critical files are included. It is also recommended to verify the integrity of the backup by restoring a few files and confirming their integrity.
Remember, backing up your data is not a one-time event. It is good practice to regularly perform backups to ensure an up-to-date copy of your important files. This will provide peace of mind during the installation process and in general usage.
With your data safely backed up, you can proceed with the Linux Ubuntu installation on your SSD, knowing that your important files are protected. Let’s move on to the next section, where we will guide you through the process of creating a bootable USB drive for the Ubuntu installation.
Creating a Bootable USB Drive
In order to install Linux Ubuntu on your Solid State Drive (SSD), you will need to create a bootable USB drive. This USB drive will contain the Ubuntu installation files and will be used to initiate the installation process. In this section, we will guide you through the steps to create a bootable USB drive.
1. Download the Ubuntu ISO: Visit the official Ubuntu website and download the ISO file for the version of Ubuntu you wish to install. Make sure to choose the appropriate version for your system (32-bit or 64-bit).
2. Choose a USB Drive: Select a USB drive with enough storage capacity to accommodate the Ubuntu ISO file. It is recommended to use a USB drive with at least 8GB of storage to ensure all necessary files can be copied to it.
3. Format the USB Drive: Before creating the bootable USB drive, it is important to format it to ensure it is clean and ready for use. Connect the USB drive to your computer and open the Disk Management tool (on Windows) or Disk Utility (on macOS). Format the USB drive to FAT32 file system.
4. Use Rufus (Windows) or Etcher (macOS and Linux): There are various tools available to create a bootable USB drive. For Windows, Rufus is a popular option, whereas Etcher is a reliable choice for macOS and Linux. Download and install the appropriate tool for your operating system.
5. Select the Ubuntu ISO File: Open Rufus or Etcher and select the Ubuntu ISO file that you downloaded earlier. Make sure to choose the correct drive letter for your USB drive as well.
6. Create the Bootable USB Drive: Click on the “Start” or “Create” button in Rufus or Etcher to begin the process of creating the bootable USB drive. The tool will copy all necessary files from the Ubuntu ISO to the USB drive. This process may take some time, so be patient.
7. Eject the USB Drive: Once the bootable USB drive has been created successfully, safely eject the USB drive from your computer. This ensures that all files are written properly and the USB drive is ready for use.
That’s it! You have successfully created a bootable USB drive with the Ubuntu installation files. This USB drive will allow you to start the installation process on your SSD. Keep the USB drive in a safe place until you are ready to proceed with the installation.
In the next section, we will discuss how to install Linux Ubuntu on your SSD, using the bootable USB drive you have just created.
Installing Linux Ubuntu on the SSD
Now that you have a bootable USB drive ready, it’s time to install Linux Ubuntu on your Solid State Drive (SSD). Follow the steps below to complete the installation process:
1. Boot from the USB Drive: Insert the bootable USB drive into a USB port on your computer and restart the system. Access the BIOS or UEFI settings by pressing the appropriate key during the startup process (often Esc, F2, or Del), and change the boot order to prioritize the USB drive. Save the changes and exit the BIOS/UEFI settings.
2. Start the Ubuntu Installation: Your computer will now boot from the USB drive, and the Ubuntu installation menu will appear. Select “Install Ubuntu” to begin the installation process.
3. Language and Keyboard Selection: Choose your preferred language and keyboard layout for the installation process. Click “Continue” to proceed.
4. Prepare Installation Options: On the “Installation type” screen, choose whether to install Ubuntu alongside your existing operating system or erase the disk and install Ubuntu as the primary operating system on your SSD. Select the desired option based on your preferences. If you choose to erase the disk, make sure to select your SSD as the installation location. Click “Install Now” to continue.
5. Configure the Installation: On the next screen, you may be prompted to configure additional options such as your location and keyboard layout. Set these according to your preferences, and click “Continue” to proceed.
6. Create a User: You will be asked to create a username and password for your Ubuntu user account. Fill in the necessary details and click “Continue.”
7. Installation Progress: The installation process will now begin. The installer will copy the necessary files to your SSD and configure the system accordingly. This process may take some time, so be patient and do not interrupt it.
8. Reboot: Once the installation is complete, you will be prompted to restart your computer. Remove the USB drive and click “Restart Now” to boot into your newly installed Ubuntu system on the SSD.
9. Finalize Setup: After rebooting, Ubuntu will guide you through the final setup process. Follow the on-screen instructions to complete the setup, including configuring your user preferences, connecting to a Wi-Fi network, and installing any necessary updates.
10. Welcome to Ubuntu: Once the setup is complete, you will be greeted with the Ubuntu desktop environment. Congratulations! You have successfully installed Linux Ubuntu on your SSD.
You can now begin customizing Ubuntu, installing additional software, and exploring the wealth of features and applications available on the Ubuntu platform. Enjoy your new Ubuntu installation, enhanced by the speed and reliability of your SSD!
In the next section, we will discuss the management of partitions and file systems on your SSD, which can help you optimize storage and performance.
Managing Partitions and File Systems
After installing Linux Ubuntu on your Solid State Drive (SSD), you may want to optimize your storage and performance by managing partitions and file systems. This section will guide you through the process of managing partitions and file systems on your SSD.
1. Understanding Partitions: A partition is a logical division of your SSD that enables you to separate data and operating systems. By managing partitions, you can allocate storage space according to your needs and organize your files more effectively.
2. Partitioning Tools: Ubuntu provides various partitioning tools, such as GParted, to manage your disk partitions. You can access GParted through the Ubuntu Software Center or by using the terminal. Familiarize yourself with the tools’ user interfaces and commands before making any modifications.
3. Carefully Assess your Needs: Before making changes to your partitions, back up your data to ensure its safety. Use GParted to view the current partition layout, available free space, and existing file systems. Assess your storage requirements to determine whether you need to resize existing partitions or create new ones.
4. Resizing Partitions: If you want to allocate more or less space to a specific partition, you can use GParted to resize it. Remember to be cautious when resizing partitions, ensuring that you do not lose any valuable data or disrupt the functioning of your system.
5. Creating New Partitions: If you have unallocated space on your SSD, you can create new partitions using GParted. Determine the size, file system type (such as ext4 for Linux), and mount point for the new partition based on your storage needs and organization preferences.
6. Formatting Partitions: Once you have created a new partition, it will need to be formatted with an appropriate file system. Use GParted to format the partition with the desired file system, such as ext4 for Linux partitions. Formatting erases all data on the partition, so ensure that you have backed up any important files beforehand.
7. Mounting Partitions: After formatting, you need to mount the partitions to access their contents. Specify a mount point (directory) where the partition will be accessible within the file system hierarchy. You can choose an existing directory or create a new one.
8. Setting File System Labels: Assigning labels to your partitions can help you easily identify them. Use the e2label command in the terminal to set a label for a specific partition. Labels make it easier to navigate and manage your partitions, especially when using command-line tools.
Remember to exercise caution when modifying partitions, as any mistakes can potentially lead to data loss or system instability. Always have a backup of your important data before making any changes, and take the time to thoroughly understand the partitioning tools and commands available in Ubuntu.
By effectively managing partitions and file systems on your SSD, you can optimize storage allocation, enhance performance, and maintain a well-organized file structure. Utilize the powerful partitioning tools available in Ubuntu to tailor your SSD to meet your specific needs.
In the next section, we will discuss how to configure the boot order of your system, ensuring that your SSD is set as the primary boot device.
Configuring Boot Order
After successfully installing Linux Ubuntu on your Solid State Drive (SSD), it’s important to configure the boot order of your system to ensure that your SSD is set as the primary boot device. This section will guide you through the steps to configure the boot order and prioritize your SSD as the default boot device.
1. Access the BIOS/UEFI Settings: Restart your computer and enter the BIOS or UEFI settings. The specific key to access these settings varies depending on the manufacturer and model of your computer. Common keys include Esc, F2, F10, or Del. Consult your computer’s documentation or manufacturer’s website for the specific key.
2. Navigate to the Boot Options: Once inside the BIOS/UEFI settings, navigate to the Boot or Boot Order section. This section may also be labeled as Boot Options, Boot Sequence, or similar.
3. Change the Boot Order: In the Boot Order section, you will see a list of boot devices. Locate the entry corresponding to your SSD, which may be named after the manufacturer or model of the SSD. Use the provided instructions to rearrange the boot devices and prioritize your SSD as the first boot device.
4. Save and Exit: After configuring the boot order to prioritize your SSD, save the changes made to the BIOS/UEFI settings and exit. This typically involves pressing the F10 key or selecting the option to Save and Exit from the menu.
5. Verify Boot Priority: Restart your computer and observe the boot process. If configured correctly, your system should now boot directly from the SSD, bypassing any other boot devices.
6. Optional: Additional Boot Settings: Some BIOS/UEFI settings provide additional boot-related options, such as enabling Fast Boot or choosing a specific boot mode (UEFI or Legacy). Explore these options and adjust them according to your preferences and system requirements. Refer to the documentation or manufacturer’s website for specific instructions.
Configuring the boot order is crucial to ensure that your system loads Linux Ubuntu directly from the SSD, maximizing its performance and efficiency. Without adjusting the boot order, your system may attempt to boot from other devices, causing unnecessary delays and potentially resulting in an improper startup.
Remember that accessing the BIOS/UEFI settings and configuring the boot order may differ slightly based on your system setup. Always consult your computer’s documentation or the manufacturer’s website for the correct steps and specific instructions.
With the boot order correctly configured, your system will boot directly from the SSD, allowing you to enjoy the fast and reliable performance of Linux Ubuntu on your Solid State Drive.
In the final section, we will conclude our guide and summarize the main steps you’ve taken to install and optimize Linux Ubuntu on your SSD.
Finalizing the Installation
Congratulations! You have successfully installed Linux Ubuntu on your Solid State Drive (SSD) and optimized it for performance. In this final section, we will discuss a few key steps to finalize the installation and ensure a smooth experience with your Ubuntu system on the SSD.
1. Install Updates: After the initial installation, it is essential to update your Ubuntu system to benefit from the latest bug fixes, software enhancements, and security patches. Use the Software Updater or run the following commands in the terminal:
sudo apt update
sudo apt upgrade
Follow the prompts to install any available updates.
2. Install Additional Software: Ubuntu provides a vast repository of software applications through the Software Center. Explore the Software Center to install additional software that meets your needs, such as productivity tools, development environments, media players, or graphic design software. Search for specific applications or browse through popular categories.
3. Configure System Settings: Customize your Ubuntu system to suit your preferences by adjusting various system settings. Access the Settings application to modify options such as appearance, display, sound, power management, keyboard shortcuts, language support, and more. Take the time to personalize your system and make it more efficient for your workflow.
4. Backup Your Ubuntu System: As an additional precaution, consider setting up a regular backup routine for your Ubuntu system. You can use built-in backup utilities or third-party backup software to create regular backups of your important files, user settings, and installed applications. Having a backup ensures that your data is safe and recoverable in case of any unforeseen events.
5. Explore the Community and Resources: Ubuntu has a large and active community of users and developers who are always willing to help. Take advantage of online forums, documentation, tutorials, and user guides to find solutions to any questions or issues you may encounter. Engaging with the Ubuntu community can provide valuable insights and tips to enhance your Ubuntu experience on the SSD.
By following these steps to finalize your Ubuntu installation, you will be able to enjoy a fully functional and optimized Linux Ubuntu system on your SSD. Take the time to familiarize yourself with the various features and capabilities of Ubuntu, and don’t hesitate to explore and experiment with different software applications and configurations.
Remember, Ubuntu is a flexible and customizable operating system that enables you to tailor it to your specific needs. Enjoy the benefits of your SSD’s fast boot times, improved performance, and reliability with Linux Ubuntu, and make the most of your computing experience.
With the installation complete and your Ubuntu system fully set up, we hope that this guide has provided you with the necessary knowledge and guidance to successfully install and utilize Linux Ubuntu on your Solid State Drive. Happy computing!
Conclusion
Installing Linux Ubuntu on a Solid State Drive (SSD) is a fantastic choice for enhancing your computing experience. Throughout this guide, we have explored the benefits of using an SSD with Linux Ubuntu and provided step-by-step instructions on how to install Ubuntu on your SSD. By understanding the advantages of SSDs, preparing for the installation, creating a bootable USB drive, installing Ubuntu, managing partitions and file systems, configuring the boot order, and finalizing the installation, you have successfully set up a high-performance Ubuntu system on your SSD.
With Linux Ubuntu installed on your SSD, you can experience faster boot times, shorter application loading times, improved system responsiveness, and enhanced reliability. The speed and efficiency of SSDs combined with the lightweight design and customization options of Ubuntu create a seamless and efficient computing platform.
Remember to take precautions during the installation process, such as backing up your data and double-checking settings to avoid any data loss or system instability. Furthermore, regularly update your Ubuntu system, install additional software to meet your needs, and explore the vast resources available in the Ubuntu community for further customization.
As you optimize your Ubuntu system on your SSD, feel free to experiment and tailor the setup to align with your preferences and workflow. Take advantage of the features and flexibility of Ubuntu, and don’t hesitate to seek support from the Ubuntu community when needed.
We hope that this guide has provided you with the knowledge and confidence to successfully install and utilize Linux Ubuntu on your SSD. By harnessing the power of Ubuntu and the speed of your SSD, you can enjoy a seamless, efficient, and enjoyable computing experience.
Thank you for following along with this guide, and we wish you all the best in your Linux Ubuntu journey!