Introduction
Welcome to the guide on how to install a Linux virtual machine on Windows 7. Virtual machines allow you to run a separate operating system within your existing operating system, giving you the flexibility to explore and experiment with different software and configurations without affecting your main system. In this article, we will focus on installing a Linux virtual machine using VMware Workstation Player.
Linux is a popular open-source operating system known for its stability, security, and versatility. By setting up a Linux virtual machine on your Windows 7 computer, you can enjoy the benefits of both operating systems simultaneously.
Before we start, please ensure that you have administrative access to your Windows 7 computer and meet the following prerequisites:
- An active internet connection to download necessary software and updates.
- A minimum of 2GB RAM and 20GB of free disk space for optimal performance.
- A 64-bit processor with virtualization support.
If you meet these requirements, let’s proceed to the next step: downloading VMware Workstation Player.
Prerequisites
Before we begin the installation process, let’s ensure that you have all the necessary prerequisites in place:
- Windows 7: The host operating system should be Windows 7, and you should have administrative access to your computer.
- Internet Connection: An active internet connection is required to download the required software and updates.
- System Requirements: Your computer should meet the minimum system requirements to run a virtual machine. This includes having a 64-bit processor with virtualization support, at least 2GB of RAM, and a minimum of 20GB of free disk space for optimal performance.
- VMware Workstation Player: You’ll need to download and install VMware Workstation Player, a free desktop virtualization software, which will allow you to run the Linux virtual machine.
- Ubuntu ISO: You’ll also need to download the Ubuntu ISO file, which is the installation image for the Ubuntu Linux operating system. Make sure to download the appropriate version of Ubuntu, depending on your system architecture (32-bit or 64-bit).
Once you have confirmed that your system meets these prerequisites, you can proceed to the next step: downloading VMware Workstation Player.
Step 1: Download VMware Workstation Player
The first step in installing a Linux virtual machine on Windows 7 is to download VMware Workstation Player. This software will enable us to create and run virtual machines on our Windows operating system.
To download VMware Workstation Player, follow these steps:
- Open a web browser and navigate to the official VMware website https://www.vmware.com.
- Click on the “Products” tab on the top menu and select “Workstation Player.”
- On the VMware Workstation Player product page, click on the “Download Now” button.
- If prompted, create a free VMware account by clicking on the “Create an Account” link. Otherwise, proceed to the next step.
- Fill in the required information to create your VMware account, or log in if you already have an account.
- Once logged in, you can download VMware Workstation Player by clicking on the appropriate download button for your operating system (Windows 7).
- Save the installer file to a location on your computer where you can easily find it.
After downloading VMware Workstation Player, you are ready to move on to the next step: downloading the Ubuntu ISO file.
Step 2: Download Ubuntu ISO
In order to install Ubuntu on our virtual machine, we need to download the Ubuntu ISO file. The ISO file contains the installation image of the Ubuntu operating system.
To download the Ubuntu ISO, follow these steps:
- Open a web browser and go to the official Ubuntu website https://ubuntu.com/download.
- On the Ubuntu download page, you will be presented with the latest LTS (Long Term Support) version of Ubuntu. This is the recommended version for most users. If you prefer a different version, click on the “Alternative downloads” link provided on the page.
- Select the appropriate version of Ubuntu based on your system architecture (32-bit or 64-bit). Most modern computers are 64-bit, but if you are unsure, you can check by right-clicking on “This PC” (or “My Computer”) and selecting “Properties”.
- After selecting the version, click on the “Download” button.
- A list of download mirrors will be displayed. Choose a mirror that is nearest to your location and click on the corresponding link to start the download.
- Wait for the download to complete. The ISO file size is around 2 GB, so the download may take some time depending on your internet speed.
- Once the download is finished, verify the integrity of the ISO file by comparing its checksum provided on the Ubuntu website. This step is optional but recommended to ensure the file’s integrity.
Now that you have successfully downloaded the Ubuntu ISO file, you are ready to proceed to the next step: installing VMware Workstation Player.
Step 3: Install VMware Workstation Player
Now that we have downloaded the VMware Workstation Player installer, it’s time to install the software on our Windows 7 computer. The installation process is straightforward and user-friendly.
To install VMware Workstation Player, follow these steps:
- Navigate to the location where you saved the VMware Workstation Player installer file.
- Double-click on the installer file to start the installation process.
- If prompted by the User Account Control (UAC), click “Yes” to grant permission to make changes to your computer.
- The VMware Workstation Player installer will launch. Click on the “Next” button to proceed.
- Read and accept the license agreement by selecting the “I accept the terms in the license agreement” option. Click “Next” to continue.
- Choose the installation directory where you want VMware Workstation Player to be installed. The default location is usually fine for most users.
- Select the additional features you want to install. The default settings should be sufficient for most users. Click “Next” to proceed.
- Choose whether you want to participate in the VMware Customer Experience Improvement Program. This program sends anonymous usage data to VMware for product improvement purposes. Make your selection and click “Next”.
- Review the installation settings and click on the “Install” button to start the installation process.
- Wait for the installation to complete. This may take a few minutes.
- Once the installation is finished, click on the “Finish” button to exit the installer.
Congratulations! You have successfully installed VMware Workstation Player on your Windows 7 computer. In the next step, we will create a new virtual machine for Ubuntu.
Step 4: Create a New Virtual Machine
With VMware Workstation Player installed, we can now create a new virtual machine to install Ubuntu on. This will allow us to run Ubuntu within our Windows 7 environment.
To create a new virtual machine in VMware Workstation Player, follow these steps:
- Open VMware Workstation Player from your Start menu or desktop shortcut.
- Click on “Create a New Virtual Machine”.
- The New Virtual Machine wizard will open. Select “Typical (recommended)” and click “Next”.
- Choose the installation media source. Select “Installer disc image file (iso)” and click “Browse” to locate the Ubuntu ISO file you downloaded in Step 2. Once selected, click “Next”.
- Enter a name for your virtual machine and choose a location where you want to store the virtual machine files. The default settings are usually fine, but you can customize as desired. Click “Next” to proceed.
- Specify the disk capacity for your virtual machine. The recommended minimum is 20GB, but you can allocate more if you have sufficient disk space. Select “Store virtual disk as a single file” and click “Next”.
- Review the summary of the virtual machine settings and click “Finish” to create the virtual machine.
Great! You have successfully created a new virtual machine in VMware Workstation Player. In the next step, we will configure the virtual machine settings before installing Ubuntu on it.
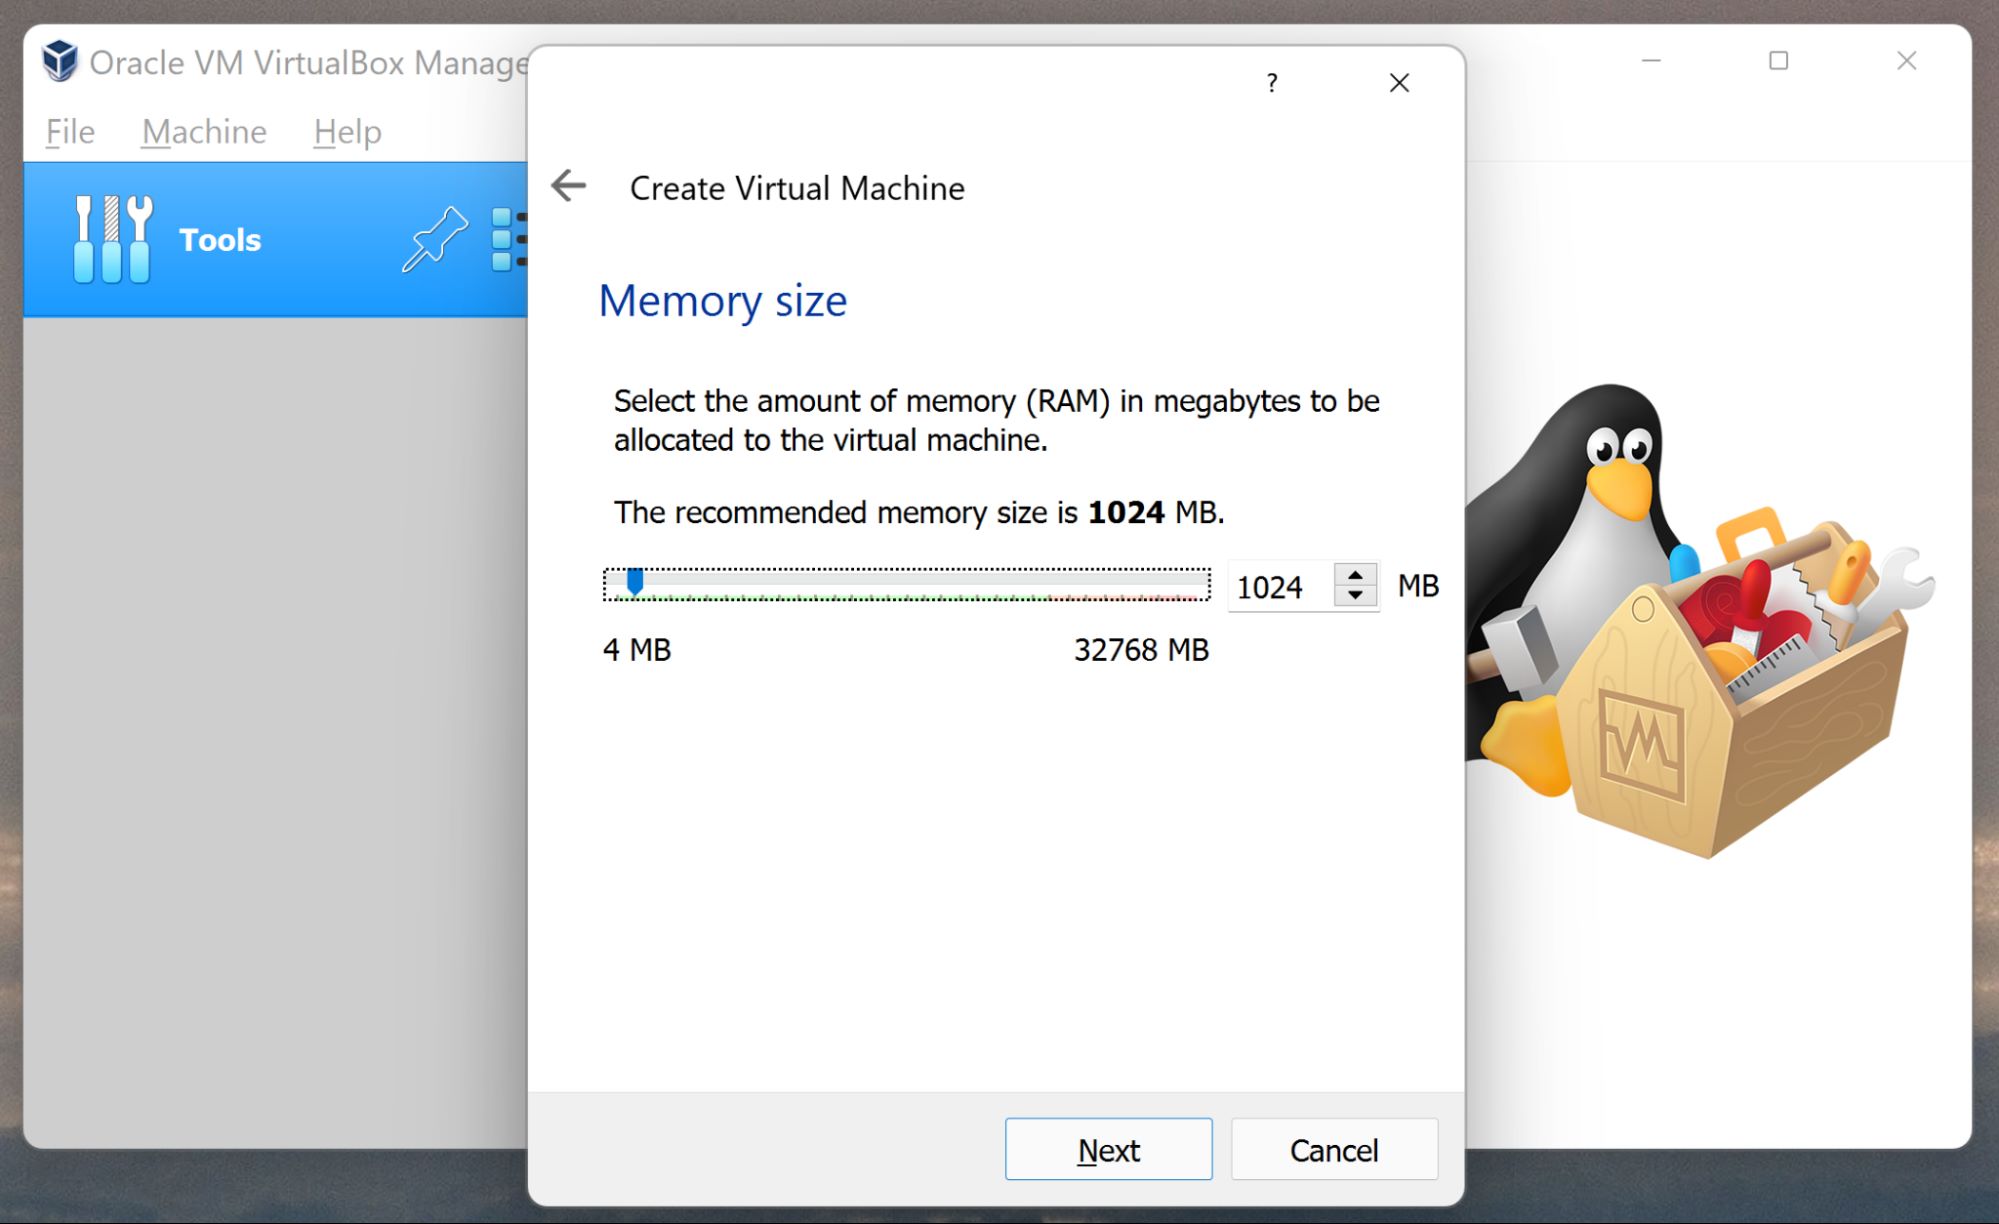
Step 5: Configure Virtual Machine Settings
Now that we have created a new virtual machine, it’s time to configure its settings to ensure optimal performance and compatibility with Ubuntu.
To configure the virtual machine settings in VMware Workstation Player, follow these steps:
- Open VMware Workstation Player if it’s not already open.
- From the Library tab, select the virtual machine you created in Step 4.
- Click on “Edit virtual machine settings” to open the Virtual Machine Settings window.
- In the Hardware tab, you can modify various settings such as memory, processor, network adapter, and more. Ensure that your virtual machine has at least 2GB of memory allocated, and select the appropriate “Network Adapter” setting based on your network connection.
- In the Options tab, you can further customize the virtual machine settings. Here, you can configure options related to power management, display, input devices, and more. Review and modify these settings as needed.
- Click “OK” to save the changes and close the Virtual Machine Settings window.
By configuring the virtual machine settings, you can allocate sufficient resources and tailor the virtual machine to fit your needs. Once you have completed the configuration, you are ready to proceed to the next step: installing Ubuntu on the virtual machine.
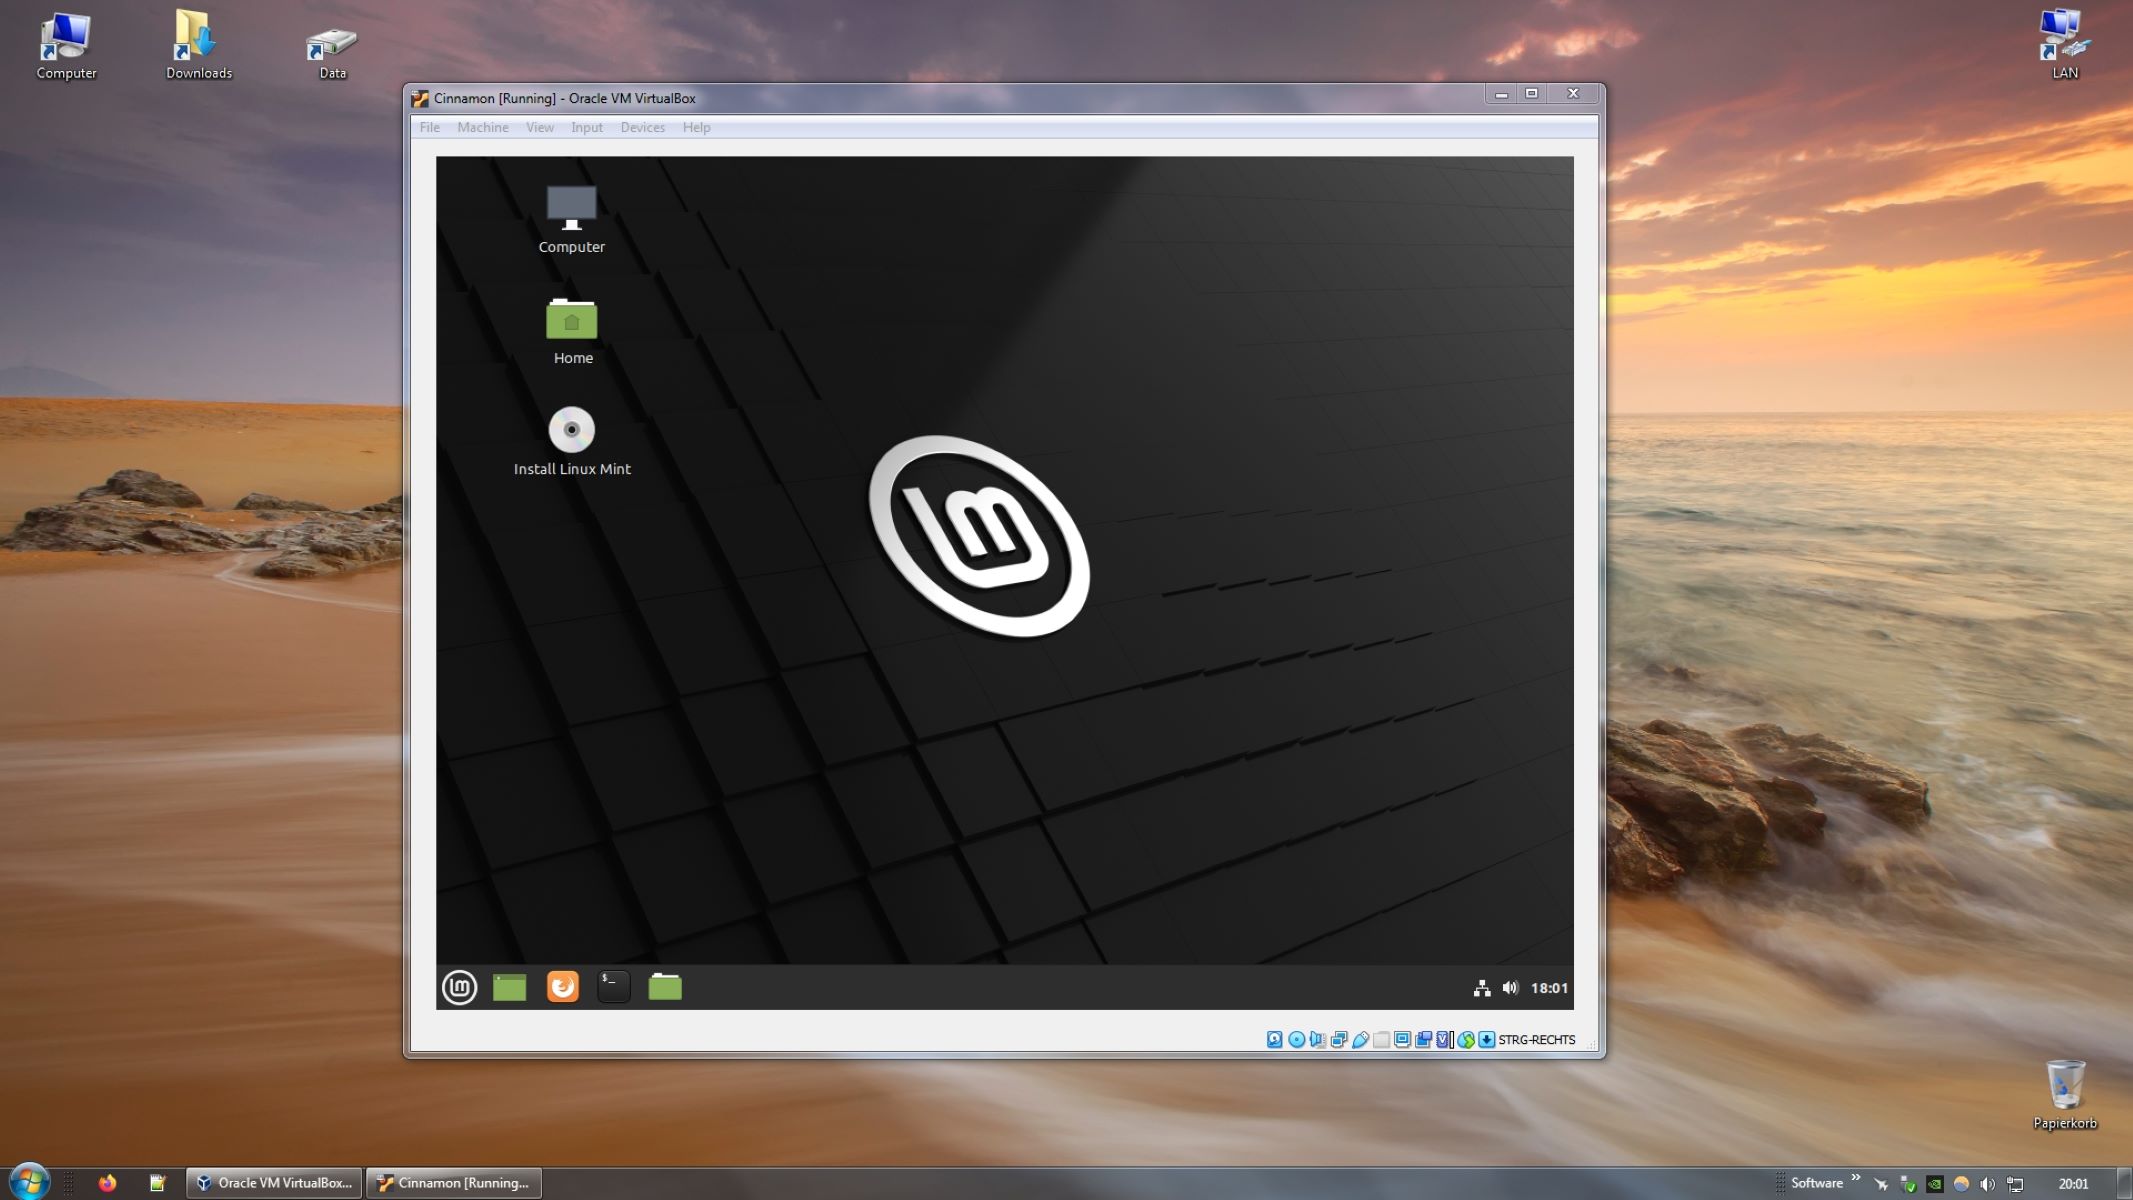
Step 6: Install Ubuntu on the Virtual Machine
Now that we have our virtual machine set up and configured, we can proceed with installing the Ubuntu operating system.
To install Ubuntu on the virtual machine, follow these steps:
- Make sure your virtual machine is selected in VMware Workstation Player.
- Click on the “Play virtual machine” button to start the virtual machine.
- The virtual machine will boot up and display the Ubuntu installation screen.
- Select your preferred language and click “Install Ubuntu”.
- Choose whether you want to install third-party software for graphics and Wi-Fi hardware, and click “Continue”.
- Select the installation type. If you are new to Ubuntu, it is recommended to choose the “Erase disk and install Ubuntu” option for a clean installation. However, if you want to dual-boot with your existing operating system or have specific partitioning requirements, select the appropriate option and follow the on-screen instructions.
- Follow the on-screen prompts to select your time zone, keyboard layout, and create a user account.
- Once you have completed the necessary steps, click “Install” to begin the installation process.
- Wait for the installation to complete. The progress bar will indicate the installation progress.
- After the installation is finished, click “Restart Now” to reboot the virtual machine.
Congratulations! You have successfully installed Ubuntu on your virtual machine. In the next step, we will customize the Ubuntu settings to optimize your experience.
Step 7: Customize Ubuntu Settings
After installing Ubuntu on your virtual machine, you can now customize various settings to personalize your Ubuntu experience and optimize its functionality.
To customize Ubuntu settings, follow these steps:
- Start your virtual machine and log in to the Ubuntu operating system using the user account you created during the installation process.
- Once logged in, you can explore the Ubuntu desktop and familiarize yourself with its interface.
- Click on the “Activities” button on the top-left corner of the screen to access the Activities Overview, where you can search for applications, switch between windows, and access system settings.
- Click on the “Settings” icon to open the Settings app. Here, you can customize various aspects of Ubuntu, including appearance, background, display settings, privacy options, and more.
- Navigate through the different categories in the Settings app to adjust settings according to your preferences. For example, you can customize the desktop background by selecting a new wallpaper, or adjust the display resolution to optimize the visual experience.
- Explore additional options in the Settings app to personalize Ubuntu further, such as configuring the system’s sound settings, managing connected devices, and setting up user accounts.
- Aside from the Settings app, Ubuntu offers a vast collection of applications and utilities that you can install and customize to suit your needs. Use the Ubuntu Software Center to browse, search, and install various software applications.
- Take your time to explore the available options and customize Ubuntu settings to create a personalized and efficient working environment.
By customizing the settings in Ubuntu, you can optimize the operating system to meet your requirements and enhance your overall user experience.
Step 8: Install VMware Tools
Installing VMware Tools is an important step to enhance the functionality and performance of your Ubuntu virtual machine running on VMware Workstation Player.
To install VMware Tools, follow these steps:
- Start your Ubuntu virtual machine and log in to the operating system.
- In the VMware Workstation Player menu, go to “Player” and select “Manage” > “Install VMware Tools”.
- A dialogue box will appear within the virtual machine window, prompting you to connect the VMware Tools installation media.
- Click on “Download and install” to automatically download the VMware Tools package and mount it as a virtual CD/DVD drive within the virtual machine.
- Open the File Manager in Ubuntu and navigate to the virtual CD/DVD drive. You should see the VMware Tools package.
- Extract the contents of the VMware Tools package to a location of your choice.
- Open a terminal window and navigate to the extracted directory.
- Run the installation script by executing the command:
sudo ./vmware-install.pl. Enter your password when prompted. - Follow the on-screen instructions to complete the installation of VMware Tools.
- Once the installation is finished, restart your virtual machine to apply the changes.
After restarting, you will benefit from improved graphics performance, seamless mouse integration, and other enhancements provided by VMware Tools.
Congratulations! You have successfully installed VMware Tools on your Ubuntu virtual machine. With VMware Tools, you can now enjoy a more seamless and efficient virtual machine experience.
Conclusion
Congratulations on successfully installing a Linux virtual machine on your Windows 7 computer using VMware Workstation Player! By following the steps outlined in this guide, you have gained the ability to explore and utilize the power of Ubuntu within your existing operating system.
Throughout the process, we covered the essential steps, including downloading VMware Workstation Player, obtaining the Ubuntu ISO, installing VMware Workstation Player, creating a new virtual machine, configuring the virtual machine settings, installing Ubuntu, customizing Ubuntu settings, and installing VMware Tools.
With your Ubuntu virtual machine up and running, you now have access to a wide range of Linux applications, tools, and resources. Whether you are a developer, system administrator, or simply a Linux enthusiast, the virtual machine environment provides a safe and convenient space to experiment and learn.
Remember to stay updated with the latest security patches and software updates for both your host operating system and your virtual machine. This will ensure a secure and efficient computing experience.
We hope this guide has been helpful in enabling you to install and utilize a Linux virtual machine on your Windows 7 computer. Enjoy exploring the world of Ubuntu and leveraging its vast capabilities to meet your computing needs!